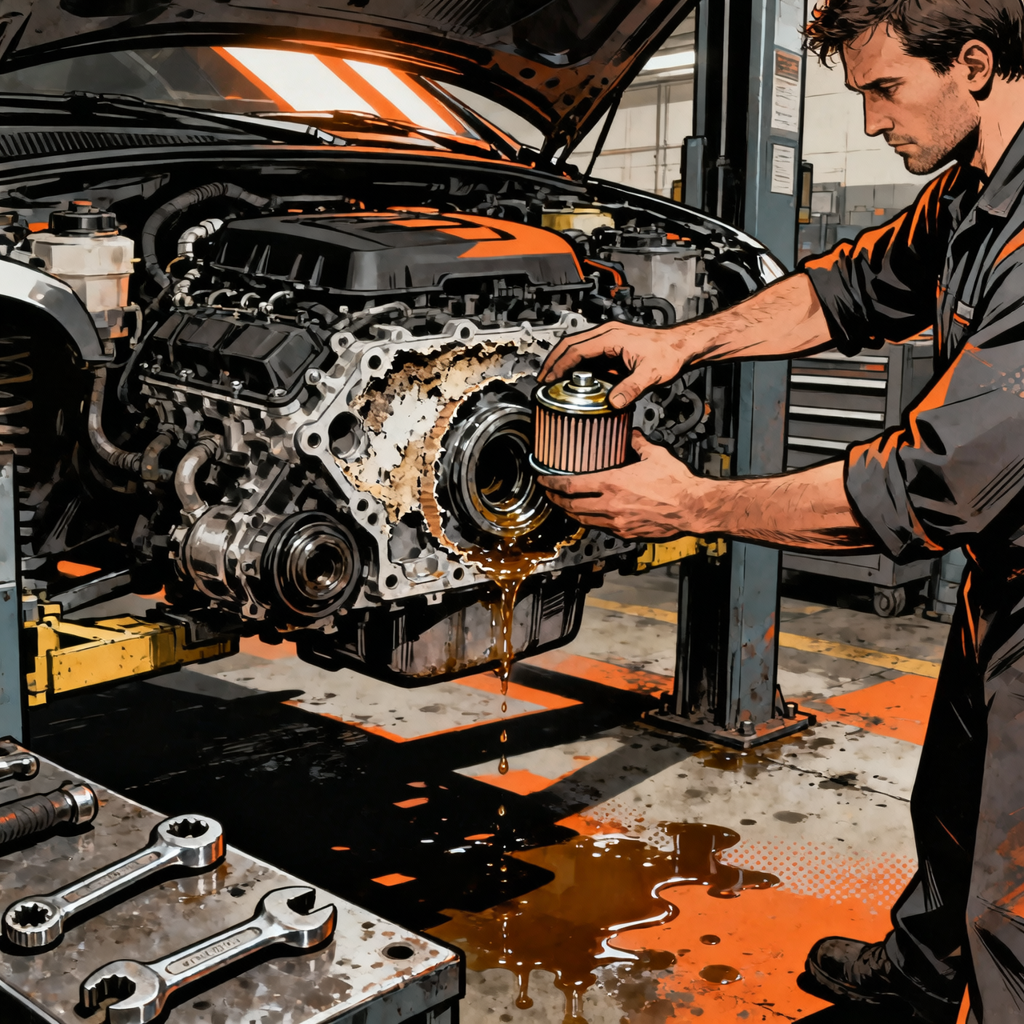
When a vehicle returns with an oil leak immediately after an oil change, you’re looking at an installation error that demands immediate attention. Fresh oil pooling under a vehicle isn’t just messy—it’s a liability that can lead to engine damage if the customer drives away with critically low oil levels. The vast majority of post-oil-change leaks stem from three common mistakes: improperly torqued drain plugs, reused or damaged crush washers, and oil filter installation errors including the dreaded double-gasket scenario. Understanding how to quickly diagnose and correct these issues protects both the customer’s engine and your shop’s reputation.
Initial Assessment and Safety Protocol
Before you touch any tools, establish whether the vehicle is safe to diagnose in place or needs immediate immobilization. If the customer reports a significant puddle—anything larger than a dinner plate—check the dipstick level before starting the engine. Pull the dipstick, wipe it clean, reinsert fully, then pull again to read the actual level. If oil registers below the lower hash mark or doesn’t appear on the stick at all, the vehicle should not be started or driven under any circumstances.
Document the oil level with photos showing the dipstick reading and the puddle size. This documentation protects your shop if the customer has already driven the vehicle extensively after the leak began. Fresh oil leaks appear lighter in color—amber to golden brown—compared to the dark brown or black staining from older leaks. The leak location also tells a story: pools directly centered under the engine point to drain plug issues, while off-center leaks suggest filter problems.
Check the engine bay for obvious signs of overfill or spills. Pop the hood and inspect around the oil fill cap and valve cover area. Some leaks that appear underneath actually originate from sloppy filling technique, with oil spilled onto the engine that runs down to the subframe and drips off. If you see fresh oil coating the valve cover or running down the side of the block, you’re likely dealing with spillage rather than a pressurized leak.
Drain Plug Diagnosis and Repair
The drain plug is the most common culprit in post-oil-change leaks, accounting for roughly 60 percent of callbacks in quick-lube environments. Get the vehicle safely on a lift or over a pit where you can access the oil pan with proper lighting. Before you touch the drain plug, visually inspect the entire oil pan area. Look for fresh oil trails that indicate the leak path—these often lead directly to the source.
Check the drain plug torque with a properly calibrated torque wrench. Most drain plugs require between 25 and 35 foot-pounds of torque depending on thread size and pan material. Toyota applications typically spec 30 ft-lbs for steel pans and slightly less for aluminum. If the plug turns easily by hand or with minimal effort, it was severely under-torqued. This happens when technicians hand-tighten the plug and forget the final torque step, or when they use the “feel” method without verification.
Remove the drain plug completely and inspect both the plug and pan threads. Cross-threading creates distinctive damage patterns—you’ll see metal shavings and the threads will feel rough when you run your finger across them. The plug threads should be clean and uniform. If you find cross-threading, the plug needs replacement and the pan threads may need repair with a thread chaser or oversized drain plug kit. Attempting to reuse damaged threads guarantees another leak and eventual total thread failure.
Examine the crush washer or gasket carefully. These copper, aluminum, or fiber washers are designed to deform once under clamping pressure to create a seal. A reused crush washer often shows visible flattening and may have taken a permanent set that prevents proper sealing on reinstallation. Replace the crush washer every single oil change without exception—the part costs pennies compared to the comeback labor and customer dissatisfaction. Some quick-lube operations try to save money by reusing washers, which directly contributes to leak callbacks.
When reinstalling the drain plug, follow the correct procedure: thread the plug by hand until it seats against the crush washer, then torque to spec in one smooth motion. Don’t overtighten—excessive torque crushes the washer irregularly and can stretch the plug threads, leading to future leak issues. After torquing, wipe the plug and surrounding area completely dry, start the engine, and inspect for leaks while the oil is under pressure. A proper installation shows zero seepage.
Oil Filter Inspection and Common Installation Errors
Oil filter leaks present differently than drain plug leaks because filter location varies by engine design. On most Toyota applications, you’ll find either a cartridge-style filter under a plastic housing or a spin-on canister filter. Both designs can leak when installed incorrectly, but the failure modes differ significantly.
For spin-on filters, the double-gasket scenario represents the most catastrophic installation error. This occurs when the old filter gasket adheres to the engine block during removal, and the technician installs the new filter without noticing the old gasket still in place. The result is two gaskets stacked together, which cannot seal properly under oil pressure. When the engine starts, oil sprays from the filter in all directions like a sprinkler head. If you suspect a double gasket, remove the filter and carefully inspect the block sealing surface—you should find the old gasket stuck in place.
Single-gasket leaks happen when the filter isn’t tightened adequately or is overtightened. Spin-on filters should be installed by hand-tightening only: thread the filter on until the gasket contacts the block, then turn an additional three-quarters to one full turn. This compresses the gasket sufficiently without deforming it. Using filter wrenches during installation leads to overtightening, which crushes and distorts the gasket, often causing leaks after the first heat cycle when the gasket relaxes slightly.
Cartridge-style filters use O-rings that must be properly seated in their grooves before the housing cap threads on. Inspect the O-ring groove in the cap carefully—the O-ring must sit completely inside the groove, not twisted or pinched above it. Lubricate the O-ring with clean engine oil before installation to ensure it stays in position while threading the cap. If the O-ring gets caught in the threads during installation, it will be cut or displaced, guaranteeing a leak. These filters typically torque to 18-20 ft-lbs; hand-tightening alone is insufficient.
After correcting any filter installation issue, fill the new filter with oil before installation when the design allows it. This reduces dry-start time and helps you verify the filter isn’t defective. A filter with a manufacturing defect in the gasket or sealing surface will often seep oil immediately when prefilled, allowing you to catch the problem before installation. Wipe everything dry, install the corrected filter, start the engine, and verify no leaks appear during a three-minute idle inspection.
Fluid Identification and Differential Diagnosis
Not every puddle under a vehicle immediately after an oil change is actually engine oil. Quick-lube services typically top off all under-hood fluids, which can expose pre-existing leaks in other systems. Proper fluid identification prevents wasted diagnostic time chasing the wrong system. Fresh engine oil appears amber to light brown, feels slippery between your fingers, and has a distinct petroleum smell. It doesn’t evaporate quickly and leaves an oily residue on paper towels.
Coolant presents in various colors—green, orange, pink, or yellow depending on the formulation—but consistently has a sweet smell reminiscent of maple syrup. It feels slightly sticky or slippery when rubbed between fingers, distinctly different from oil’s purely slippery feel. Some quick-lube shops use orange “universal” coolant that can be confused with certain windshield washer fluids. If you smell sweetness, you’re dealing with coolant, not oil.
Windshield washer fluid causes frequent misdiagnosis, especially when shops use orange “all-season” formulations. These fluids are thin like water, evaporate relatively quickly, and smell either soapy or mildly alcoholic. Washer fluid reservoirs often crack or develop leaks in the pump connections, but these leaks only become apparent when the reservoir is filled above the crack level. If the vehicle came in nearly empty and the shop topped it off, a washer fluid leak might appear for the first time post-service.
To definitively identify the fluid, place a white paper towel in the puddle and examine the color and feel. Engine oil will be the darkest and most viscous. Run your finger through the fluid and smell it directly. Check the dipstick oil level—if it’s correct and hasn’t dropped, you’re not losing engine oil. Verify coolant level in the overflow reservoir and washer fluid level in its reservoir. A dropping oil level with fresh oil appearance confirms an engine oil leak requiring immediate correction.
Proper Torque Specifications and Quality Control
Torque specifications exist for critical fasteners because finger-tight or impact-wrench-tight approaches fail to provide consistent, reliable sealing. Every shop performing oil changes must maintain calibrated torque wrenches and enforce their use on every drain plug installation. Calibration should be verified annually at minimum, with daily checks that the wrench clicks properly at its set value.
Drain plug specifications vary by application, but general guidelines apply: 14mm plugs typically require 25-30 ft-lbs, while 17mm plugs need 30-35 ft-lbs. Aluminum oil pans require reduced torque compared to steel pans—consult the service information for the specific vehicle. Over-torquing aluminum pans is particularly destructive because aluminum threads are softer and strip more easily than steel. A stripped oil pan often requires expensive repair with a HeliCoil insert or complete pan replacement.
Never use impact wrenches or air ratchets on drain plugs. The speed and power delivery of air tools makes precise torque control impossible and frequently leads to cross-threading or over-torquing. The few seconds saved aren’t worth the comeback labor and potential pan replacement. Thread the plug by hand for at least five full turns before using any power tool to ensure proper thread engagement, then finish with a torque wrench.
Implement a post-service quality control checklist that includes a leak check before the vehicle leaves the service bay. After completing the oil change, start the engine and allow it to reach operating temperature while visually inspecting the drain plug and filter area. Oil under pressure will reveal leaks immediately. Wipe the area dry with a shop towel before starting the inspection so any fresh seepage is immediately obvious. This two-minute check catches installation errors before the customer leaves, converting potential comebacks into simple on-site corrections.
Post-Oil-Change Leak Prevention Checklist
Implement these verification steps on every oil change to eliminate leak callbacks:
- Replace crush washer on drain plug—never reuse the old washer
- Inspect oil pan threads before installation and use thread chaser if necessary
- Hand-thread drain plug minimum five full turns before applying torque wrench
- Torque drain plug to manufacturer specification—verify torque wrench calibration monthly
- Remove old filter gasket from block before installing new filter—physically touch and verify
- Lubricate new O-rings and gaskets with clean oil before installation
- Hand-tighten spin-on filters only—three-quarters to one turn after gasket contact
- Torque cartridge filter caps to specification—hand-tight is insufficient
- Wipe drain plug and filter area completely dry before starting engine
- Run engine to operating temperature and inspect for leaks under pressure
- Verify final oil level on dipstick with engine off and level
- Document oil level and leak-free status before releasing vehicle
Customer Communication and Comeback Procedures
When a customer returns with a post-oil-change leak, your response determines whether you retain or lose that customer permanently. Answer the call or greet the customer with immediate acknowledgment that you’ll resolve the issue completely at no charge. Never make excuses or suggest the customer might have caused the problem—installation errors are shop responsibility, period.
If the customer calls about a leak, instruct them to check the oil level immediately using the dipstick procedure: pull, wipe, reinsert, pull again, and read. If oil doesn’t register on the stick or falls below the lower mark, tell the customer not to start or drive the vehicle. Arrange for a tow truck at shop expense—this costs far less than replacing an engine that runs dry and seizes. Many customers will insist they can drive the vehicle back, but be firm: oil starvation causes catastrophic damage in minutes, and you’re protecting both parties by preventing a drive that could escalate a simple leak repair into an engine replacement.
For smaller leaks where the oil level remains safe, schedule immediate comeback service the same day if possible. Upon arrival, perform the complete diagnostic sequence described in this guide, correct the installation error, and top off the oil to proper level. Clean any oil residue from the undercarriage with brake cleaner and compressed air. If oil has stained the customer’s driveway, provide absorbent material like kitty litter or oil dry, or offer to arrange professional pressure washing at shop expense for significant spills.
Document the repair thoroughly, including photos of the installation error if possible. This documentation protects the shop if the customer later claims engine damage from the leak. Run the engine and verify zero leaks before returning the vehicle. Provide the customer with a complimentary next oil change or service discount to demonstrate commitment to service quality. Most customers will forgive an isolated error if you handle the comeback professionally and completely.
Frequently Asked Questions
How long can a vehicle safely drive with a drain plug leak?
This depends entirely on leak severity. A minor seep that loses a few drops per hour can typically be driven short distances to the repair shop while monitoring oil level frequently. A steady drip that forms puddles within minutes requires immediate shutdown—continuing to drive risks complete oil loss and engine seizure. Always check the dipstick level first. If oil registers below the lower mark, do not start the engine. Even a five-minute drive with insufficient oil can cause bearing damage that doesn’t manifest as an immediate problem but reduces engine lifespan significantly.
Can you reuse a crush washer if it looks undamaged?
No, never reuse crush washers regardless of appearance. These washers are designed to deform permanently under clamping load to create a metal-to-metal seal. Once crushed, they’ve taken a set and cannot seal properly on reinstallation even if they look fine visually. The material has work-hardened and lost its ability to conform to minor surface irregularities. Crush washers cost 50 cents to a dollar—the false economy of reusing them creates leak callbacks that cost $50-100 in labor to correct, not counting the customer dissatisfaction and potential lost business.
What causes a double-gasket on an oil filter?
Double-gasket failures occur when the old filter gasket sticks to the engine block during filter removal instead of coming off with the filter body. This happens more frequently on engines that run hot, with filters that have been installed for extended intervals, or when filters are over-tightened during installation. The old gasket becomes baked onto the block surface and remains when the can tears away during removal. The technician then installs the new filter without noticing the old gasket, creating two stacked gaskets that cannot seal. Prevention requires physically touching and visually inspecting the block sealing surface on every filter change before installing the new filter.
How much torque is too much on a drain plug?
Exceeding specification by more than 10 percent risks damage. Most drain plugs torque between 25-35 ft-lbs depending on size and pan material. Aluminum pans are particularly susceptible to damage from over-torquing because aluminum threads are softer than steel and strip more easily. Over-torquing can stretch the drain plug threads, deform the crush washer irregularly, or strip the pan threads. A stripped pan requires HeliCoil repair or complete pan replacement—both expensive repairs compared to using a torque wrench correctly. If you can’t feel confident with torque by hand, you should be using a calibrated torque wrench every time.
Why does the leak sometimes not appear until the next day?
Delayed leaks typically indicate a marginal seal that fails after heat cycling. The drain plug or filter may have been torqued close to specification but not quite enough, or installed with a damaged washer. When the engine reaches operating temperature, metal components expand and oil viscosity decreases. After shutdown, components cool and contract at different rates. This thermal cycling can break a marginal seal that initially held under cold conditions. Leaks that appear only when the engine is hot suggest the same mechanism—thermal expansion opens a gap that exists at operating temperature but closes when cold.
What should a shop do if they discover they’ve stripped an oil pan?
Take immediate responsibility and communicate openly with the customer. Stripped pan threads are a shop error that requires shop expense to correct. Options include installing an oversized drain plug (requires tapping the hole to a larger thread size), installing a HeliCoil thread insert (more labor-intensive but preserves original plug size), or replacing the oil pan entirely (most expensive but provides new threads). The appropriate repair depends on damage severity and pan material. Never attempt temporary fixes like thread sealant or JB Weld—these fail quickly and make proper repair more difficult. Complete the permanent repair at shop expense, provide a loaner vehicle if repair time extends beyond same-day, and document the failure for training purposes to prevent recurrence.
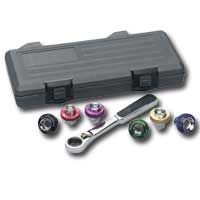
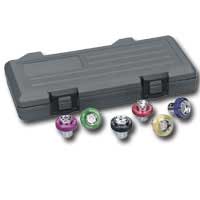
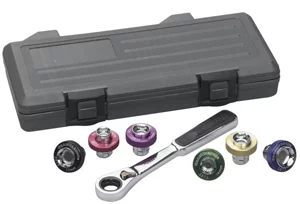
Recommended Tools for Oil Change Service
Proper oil change execution requires the right tools and technique. Having a calibrated torque wrench, quality crush washers, and a reliable oil filter wrench on hand prevents the installation errors covered in this guide. Browse our Automotive Oil Change Tools selection to equip your shop with precision instruments that reduce leak callbacks.
- Calibrated torque wrenches for consistent drain plug installation
- Oil filter wrenches and extraction tools for proper filter removal and installation
- Crush washers, O-rings, and gasket materials for leak-free seals
The Toolsource Technical Team blends decades of real-world automotive service experience with up-to-date technical research. Our writers collaborate with professional mechanics, shop owners, and diagnostic specialists to deliver practical, workshop-ready guidance you can trust.

Follow us on social media