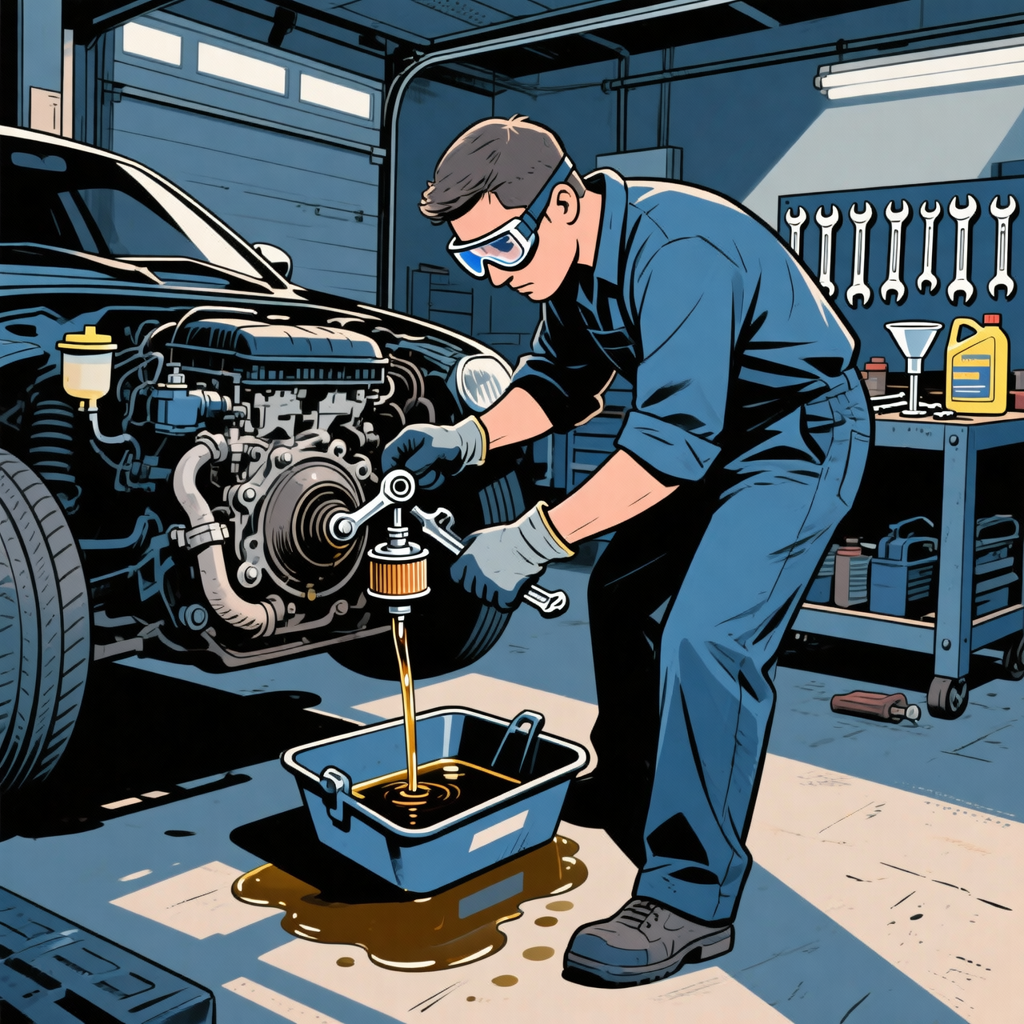
Oil changes are a routine yet critical aspect of vehicle maintenance. A proper oil change not only ensures the longevity of an engine but also prevents potential catastrophic damage. Missteps in this process can lead to severe engine failures, as evidenced by numerous technician experiences. In this article, we’ll explore essential steps for executing oil changes, troubleshooting common issues, and understanding the importance of regular checks.
Understanding the Basics of Oil Changes
Before diving into the oil change process, it’s crucial to grasp the roles of motor oil. Motor oil lubricates engine components, reduces friction, and helps dissipate heat. Over time, this oil breaks down and becomes contaminated, reducing its effectiveness. Therefore, regular oil changes are paramount.
Steps for a Successful Oil Change
- Gather Your Tools: Ensure that you have the following before starting:
- Wrench set
- Oil filter wrench
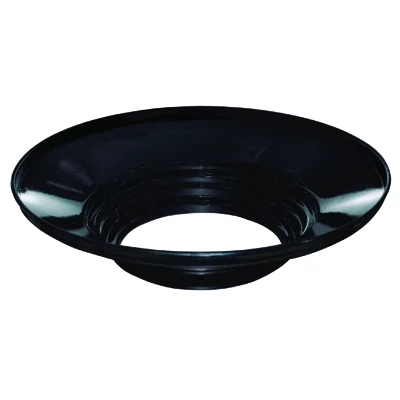
- Drain pan
- Funnel
- New oil
- New oil filter
- Safety gloves and goggles
- Warm Up the Engine: A warm engine allows oil to drain more smoothly. Let the engine run for a few minutes before shutting it off.
- Lift the Vehicle: Use jack stands to secure the vehicle once elevated. Ensure the surface is stable.
- Drain Old Oil: Position the drain pan under the oil pan, remove the drain plug, and let the oil completely drain.
- Replace the Oil Filter: Use an oil filter wrench to remove the old oil filter. Lubricate the gasket of the new filter with a bit of new oil before installing it. Tighten it by hand.
- Add New Oil: Replace the drain plug once the old oil has fully drained. Using a funnel, pour in the new oil as recommended by the manufacturer.
- Check Oil Level: After adding oil, allow the vehicle to run for a minute. Turn off the engine and check the dipstick to ensure the oil level is adequate.
Troubleshooting Common Issues Post Oil Change
Sometimes, issues arise after an oil change. Here are some common problems and solutions:
- Oil Leak: If oil is pooling under the vehicle, check the oil filter and drain plug for proper seating. If loose, tighten them; if damaged, replace them.
- No Oil Pressure Light: If this warning appears, immediately turn off the engine and check oil levels. If low, add oil and investigate potential leaks.
- Unusual Noises: Sounds such as knocking or tapping could indicate inadequate lubrication. Stop the engine, check the oil level, and assess for leaks.

154697 JD-1416 John Dow Industries JDJD-1416 DOWJD-1416 JDI-1416 24" Drain Pan Adapter
Mfg: John Dow Industries
Part #: JD-1416
$45.62ID: 154697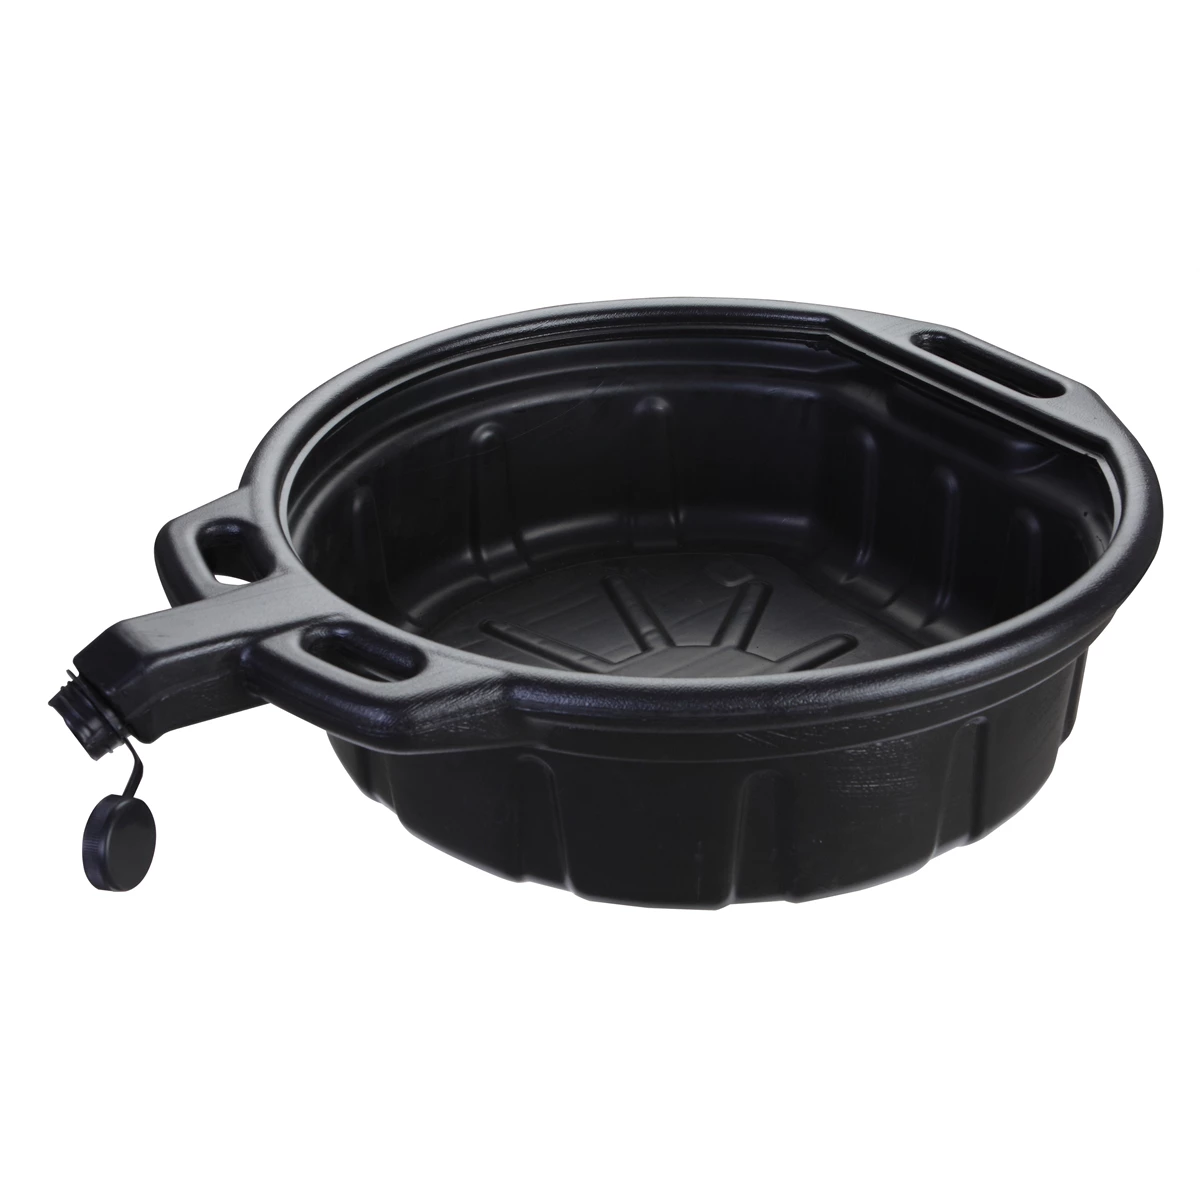
Preventative Maintenance Best Practices
Prevention is better than cure. Here are proactive steps to ensure a healthy engine:
- Regular Oil Checks: Don’t wait for oil changes; check your oil levels and condition regularly to prevent running low.
- Stick to Oil Change Intervals: Follow the manufacturer’s recommended oil change intervals but consider changing oil sooner if driving conditions are harsh.
- Educate Customers: If you work in a shop, take time to educate customers about the importance of regular oil changes and checking oil levels.
Using a Checklist
Utilizing a checklist can streamline the oil change process. Here’s a quick reference:
- Tools Gathered
- Engine Warmed
- Vehicle Lifted and Secured
- Old Oil Drained
- Oil Filter Replaced
- New Oil Added
- Oil Level Checked
FAQs
What oil should I use for my vehicle?
Always consult the owner’s manual for specifications on oil type and viscosity. Using the recommended oil ensures proper engine function.
How often should I change my oil?
Typically, every 3,000 to 7,500 miles, depending on the vehicle and driving conditions. Refer to the owner’s manual for specific intervals.
What happens if I run out of oil?
Running out of oil can lead to severe engine damage, including seizing. If this occurs, do not drive the vehicle; have it towed to a mechanic.
Why do oil changes even matter?
Regular oil changes help maintain engine health by ensuring optimal lubrication, reducing heat, and minimizing wear and tear.
Can I change my oil myself?
Yes, changing oil at home is possible if you have the right tools and follow the necessary steps. Always prioritize safety.
Recommended Tools
If you’re handling oil changes, check out our Automotive Oil Change Tools. These tools will help you perform your oil changes effectively and safely.
- Wrenches and filters designed for specific vehicle makes
- Drain pans for easy oil removal
- Safety equipment to keep you protected
The Toolsource Technical Team blends decades of real-world automotive service experience with up-to-date technical research. Our writers collaborate with professional mechanics, shop owners, and diagnostic specialists to deliver practical, workshop-ready guidance you can trust.

Follow us on social media