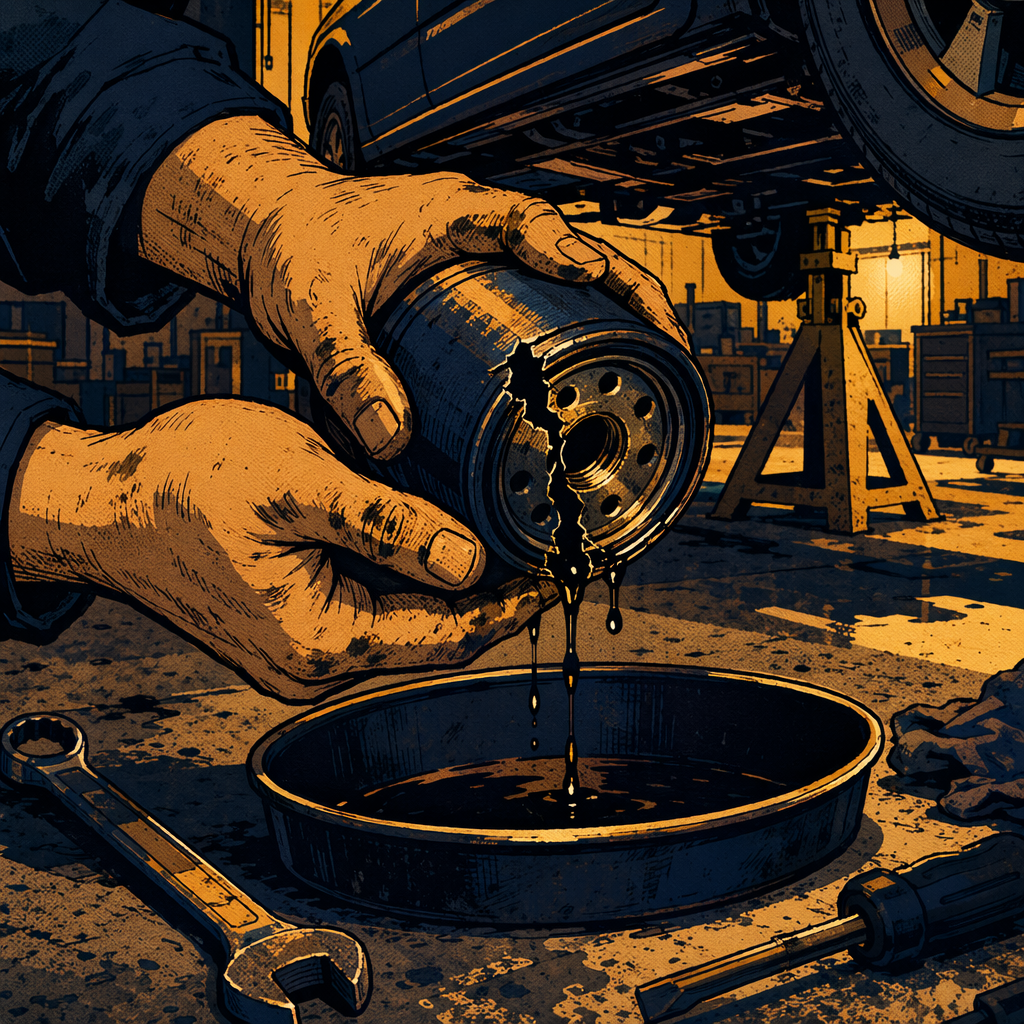
You’re halfway through a routine oil change when you hear it—the unmistakable sound of pressurized oil hitting the shop floor. Within 15 to 20 seconds, three to four quarts have evacuated the pan, creating a mess that extends well beyond the immediate drip zone. Whether it’s a double-gasket situation, a filter that wasn’t seated properly, or a defective gasket that separated during installation, oil filter failures represent one of the most common—and potentially serious—mistakes in any service bay. This guide walks through the immediate response, thorough cleanup procedures, component replacement requirements, and documentation practices that separate a recoverable incident from a lawsuit.
Understanding How Quickly Oil Loss Occurs
Modern engines operate at oil pressures between 20 and 60 PSI at idle, with higher readings under load. When a filter seal fails, that pressure forces oil out at a rate that shocks even experienced technicians. A typical compact crossover holds 4.5 to 5.5 quarts of oil; a complete gasket failure can empty the pan in under 30 seconds if the engine is running.
The physics work against you: a 0W-20 or 5W-30 oil—standard in most modern vehicles—has extremely low viscosity when warm. That thin consistency allows it to flow freely through bearings and passages, but it also means it evacuates quickly through any opening. One quart of oil creates a puddle three to five feet in diameter once it settles, so what looks like a catastrophic loss may actually represent two to three quarts depending on the spill pattern.
Critical point: even after the oil light illuminates, residual oil clings to bearings, cylinder walls, and internal passages. Cold starts subject engines to several dry rotations before oil pressure builds; a 15-second run with declining oil volume, while not ideal, typically doesn’t cause immediate bearing damage. The real risk comes from extended operation under low-oil conditions or from fire hazards created by oil-soaked components.
Immediate Response Protocol
The moment you identify an oil filter leak, shut down the engine. Every second of operation after the oil light illuminates increases wear on main bearings and rod bearings. If the vehicle was only moved 10 to 15 feet within the bay, it likely retained enough residual oil to prevent scoring, but continued operation can push you past that margin.
Once the engine is off, assess the spill pattern. Oil follows gravity and spreads across any horizontal surface it contacts. Check the floor, the undercarriage, the engine bay, and any tools or equipment positioned near the vehicle. Use absorbent pads to contain the floor spill first—this prevents tracking oil through the shop and creates a safer work environment while you address the vehicle itself.
Next, verify what caused the failure. The two most common causes are double-gasketing—where the old filter’s gasket remained stuck to the engine block and the new filter’s gasket created a secondary seal that failed under pressure—and improperly seated filters. AC Delco filters, in particular, have experienced batches where gaskets separate from the filter body during installation. Wix filters have shown better gasket retention in field use. Regardless of cause, you need to identify and correct the failure point before adding new oil.
Do not refill and restart immediately. The cleanup process comes first, because oil-soaked components pose a fire risk that outweighs any schedule pressure. Inform the service advisor and shop manager immediately; this creates a record of the incident and allows the shop to prepare for potential extended service time or customer concerns.

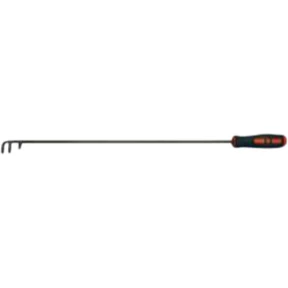
Serpentine Belt Tool - Chrysler Mini Van & Neon
Mfg: Schley Products, Inc
Part #: 63200
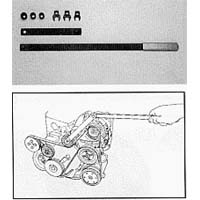
Serpentine, V-Belt and Timing Belt Installation Assist Tool
Mfg: Schley Products, Inc
Part #: 94170A
Thorough Engine Bay and Undercarriage Cleaning
Oil distributed by a pressurized leak coats everything in its path. You’ll find it on the engine block, suspension components, frame rails, exhaust system, and any wiring harnesses in the area. Standard practice involves degreaser and a pressure washer, but that’s insufficient for the hidden areas where oil creates fire hazards.
Start with the heat shields surrounding the catalytic converter. Most modern vehicles use multi-layer shields with sound-deadening material between metal layers. This material—typically a polyester or fiberglass cloth—absorbs oil like a sponge. It doesn’t rinse out with a simple spray-down; it requires removal of the shield panels and either replacement of the insulation material or thorough soaking with degreaser followed by extended drying time. Shops that skip this step have seen vehicles catch fire hours after service, particularly following highway driving where exhaust temperatures reach 1200°F or higher.
Pay attention to plastic components in the engine bay. Intake manifold covers, fuse box covers, and wiring harness conduits all retain oil in textured surfaces and mounting recesses. These don’t typically ignite, but they produce acrid smoke for weeks if not properly cleaned. Remove accessible covers and wash them separately; use brake cleaner or contact cleaner for electrical components where water-based degreasers aren’t appropriate.
The serpentine belt requires special attention. Once a belt becomes saturated with oil, it loses friction against the pulleys. You’ll hear squeaking initially, but the real problem is reduced grip on the alternator, water pump, and power steering pump pulleys. Oil-contaminated belts also deteriorate faster, with the oil breaking down the rubber compounds. Replace the serpentine belt as part of the service—this isn’t optional. The cost of a belt is negligible compared to the liability of a failed water pump or loss of alternator function weeks down the road.
Finally, address the undercarriage panels. Most vehicles have a composite or fabric-backed plastic shield covering the oil pan area. These shields feature acoustic dampening material that, like the cat shields, soaks up oil. Remove the panel, clean both sides with degreaser, and inspect the insulation layer. If it’s saturated, replacement is the only reliable solution. Attempting to clean saturated insulation rarely succeeds; the material retains enough oil to smoke or ignite under the right conditions.
Component Inspection and Replacement Checklist
After cleaning, systematically inspect components that may have been compromised:
- Serpentine belt: Replace regardless of appearance; oil contamination isn’t always visible but always affects performance
- Belt tensioner and idler pulleys: Check for oil penetration into bearings; contaminated bearings fail prematurely
- Alternator: Inspect the rear bearing and slip ring area; oil can enter through the cooling vents
- Power steering pump: Check reservoir cap and lines for external oil contamination
- Engine wiring harnesses: Look for oil wicking into connector bodies; this causes corrosion over time
- Oxygen sensors: Verify no oil contamination on sensor bodies; oil on a heated O2 sensor can damage the element
- Exhaust manifold and turbocharger (if equipped): Check for pooled oil that will smoke during subsequent operation
Document your inspection with photos. Capture wide shots showing the extent of the spill and close-ups of critical components before and after cleaning. This documentation protects the shop if the customer returns weeks later claiming damage that wasn’t service-related.
Engine Damage Assessment and Oil Analysis
Most engines survive a 15- to 30-second oil loss event without measurable damage, but “most” isn’t “all.” The customer deserves verification that their engine wasn’t harmed, and the shop needs evidence that due diligence was performed.
Start with a basic diagnostic scan. Modern ECMs monitor oil pressure through dedicated sensors; if the oil pressure dropped below the threshold, a code will be stored even if the oil light reset after refilling. Subaru, Honda, and Toyota systems are particularly sensitive and will log low-pressure events that don’t necessarily illuminate the dashboard light. Pull codes and document what you find.
For higher-value vehicles or situations where the engine ran for an extended period with low oil, recommend an oil analysis after 500 miles of operation. Companies like Blackstone Labs or Polaris Laboratories test for trace metals—copper, lead, aluminum, and iron—that indicate bearing wear. Elevated copper or lead levels suggest main bearing or rod bearing damage; aluminum points to piston or cylinder wall contact. A baseline oil analysis costs $30 to $40 and provides objective evidence of engine condition.
If the customer declines oil analysis, document the recommendation in writing. Include it on the repair order and have the customer initial the declination. This creates a clear record that the shop offered diagnostic follow-up and the customer chose not to pursue it.
Listen for abnormal engine noise during the post-service test drive. Bearing damage from oil starvation produces a distinct knocking sound that changes with RPM. If you hear anything unusual, don’t release the vehicle. A borescope inspection through the spark plug holes can reveal cylinder wall scoring or piston damage without disassembly, providing early evidence of problems that will worsen over time.
Documentation and Liability Management
Proper documentation turns a mistake into a managed incident. Poor documentation turns the same mistake into an expensive lawsuit. Every oil filter failure should generate a written incident report that includes:
- Date, time, and technician name
- Description of the failure (double gasket, improperly seated filter, defective gasket, etc.)
- Estimated amount of oil lost
- Duration of engine operation with low oil
- Cleaning procedures performed
- Components replaced (belts, shields, filters, etc.)
- Diagnostic steps taken (code scan, visual inspection, test drive)
- Customer notifications and approvals
- Photos of the spill, cleaning process, and final condition
Have the customer review and sign the incident report. This doesn’t waive their rights, but it does establish that they were informed of the incident and the corrective actions taken. If the customer refuses to sign, note that refusal on the document along with the date, time, and witness present.
Contact your shop’s insurance carrier if the spill caused property damage beyond the vehicle (stained shop floor, damaged tools, etc.) or if the customer indicates they may pursue a claim. Early notification allows the carrier to begin documentation and preserves your coverage. Waiting until a customer files a lawsuit can jeopardize your claim.
For chain operations or dealerships, follow corporate reporting procedures exactly. Many chains require same-day notification to district management for any incident involving oil loss exceeding one quart. Failure to report through proper channels can result in disciplinary action and may complicate insurance claims.
If the vehicle is still under factory warranty, consider recommending the customer take it to a dealership for a post-incident inspection. This provides independent verification of the engine’s condition and creates a record in the manufacturer’s system. Yes, it’s an additional expense and inconvenience, but it also demonstrates that your shop isn’t trying to hide anything.
Preventing Future Filter Failures
Oil filter failures are preventable. The following practices reduce occurrence rates to near zero:
Always verify gasket removal: Before installing a new filter, run your finger around the filter mounting surface on the engine block. You should feel bare metal, not rubber. The old gasket should be on the old filter; if it’s not, it’s stuck to the block. Use a gasket scraper or pick to remove stuck gaskets completely—partial removal creates the same failure risk as leaving it in place.
Inspect new filters before installation: Examine the gasket for proper seating in the filter body. It should be firmly attached with no gaps or loose sections. If you can peel the gasket away from the filter with finger pressure, reject that filter and grab another one. AC Delco has had quality control issues with gaskets separating during installation; Wix and Purolator filters have shown more consistent gasket retention.
Lubricate gaskets properly: Apply a thin film of clean oil to the gasket before installation. This serves two purposes: it creates a better initial seal and it prevents the gasket from sticking to the block during the next service interval. Don’t over-lubricate; excess oil can cause the filter to spin during installation, creating an uneven seal.
Follow torque specifications: Hand-tight plus three-quarters of a turn works for most spin-on filters, but verify the spec for the specific filter you’re installing. Cartridge-style filters with separate housings require torque wrenches; hand-tightening produces inconsistent results. Over-tightening crushes gaskets and can crack filter housings; under-tightening allows leaks.
Prefill filters when orientation allows: Top-mounted or vertical filters should be prefilled before installation. This reduces the time the engine operates without full oil pressure after startup. Horizontal or inverted filters can’t be prefilled, but you can prime the system by cranking the engine without starting (disable fuel or ignition) until the oil light goes out.
Start the engine and inspect immediately: After any oil change, start the engine and visually verify no leaks from the filter or drain plug. Let it run for 30 seconds, then shut it down and recheck. This catches most installation errors before they become full-scale spills. Make this a required step on every oil change work order.
Frequently Asked Questions
How long can an engine run with low oil before damage occurs?
It depends on how low. Engines retain oil in bearings and passages, so short-duration operation (15-30 seconds) with declining oil volume typically doesn’t cause bearing damage. However, if the oil pressure light illuminates and stays on, shut down immediately. Extended operation with illuminated oil pressure warnings will damage bearings, and that damage may not be apparent until hundreds or thousands of miles later when the bearings finally fail.
Will insurance cover engine damage from a shop’s oil filter mistake?
Yes, if the shop carries garage keepers liability insurance. This coverage specifically addresses damage to customer vehicles while in the shop’s care. However, you need documented proof that the shop caused the damage. That’s why getting a written incident report at the time of the failure is critical—it establishes the timeline and the shop’s acknowledgment of the error.
Should I accept a free oil change as compensation for a filter failure?
That’s inadequate unless no damage occurred and cleanup was thorough. At minimum, the shop should replace your serpentine belt, perform a complete undercarriage cleaning with heat shield inspection, and provide a written incident report. If you’re concerned about engine damage, request oil analysis after 500 miles at the shop’s expense. Don’t sign any releases or waivers until you’re confident the situation is fully resolved.
How much oil does it take to create a fire hazard?
Less than you’d think. Oil-soaked insulation in heat shields can ignite with as little as a quarter-cup of retained oil if exhaust temperatures reach 1000°F or higher. Highway driving, towing, or extended idling all create conditions where catalytic converters reach these temperatures. That’s why thorough cleaning of heat shields isn’t optional—it’s a fire-prevention requirement.
Can I tell if my engine has bearing damage from an oil loss incident?
Not immediately in most cases. Minor bearing damage produces wear patterns that accumulate over time. You might not hear abnormal noise or see performance changes for thousands of miles. Oil analysis after 500 miles provides the earliest indication; elevated copper and lead levels indicate bearing wear that wouldn’t otherwise be detectable. If you experience an oil loss incident and later notice knocking sounds, dropping oil pressure, or metal particles in your oil, have the engine inspected immediately.
What’s the difference between a double gasket and an improperly seated filter?
A double gasket occurs when the old filter’s gasket remains stuck to the engine block and the new filter is installed over it. The two gaskets create an imperfect seal that fails under oil pressure. An improperly seated filter happens when the new filter isn’t threaded on completely or is cross-threaded during installation. Both cause rapid oil loss, but double-gasketing is more common and usually results from not checking the mounting surface before installing the new filter.
Essential Oil Change Tools
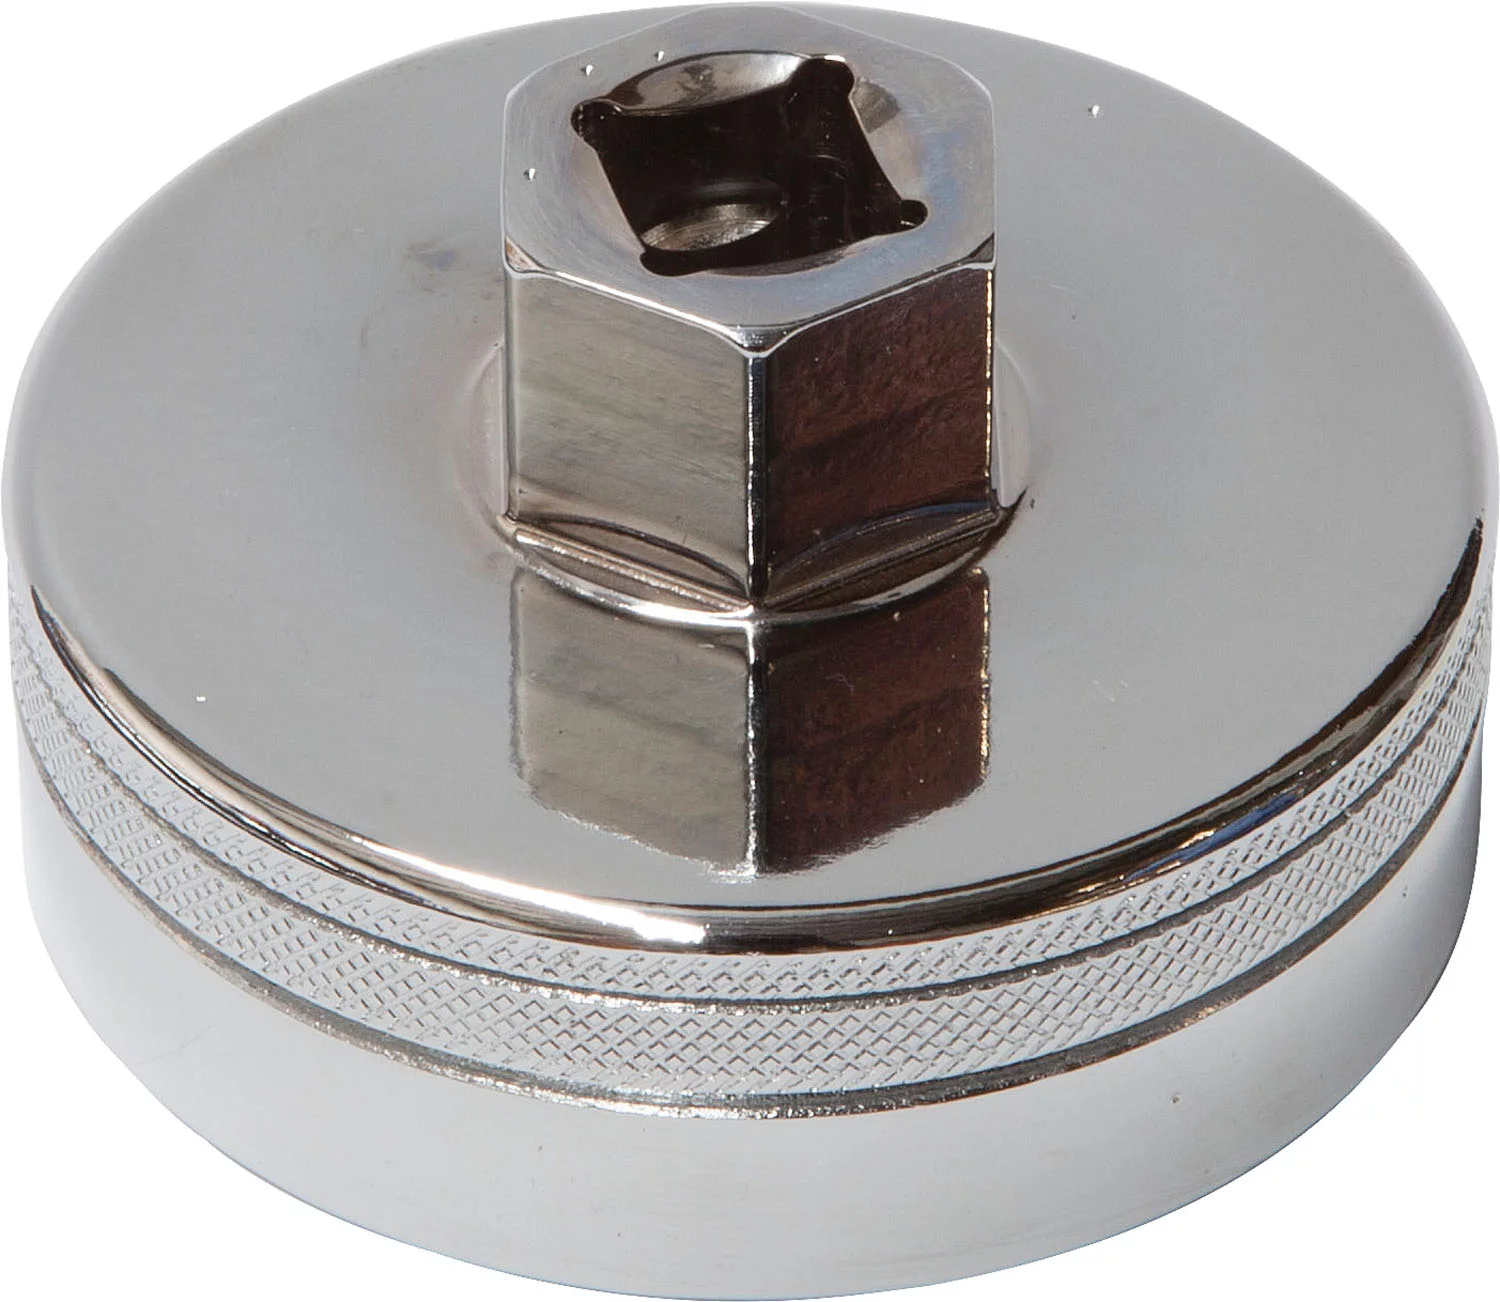
Preventing oil filter failures starts with using the right equipment during installation. Proper gasket inspection, filter seating verification, and systematic cleanup all depend on having reliable automotive oil change tools on hand.
- Gasket scrapers and picks for removing stuck filter seals
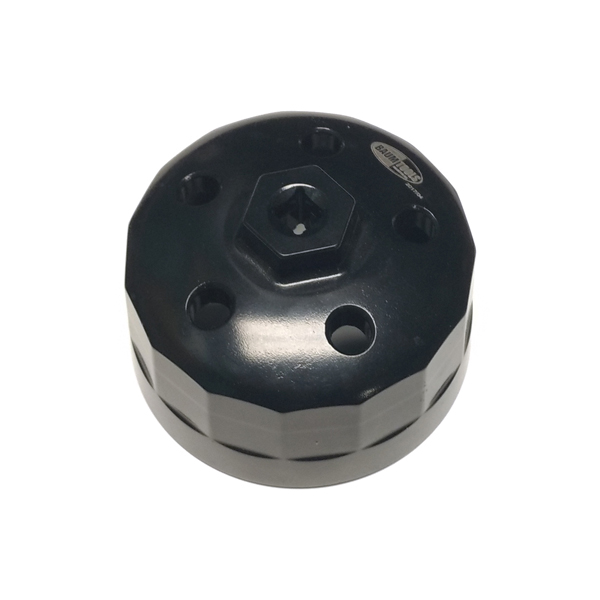
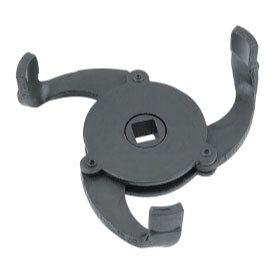
- Filter wrenches and torque specifications for consistent installation
- Absorbent pads and degreaser for containment and cleanup

The Toolsource Technical Team blends decades of real-world automotive service experience with up-to-date technical research. Our writers collaborate with professional mechanics, shop owners, and diagnostic specialists to deliver practical, workshop-ready guidance you can trust.


Follow us on social media