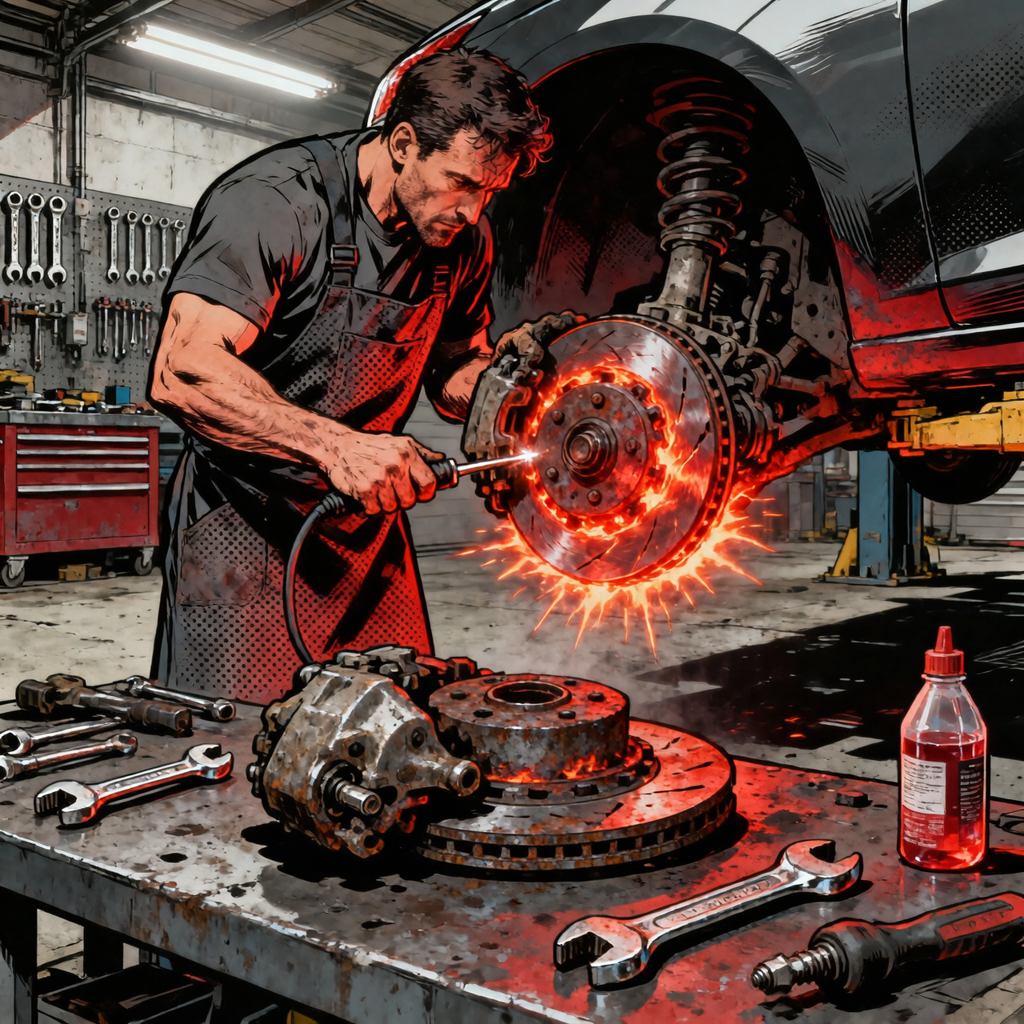
If a rotor is glowing, the brake on that corner is effectively stuck on. At this heat level, brake fade, boiling brake fluid, bearing damage, ABS sensor failure, and even fire become very real risks. This article lays out a practical, technician-focused approach for safe recovery, root-cause diagnosis, component replacement, and verification. The goal: fix the fault, prevent comebacks, and protect the vehicle and customer.
Stop-Driving Protocol and Safe Towing
When a rotor is red or orange hot, treat it as an emergency.
- Do not drive the vehicle. Continued motion can ignite nearby materials, boil brake fluid, or cause rotor cracking/fragmentation under load.
- Do not spray water onto the hot brake. Thermal shock can fracture rotors and send debris flying. Let the assembly cool naturally with airflow.
- Keep an ABC fire extinguisher on hand. If flames appear at the wheel well, use a dry chemical extinguisher aimed low at the base, not water.
- Do not set the parking brake. If the fault is rear and parking-brake related, applying it can lock the wheel harder.
- Recovery options: A flatbed is preferred. A wheel-lift tow with dollies under the affected axle is acceptable. For AWD, use a flatbed. For FWD or RWD, ensure the driven axle is on dollies or lifted to avoid drivetrain damage and to remove rolling load from the locked brake.
Rapid Diagnosis: What Locks a Brake On?
After the vehicle has cooled and is safely in the bay, isolate the root cause. Common culprits include:
- Seized caliper piston: Corrosion under the piston seal or a damaged dust boot lets moisture in; the piston sticks and doesn’t retract.
- Frozen slide pins: Dry, corroded, or galled guide pins keep the caliper from floating, maintaining pad contact on one side.
- Collapsed/Swollen flex hose (internal delamination): Acts like a one-way check valve—pressure goes in during braking but cannot return, keeping the pads clamped.
- Twisted flex hose after recent service: If the caliper was hung by the hose or reinstalled with a twist, internal restriction can trap pressure.
- Parking brake stuck on: For rear brakes, the cable, lever, or internal shoe hardware (drum-in-hat) can bind. Integrated parking-brake calipers can stick at the lever actuating the piston.
- ABS/HCU fault (less common): A stuck isolation valve in the ABS hydraulic control unit can hold residual pressure at one corner.
- Driver-induced overheating (e.g., riding brakes on a long descent): Not a root defect, but note it can push components past their thermal limits and accelerate failure.
Quick tests to separate hydraulic vs. mechanical lock:
- Wheel-spin and drag test: With the wheel off the ground and trans in neutral, try to spin the wheel. If tight, proceed to the next step.
- Crack the bleeder: If fluid spurts and the wheel immediately frees up, suspect trapped hydraulic pressure—focus on the flex hose or ABS/HCU. If cracking the bleeder doesn’t release, suspect a stuck piston or slide pins.
- Line test: If cracking the caliper line at the hose caliper side releases pressure, the restriction is upstream (hose or ABS). If not, caliper/piston is likely the issue.
Component Inspection: What Likely Got Cooked
Red-hot rotors mean extreme heat soak. Check the entire corner for collateral damage:
- Rotor: Look for heavy blueing, heat checking, radial cracks, or surface spalling. If it glowed, plan to replace. Warpage and hardness variation are highly likely.
- Pads: Expect glazing, crumbling, delamination from the backing, or crumbled edge chamfers. Replace.
- Caliper: Inspect dust boots, piston face, bore condition, and slide pin bores. Heat can harden seals and cook the phenolic or steel piston surface.
- Flex hose: Check for twists, blistering, cracking near the ferrules, or signs of boiling fluid egress. Internal damage may not show externally—replace as a preventive measure when overheating is severe.
- Wheel bearing and hub: High heat can liquefy or carbonize grease. Spin and listen for roughness; check for play, noise, or binding. Heat discoloration on the hub/spindle is a red flag.
- ABS wheel speed sensor and tone ring: Sensors near the hub can fail from heat; inspect wiring sheaths, connectors, and read gap. A melted sensor or wire can set ABS/ESC lights after repair.
- Dust shield/backing plate: Warped or contacting rotor? Verify clearance and fastener integrity.
- CV boot (front) and nearby components: Look for softened or split boots and sling-out grease; heat can degrade elastomers quickly.
Repair Procedure: Replace, Flush, Verify
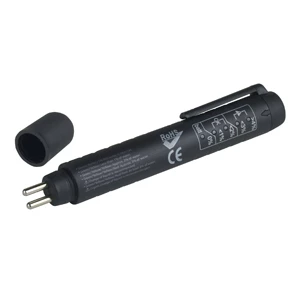
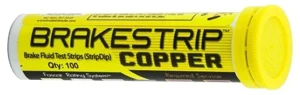
FASCAR-1-100 Strip Dip Brake Fluid Test Strips - 100/Tube
Mfg: Phoenix Systems
Part #: 3001-B
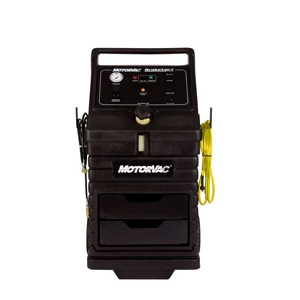
BrakeVac II Premium Brake Fluid Flush System
Mfg: MotorVac Technologies
Part #: 500-8100
Given the severity of overheating, plan to replace a cluster of components to avoid comebacks. At minimum on the affected corner: caliper, rotor, pads, flex hose, hardware; flush fluid; and thoroughly inspect the hub and sensor. Consider calipers, rotors, pads, and hoses in axle pairs for balance.
Parts and materials
- Loaded or unloaded caliper (consider doing both sides)
- New rotor(s) and pads (apply to both sides of the axle)
- Flex brake hose(s) with new copper crush washers/banjo bolt as applicable
- Brake hardware: abutment clips, guide pin boots, anti-rattle springs
- High-temperature synthetic brake grease for slides and abutment points (ceramic/silicone-based, non-petroleum)
- DOT 4 or DOT 5.1 brake fluid per OEM spec (never mix DOT 5 silicone with glycol-based fluids)
- Wheel bearing/hub assembly and ABS sensor (as needed)
- Brake cleaner, shop rags, torque-to-yield fasteners if specified by OEM
Step-by-step
- Prepare and protect: Lift safely, remove the wheel, and shield painted surfaces from brake fluid. Verify the caliper hose has routing slack and is not twisted.
- Disassemble: Remove the caliper and bracket. Discard old pads and rotor. If the caliper is being replaced, cap the brake line to minimize fluid loss once disconnected.
- Inspect slides and bracket: Remove slide pins, clean bores, and verify pins are straight and free of corrosion. If bores are pitted or boots torn, replace the bracket or use a quality rebuild kit. Lubricate pins and pad abutment points with the correct brake grease—apply thinly; do not contaminate pad friction surfaces.
- Replace flex hose: Install a new hose oriented correctly (no twist), with new copper crush washers. Verify no contact through full steering/suspension travel. Torque the banjo bolt and hardline fittings to spec.
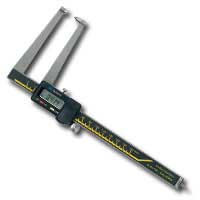
- Install new rotor: Clean rotor with brake cleaner to remove protective oils. Check hub face for rust and runout. Remove scale with a hub brush. Use a runout gauge and shims if needed to keep within spec; many OE specs allow ~0.001–0.003 in (0.025–0.075 mm). Replace the hub if excessive runout originates at the hub.
- Install caliper and pads: If using a rear caliper with integrated parking brake, retract the piston by turning/pressing with the correct rewind tool. Torque caliper bracket and slide bolts to OEM spec. Install new anti-rattle hardware and verify pad ear fitment is smooth.
- Parking brake check: If drum-in-hat shoes are present, remove the rotor hat and inspect shoes, springs, and adjuster. Replace heat-damaged hardware and set the initial clearance per service data. Inspect and lubricate parking brake cables and levers, ensuring full return.
- Brake fluid flush/bleed: Perform a complete system flush using fresh fluid. A pressure bleeder speeds work and reduces aeration. Follow OEM bleed sequence (commonly farthest to closest: RR, LR, RF, LF). If air may be trapped in the ABS/HCU, use a scan tool to run the ABS bleed/valve cycling routine, then re-bleed manually.
- Hub and ABS sensor: Spin the hub to check for noise or roughness. Replace the bearing/hub if overheating is suspected (grease odor, discoloration, play, or noise). Inspect/replace the wheel speed sensor and confirm tone ring integrity; set correct sensor gap.
- Final assembly: Reinstall the wheel. Torque lug nuts in a star pattern to spec with a calibrated torque wrench.
Post-Repair Validation and Pad Bedding
Before releasing the vehicle, validate that the original fault is resolved and no new issues were introduced.
- Drag and temperature check: After a short gentle road test, use an IR thermometer to compare rotor temperatures at all corners. The repaired corner should be in line with the opposite side (typically within 10–20% under identical driving).
- Pull/pedal feel: No pull on brake apply or release. Pedal should be firm and consistent without sinking, pulsation, or grittiness.
- ABS/ESC scan: Clear any stored codes. Verify no active wheel speed sensor faults and road-test for proper ABS operation on a safe surface.
- Fluid leak check: Inspect all hose connections, bleeders, and caliper seals after the road test.
Pad bedding (follow pad manufacturer guidance):
- Perform 6–10 medium stops from 30–40 mph down to 5–10 mph with moderate pedal, allowing cooling airflow between stops. Avoid coming to a full stop with a hot rotor to prevent pad imprinting.
- Allow a cool-down drive of 5–10 minutes with minimal braking.
Prevention and Maintenance Intervals
- Brake fluid service: Replace DOT 3/4/5.1 fluid every 2–3 years (or per OEM). Moisture-laden fluid lowers boiling point and accelerates corrosion inside calipers and ABS valves.
- Slide pin service: At every pad replacement and during inspections, clean and regrease slide pins and abutments with correct brake lubricant. Replace boots that are torn or loose.
- Hose replacement: Rubber hoses age internally; replace at signs of external cracking, swelling, or any drag complaint that resolves when cracking the bleeder.
- Parking brake function: Periodically verify full apply and full release. Lubricate cable guides and levers as needed; replace seized cables and weak springs.
- After tire/brake service: Verify hoses are not twisted, brackets are reattached, and wheels spin freely before releasing the vehicle.
Quick Technician Checklist
- Do not drive—recover safely (flatbed preferred; wheel dollies acceptable where appropriate).
- Let brakes cool naturally; do not quench with water.
- Diagnose with a drag test and bleeder crack to separate hydraulic vs. mechanical causes.
- Replace rotor, pads, caliper, and hose on the cooked corner; consider axle pairs.
- Flush with fresh DOT 4 or 5.1; bleed and run ABS service routine if needed.
- Inspect hub/bearing and ABS sensor; replace if heat-damaged.
- Verify no pull, no overheating, no leaks; bed pads properly.
FAQs
Can a tire change cause a seized brake?
Indirectly, yes—if the caliper was removed and the flex hose was reinstalled with a twist or the caliper was hung by the hose. The resulting restriction can trap pressure and hold the brake on. A routine tire swap that doesn’t disturb brake hardware is unlikely to cause this.
Can a glowing rotor be resurfaced and reused?
Not recommended. The rotor has experienced extreme thermal stress. Even if it cleans up cosmetically, hardness variation and micro-cracking can cause pulsation and future failure. Replace the rotor.
Do I have to replace parts on both sides?
Rotors and pads should be replaced in axle pairs for balanced braking. If one caliper failed due to corrosion or age, replacing both calipers and hoses on that axle can reduce comebacks, but it’s ultimately a judgment call based on inspection and vehicle history.
How do I tell if the flex hose is the culprit?
Perform a pressure relief test: If cracking the bleeder frees the rotor and spin returns to normal, pressure is trapped. If opening the line upstream of the caliper immediately releases the brake, suspect the hose or ABS/HCU. A hose that allows apply but not release behaves like a check valve internally and should be replaced.
What about ABS modules holding pressure?
Rare but possible. If a single corner remains applied and hose tests don’t clear it, monitor line pressure or use pinch-off tools to isolate. Command the ABS valves with a scan tool and perform an ABS bleed/initialize routine. If the fault persists, the HCU may need service.
Is it ever safe to limp the car to the shop?
No. A locked brake risks fire, fluid boil (sudden loss of braking), wheel bearing failure, and rotor fracture. Recover the vehicle properly to avoid injury and additional damage.
Shop Automotive Paint & Finishing Tools
After repairing heat-damaged brakes, refinish nearby parts for protection and a clean hand-off with Automotive Paint & Finishing Tools.
- Abrasives and surface prep for caliper brackets, dust shields, and hubs.
- Masking, cleaners, and high-temp coatings for calipers and backing plates.
- Spray guns, touch-up tools, and polishers for a durable, professional finish.
Essential Brake System Tools & Parts
Proper brake diagnosis and repair require the right equipment. Explore our complete brake system category for everything needed to safely handle rotors, calipers, and related components.
- Brake Pad Spreaders & Caliper Tools – Precision instruments for caliper adjustment and component separation
- Rotor Resurfacing Equipment – Bench grinders, micrometers, and turnkey systems for accurate rotor preparation
- Brake Fluid & Bleeding Kits – Complete hydraulic systems maintenance supplies for safe brake function
The Toolsource Technical Team blends decades of real-world automotive service experience with up-to-date technical research. Our writers collaborate with professional mechanics, shop owners, and diagnostic specialists to deliver practical, workshop-ready guidance you can trust.


Follow us on social media