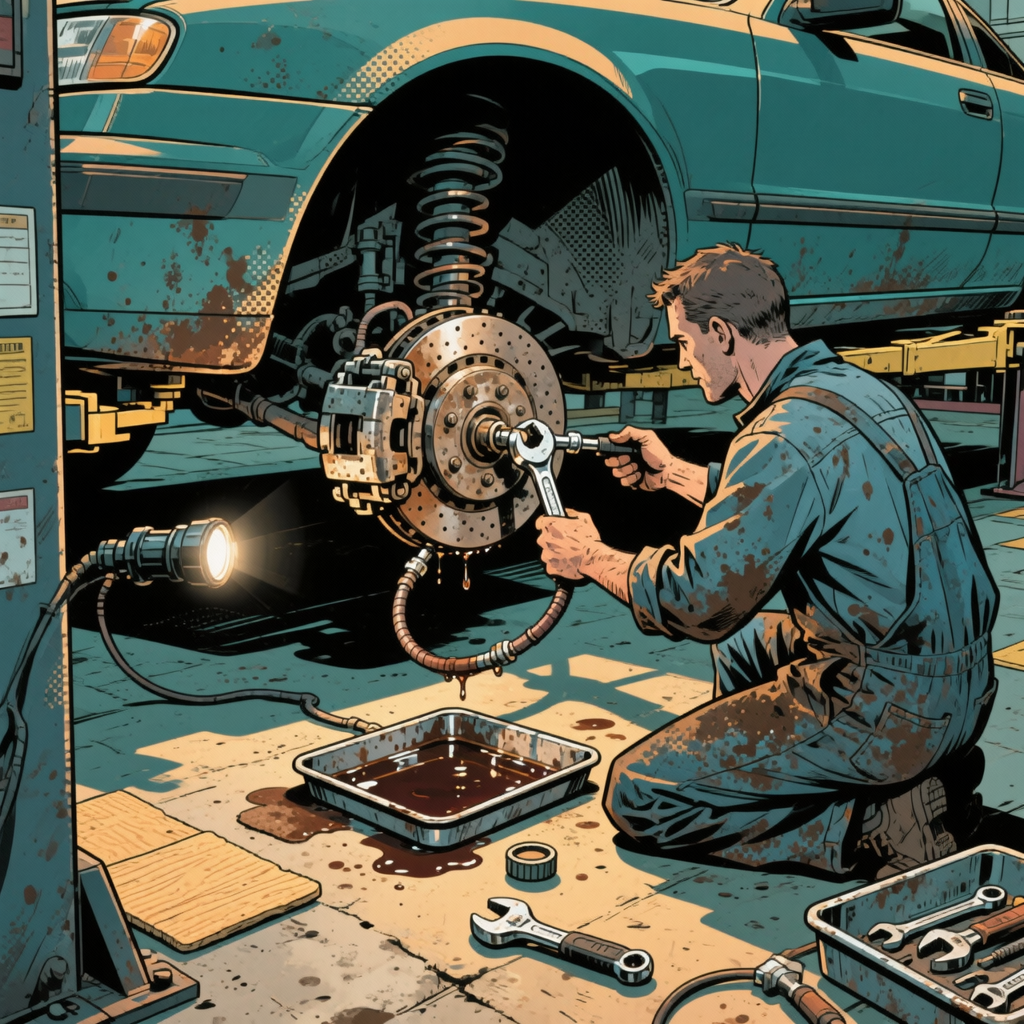
This article is a hands‑on guide for technicians who encounter a wheel cylinder that has “popped” (piston pushed out of its bore or seals failed) on a drum brake assembly. It covers immediate containment, inspection criteria, removal and replacement steps, bleeding and reassembly notes, a compact checklist you can print and tack to a service bay, and short troubleshooting tests to verify the repair. Assume basic brake system knowledge and always follow vehicle OEM procedures and torque specs where specified.
How a wheel cylinder “pops” and what it means
Wheel cylinders are simple hydraulic pistons with rubber seals located inside the drum assembly. If a piston and seal are forced beyond their intended travel — commonly because the drum was removed and the pedal was pressed, or because internal shoe adjustment allows excessive piston travel — the seal can roll, invert or tear and allow brake fluid and contamination into the drum. A popped cylinder usually means compromised seals and potential internal corrosion or scoring on the piston/bore. Once a seal is damaged, the cylinder will leak and must be rebuilt or replaced. Shoes and linings contaminated with fluid must be replaced.
Immediate containment and safety steps
On discovery of a popped cylinder, follow these immediate steps to avoid further contamination and to keep the brake system manageable:
- Do not press the brake pedal. With the drum removed there is no mechanical stop for the pistons; pressing the pedal will push pistons out of the bore and worsen damage.
- Catching leaking fluid: use absorbent pads or a drip tray and prevent brake fluid from contacting painted surfaces. Brake fluid will damage paint.
- Prevent contamination of the rest of the system — close the master cylinder cap and cover the reservoir to limit fluid loss and dirt ingress.
- Do not attempt to bench‑bleed the system with the drum off; reinstall the drum (or at least a temporary mechanical stop) before pedal operation or bleeding.
- Document fluid level and condition; suspect debris inside the drum if there is visible paste or dirt.
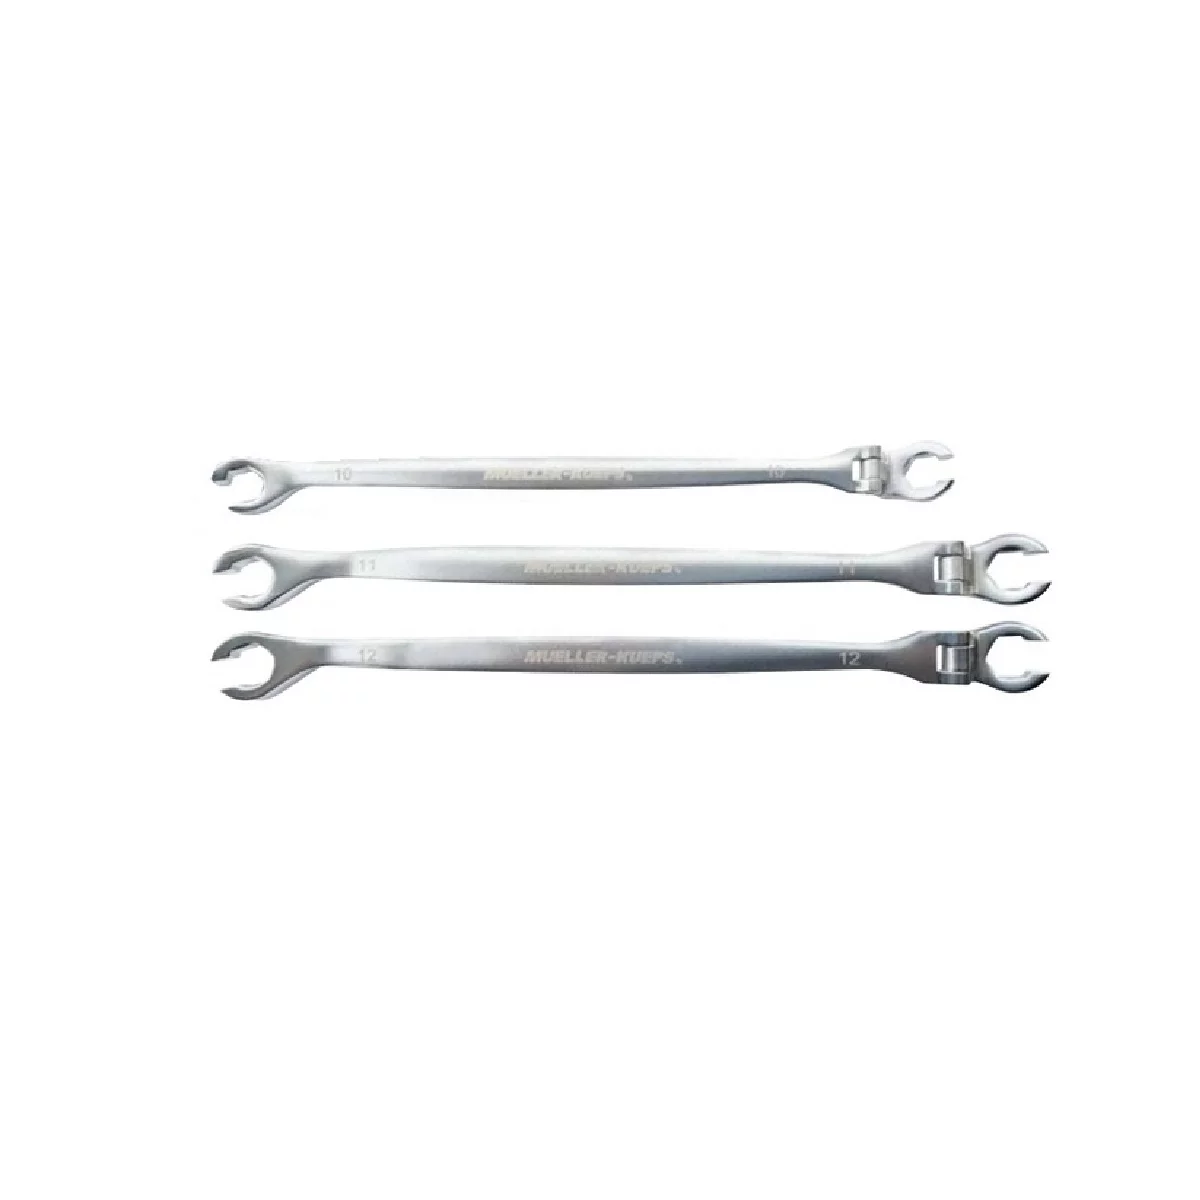
457?803 XL Flare Nut Line Wrench Set 10?mm 11 mm 12 mm - 3 Piece
Mfg: Mueller - Kueps
Part #: 457 803


Remove, inspect and decide: rebuild or replace
Tools required: flare‑nut (line) wrenches sized to the vehicle hard line, a small ratchet set, internal/external snap ring pliers (if applicable), brake cleaner, picks, and a torque wrench. Avoid vise‑grips on flare nuts — they will round the nut and multiply removal time. If the vehicle uses a banjo fitting, remove the banjo bolt and inspect copper crush washers.
- Remove the drum. With the drum off, confirm that the piston(s) protrude and note the amount and whether the seal lip is inverted or torn.
- Inspect the shoes and hardware. Brake fluid on lining = replace shoes and hardware kit. Light surface contamination may sometimes be cleaned, but on a technician job, replacement is preferred for consistent friction and safety.
- Disconnect the hydraulic line using a proper flare‑nut wrench. Cap the line and the master cylinder to keep dirt out. Expect moderate brake fluid loss.
- Unbolt the wheel cylinder. Typical mounting bolts are low torque; consult OEM, but do not overdrive them — many are 8–25 ft‑lb depending on application.
- Bench inspection: look for scoring on the piston or bore, corrosion, or damaged threads. If bore or piston is scored, replace the cylinder. Seal kits are acceptable only if the metal surfaces are within tolerances and free of deep corrosion.
Replacement considerations: an aftermarket replacement wheel cylinder is an acceptable service item provided it meets OEM specifications. Where available, a new unit is faster and more reliable than rebuilding on a production vehicle. If you rebuild, use a high‑quality kit and verify piston geometry and bore condition carefully.
Brake line and sealing best practices
When you disconnect the hard line, use a flaring/line wrench and support the line to avoid twisting. Inspect the hard line for corrosion at the flare — a damaged flare can leak even with a new cylinder.
For vehicles that use a pipe‑to‑cylinder flare, replace any damaged copper/sealing washers. For inverted or double‑flare lines, check the OEM type and replace or repair the line end as needed. Always torque the flare nut or banjo bolt to the OEM spec and verify no twisting or binding has been introduced.
Bleeding procedure and why the drum must be installed
Key principle: bleeding a drum brake system with the drum removed is unsafe because pistons require a mechanical stop to establish proper pedal travel and hydraulic volume. If you bleed with the drum off and press the pedal, you risk popping pistons out again or drawing air in when pistons fully extend past the bore lip.
Correct bleeding steps:
- Reassemble the wheel cylinder into the backing plate with a new seal and hardware and reconnect the hard line; tighten to OEM torque.
- Reinstall shoes, springs, hardware and the drum. Install the drum even if you plan to adjust shoes later — it provides the mechanical stop and restores normal fluid displacement during bleeding.
- Set the parking brake off and make sure the drum turns freely without dragging shoes into contact (use the star adjuster to slightly retract shoes if needed).
- Bleed the brakes using the OEM sequence. If you don’t have the sequence, use farthest wheel from the master cylinder first, then next farthest, finishing at the wheel closest to the master cylinder. Common practice is right rear, left rear, right front, left front, but verify with the vehicle manual.
- Use a pressure bleeder or a helper. Crack the bleeder one turn and close it before the pedal is released to prevent sucking air back in. Continue until all air is free and the fluid runs clear.
- Check pedal firmness: a firm, non‑spongy pedal that returns to normal travel indicates good bleed. If pedal is low or spongy, rebleed and check for leaks.
Reassembly checklist
Use this short checklist at the bench or beside the lift before returning the vehicle to the customer:
- New/rebuilt wheel cylinder installed and torqued to spec.
- Brake line flare nut or banjo bolt tightened to OEM torque; use new crush washers if applicable.
- Shoes and hardware: replaced if contaminated; tightened and oriented correctly (springs in correct locations).
- Drum installed and rotated to ensure no binding; adjuster set to allow slight runout clearance.
- Brake fluid topped to the correct level and cover installed; system bled following correct wheel sequence.
- No external leaks at cylinder, line connection, or wheel cylinder mounting flange.
- Pedal feel verified; parking brake function checked if it operates on the rear assembly.
- Road test at low speed to verify equal braking left/right and no grabbing or pulling.
Troubleshoot and verify: tests after repair
Perform these checks before signing the job off:
- Leak test: pressurize system with pedal and hold pressure for 30 seconds while visually inspecting for weeps at the cylinder and line flare.
- Pedal travel measurement: record travel and compare to OEM spec where available. Significant excess travel can indicate internal leaks or air in the system.
- Wheel play and drum runout: verify drum true and bearing play within spec after reassembly.
- Brake balance: a short, low‑speed road test with progressive stops will reveal grabbing, pulling, or unequal braking. If present, recheck shoe installation and emergency/parking brake adjustments.
- Master cylinder level and condition: a popped wheel cylinder can contaminate the system. If fluid is heavily discolored, flush the system and replace fluid to the correct DOT spec before returning the vehicle.
No products found for "wheel cylinder rebuild kit brake shoe hardware brake bleeder tools"
FAQs
Q: Can I press the brake pedal to push the pistons back into the bore?
A: No. With the drum removed there is no mechanical stop; pressing the pedal can force pistons entirely out of the bore and worsen the damage. Use mechanical methods with the drum installed, or carefully compress pistons back only as directed by OEM procedures.
Q: Can I rebuild the wheel cylinder instead of replacing it?
A: You can rebuild if the bore and piston are within tolerances and free of deep pitting or scoring. Rebuild kits are cost effective on lightly used components; replace the cylinder if there is corrosion or if you prefer the reliability of a new unit.
Q: Do I always need new shoes if a cylinder leaked?
A: If lining material is contaminated with brake fluid it must be replaced. Light external fluid that wiped clean and left no greasy residue may be acceptable in some cases, but as a technician you should err on the side of replacement for predictable friction and safety.
Q: What tools make the line nut removal easier?
A: Use the correct size flare‑nut (line) wrench, and have replacement flare nuts or a line repair kit available. Avoid pliers that round the flats. A backup plan is a line repair sleeve if the flare is damaged and the line is otherwise salvageable.
Q: Why did this fail in the first place?
A: The common causes are pressing the pedal with the drum removed, incorrect shoe adjustment allowing excessive piston travel, or internal corrosion/seal failure due to age and contaminated fluid. Diagnose root cause to prevent recurrence.
Q: Any final caution about brake bleeding?
A: Always follow OEM bleed sequence and torque specs. Ensure the drum is on or pistons have an OEM‑approved stop during any pedal actuation. After bleeding, check for leaks and firm pedal before road testing the vehicle.
Recommended Tools
For drum brake service, explore our Brake System tools for the right repair tools.
-
- Brake line wrenches, wheel cylinder tools, and bleeding kits.
-
- Drum brake service parts like seals, springs, and shoe hardware.
-
- Torque wrenches and diagnostic gear aligned with OEM specs.

The Toolsource Technical Team blends decades of real-world automotive service experience with up-to-date technical research. Our writers collaborate with professional mechanics, shop owners, and diagnostic specialists to deliver practical, workshop-ready guidance you can trust.


Follow us on social media