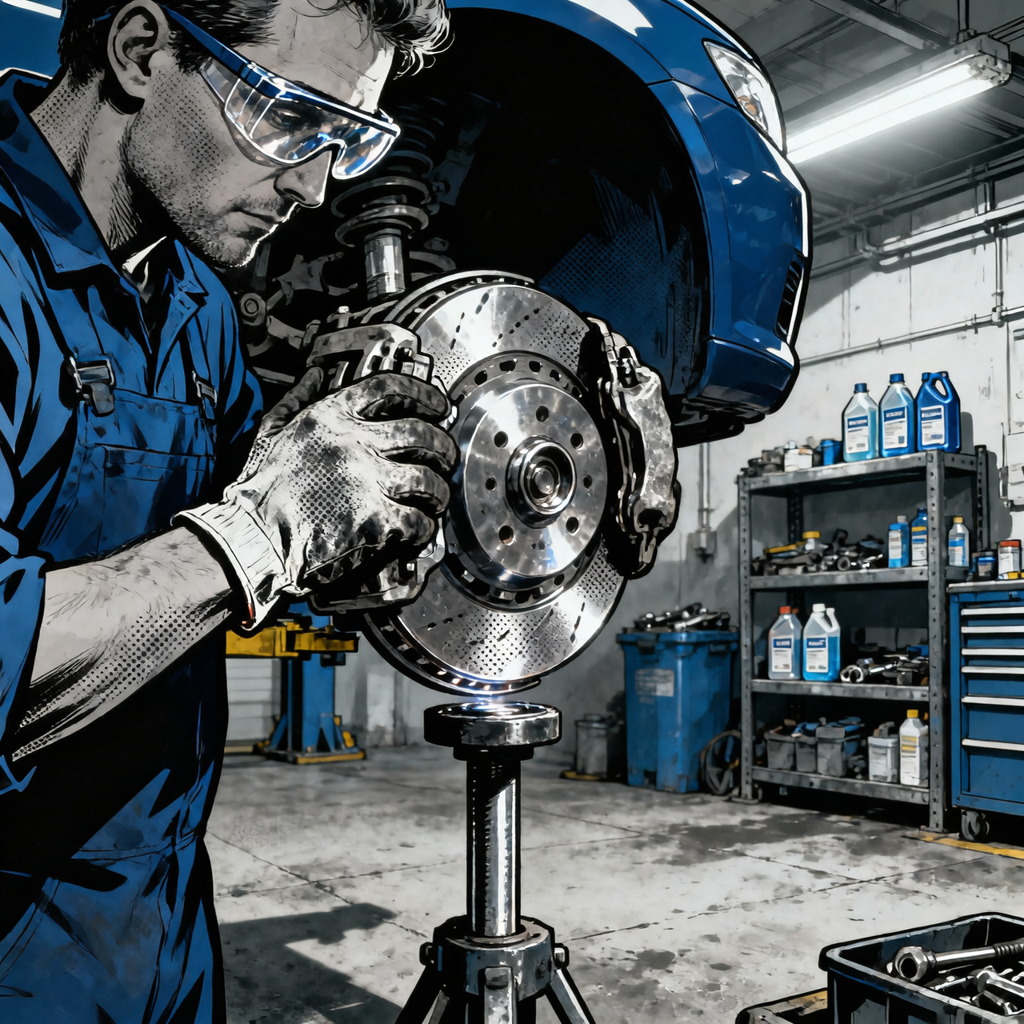
High-performance and heavy-duty vehicles often generate excessive brake dust that turns black wheel lips brown within a day or two after washing. If customers are frustrated by wheels getting dirty almost immediately, you can reduce the issue with the right combination of pad selection, wheel decontamination, a high-temperature wheel coating, and a maintenance routine that fits their use case. This guide delivers a technician-oriented workflow that works in the bay and holds up in real-world driving.
Why Wheels Turn Brown: Brake Dust, Rotor Rust, and Iron Fallout
Understanding the contamination helps you choose the right remedy. In most cases, wheels get dirty fast due to a mix of:
- Pad composition and aggressiveness: Semi-metallic and performance pads provide strong bite but shed more ferrous dust. Ceramic street pads generally dust less and create lighter-colored debris.
- Rotor flash rust after washing: Bare iron rotors develop surface rust minutes after a wash. The first brake applications knock this rust into a fine reddish-brown film on the wheels—often the “brown lip” customers notice.
- High heat cycles: Wheels run hotter than body panels. Heat bakes contaminants into coatings if you don’t use a wheel-specific product designed for thermal loads.
- Metallic particle adhesion: Ferrous dust from pads and rotors embeds in porous clearcoat and prior sealants that aren’t formulated to reject metal particles.
Result: even after a careful wash, wheels can look dull and brown again within 24–72 hours, especially on vehicles with aggressive factory pads (common on performance trims) or heavy trucks.
Selecting Low-Dust Pads Without Compromising Performance

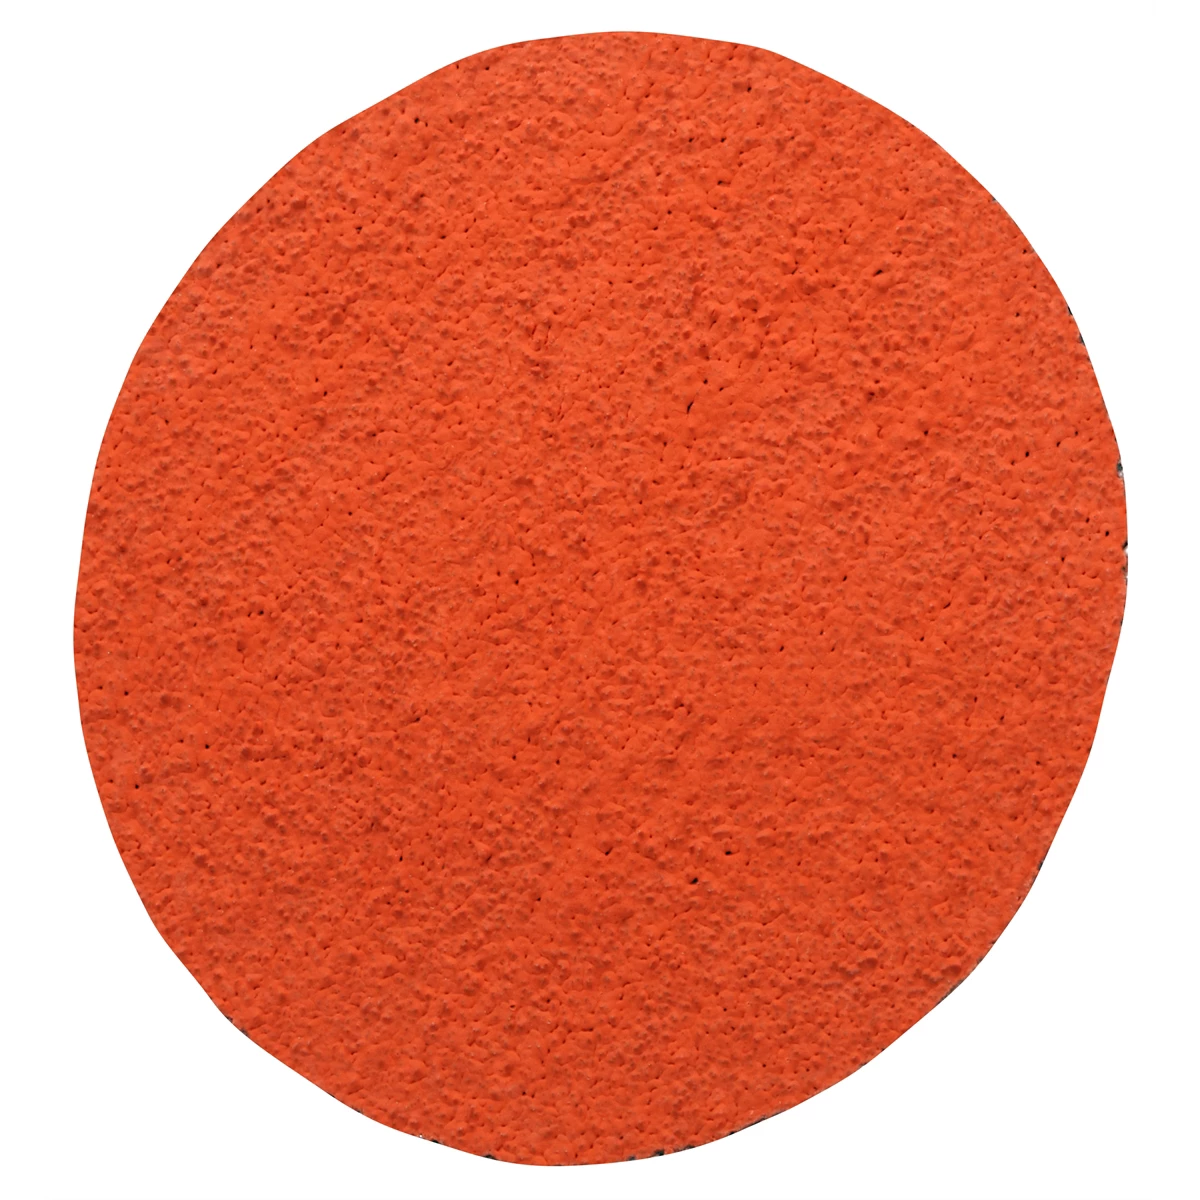
3M Roloc Brake Rotor Disc 80513 - 50 Pack Abrasive Tool
Mfg: 3M Automotive
Part #: 80513
Changing pads is often the biggest lever you have to reduce dust. Match pad type to the customer’s use case:
- Ceramic street pads: Best for reducing dust on daily-driven vehicles. They produce finer, lighter-colored dust that’s less noticeable and easier to rinse off. Pedal feel is typically smooth and quiet, with lower rotor wear. Not ideal for heavy track use.
- Semi-metallic pads: Great bite and heat tolerance for spirited driving or towing. They typically generate more visible, darker dust. If the customer values maximum performance, plan to pair these with a robust wheel coating and a maintenance routine.
- Low-copper/NAO hybrids: Middle-ground options can cut dust relative to semi-metallic while maintaining acceptable heat performance.
Technician notes:
- Make sure the pad compound is compatible with the rotor material and the customer’s driving profile. Some OE performance packages may lose feel or bite with a mild ceramic pad; set expectations accordingly.
- Break in new pads properly to stabilize transfer film and minimize uneven dusting. Follow the manufacturer’s bedding procedure (typically a series of medium stops to heat and then cool the system without coming to a full stop while hot).
- Consider stainless braided brake lines to improve pedal feel; they don’t affect dust directly but may be installed during pad swaps if requested.
Cleaning and Decontaminating Wheels: Technician Workflow
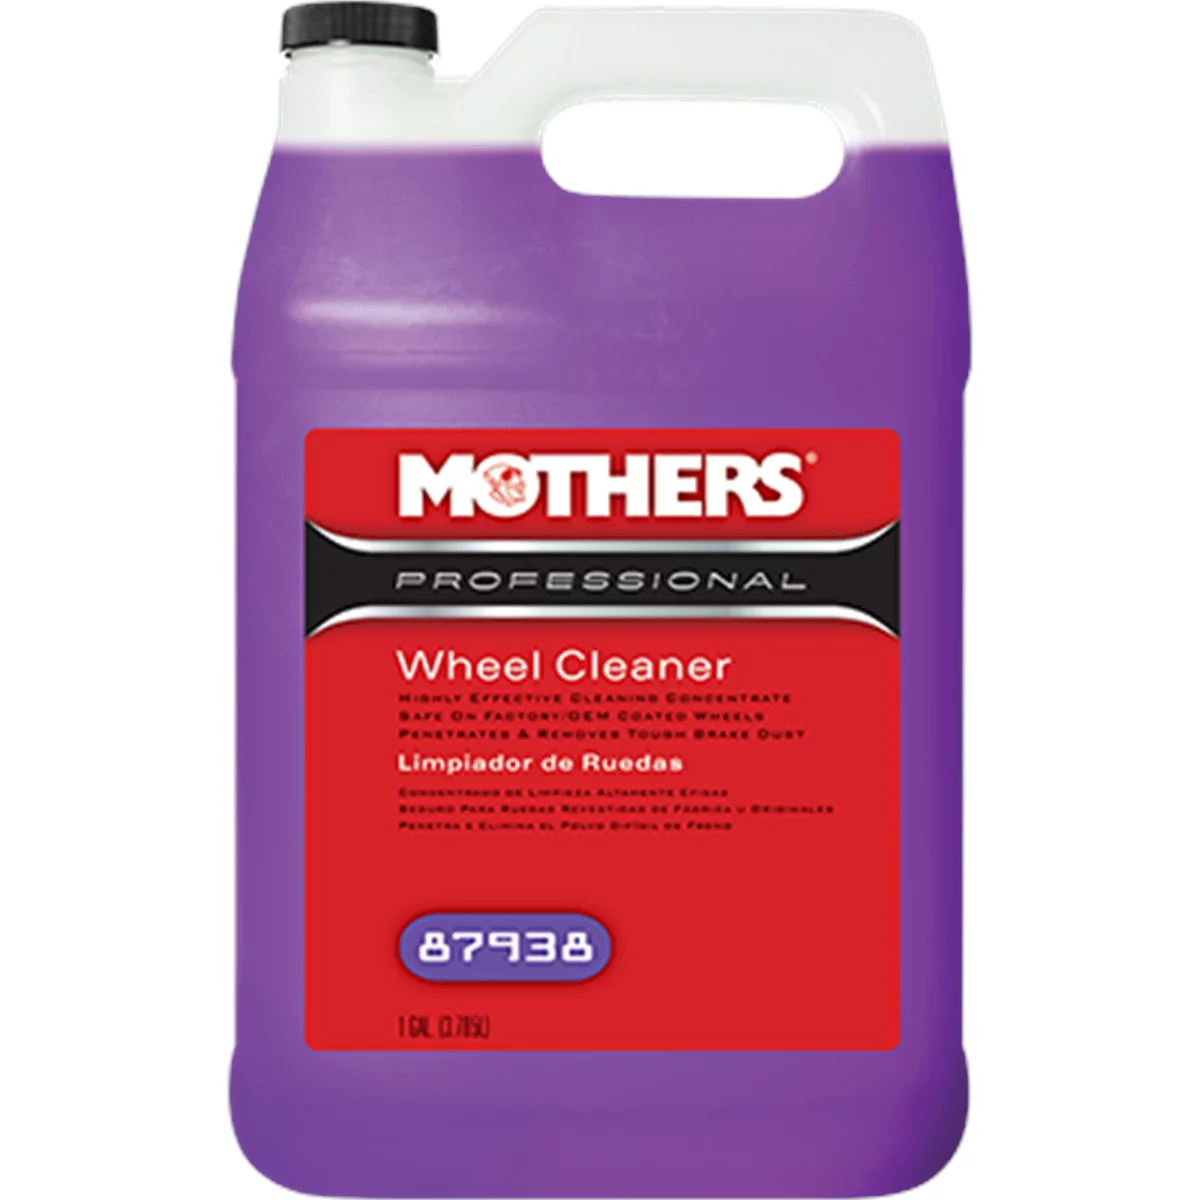
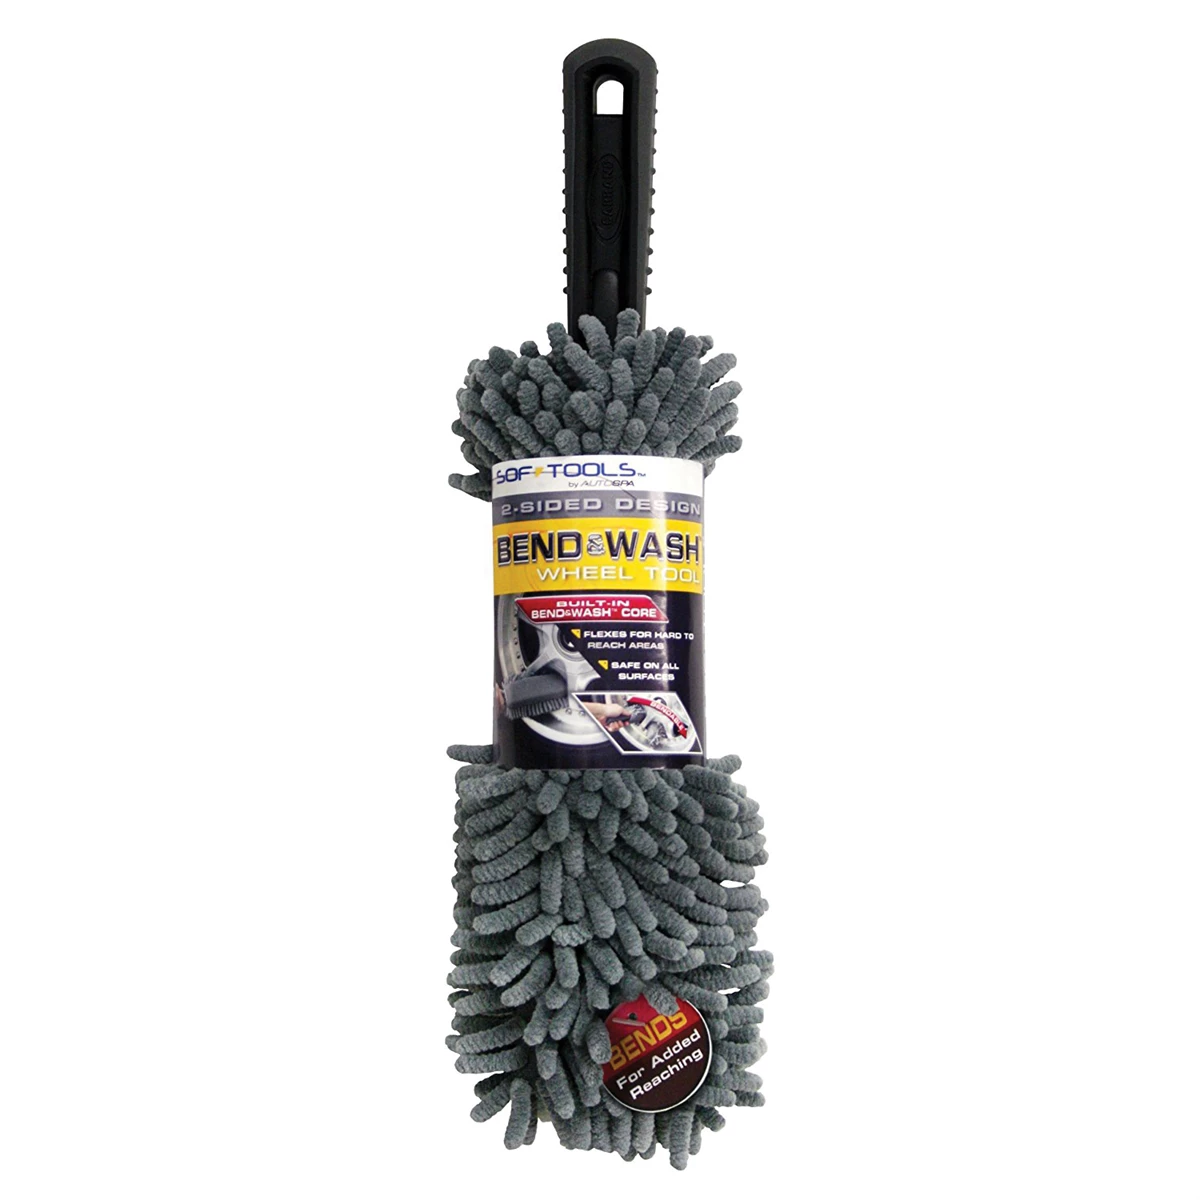
Before applying any protective coating, complete a thorough clean and decon. This ensures the coating bonds and performs as expected.
- Cool down: Work only on cool wheels and brakes. Heat reduces chemical efficacy and risks staining.
- Initial rinse: Pressure rinse the wheels and wells from top to bottom to remove loose grit.
- pH-balanced wheel cleaner: Use a pH-neutral cleaner on painted and powder-coated wheels. For stubborn buildup or bare/metallized finishes, confirm chemical compatibility first and spot test.
- Agitation: Use a soft wheel brush for the barrels, boar’s hair or flagged-tip brushes for faces and lugs, and dedicated microfiber mitts for finishing. Clean caliper faces carefully without contacting friction surfaces.
- Iron decon: Apply a dedicated ferrous contaminant remover (iron fallout remover). Allow it to react per label, then agitate and rinse thoroughly. This step dissolves embedded metallic particles that normal cleaners leave behind.
- Mechanical decon (as needed): Clay bar or synthetic clay media with lubricant to remove remaining bonded contaminants. Avoid dry rubbing; always use sufficient lubrication.
- Polish (optional but recommended for gloss): If the customer wants more shine, lightly polish the faces and accessible barrel areas. For intricate wheels, a 1–2 inch spot polisher with foam pads speeds up work and improves uniformity, especially on tight spokes and corners.
- Panel wipe: Use an isopropyl alcohol-based panel wipe or dedicated coating prep to remove polishing oils and residue. This is critical for coating adhesion. Avoid overspray on rotors and pads.
- Final dry and inspection: Blow out cracks and lug holes with filtered air, then wipe dry. Inspect for remaining iron specks or haze; repeat decon if needed.
Applying a Wheel-Specific Ceramic/SiO2 Coating (Including Cerakote)
Wheel coatings formulated for high temperatures and metallic particle resistance outperform body-panel sealants on wheels. Many technicians report strong results from wheel-specific ceramics, including products engineered to resist heat and reject ferrous dust. Follow the label, but the general process is similar across brands:
- Mask and protect: Cover rotors, pads, and tires if overspray or drips are possible. Do not apply coating to friction surfaces or rubber valve stems unless the product explicitly allows it.
- Apply thin and even: Use the supplied applicator or a foam pad. Work one wheel face at a time, sectioning large faces into halves or quadrants to maintain control.
- Level promptly: Most coatings are “apply, then wipe off.” After the recommended flash time (often 30–90 seconds), level with a short-nap microfiber to remove high spots. Follow with a second towel if needed. Avoid leaving streaks, especially in sunlight.
- Include the barrel when possible: Coating the barrel reduces the area where dust accumulates and makes future cleanings faster. If time is limited, prioritize the face; plan to coat barrels when wheels are off the vehicle.
- Edges and nooks: Use small foam swabs or a suede-wrapped block to reach tight corners around spokes and lug recesses. A thin film is sufficient—more product doesn’t equal more protection.
- Initial set time: Many wheel coatings allow gentle driving after approximately 1 hour. Avoid heavy braking during this period to reduce heat shock. Always verify the specific product’s guidance.
- Full cure before water: Keep wheels dry for at least 12–24 hours, depending on label instructions. This is crucial for durability. Avoid washing or rain exposure during this window.
- Second coat: Some products support a second layer for added longevity after 1–2 hours of the first layer setting. Only apply if the manufacturer allows stacking; otherwise, more layers can hinder bonding.
Technician tip: Wheel coatings enhance contamination resistance and make future cleaning faster, but they are not designed to create dramatic shine. If a customer wants more gloss, polish first; then coat to lock in the finish.
Maintenance After Coating: Wash Cadence, Touchless Methods, Re-Coat Timing
Post-coating maintenance is about reducing labor and protecting the coating:
- Touchless pre-rinse: High-pressure rinse to knock off loose dust before contact. This reduces marring.
- Wheel-safe soap: A pH-neutral shampoo or wheel-safe cleaner preserves the coating. Save strong chemicals for periodic deep cleanings.
- Iron remover as maintenance: Use iron decon periodically (e.g., every 4–8 weeks, depending on driving) to dissolve embedded ferrous dust without aggressive scrubbing.
- Post-wash rotor prep: After a wash, take a short drive and perform a few light-to-moderate brake applications to clear flash rust from rotors before parking. This prevents the immediate brown film on the faces.
- Topper products: Some coatings benefit from SiO2 maintenance sprays after washes to restore slickness and hydrophobics. Verify product compatibility.
- Re-coat interval: Expect wheel coating durability in the 3–12 month range depending on product, driving conditions, brake pad type, and wash method. High-dust, high-heat setups may need more frequent reapplication.
Troubleshooting Persistent Dust and Staining
If wheels still brown quickly after a proper clean and coat, run through these checks:
- Pad/rotor pairing: If semi-metallic pads are installed for performance reasons, manage expectations. Suggest ceramic street pads for daily driving if bite requirements allow.
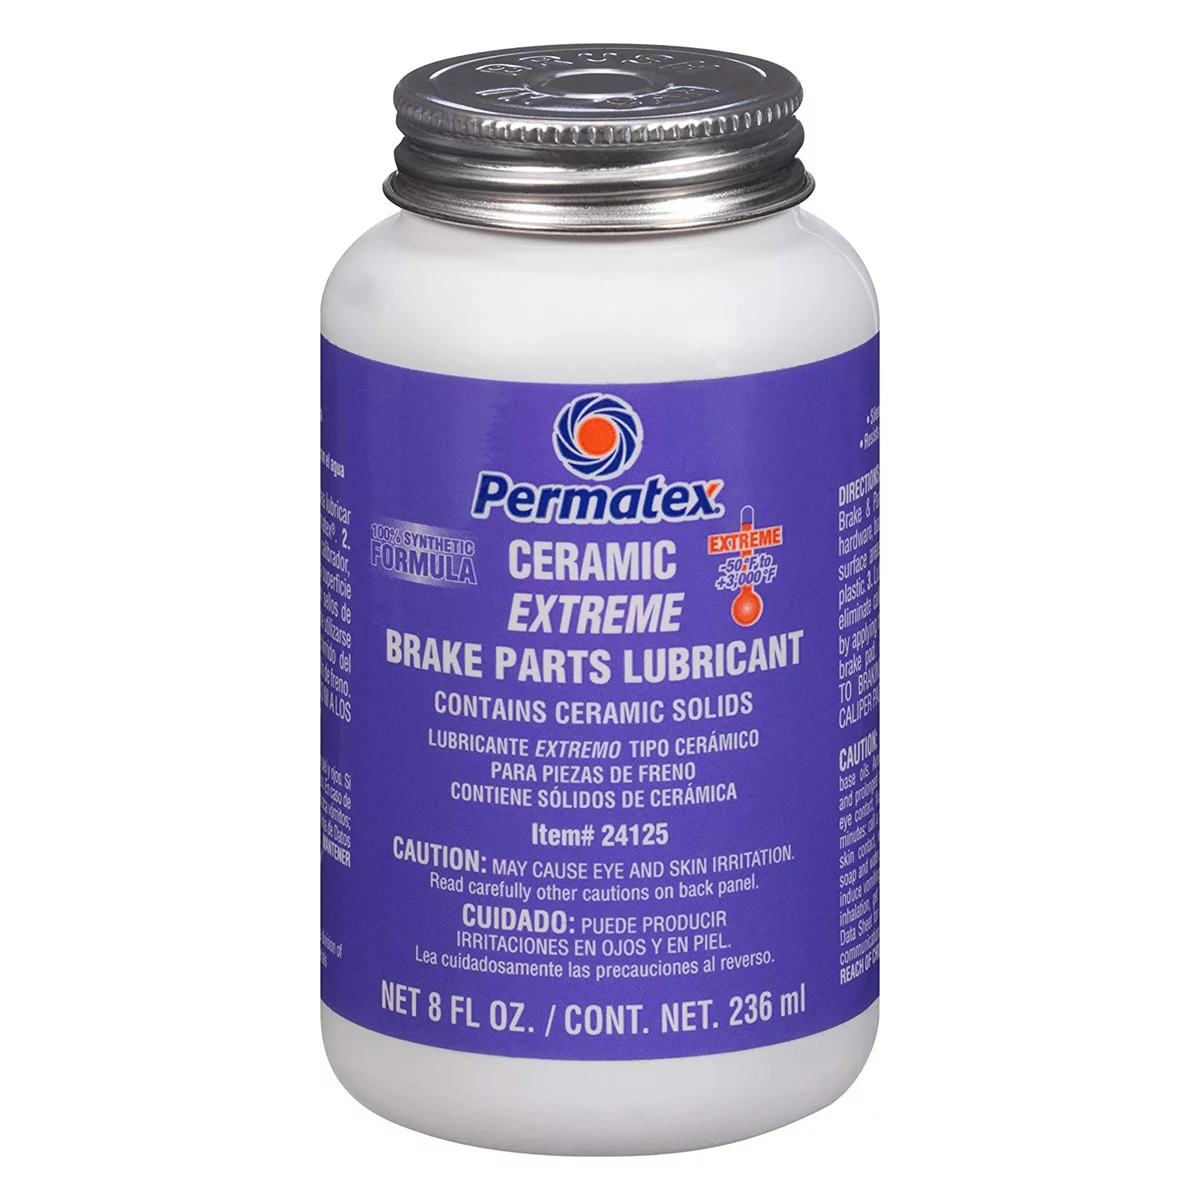
- Caliper operation: Sticking caliper pins, seized pistons, or dragging pads increase dust. Inspect and service slide pins, seals, and pad fit. Verify proper pad abutment lubrication (use high-temp synthetic brake grease at contact points, not on friction material).
- Bedding quality: Improper bedding can cause uneven transfer film and hot spotting, elevating dust. Re-bed if safe and per manufacturer guidance.
- Coating coverage: Brown edges often indicate missed edges, lug recesses, or barrels. Add a targeted second application to those areas after proper prep.
- Chemical compatibility: Strong acids or alkalis can weaken coatings. Review the customer’s wash chemicals and adjust to wheel-safe options.
- Prior sealants: If wheels were previously coated with a body-panel ceramic or paint sealant, the new wheel coating may not bond well without mechanical prep. A light polish followed by panel wipe often resolves this.
Quick Technician Checklist: Long-Lasting Wheel Protection
- Install low-dust ceramic street pads when appropriate; bed pads correctly.
- Deep clean cool wheels; use iron remover and mechanical decon where needed.
- Polish for gloss if desired; wipe with a coating prep/panel wipe to remove oils.
- Apply a wheel-specific ceramic coating; level thoroughly; avoid rotors and pads.
- Allow at least 1 hour set time before gentle driving and 24 hours before water (per product).
FAQs
Will a wheel coating stop brake dust entirely?
No. Coatings reduce adhesion of dust and make clean-up faster, but they don’t eliminate dust generation. The biggest reduction comes from pad selection, then a wheel-specific coating, followed by proper maintenance.
Can I apply a wheel coating over an existing ceramic coating or film?
If the wheel already has a body-panel ceramic or a paint sealant, bonding may be compromised. Decontaminate, then lightly polish and panel-wipe before applying the wheel-specific product. Always test a small area first. For PPF or films on wheels, verify manufacturer compatibility.
How long do wheel coatings last?
Expect 3–12 months depending on product quality, heat cycles, driving intensity, pad type, and wash chemicals. High-dust performance setups and aggressive cleaners shorten lifespan. Re-application to faces is quick if prep is maintained.
Will a wheel coating add shine?
Coatings prioritize protection and contamination resistance. Some add mild gloss, but true shine comes from polishing prior to coating. If a customer wants more luster, polish first, then coat to lock in the finish.
What’s the best way to prevent the brown film after washing?
That brown film is often rotor flash rust. After washing and drying, take a short drive and perform a few controlled, moderate brake applications to wipe the rotors before parking. This minimizes immediate brown transfer to the wheel faces.
Shop Automotive Paint & Finishing Tools
For wheel decon, polishing tight spokes, and coating prep, explore our Automotive Paint & Finishing Tools to support the workflow in this guide.
- Compact polishers, backing plates, and foam pads for spokes and barrels
- Panel wipe, prep solvents, and lint-free towels to promote coating adhesion
- Masking tape, applicator blocks, and applicator cloths for precise edges
Recommended Brake System Products
Implementing the strategies in this guide requires quality components and maintenance products. Explore our curated selection of brake pads, wheel coatings, and specialized cleaning tools designed to reduce brake dust while maintaining peak braking performance.
- Premium Low-Dust Brake Pads: Ceramic and semi-metallic compounds engineered to minimize particulate emissions
- Wheel Protective Coatings: Professional-grade sealants that prevent brake dust adhesion and simplify cleaning
- Brake System Maintenance Tools: Specialized cleaners, calipers, and inspection equipment for proper pad and rotor maintenance

The Toolsource Technical Team blends decades of real-world automotive service experience with up-to-date technical research. Our writers collaborate with professional mechanics, shop owners, and diagnostic specialists to deliver practical, workshop-ready guidance you can trust.


Follow us on social media