When your car’s electrical system fails—dimming headlights, sluggish starter, or warning lights—the alternator may be at fault. Understanding diagnosis, DIY difficulty, and costs can save hundreds and prevent unnecessary repairs. This guide covers testing, assessing DIY feasibility, and identifying shop overcharging.
Diagnose Before You Replace
The costliest mistake is replacing a working alternator. Many symptoms—battery warning lights, electrical issues, starting problems—stem from corroded connections, failing batteries, or parasitic drains unrelated to the charging system.
Multimeter Testing: Checking Voltage While Running
A multimeter provides reliable field testing. Engine off: healthy battery reads 12.4-12.7V. Engine running: 13.8-14.4V at idle indicates proper charging. Rev to 2,000 RPM—above 14.8V suggests voltage regulator failure; below 13.5V indicates inadequate charging. Turn on headlights, defrost, and blower; voltage should stay above 13.2V under load. This quick test beats most shop diagnostics.
Free In-Store Alternator Testing at Parts Retailers
AutoZone, O’Reilly, and Advance Auto Parts offer free testing without appointment. Their carbon-pile testers measure output under load while installed, catching failures that basic voltage checks miss. According to ChrisFix, this eliminates guesswork from bench testing.
Battery vs Alternator: Ruling Out Other Causes
Replacing an alternator when the battery is faulty is common. If jump-starting required driving to work then immediate failure indicates a dead battery. If the warning light illuminates while driving and the car dies within minutes, the alternator likely stopped charging. Test sequence matters: if a new battery temporarily solves the problem but dies again within weeks, suspect the alternator. Check voltage drop across corroded or loose cable terminals—they mimic alternator failure. Diagnose the entire charging circuit, not components in isolation.
DIY Difficulty by Vehicle Type
Alternator accessibility varies dramatically. A 20-minute job on a Ford F-150 may require four hours on a transverse V6 sedan. Location determines DIY feasibility.
Accessible Top-Mounted Alternators (15 Min to 1 Hour)
Rear-wheel-drive vehicles, trucks, and four-cylinder cars mount alternators high on the engine. Removal requires belt release, 2-3 bolts, and electrical disconnection. Honda Civics, Toyota Corollas, Ford F-Series, and Chevy Silverados fit this category. Basic tools—ratchet, sockets, belt tool—enable completion in under an hour for experienced DIYers. First-timers should budget two hours including YouTube research. Quality remanufactured units cost $120-280 versus $400-600 shop total.
Buried or Bottom-Mounted Alternators (3-4 Hours Labor)
Transverse V6s, turbo four-cylinders, and compact cars position alternators low or behind components. Subaru boxers, Chrysler 3.6L V6s, and European vehicles require engine raising, motor mount removal, or underneath access. Legitimate 3-4 hour labor exists because technicians disassemble surrounding parts. Verify quotes online before committing—substantial parts savings remain, but time investment and complexity may justify professional service for inexperienced owners.
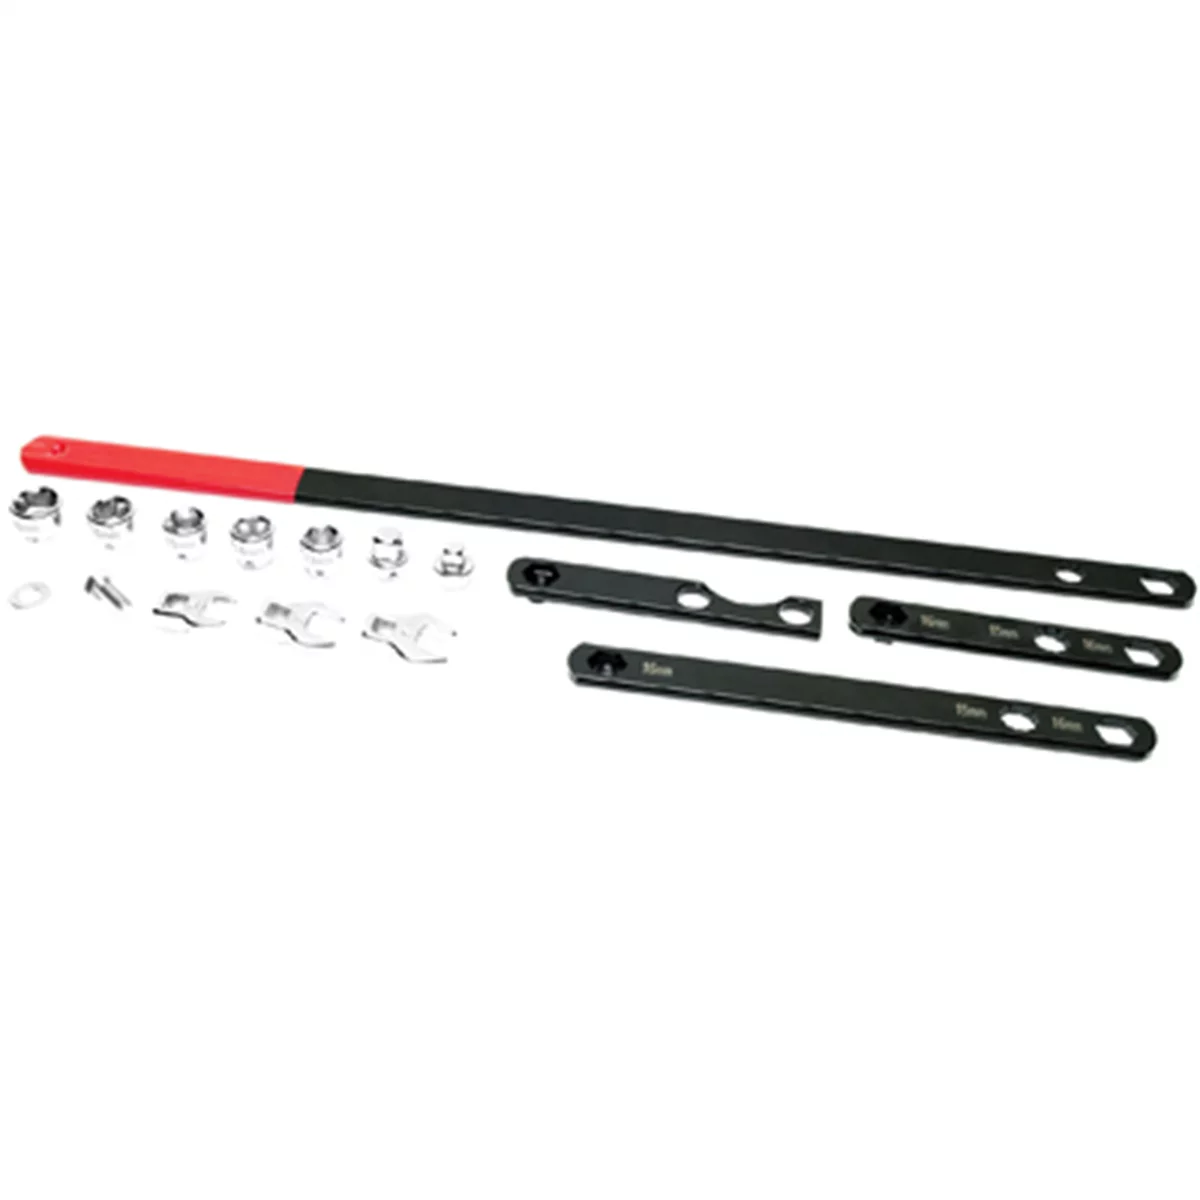
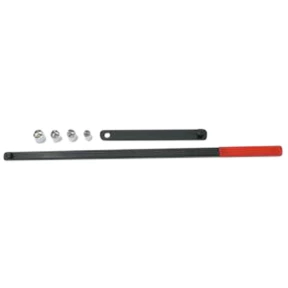
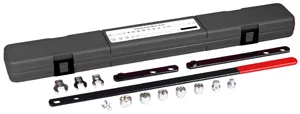
Tools Needed and Lender Programs at Parts Stores
Basic replacement needs 3/8-inch ratchet, socket set (10-15mm), wrenches, and belt tool. AutoZone’s Loan-A-Tool program provides free lending with refundable deposit. Difficult-access jobs require floor jack, jack stands, and engine support. Safety equipment prevents injuries. Total investment for a garage runs $150-300, paying for itself after two repairs versus shop labor.
No products found for "automotive alternator remanufactured Bosch Denso"
New vs Remanufactured vs OEM
Quality varies significantly by manufacturer and price. Cheapest options fail within a year; OEM pricing sometimes reflects brand markup over performance.
Quality and Reliability Comparison by Brand
OEM alternators match factory specifications. Quality remanufactured brands—Bosch, Denso, Remy—rebuild cores to OEM specs, replacing bearings, brushes, and regulators. Per Project Farm testing, premium reman units match or exceed OEM longevity. Budget store-brand remanufactured units show inconsistent quality—some perform well, others fail within months. New aftermarket units offer middle-ground pricing with warranty, though quality varies by part number.
Cost Breakdown: OEM, Quality Remanufactured, Budget Options
OEM alternators cost $300-600 depending on amperage and brand. Quality remanufactured units from Bosch/Denso run $180-320—60-70% of OEM with comparable warranties. Budget units cost $120-200 but show higher failure rates. The difference between $140 and $240 remanufactured units justifies middle-tier investment when accounting for potential replacement labor. Invest in quality unless OEM is required for newer vehicle warranty.
Where to Buy and Warranty Coverage Differences
Dealership OEM parts carry 12-month/12,000-mile warranties. Online suppliers discount these 20-40% below dealer pricing. Quality remanufactured units carry lifetime warranties from retailers—AutoZone and O’Reilly replace for vehicle ownership, while manufacturers may limit to three years. Budget options offer 1-2 year replacement-only coverage without labor reimbursement. RockAuto provides widest selection with detailed specifications. Check warranty terms—some require professional installation, eliminating DIY cost savings if failure occurs.
| Alternator Type | Typical Cost | Warranty Coverage | Best Use Case |
|---|---|---|---|
| OEM (Dealership) | $300-600 | 12 months / 12,000 miles | Newer vehicles under warranty, maximum reliability |
| Quality Reman (Bosch, Denso) | $180-320 | Lifetime limited | Best value for DIY repairs, proven longevity |
| Budget Reman (Store Brand) | $120-200 | 1-2 years | Emergency repairs, end-of-life vehicles |
| New Aftermarket | $200-400 | 2-3 years typical | Middle option when reman cores unavailable |
Cost Comparison: DIY vs Professional
Labor rates and parts markup create significant cost gaps. Understanding typical expenses identifies fair pricing versus overcharging.
Average Shop Labor Costs and Parts Markup Practices
Independent shops charge $90-150/hour; dealerships $130-200/hour. Accessible replacements book at 0.5-1.5 hours ($75-225 labor). Difficult-access units book 2.5-4 hours ($225-600 labor legitimately). Many shops double wholesale costs—a $180 alternator sells for $360. Straightforward replacements run $300-500 independently, $450-750 at dealerships. Per Consumer Reports, transparent shops itemize parts, labor hours, and hourly rates—insist on this breakdown.
Hidden Fees and Red Flags to Watch For
Shop supplies fees above $15-20 suggest padding. Diagnostic fees exceeding $100-150 may indicate inflated labor, especially if waived upon authorization. Alternator replacement doesn’t require cooling, transmission, or unrelated services—decline bundled work. Bracket or mounting hardware as separate line items typically pad bills. Compression tests, leak-down tests, or engine diagnostics suggested during alternator work often represent upselling unless you reported separate issues. Request explanations for services beyond the alternator.
Break-Even Analysis: When DIY Saves Money
DIY saves $150-400 on accessible vehicles with existing tools. Quality remanufactured units cost $200-280 versus $400-600 shop total. Difficult-access alternators narrow savings; 4-hour DIY struggle versus 2.5-hour professional service (with lifts and experience) reduces advantage. First-timers expect double book time. Break-even occurs around the second repair—skills and tools make future jobs dramatically cheaper. If valuing time at $50/hour, a 6-hour first attempt saves $50 but gains hundreds in future repair value. One-time repairs on difficult vehicles may justify professional service; accessible units and multi-vehicle owners win financially with DIY.
Step-by-Step Replacement Guide
Proper sequence prevents electrical damage, injury, and diagnostic confusion.
Pre-Work Safety: Disconnecting Battery and Removing Serpentine Belt
Disconnect the negative battery cable first to prevent shorts and protect electronics. Loosen with 10mm wrench, position away from terminal. Wait 5-10 minutes for electronic module capacitors to discharge. Photograph belt routing before removal—prevents reinstallation confusion. Locate tensioner (spring-loaded pulley), rotate to release tension, slip belt off. Inspect for cracks, glazing, fraying; $20-40 replacement makes sense since component is already accessed. Mark alternator electrical connections with tape or photos—large B+ battery positive terminal needs nut/bolt; smaller plug handles voltage regulator circuit.
Removal and Installation Walkthrough
Support alternator before removing final bolt—units weigh 10-20 pounds. Most use two or three bolts: one pivot, others securing the bracket. Remove securing bolts, then pivot bolt, then maneuver out. Tight quarters may require tilting or rotating. Compare old and new units—verify plug types, mounting ears, pulley alignment match exactly. Installation reverses removal: position, thread pivot bolt finger-tight, install and tighten securing bolts. Reconnect electrical connections exactly as photographed—reversed voltage regulator polarity causes immediate failure. Hand-tighten B+ terminal nut, then torque to 10-15 ft-lbs; overtightening cracks the housing.
Post-Install Checks and Belt Tension Verification
Reinstall belt using routing photo or underhood diagram. Proper tension allows 1/2-inch deflection at longest span when pressed firmly; automatic tensioners self-adjust, manual systems need bracket positioning. Reconnect negative battery cable, start engine, check for unusual noises—whine or squeal indicates installation problems. Measure battery voltage running—expect 13.8-14.4V. Rev engine and turn on loads to verify charging matches pre-replacement testing. Dashboard battery light should extinguish within seconds of starting. Drive vehicle 50 miles, monitoring charging and electrical function. Many parts stores verify alternator function free after installation—take advantage to confirm proper repair.
Alternator Replacement Checklist
- Test charging system voltage with multimeter before diagnosing alternator failure
- Get free alternator testing at parts retailers to confirm diagnosis
- Verify alternator accessibility for your specific vehicle before committing to DIY
- Purchase quality remanufactured alternator from reputable brand (Bosch, Denso, Remy)
- Gather tools: ratchet set, wrenches, serpentine belt tool, safety equipment
- Disconnect negative battery cable and wait 5-10 minutes before starting work
- Photograph serpentine belt routing and electrical connections before removal
- Inspect and consider replacing serpentine belt during alternator service
- Verify new alternator matches old unit exactly before installation
- Test charging voltage after installation: 13.8-14.4V at idle, stable under load
- Monitor electrical system performance for first 50 miles after repair
Frequently Asked Questions
Can I Replace an Alternator with No Mechanical Experience?
For accessible top-mounted alternators, yes—first-timers succeed regularly following video tutorials. Watch 3-4 year/make/model-specific YouTube videos before buying parts. Budget 2-4 hours first attempt including research. Bottom-mounted or buried alternators requiring engine disassembly make professional service smarter. Electrical connections are straightforward—one or two plugs and a battery terminal—requiring no expertise beyond basic disconnection safety. Difficulty comes from physical access, not technical complexity.
How Long Does Alternator Replacement Take?
Professionals complete accessible replacements in 30 minutes to 1.5 hours. Difficult-access units require 2.5-4 hours even for experienced mechanics. DIYers should double timeframes for first attempts. Honda Civic or Ford F-150 jobs take first-timers 2-3 hours including setup. European or transverse V6 jobs consume full Saturdays for novices. Actual removal and installation takes minimal time—most duration involves accessing the component, studying diagrams, and verifying belt routing and electrical connections.
What’s the Difference Between Rebuild and Replace?
Rebuilding disassembles your unit, replaces worn components (brushes, bearings, regulators), and reassembles. Specialized shops perform rebuilds for $80-150 with 1-2 day turnaround. Replacing means installing new or remanufactured units with core exchange. For most DIYers, replacement wins—remanufactured units include warranties, avoid downtime, and cost only slightly more. Rebuilding suits rare or high-output alternators unavailable as replacements, or when you have backup vehicles. Performance difference between quality rebuild and remanufactured units is negligible.
How Do I Spot Shop Scams and Overcharging?
Request itemized estimates separating parts cost, labor hours, hourly rate, and fees. Compare parts prices to online retailers—markups exceeding 100% suggest overcharging. Verify labor hours against Chilton or Mitchell1 labor guides for your vehicle. Suspect diagnostic tests beyond basic electrical system checks, particularly compression or leak-down tests during alternator service. Shops recommending bracket replacement, electrical repairs, or unrelated maintenance without clear explanation may pad bills. Get second opinions for quotes exceeding $600 for straightforward replacement or $900 for difficult-access units. Trust shops explaining diagnostics clearly, showing failed parts, and providing labor/parts warranties.
Should the Serpentine Belt Be Replaced Too?
Inspect the belt during alternator removal—you’ve already done access work. If it shows ribbed-side cracks, glazing, fraying edges, or you don’t remember replacement timing, spend $20-40 for new belt now. Serpentine belts last 60,000-100,000 miles depending on climate and engine heat. Replacing while the alternator is out is trivial; repeating the disassembly later costs significant labor. Many mechanics recommend belt replacement during alternator service as legitimate preventive maintenance. However, belts in good condition with documented recent replacement don’t need changing.
How Can I Test if My Alternator is Really Bad?
Measure battery voltage running with multimeter—below 13.5V indicates charging problems. Turn on headlights, A/C, and loads; voltage should stay above 13.2V if functioning properly. Parts stores test free while installed using professional load-testing equipment, catching intermittent failures basic checks miss. Repeated battery death, warning lights during driving, or accessories dimming at idle but brightening when revving suggest alternator failure. Always confirm the battery holds charge first—failing batteries create identical symptoms.
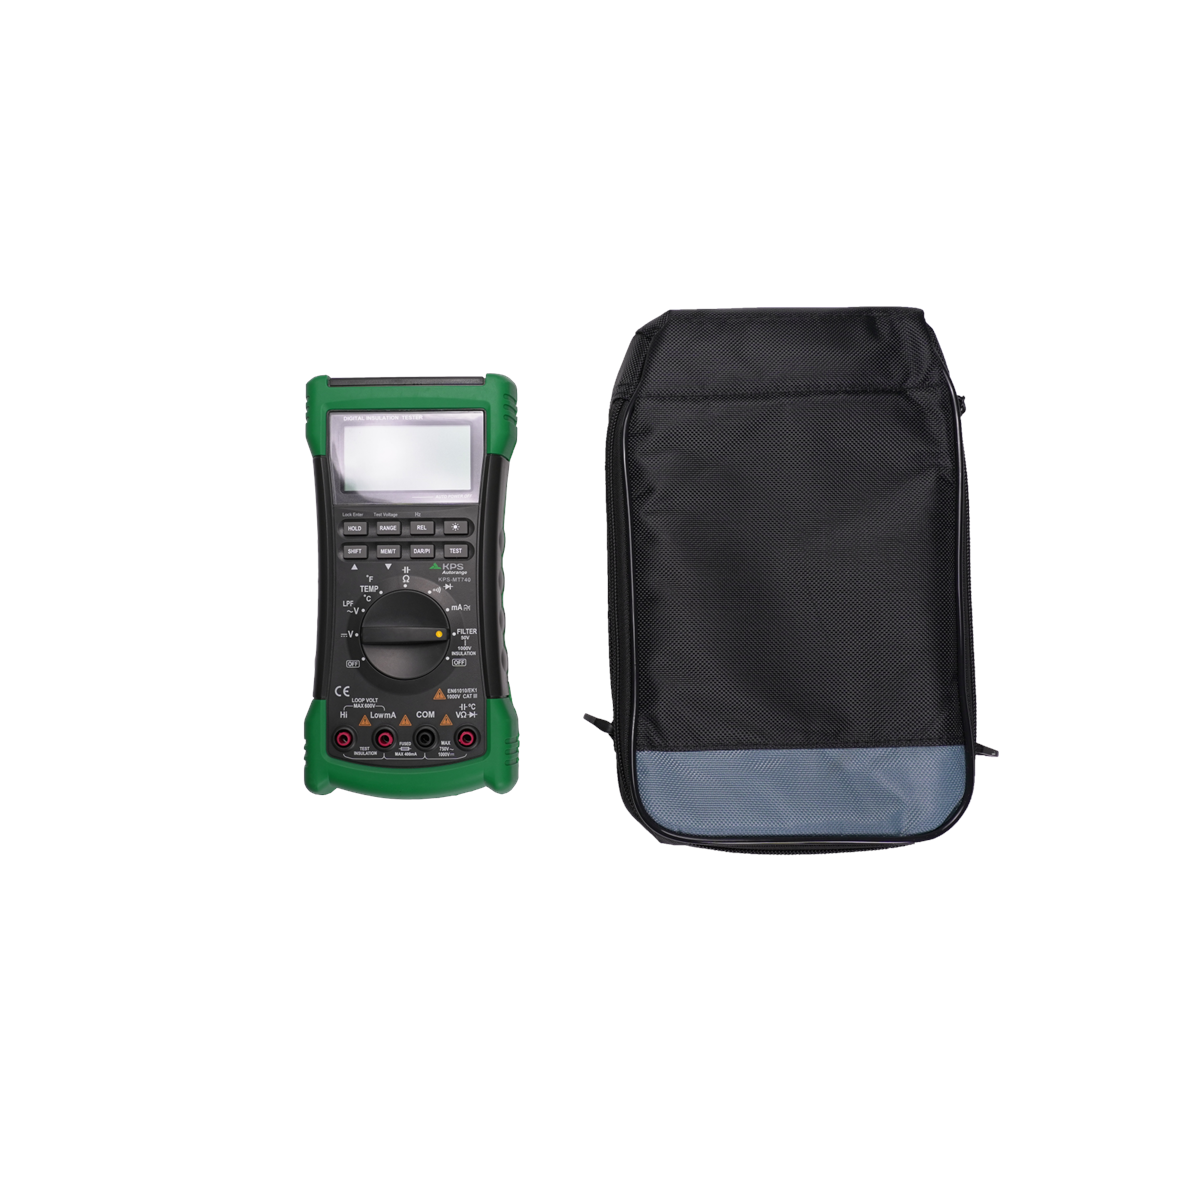
KPS MT740 Pocket Sized Digital Multimeter + Insulation Tester
Mfg: KPS Measuring Equipment
Part #: KPSMT740
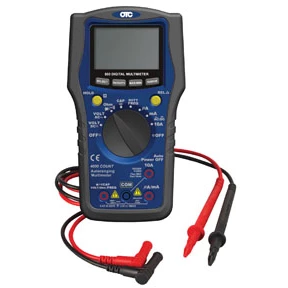
107918 3940 OTC OT3940 OTC-3940 550 Series Digital Multimeter
Mfg: OTC Tools and Equipment
Part #: 3940
Essential Battery & Electrical Components
Whether you’re tackling alternator repair yourself or planning a shop visit, having the right tools and parts on hand makes all the difference. Explore our complete Battery & Electrical category for everything you need to diagnose and fix electrical issues.
The Toolsource Technical Team blends decades of real-world automotive service experience with up-to-date technical research. Our writers collaborate with professional mechanics, shop owners, and diagnostic specialists to deliver practical, workshop-ready guidance you can trust.

Follow us on social media