
When your car’s air conditioning fails on a hot day, the compressor is usually to blame. It pressurizes and moves refrigerant through the cooling circuit. Fixing it requires careful diagnosis, proper tools, and knowing whether repair or replacement makes financial sense. This guide covers diagnosis through repair and ongoing system maintenance.
Understanding AC Compressor Failures
Common causes of compressor breakdown
Refrigerant leaks are the leading failure cause. Without adequate refrigerant, the compressor loses oil lubrication (oil travels through refrigerant), causing internal parts to wear and seize. Leaks stem from deteriorated O-rings, corroded condenser tubes, or damaged hose connections.
Electrical issues also cause failure: worn clutch coils, bad pressure switches, corroded wiring, or internal winding shorts from overheating or moisture prevent proper clutch engagement.
System contamination destroys compressors from inside out. Metal particles from a failed compressor spread throughout the system; without flushing, a replacement compressor fails quickly. Moisture is equally damaging—it forms acids with refrigerant that corrode internal surfaces and degrade lubricating oil.
Road debris, broken mounting brackets, or serpentine belt problems can also damage a compressor through physical impact or overheating from belt slip.
Signs your compressor needs repair
Warm air from AC vents is the obvious sign, but many problems cause this. Look deeper:
Strange noises indicate internal trouble: grinding or squealing points to bearing failure; rattling suggests loose internal parts.
Clutch behavior is diagnostic. When AC turns on, you should hear a distinct click with the clutch engaging. Rapid cycling (on/off) points to low refrigerant, electrical issues, or bad pressure switches. Non-engagement suggests electrical failure or complete refrigerant loss.
Oily residue around the compressor shaft seal shows a leak. UV dye in refrigerant makes leaks visible under black light. Leaking compressors leave oil stains on your garage floor.
Circuit breakers tripping or blown fuses when AC turns on indicate electrical problems. A locked-up compressor pulls excess current, triggering safety devices.
When to DIY versus calling a professional
Compressor work involving refrigerant removal requires EPA 609 certification. Federal law prohibits venting refrigerants; recovery equipment costs several hundred dollars.
DIY work suits mechanical fixes without draining the system: replacing clutch assemblies, fixing electrical connections, or swapping external parts like pressure switches.
Call a professional for complete system contamination, hybrid/electric vehicle AC systems (high-voltage compressors), or jobs needing specialized tools (refrigerant identifiers, electronic leak detectors). Modern vehicles often require computer reprogramming after compressor swap.
Cost considerations: Remanufactured compressors run $150–$400; professional labor is $200–$500. DIY replacement saves labor but still requires a certified tech for refrigerant recovery and recharge.
Diagnosing the Problem Before Repair
Checking refrigerant levels and leaks
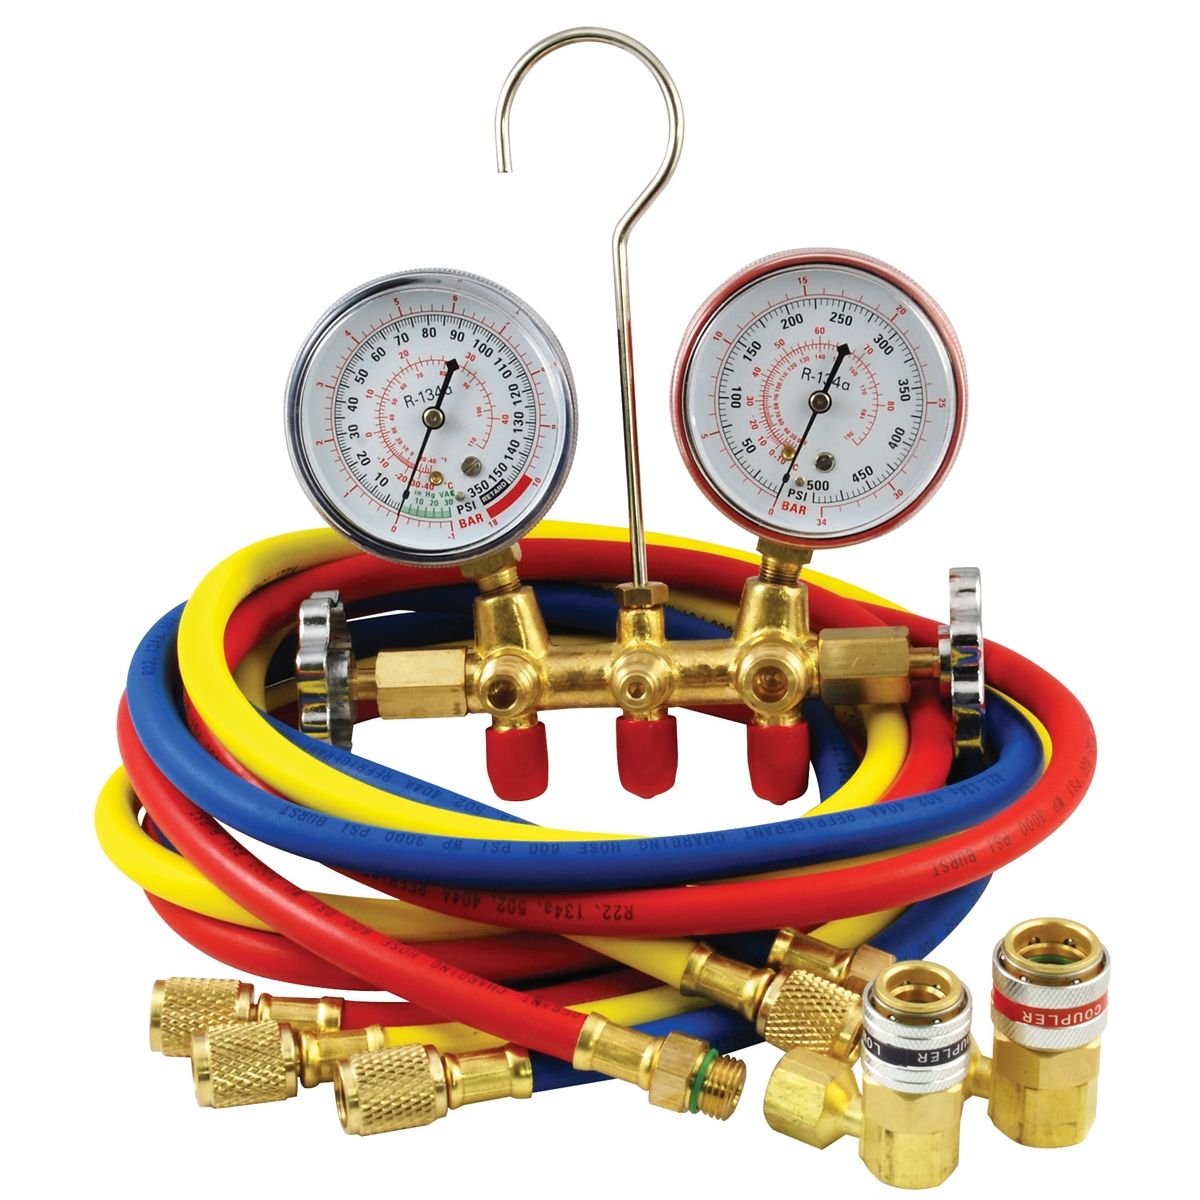
Connect a manifold gauge set to the low-side (bigger port) and high-side (smaller port) service ports. With engine running and AC at maximum, proper readings at 75°F are typically 25–45 PSI low-side and 150–250 PSI high-side.
Low readings on both sides indicate insufficient refrigerant. High readings on both suggest overcharge or blockage. Low-side vacuum with normal high-side pressure indicates compressor valve failure or internal restriction. Cross pressure readings with temperature measurements to determine if the compressor is actually bad.
Electronic leak detectors sense halogen gases; move the probe slowly around connections, hoses, condenser, evaporator drain, and compressor shaft seal. For stubborn leaks, add UV dye and run the system for days, then check with UV light—leaking spots glow bright.
Before blaming the compressor for low refrigerant, find and fix the leak. Adding refrigerant without fixing the source wastes money and leaves the real problem.
Inspecting electrical connections and wiring
The compressor clutch circuit includes the clutch coil, pressure switches, ambient temperature sensor, AC control module, and wiring. Use a digital multimeter to test each component.
Check voltage at the clutch coil connector with AC on—you should read about 12 volts. No voltage means an open circuit; check the fuse, relay, and wiring. If voltage exists but the clutch won’t engage, measure clutch coil resistance (typical: 3–5 ohms; infinity reading means the coil is open and needs replacement).
Test pressure switches by monitoring their state as you observe system pressures. The low-pressure switch should open around 25 PSI, protecting the compressor from running dry. The high-pressure switch opens above about 400 PSI, stopping dangerous over-pressure. Only bypass these switches temporarily for diagnosis.
Check all wiring for corrosion, especially the clutch connector exposed to road spray. Clean corroded connections with electrical contact cleaner and coat with dielectric grease.
Testing compressor clutch engagement
The clutch has three parts: the pulley (always spinning), the clutch plate (attached to compressor shaft), and the electromagnetic coil. When energized, the coil pulls the plate against the pulley to engage the compressor.
With the engine off, manually rotate the clutch plate using the center bolt. It should turn smoothly with slight resistance. Grinding, clicking, or heavy resistance means internal compressor damage.
Check the clutch air gap—space between pulley and plate when disengaged. Typical specs: 0.014″ to 0.030″. Too large prevents engagement; too small causes slip and overheating. Adjust using shims behind the clutch plate per manufacturer specs.
Apply 12 volts directly to the clutch coil and watch it engage. The clutch should click and the plate should spin with the pulley. If it engages with direct power but not through your car’s controls, the problem is in the control circuit, not the compressor.
Step-by-Step Compressor Repair Process
An EPA-certified technician must evacuate refrigerant using approved recovery equipment before any work. Never vent refrigerant. This section assumes refrigerant has been properly recovered.
Removing the compressor safely
Disconnect the negative battery cable. Release the serpentine belt tensioner, remove the belt, and document routing with photos. Disconnect the clutch electrical connector and pressure switch (if mounted on compressor). Place a drain pan underneath. Disconnect refrigerant lines and immediately cap all openings with plugs or tape. Note the amount and condition of oil that drains—excessive oil or metal particles signal system contamination needing attention.
Remove the mounting bolts (typically 3–4), support the compressor’s weight, and remove the last bolt. Some installations require removing power steering pumps, alternators, or engine covers for access.
Once removed, drain and measure the old compressor’s oil. Most compressors hold 4–8 ounces of PAG oil—you’ll need this amount to know how much to add to the replacement.
Inspecting and cleaning internal components
Before installing a new compressor, flush the entire system to remove contamination from the failed unit. Special AC flush solvent removes debris from the condenser, evaporator, and lines.
Always replace the receiver-drier or accumulator when replacing the compressor. Once exposed to air during replacement, the desiccant is saturated and must go. Replace the expansion valve or orifice tube too, since these restricted components trap debris.
Inspect all rubber hoses for cracks, swelling, or deterioration. Fifteen-year-old hoses probably need replacement even if they look okay. Replace every O-ring with new ones coated in refrigerant oil before installation.
Reassembling and recharging the system
Add the correct amount and type of refrigerant oil to the new compressor. If the old compressor had 6 ounces and you’re replacing the receiver-drier (which holds about 1 ounce), add 7 ounces total. Use PAG oil for R-134a systems, POE oil for R-1234yf systems, or mineral oil for older R-12 systems. Never mix oil types.
Install the new compressor with torqued mounting bolts. Connect refrigerant lines using new O-rings, torquing all fittings correctly. Install the belt with proper tension and alignment.
Pull vacuum on the system using a vacuum pump to 29 inches mercury and hold for 30–45 minutes. If vacuum doesn’t hold, there’s a leak to fix first. Proper evacuation removes air and moisture—both poison for system life.
Recharge with the correct refrigerant type and amount from your car’s AC label. Use a charging scale for accuracy. Start the engine, turn on AC, and confirm operation. Monitor gauge pressures and outlet temperatures (should be 40–50°F depending on outside heat). Check all connections for leaks with a leak detector. According to the EPA’s Motor Vehicle Air Conditioning regulations, all repairs must be leak-free.
Tools and Materials You’ll Need
Essential diagnostic equipment
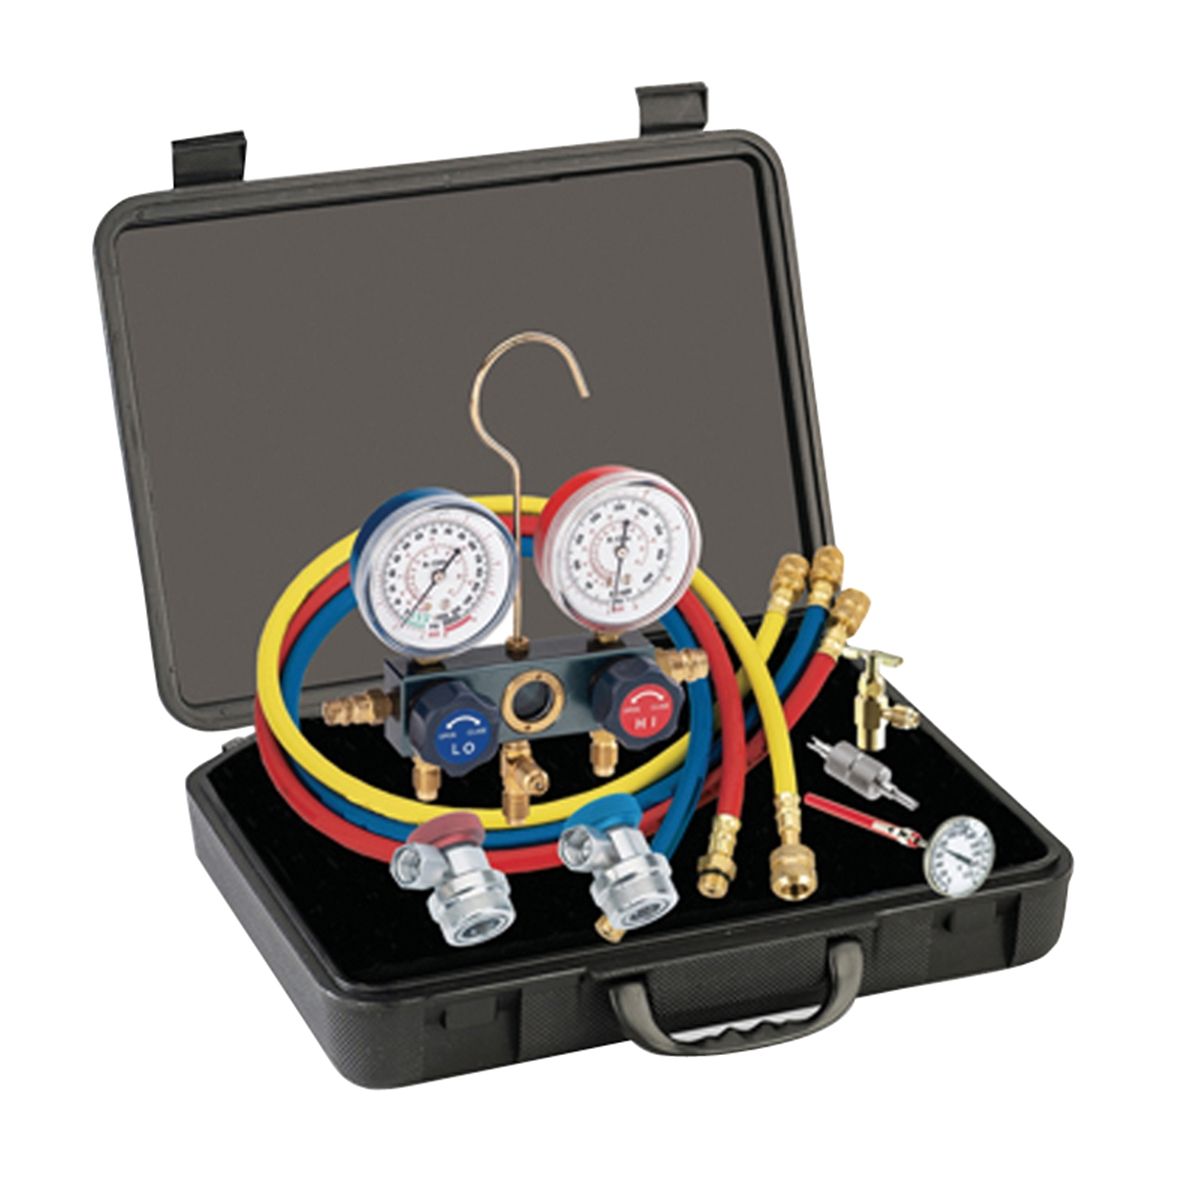
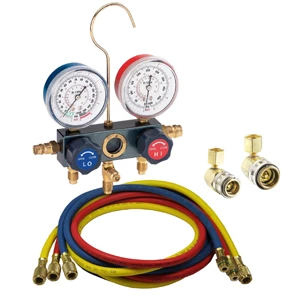
A manifold gauge set ($60–150) is absolutely essential—quality brass sets have color-coded hoses. Digital manifold sets ($300–800) provide more accurate readings and temperature sensors.
Electronic refrigerant leak detectors ($50–500) spot leaks as tiny as 0.1 ounce per year. UV dye kits offer another method, needing a UV flashlight ($20–60) and fluorescent dye cartridges.
A digital multimeter measuring voltage, resistance, and amperage costs $40–150. Infrared thermometers ($20–80) measure AC line, evaporator outlet, and condenser surface temperature without contact.
Repair kit components and refrigerant types
Complete seal kits with all O-rings and gaskets cost $15–40. Coat all O-rings lightly with refrigerant oil before installation.
Refrigerant type depends on year: Pre-1995 vehicles use R-12 (recycled stock only); 1995–2016 use R-134a ($5–10 per pound); 2017+ increasingly use R-1234yf ($60–100 per pound).
PAG (Polyalkylene Glycol) oil is standard for R-134a systems in different viscosities (PAG 46, 100, 150). POE (Polyol Ester) oil is required for R-1234yf and some hybrid compressors. Refrigerant oil bottles cost $10–25. AC flush solvent and a flush gun cost $50–100.
Safety equipment and workspace setup
Refrigerant causes instant frostbite and eye damage. Wear chemical-resistant gloves and safety glasses with side shields. Work in well-ventilated areas or outdoors—modern refrigerants displace oxygen in tight spaces. Never smoke or use open flames near refrigerant.
A refrigerant recovery machine ($300–2000) is legally required. Many auto parts stores loan these. A two-stage vacuum pump ($100–300) beats single-stage for better moisture removal. A micron gauge ($80–200) verifies vacuum depth below 500 microns for critical work.
AC Compressor Repair Checklist
- ☐ Recover refrigerant using approved equipment (EPA certified technician required)
- ☐ Disconnect battery negative cable
- ☐ Remove serpentine belt and document routing
- ☐ Disconnect electrical connections and pressure switches
- ☐ Cap all refrigerant line openings immediately after disconnection
- ☐ Measure and record oil quantity from old compressor
- ☐ Flush entire AC system to remove contamination
- ☐ Replace receiver-drier/accumulator and expansion device
- ☐ Install new compressor with proper oil quantity and type
- ☐ Replace all O-rings and lubricate with refrigerant oil
- ☐ Torque all fittings to specification
- ☐ Evacuate system to 29″ Hg for minimum 30 minutes
- ☐ Verify vacuum holds (no leaks)
- ☐ Recharge with correct refrigerant type and quantity
- ☐ Verify proper operation and check all connections for leaks
- ☐ Monitor gauge pressures and vent temperatures
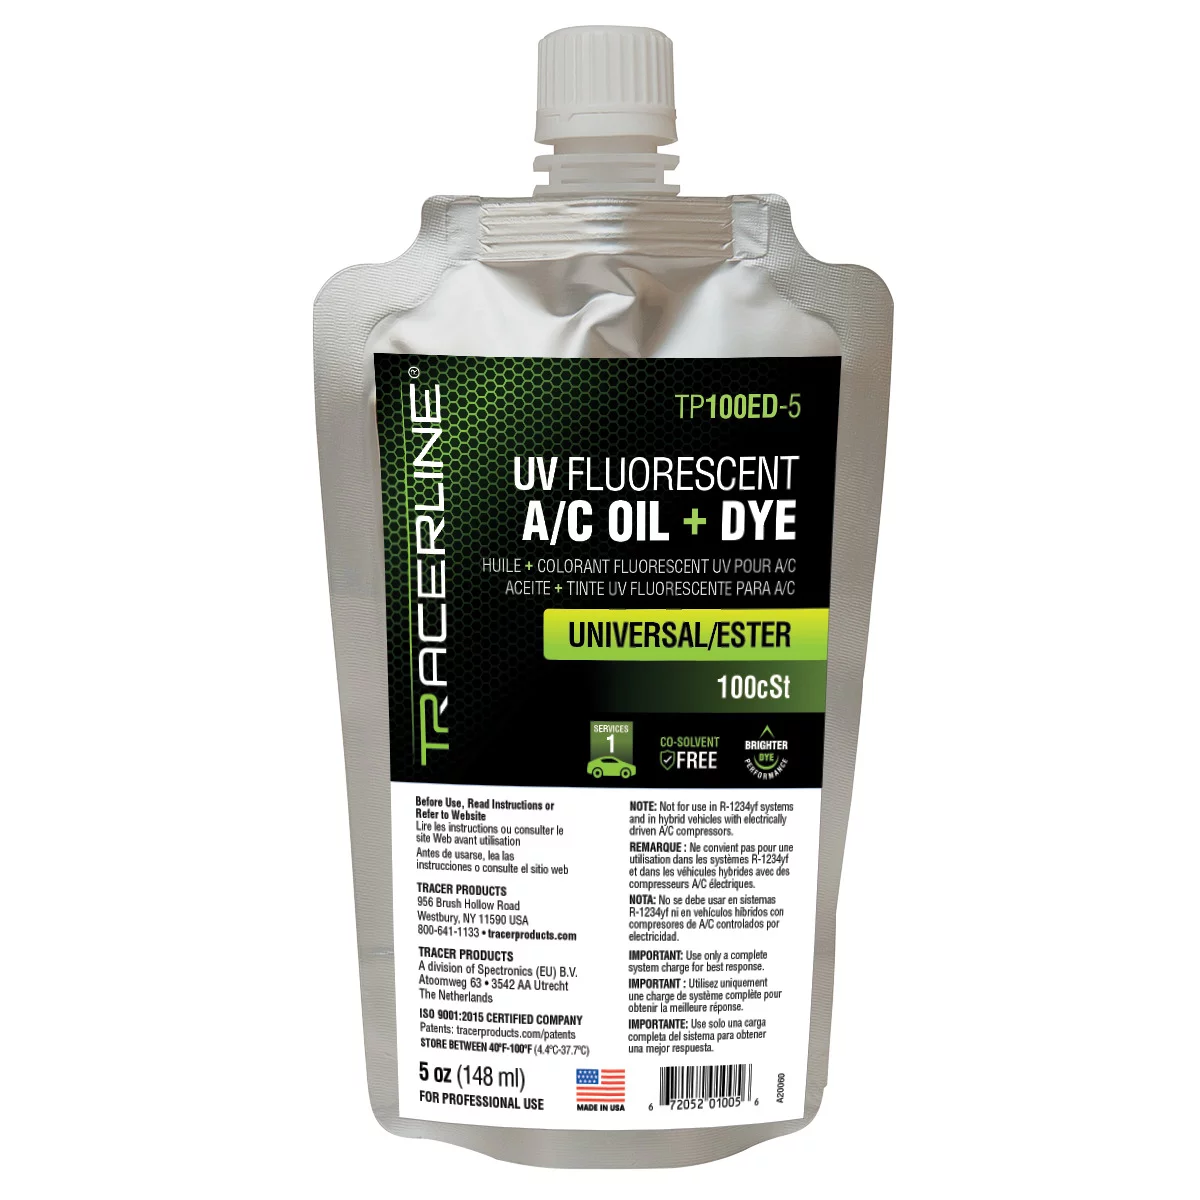
5OZ foil pouch univ/ester AC oil with fluoresc dye
Mfg: Tracer Products
Part #: TP100ED-5
Compressor Repair vs. Replacement Comparison
| Option | Cost Range | Warranty Coverage | Best For |
|---|---|---|---|
| New OEM Compressor | $400–$800 (parts only) | 1–3 years manufacturer warranty | Newer vehicles under warranty, maximum reliability needed |
| Remanufactured Compressor | $150–$400 (parts only) | 1–2 years, often lifetime warranty available | Most repairs, best value for older vehicles, quality rebuilders offer excellent reliability |
| Clutch Assembly Replacement Only | $80–$200 (parts only) | 90 days–1 year typical | Clutch-specific failures with good compressor internals, no refrigerant recovery needed |
| Professional Compressor Rebuild | $250–$500 (labor intensive) | Varies by rebuilder, 90 days–1 year | Rare/expensive compressors where replacement cost is prohibitive, classic cars |
Preventative Maintenance Tips
Regular system inspections and checks
Run your AC at least once monthly, even in winter, to circulate oil through the system and keep seals from drying out and cracking. Run for 10–15 minutes at maximum fan speed and coldest setting.
Visually inspect the compressor, hoses, and connections quarterly for oil residue signaling a leak. Check the serpentine belt for cracks, glazing, or fraying. Monitor vent temperatures during operation to establish a baseline—if temperatures creep up over time, the system is losing refrigerant.
Check the condenser (in front of the radiator) for bent fins or debris clogging it. Straighten bent fins with a fin comb and clean dirt using compressed air or a gentle water spray from the back.
Protecting against debris and contamination
Keep the evaporator drain tube clear to prevent water backup and mold growth. Periodically flush this drain with compressed air or a flexible wire. Replace the cabin air filter on schedule (typically yearly or every 15,000 miles) to maintain airflow and prevent compressor overwork.
Don’t open the AC system unless necessary—every opening risks moisture and debris entry. When service is needed, keep the system open as briefly as possible and immediately cap all openings.
Fix refrigerant leaks immediately. Running with low refrigerant starves the compressor of oil and lets it run hot. A $150 leak repair ignored can become an $800 compressor replacement.
Seasonal AC maintenance schedule
Before summer: check refrigerant pressures, look for leaks, verify clutch operation, measure vent temperatures, and clean the condenser to ensure reliable operation when needed.
During winter: run the AC in defrost mode regularly. Most cars automatically engage the compressor in defrost to dehumidify air, providing the monthly operation needed to circulate oil and maintain seal integrity.
Once a year: have the system professionally inspected if you lack diagnostic equipment. A technician can verify refrigerant charge, check for developing leaks, and ensure all components work correctly. This service typically costs $80–120 and prevents major failures.
Frequently Asked Questions
How much does compressor repair cost?
Complete compressor replacement costs $500–$1200 at a shop, including parts, labor, refrigerant recovery, and recharge. The compressor itself costs $150–$800 (remanufactured vs. new OEM). Labor runs $200–$500. Add refrigerant ($50–$150), receiver-drier or accumulator ($30–$80), O-ring kits ($15–$40), and refrigerant oil ($10–$25). Systems needing complete flushing add $100–$200. DIYers with proper equipment and EPA certification save labor but must legally recover and recharge.
Can I repair instead of replace my compressor?
Most compressor failures require full replacement. But external component failures like the clutch assembly, shaft seal, or pressure switches can be swapped without replacing the whole compressor. If your compressor has a dead clutch but internals pump fine (confirmed by smooth manual rotation and proper pressure building), clutch replacement is viable and cheaper. This needs no refrigerant recovery if you don’t disconnect refrigerant lines. Specialized rebuild shops can overhaul internals, but this only makes sense for expensive compressors where replacement exceeds $800.
What warranty coverage applies to compressor repairs?
New OEM compressors typically include 1–3 year manufacturer warranties covering defects. Remanufactured compressors from quality suppliers often include lifetime warranties, though these may be prorated after the first year. Professional installation shops usually offer 1–2 year labor warranties. Warranties typically void if failure results from poor installation, system contamination, or running with known leaks. Check warranty terms before purchase and keep all AC work records. According to FTC warranty guidelines, understand what your warranty covers, how long it lasts, and how to file claims.
How long does a compressor repair take?
Professional shops typically finish compressor replacement in 2–4 hours for straightforward jobs; tight-access compressors may need 6–8 hours. Jobs include refrigerant recovery (30 minutes), compressor removal (30–90 minutes), system flushing if needed (45–60 minutes), installation (45–90 minutes), system evacuation (30–45 minutes), and recharge/testing (30 minutes). DIYers should plan a full day, especially on your first swap.
Will a bad compressor damage other AC components?
A failing compressor can damage other system components. When internal mechanical damage occurs, metal particles spread throughout the system, contaminating the condenser, evaporator, expansion valve, and all lines. This destroys a replacement compressor within hours or days without proper flushing. A locked-up compressor can also damage the serpentine belt, tensioner, and other belt-driven accessories. Low refrigerant from a leaking compressor lets moisture in, causing corrosion and acid formation that degrades the receiver-drier and refrigerant oil. If you suspect compressor failure, stop using AC and get it checked to prevent cascading damage.
Can I drive with a bad AC compressor?
You can drive with a dead compressor if the clutch disengages properly—the pulley keeps spinning without engaging the compressor shaft. But a seized compressor with a stuck clutch jams the serpentine belt, killing power steering, the alternator, and the water pump, potentially overheating the engine. If the compressor grinds or the belt squeals when AC is on, turn off the AC immediately. In emergencies, you can remove the belt and install a shorter bypass belt routing around the compressor pulley, letting your car run without AC temporarily. This isn’t recommended long-term since it leaves the compressor shaft exposed.
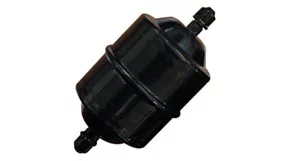
Replacement Filter Dryer for 69000 Refrigerant Recovery System
Mfg: Mastercool
Part #: 69500DR
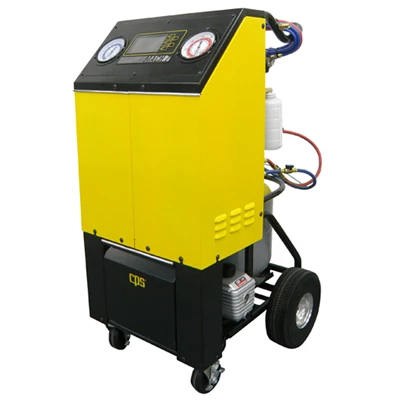
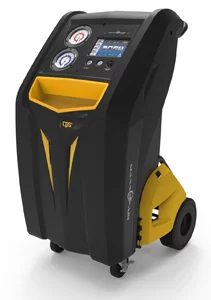
REFRIGERANT RECOVERY / RECYCLING / RECHARGING MACHINE
Mfg: CPS Products
Part #: FA1000
Essential Lifting & Shop Equipment for AC Compressor Repair
When tackling AC compressor repairs, having the right lifting and shop equipment can make the job safer and more efficient. Whether you need to elevate your vehicle or organize your workspace, our Lifting & Shop category has everything you need.
- Engine Stands: Safely lift and support your vehicle while accessing the compressor
- Jack Pads & Adapters: Protect your vehicle’s body and ensure stable lifting during repairs
- Shop Organization Tools: Keep fasteners, parts, and tools organized throughout your repair project
The Toolsource Technical Team blends decades of real-world automotive service experience with up-to-date technical research. Our writers collaborate with professional mechanics, shop owners, and diagnostic specialists to deliver practical, workshop-ready guidance you can trust.


Follow us on social media