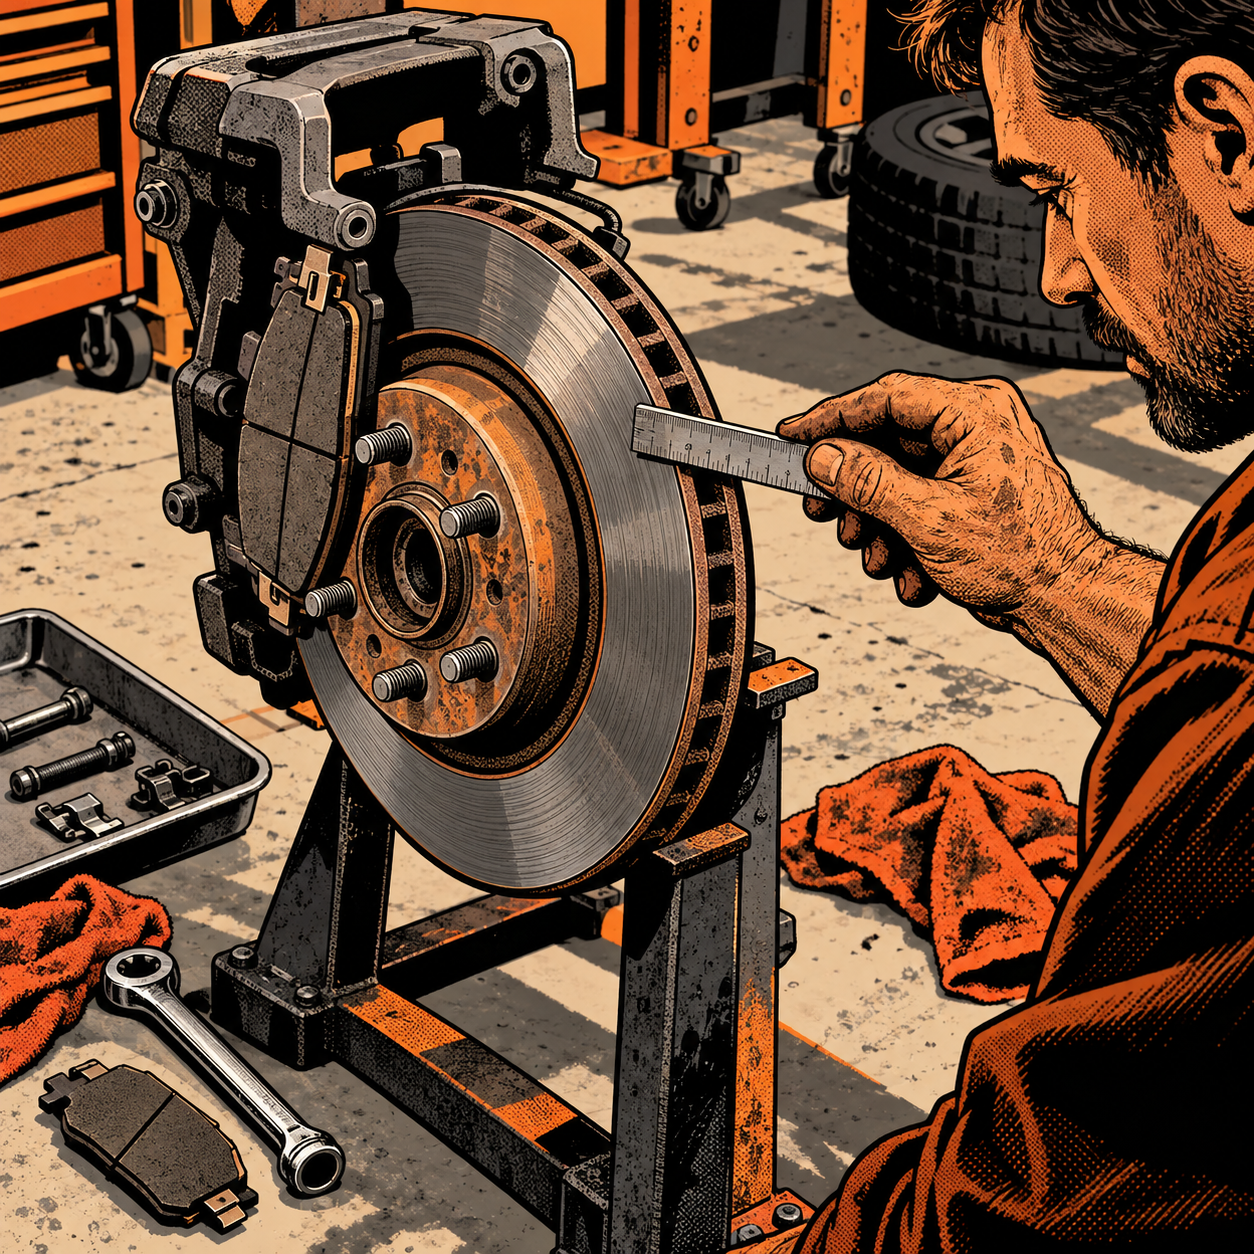
Every tech has heard it: a customer pulls a wheel off, sees a rusty rotor or hears a squeal on cold mornings, and assumes the brakes are done. Most of the time they aren’t. Pad material and rotor surface condition tell two different stories, and conflating them leads to unnecessary parts sales or, worse, customers ignoring an actual problem because “the internet said it’s fine.” Here’s a practical framework for inspecting pads and rotors, separating cosmetic issues from real wear, and deciding when a brake service is actually due.
Reading Pad Thickness the Right Way
Pad friction material doesn’t wear evenly or dramatically until it’s close to the backing plate, which is why eyeballing a pad from an angle can be misleading. Most pads have a wear indicator groove stamped into the friction material — a visible channel running across the pad face. The rule of thumb repeated across every brake-focused shop is simple: as long as that groove is still visible, there’s usable material left. Once it’s worn flush or gone, you’re into the final few thousand miles before metal-to-metal contact.
A pad that still shows 50-75% of its original thickness has plenty of service life left, even if it looks thinner than a brand-new pad sitting next to it. Compare pad thickness to the backing plate thickness — if the friction material is still noticeably thicker than the metal plate it’s riveted or bonded to, you’re not in replacement territory yet. Don’t make a call based on one wheel; pull all four (or at least both sides of an axle) since pad wear isn’t always symmetric, especially with a sticking caliper slide pin or seized guide pin.
Rotor Inspection: Surface Rust vs. Real Damage
This is where most unnecessary replacements happen. A rotor that’s been sitting through a rainy week or a humid climate will develop a light surface rust film on the braking surface almost immediately after the vehicle is parked. That rust wipes away within the first few stops of normal driving and is cosmetic — it does not indicate rotor failure. What actually matters is the rotor’s structural condition: measured thickness against the minimum spec cast into the rotor hub, visible grooving or scoring deep enough to catch a fingernail, hard spots (visible as discoloration rings), or cracking at the vane edges on heavier rotors.
A rotor with light rust and a shallow, even scoring pattern is a candidate for cleaning and continued use, not replacement — this used to be routine when rotor turning (resurfacing on a brake lathe) was standard shop practice, and mechanically it still works the same way today, assuming the rotor has enough thickness margin left after a cut. The one thing rust does change is heat dissipation. A rusted or pitted surface doesn’t shed heat as efficiently as a clean one, which matters under sustained heavy braking — think towing a trailer through mountain grades or repeated hard stops — but is essentially irrelevant for day-to-day commuting.
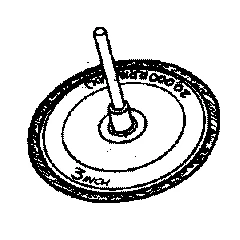


Brake Rotor Surface Conditioning Refill Disc Pack 120 Grit Roloc
Mfg: 3M Automotive
Part #: 01411
Diagnosing the Squeal Without Assuming the Worst
Squealing brakes get blamed for imminent pad failure more than almost any other symptom, but noise and remaining pad life are only loosely related. A few common, benign causes:
- Wear indicator tabs: many pads have a small metal tab designed to contact the rotor and squeal intentionally once the pad nears its replacement point — this is a feature, not a malfunction, though it does mean you’re approaching service time.
- Moisture and glazing: brakes that sit overnight, especially in humid or cold conditions, often squeal for the first several stops until surface moisture and light rust are scrubbed off. This is normal and clears up on its own.
- Dry contact points: squealing without any pad-life concern is frequently resolved by applying a thin layer of high-temperature brake caliper grease (never on the friction face) to the pad’s backing plate contact points and abutment clips. This damps vibration without touching performance.
Noise alone, absent pedal feel issues, pulling, or visibly thin pads, is not a reliable indicator that a brake job is due. Treat it as a separate diagnostic question from pad/rotor wear.
The Road Test: Confirming Actual Stopping Performance
Visual inspection only tells part of the story. A functional road test closes the gap. On a safe, empty stretch of road, bring the vehicle to a moderate speed (40-50 mph) and apply firm, controlled braking force — not a panic stop that could be unsafe, but enough to load the system meaningfully. While doing this, keep a light grip on the wheel and note whether the vehicle pulls noticeably to one side. A pull under hard braking points to uneven pad wear, a sticking caliper, or a contaminated pad on one side, and warrants a closer look regardless of how the pads measured visually. A pedal that feels soft, sinks slowly, or requires pumping is a separate red flag pointing toward hydraulic issues, not pad wear, and should be addressed immediately rather than deferred.
If the stop feels solid, confident, and straight, and the pedal feels firm, the visual inspection findings (adequate pad material, structurally sound rotors) can be trusted and the vehicle is fine to return to service without further work.
Why “Pad Slap” Jobs Create Rotor Problems Later
A recurring pattern in brake inspections is pads that look nearly new sitting on rotors that look rough, grooved, or heavily lipped at the outer edge. This almost always means a previous brake job replaced pads only, skipping rotors that were already due for resurfacing or replacement at the time. It’s a common shortcut to save cost, but it defers the problem rather than solving it — the rotor keeps wearing unevenly under the new pads, and the next service interval often requires rotor replacement anyway, sometimes sooner than it would have if addressed together.
When advising customers (or documenting your own vehicle’s history), the practical takeaway is: if rotors are borderline at a pad change, do both now. It costs less in combined labor than doing pads now and rotors in six months, and it avoids the uneven wear pattern that develops when fresh pads run against a rotor that’s already out of spec.
Quick Inspection Checklist
- Pad wear indicator groove still visible? → Likely 50%+ life remaining.
- Rotor surface rust wipes clean, no deep grooving or hard spots? → Cosmetic, not a failure.
- Squeal present but pedal feel and pad thickness are fine? → Likely moisture, glazing, or a wear tab doing its job.
- Road test: straight, firm stop with no pulling or pedal sink? → System is performing normally.
- Rotors already lipped/grooved at a pad-only interval? → Plan to replace both together next time.
- Heavy towing, mountain driving, or track use? → Lean toward replacing rust-pitted rotors sooner for heat dissipation.

Frequently Asked Questions
How do I know if my brake pads actually need replacing?
Check the wear indicator groove stamped into the pad face. If it’s still visible, there’s meaningful material left. Once the groove is gone or pad thickness approaches the backing plate, replacement is due soon.
Is rust on my rotors a sign they’re failing?
Not usually. Light surface rust forms after a vehicle sits and typically wipes away within the first few stops of driving. It only becomes a performance concern if it’s pitting the surface deeply or paired with grooving and reduced thickness.
Why do my brakes squeal only in the morning or after rain?
That’s almost always moisture or light rust on the rotor surface, cleared off by the first several brake applications. It’s not an indicator of pad or rotor failure on its own.
Can I just grease my pads to stop the squeal?
Yes — applying high-temp brake grease to the pad’s backing plate and abutment contact points (never the friction surface) is a standard fix for vibration-induced squeal, and it’s safe as long as pad thickness and rotor condition are otherwise fine.
Should I replace rotors every time I do pads?
Not automatically, but if rotors are already near minimum thickness or showing a wear lip at the pad change, do both now rather than deferring — it avoids a second labor charge soon after and prevents uneven wear against new pads.
What’s the best way to confirm my brakes are safe without a shop visit?
A controlled road test: accelerate to 40-50 mph in a safe area, brake firmly, and check for pulling or pedal softness. A straight, firm stop combined with adequate pad thickness and sound rotors is a reliable sign the system is performing normally.
Brake System Tools & Components
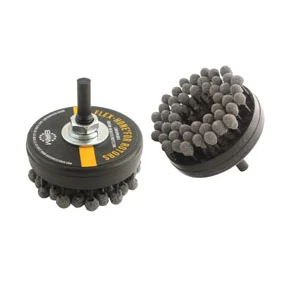
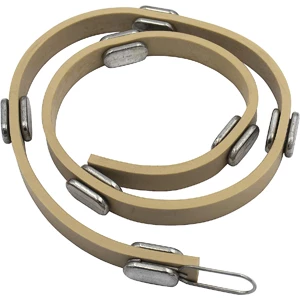
Whether you’re replacing pads, resurfacing rotors, or flushing fluid, our Brake System category has the parts and tools you’ll need for the job.
- Brake pads, rotors, and hardware kits
- Calipers, hoses, master cylinders, and seals
- Brake fluid, cleaner, and specialty bleeding equipment

The Toolsource Technical Team blends decades of real-world automotive service experience with up-to-date technical research. Our writers collaborate with professional mechanics, shop owners, and diagnostic specialists to deliver practical, workshop-ready guidance you can trust.


Follow us on social media