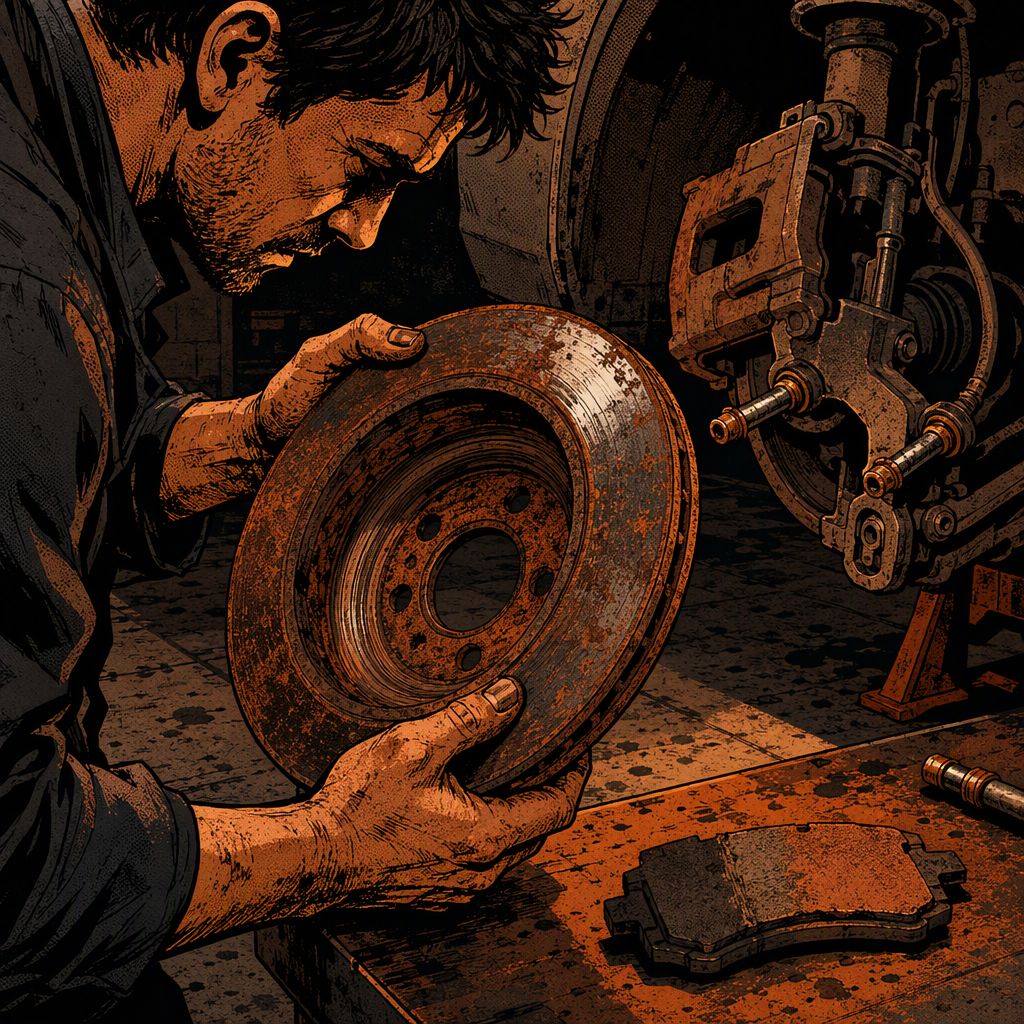
A wheel comes off, and the rotor looks like it spent the winter at the bottom of a lake — flaking rust, pads worn thin, and a grinding noise the customer swears “just started.” It’s one of the most common comebacks in the bay, and it’s also one of the easiest to misdiagnose if you jump straight to “pads and rotors” without checking what’s actually causing the wear pattern. Surface rust, a dragging parking brake, collapsed brake hoses, and genuinely worn-out friction material can all produce the same symptom — noise and a rough-looking rotor — but they call for very different repairs. Here’s a practical process for sorting out which one you’re dealing with before you write the estimate.
Start With a Visual Inspection, Not an Assumption
Before quoting a full brake job, pull the wheel and look at both friction surfaces of the rotor, not just the outboard side visible through the wheel. Inner pads wear faster than outer pads on most floating-caliper setups, so a customer-facing photo of the outer pad tells you very little. If the outer pad still has meat but the rotor’s inner face is heavily pitted or grooved, the inner pad is almost certainly closer to the wear indicator — or already metal-on-metal.
Check for these specific conditions during the visual:
- Raised or flaking rust on the rotor’s edge or hat area that the pad is riding up onto
- Uneven pad wear (tapered from top to bottom, or one side worn more than the other)
- Scoring or grooving deep enough to catch a fingernail
- Rust discoloration that’s just surface oxidation on an otherwise flat, machined surface
Surface rust on a rotor that’s sat for a few weeks is cosmetic and will burnish off with normal driving. Rust that’s built up in ridges or pitted into the metal is a different story — that’s actual material loss, and pads riding over that texture will wear unevenly and get noisy fast.
Rule Out Parking Brake Drag, Especially on Rear Rotors
If the noise and heavy rust are isolated to one rear wheel, check the parking brake mechanism before you touch the service brakes. A stuck or maladjusted e-brake cable, a seized parking brake shoe (on rear drum-in-hat setups), or an over-tightened adjuster can keep the rotor’s inner hat surface in constant light contact. That constant low-grade friction strips the protective coating off the rotor, accelerates localized rust, and can chew through a brand-new rotor in a matter of months if it’s not corrected during the repair.
To check it: release the parking brake fully, spin the wheel by hand, and feel for drag. Then apply the parking brake partway and see if the resistance increases smoothly or if it’s already engaged before the lever or pedal moves. On integrated parking-brake calipers, inspect the actuator arm for freedom of movement and confirm the cable isn’t seized in its housing — road salt and years of disuse are the usual culprits. If you replace rotors without correcting a binding parking brake, expect the same complaint back within a year.
Decide Between a Pad-Only Job and a Full Brake Job
Not every worn brake needs new rotors. If the rotor surface is flat, within spec on thickness and runout, and the rust is limited to light surface oxidation, a pad-only replacement is a legitimate and much cheaper option — often a few hundred dollars less than a full pad-and-rotor job, assuming the customer is doing or paying for labor separately from parts. The tradeoff is that reused rotors won’t look or perform like new, and if they’re already marginal, you’re deferring the rotor replacement rather than avoiding it.
Replace rotors instead of resurfacing or reusing them when you see:
- Thickness below the minimum spec stamped on the rotor or listed in service data
- Rust pitting deep enough that machining would take it below minimum thickness
- Hard spots, heat discoloration, or visible warping
- A history of parking brake drag that’s damaged the hat or friction surface
Turning rotors down on a lathe is rarely worth the shop time anymore on most passenger vehicles — rotors are inexpensive enough that replacement is usually the better labor-to-cost tradeoff, and a fresh rotor gives you a known-good surface for new pads to bed into.
Don’t Skip Slide Pins and Hardware
Whenever a caliper has been sitting on corroded slide pins, factor a slide pin kit — or at minimum, cleaning and re-lubricating the existing pins with high-temp brake grease — into the job. Seized or sluggish slide pins cause uneven pad wear (which mimics rotor problems), keep the caliper from fully retracting, and are a major contributor to the kind of rust buildup that gets misread as “just a rotor problem.” If a caliper has visible corrosion on the pins or the boots are torn, replace the hardware kit rather than reusing it — it’s inexpensive insurance against a comeback.
While the caliper’s off, also inspect the brake hose. A collapsed or internally delaminated rubber hose can act as a one-way valve, letting fluid reach the caliper under pedal pressure but restricting its return — which keeps the pad dragging against the rotor even with the caliper otherwise healthy. This is a less common cause than a bad slide pin or a dragging e-brake, but it’s worth ruling out if the drag persists after new pads, rotors, and hardware are installed.
Bed In New Pads and Rotors Correctly
After installing new pads and rotors, a proper bed-in procedure matters more than customers usually expect. Loose casting material and mold release on new rotors, along with the outer layer of new pad material, need to transfer evenly before the brakes reach full performance. A rushed or skipped bed-in is a common cause of the “new brakes are still noisy” comeback.
A practical bed-in sequence: perform four or five moderate-to-hard stops from around 50 mph, allowing the brakes to cool between stops without coming to a complete stop and holding (which can transfer pad material unevenly and cause a hot spot). Avoid full stops during this sequence if possible. Follow with a lighter series of stops from around 30 mph. This heat-cycles the new pad material into the rotor surface and clears any lingering rust or debris from the reassembly. If grinding or noise is still present after a proper bed-in, that points back to a mechanical issue — drag, hardware, or a bad part — rather than a normal shakedown.
Quick Diagnostic Checklist
- Inspect both rotor faces and both pads (inner and outer), not just what’s visible from outside the wheel
- Check for parking brake drag on rear wheels before replacing parts
- Measure rotor thickness and runout against spec before deciding to reuse
- Inspect slide pins, caliper boots, and brake hoses for corrosion or restriction
- Replace hardware (slide pin kits) when pins show corrosion, not just when they’re difficult to remove
- Bed in new pads and rotors with a proper heat-cycle sequence before calling the job complete

Frequently Asked Questions
Is surface rust on a rotor a real problem?
Light surface rust that forms after a vehicle sits for a few days or weeks is normal and typically burnishes off within the first several stops. It becomes a problem when it builds into raised ridges, pits the rotor surface, or accumulates because of a mechanical issue like parking brake drag — in those cases it accelerates pad wear and noise.
Can I replace just the pads if the rotors still look okay?
Yes, if the rotors measure within spec for thickness and runout and the surface is free of deep pitting or scoring. Pad-only jobs are common and legitimate, but they only make sense when the rotor itself is genuinely healthy, not just visually acceptable.
What causes a parking brake to drag on one rear wheel?
The most common causes are a seized cable (usually from corrosion), an over-adjusted parking brake mechanism, or a stuck actuator arm on an integrated parking-brake caliper. It tends to show up more in vehicles that sit for extended periods or see heavy road salt exposure.
Should I turn my rotors instead of replacing them?
Resurfacing can work if the rotor has enough material left above minimum thickness after machining, but on most modern vehicles new rotors are inexpensive enough that replacement is usually the more practical choice, especially when rust pitting is involved.
Do I need new slide pins every time I do a brake job?
Not always, but inspect them every time. If they show corrosion, feel gritty when moved by hand, or the boots are torn, replace them. Reusing corroded pins on new pads and rotors is a common cause of uneven wear and repeat comebacks.
How soon can I drive normally after a brake job?
Run the bed-in sequence first — a handful of moderate stops from higher speed followed by lighter stops from lower speed — before subjecting the brakes to hard, repeated stops. This helps the new pad and rotor surfaces mate properly and reduces the chance of noise or uneven transfer later.
Shop Brake System Tools and Parts
Having the right components and tools available makes brake diagnosis and repair more efficient. Browse our Brake System selection for quality rotors, pads, hardware kits, and accessories.
- Brake rotors and pads for all common applications
- Slide pin kits and caliper hardware
- Brake hoses and specialty components

The Toolsource Technical Team blends decades of real-world automotive service experience with up-to-date technical research. Our writers collaborate with professional mechanics, shop owners, and diagnostic specialists to deliver practical, workshop-ready guidance you can trust.


Follow us on social media