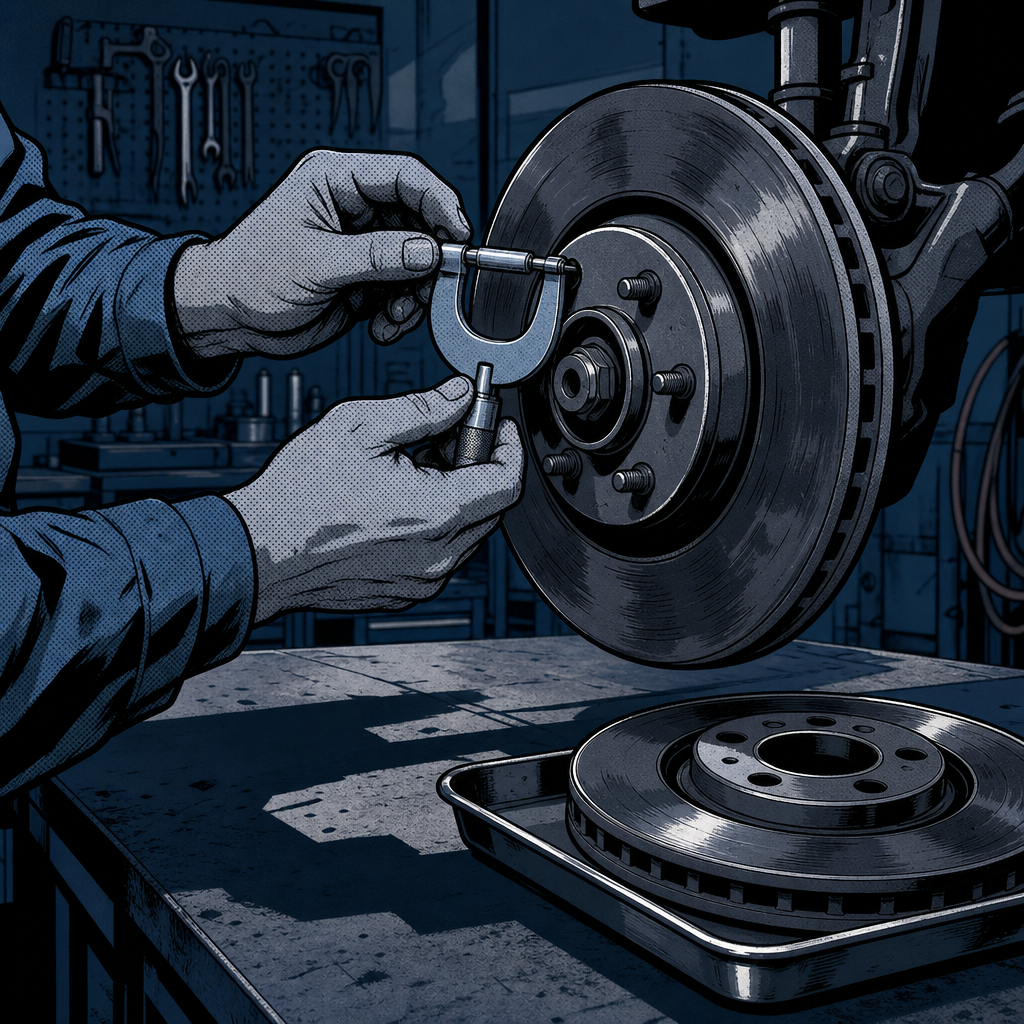
The question of whether you can replace brake pads without replacing rotors is one of the most common debates in brake service. While many shops default to replacing both components together, the technical reality is more nuanced. A pad-only replacement—often called a “pad slap” in the trade—can be perfectly safe and effective when rotors meet specific criteria. The key is knowing how to measure, inspect, and evaluate rotor condition using objective standards rather than guesswork. This guide provides the practical measurements and inspection protocols technicians use to make that call.
Why Shops Prefer Replacing Pads and Rotors Together
Most professional shops recommend replacing pads and rotors as a set for several business and technical reasons. From a warranty standpoint, installing new pads on used rotors creates risk: if the customer experiences noise, vibration, or premature pad wear afterward, the shop often ends up repeating the job at no charge. Even when technicians warn customers upfront that reusing rotors isn’t best practice, complaints about brake performance almost always come back to the shop.
Modern rotors also have less material to work with than older designs. Vehicle manufacturers reduced rotor thickness starting in the late 1990s as part of weight-reduction efforts for fuel economy and emissions standards. These thinner rotors often lack sufficient material for resurfacing, and many shops have eliminated their brake lathes entirely because the cost of labor to resurface a rotor exceeds the price of a new replacement part. The economics favor replacement: a new rotor eliminates the risk of comebacks and provides a clean warranty.
That said, the practice of always replacing rotors is driven partly by liability and customer service, not purely by technical necessity. For DIY mechanics working on their own vehicles—or budget-conscious customers willing to accept the trade-offs—reusing rotors can be viable if the rotors pass inspection.
Measuring Rotor Thickness: The Non-Negotiable Check
The single most critical measurement is rotor thickness. Every rotor has a minimum thickness specification, often called “discard thickness” or “minimum thickness,” stamped on the rotor hat or listed in the vehicle’s service manual. This measurement accounts for safe heat dissipation and structural integrity. Operating below this spec risks rotor failure, reduced braking performance, and dangerous heat-related issues.
Use a micrometer or caliper to measure the thinnest point on the rotor friction surface. Rotors wear unevenly, so check multiple points around the circumference and measure both sides. Compare your lowest reading to the manufacturer’s minimum specification. As a common example, a vented rotor might have a new thickness of 32mm with a discard spec of 30mm—a wear allowance of 2mm total.
If your measurement is at or below the discard thickness, replace the rotor immediately. If you’re within spec but close to the limit—say, 30.5mm on a 30mm discard spec—consider that the new pads will wear the rotor down further before they’re consumed. You don’t want to reach minimum thickness mid-pad-life with no warning. A general rule: if the rotor has less than 1mm of material above discard spec, replace it now rather than risk it going out of spec before the next pad change.
Some technicians joke about using the “eyeball method” or checking if a fingernail catches the wear lip, but these are shortcuts, not substitutes for actual measurement. The wear lip—the ridge of unworn material at the outer edge of the rotor—can give a rough visual sense of wear, but only a caliper provides the data you need to make a safe decision.

Inspecting Rotor Surface Condition
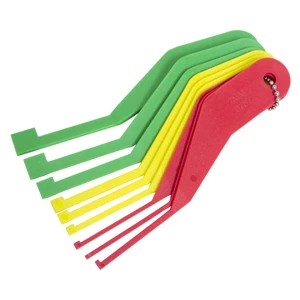
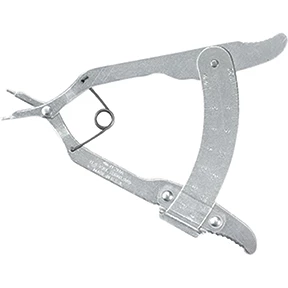
Thickness is necessary but not sufficient. Even a rotor within spec can be unsuitable for reuse if the friction surface is damaged. Inspect both the inner and outer faces for the following conditions:
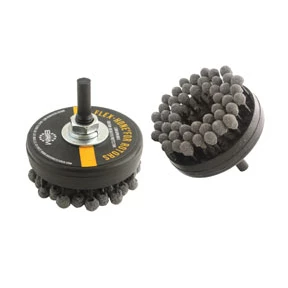
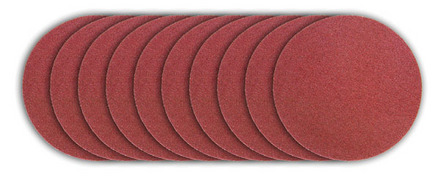
Glazing: A smooth, shiny surface indicates glazing, where heat and light braking have hardened the rotor surface. Glazed rotors reduce pad bite and can cause noise or reduced stopping power. Minor glazing can be addressed by scuffing the surface with 100-150 grit sandpaper or a flap disc to restore texture. If the rotor shows heavy glazing that doesn’t respond to light abrasion, replacement is safer.
Hot spots: Discolored patches—often blue, purple, or dark brown—indicate localized overheating. Hot spots create hard spots in the rotor material that wear unevenly and can cause vibration or pulsation during braking. Surface hot spots may be removed by resurfacing on a lathe if sufficient material remains, but deep or widespread hot spotting usually means replacement.
Scoring and grooves: Light circumferential scoring is normal, but deep grooves or radial cracks are failure points. Run your finger across the surface: if grooves catch your fingernail significantly, the rotor should be resurfaced or replaced. Any visible cracks, especially radial cracks extending from the inner diameter outward, require immediate replacement.
Subsurface corrosion: Rust on the friction surface isn’t always a problem—surface rust burns off with the first few brake applications. However, pitting or subsurface corrosion visible beneath the surface layer indicates material loss and uneven wear. Check the inner rotor face carefully, as it’s often in worse condition than the outer face and hidden from casual inspection.
Warping and runout: If the customer reports pulsation or vibration when braking, check rotor runout with a dial indicator and magnetic base. Mount the indicator against the rotor face and rotate the rotor, watching for deviation. Typical runout specs allow 0.002-0.004 inches of lateral runout; anything beyond that causes pedal pulsation. Warped rotors can sometimes be trued on a lathe if thickness permits, but replacement is more reliable.
When Pad-Only Replacement Works
If your rotors pass the thickness and surface checks, a pad-only job can work well under the right conditions. Here are the practical criteria many experienced techs use for their own vehicles:
No current symptoms: If the brakes aren’t vibrating, pulsating, making noise, or showing reduced performance, the rotors are likely sound. Absence of problems is a good indicator.
Adequate remaining thickness: At least 1-2mm above discard spec, ensuring the rotor will stay in spec through the life of the new pads.
Clean, even friction surface: No deep scoring, cracks, heavy glazing, or hot spots that can’t be addressed with light surface prep.
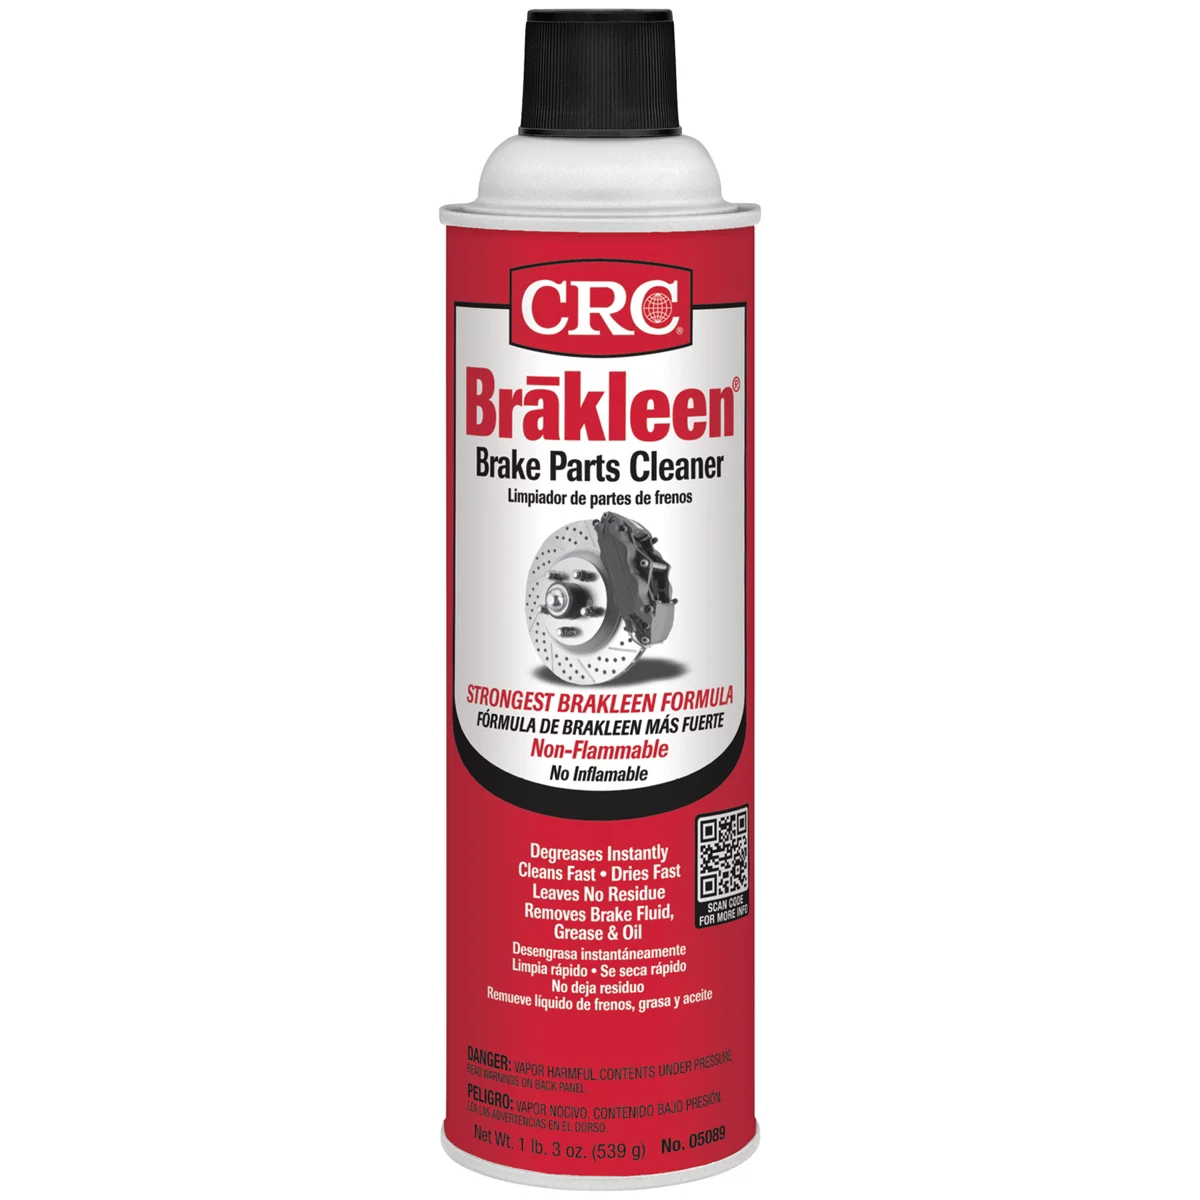
Proper surface prep: If you’re reusing rotors, clean them thoroughly with dish soap and water (many shops use Dawn as an effective, non-toxic brake cleaner), then scuff the surface with sandpaper or a flap disc to remove any glaze and ensure good pad contact. Rinse again to remove all debris before installation.
Address the wear lip: The raised lip at the outer edge of the rotor can interfere with new, thicker pads. Grind or file the lip down carefully so it doesn’t contact the pad backing plate or cause installation issues.
Service the caliper hardware: Clean and lubricate caliper slide pins with high-temperature brake grease (many techs prefer graphite-based grease for longevity). Clean the caliper bracket where the pads sit and apply a thin film of brake lubricant to the pad contact points. Stuck or dry slide pins cause uneven pad wear and can ruin new pads quickly, negating any savings from reusing rotors.
Many DIY mechanics successfully run two sets of pads per rotor set, especially on vehicles with rear brakes that see light duty. As long as you monitor thickness and surface condition, this approach works. The trade-off is accepting that you may experience minor noise or shorter pad life compared to a full pads-and-rotors replacement, and understanding that if problems develop, you’ll need to do the work again.
Rotor Resurfacing: A Disappearing Option
Resurfacing (turning) rotors on a brake lathe used to be standard practice, but it’s increasingly rare. Thin modern rotors often can’t spare the 0.5-1.0mm removed during resurfacing and still remain above discard thickness. Additionally, brake lathes require calibration and maintenance; a worn or misadjusted lathe produces uneven cuts that cause the very problems resurfacing is meant to fix.
Many shops have scrapped their lathes or let them fall into disrepair because the labor cost to set up, cut, and verify a rotor exceeds the $30-70 cost of a new rotor. Some shops sublet lathe work to machine shops, but this adds delay and cost. If your rotors are thick enough and a reliable lathe is available, resurfacing is an option, but confirm the shop can provide a warranty on the work.
For high-end or performance vehicles with expensive rotors—such as large-diameter vented rotors on Corvettes or European sports cars—resurfacing may make economic sense. Ironically, in the premium segment, many shops simply install new pads on used rotors without resurfacing, provided the rotors are in good condition and thick enough. The quality of OEM rotors on these vehicles often exceeds aftermarket replacements, so preserving the original rotor is preferable.
Quick Pre-Installation Checklist
Before you commit to reusing rotors, run through this checklist:
- Measure rotor thickness at the thinnest point with calipers and confirm it’s at least 1mm above discard spec
- Inspect both inner and outer friction surfaces for cracks, deep grooves, heavy hot spots, or subsurface corrosion
- Check for brake pulsation or vibration during test drive; if present, measure runout with dial indicator
- Scuff rotor surfaces with sandpaper or flap disc to remove glaze and ensure good pad contact
- Grind down the outer wear lip so it won’t interfere with new pads
- Clean rotors thoroughly with soap and water, rinse, and dry before installation
- Clean and lubricate caliper slide pins and bracket contact points
- Verify no symptoms (noise, vibration, reduced performance) that indicate rotor problems
Choosing Quality Rotors When Replacement Is Necessary
When you do need new rotors, quality matters. Cheap aftermarket rotors often cause problems that OEM or premium rotors avoid. Technicians report strange wear patterns, premature warping, and noise issues with low-cost rotors, while high-carbon rotors from reputable manufacturers like Bosch, Brembo, ATE, Fremax, and Advics deliver reliable performance.
OEM rotors generally use superior metallurgy compared to budget aftermarket options, which is why some techs never replace OEM rotors unless there’s shaking, grinding, or deep scoring. The upfront cost difference is often minor when factored against the risk of comebacks and re-work. Online retailers like RockAuto offer complete pad-and-rotor kits at prices significantly below local parts stores, often one-third the cost, making replacement affordable even on a budget.
When installing new rotors, always follow proper bedding procedures. Gradual, moderate stops for the first 200-300 miles allow the pads to transfer an even layer of friction material to the rotor surface, establishing the proper interface. Avoid hard stops or prolonged braking during bed-in, as this can create uneven deposits and cause judder.
Frequently Asked Questions
Can I replace just the brake pads without replacing rotors?
Yes, if the rotors measure above minimum thickness, show no cracks or deep scoring, aren’t warped, and you aren’t experiencing vibration or noise. Measure thickness with calipers and inspect both rotor faces carefully before deciding.
How do I know if my rotors are too thin?
Check the discard thickness stamped on the rotor or listed in your service manual. Measure the thinnest point on the rotor with a caliper or micrometer. If your measurement is at or below the discard spec, or within 1mm of it, replace the rotor.
What is rotor glazing and can I fix it?
Glazing is a smooth, hardened surface caused by heat and light braking. It reduces pad bite and can cause noise. Light glazing can be removed by scuffing the rotor with 100-150 grit sandpaper or a flap disc. Heavy glazing that doesn’t respond to scuffing requires rotor replacement or resurfacing.
Why do shops always want to replace rotors with pads?
Shops replace both to provide a warranty and avoid comebacks. Reusing rotors increases the risk of noise, vibration, or premature wear, which customers often blame on the shop even if they agreed to reuse the rotors. Economically, new rotors cost less than the labor to diagnose and redo a problem job.
How many times can I replace pads before replacing rotors?
It depends on rotor thickness and condition. Many DIYers successfully use two sets of pads per rotor set, but you must measure thickness before each pad replacement to ensure rotors remain above discard spec. Monitor for symptoms like vibration or noise that indicate rotor problems.
Should I resurface or replace rotors?
Modern rotors are often too thin to safely resurface. If your rotors have enough thickness and a properly calibrated lathe is available, resurfacing can work, but replacement is typically more cost-effective and reliable. Most shops have eliminated brake lathes because labor costs exceed new rotor prices.
Brake System Tools & Components
Proper brake inspection and maintenance require the right tools and quality components. Whether you’re measuring rotor thickness, scuffing surfaces, or installing new pads and rotors, our Brake System category offers precision measurement tools, abrasives, lubricants, and OEM and aftermarket brake components.
- Calipers, micrometers, and dial indicators for accurate rotor measurements
- Sandpaper, flap discs, and surface prep materials for rotor conditioning
- Brake fluid, high-temperature grease, and specialty cleaners for caliper service

The Toolsource Technical Team blends decades of real-world automotive service experience with up-to-date technical research. Our writers collaborate with professional mechanics, shop owners, and diagnostic specialists to deliver practical, workshop-ready guidance you can trust.


Follow us on social media