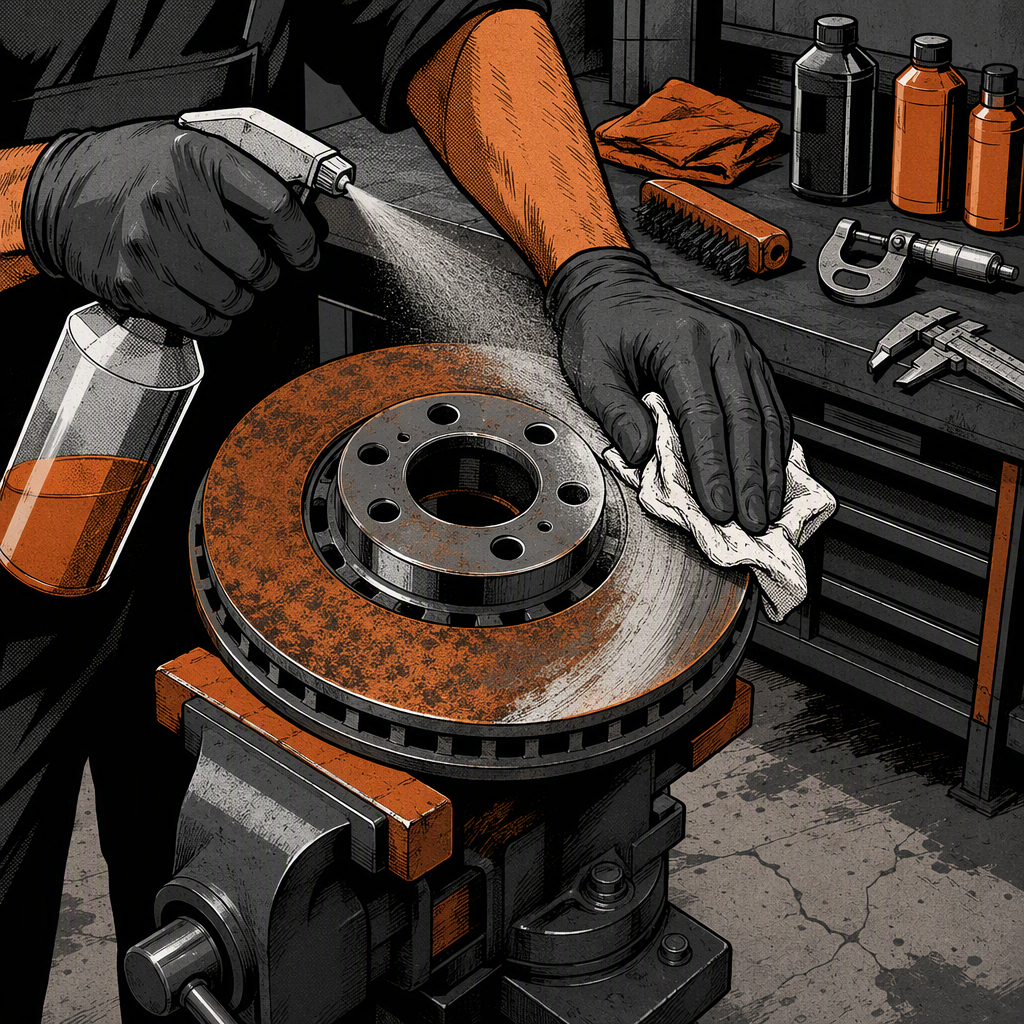
New or lightly used rotors that spend months or years sitting in a garage, storage unit, or on a shelf almost always come out looking worse than they are. A thin layer of orange or brown surface rust forms fast, especially in humid climates, and it’s one of the most common questions techs and DIYers run into: is it safe to bolt these on, or are they scrap metal? The short answer is that light surface rust is rarely a problem — the friction surface gets scrubbed clean by the pads within the first few stops. But there’s a real difference between cosmetic discoloration and rust that’s actually eaten into the metal, and knowing which one you’re looking at matters before you put wheels back on the car.
Surface Rust vs. Structural Rust: How to Tell Them Apart
Surface rust is a thin oxidation layer sitting on top of the rotor’s friction surface. It’s usually orange-brown, wipes or brushes off without much effort, and doesn’t change the shape or thickness of the rotor underneath. This is what you get from a rotor sitting exposed to humid air for a few weeks to a couple of years — completely normal and not a defect.
Structural rust is different. It pits the metal, leaves visible craters or flaking when scraped, and can eat unevenly into the rotor’s surface. If you run a fingernail or a flathead screwdriver across the surface and it catches in noticeable divots — not just texture, but actual holes — that’s no longer a cosmetic issue. Rotors that have been rusting for years with no protective coating, especially ones that were left wet or exposed to road salt, can develop pitting deep enough to affect pad contact and stopping performance. In that case, no amount of cleaning brings back an even, flat surface, and the part should be replaced rather than reinstalled.
A quick rule of thumb technicians use: if it looks bad but feels smooth and uniform once scrubbed, it’s cosmetic. If it looks bad and feels rough or uneven after cleaning, inspect it closer or measure rotor thickness with a micrometer before trusting it.
Cleaning Rotors Before Installation
Before rotors go anywhere near a caliper, get any oils, grease, or shipping coatings off the friction surface. Brand-new rotors, especially ones sourced overseas, often ship with a light anti-corrosion coating (sometimes described as a waxy or oily residue) that keeps them from rusting in transit — this is separate from actual surface rust and needs to come off regardless of how long the parts sat.
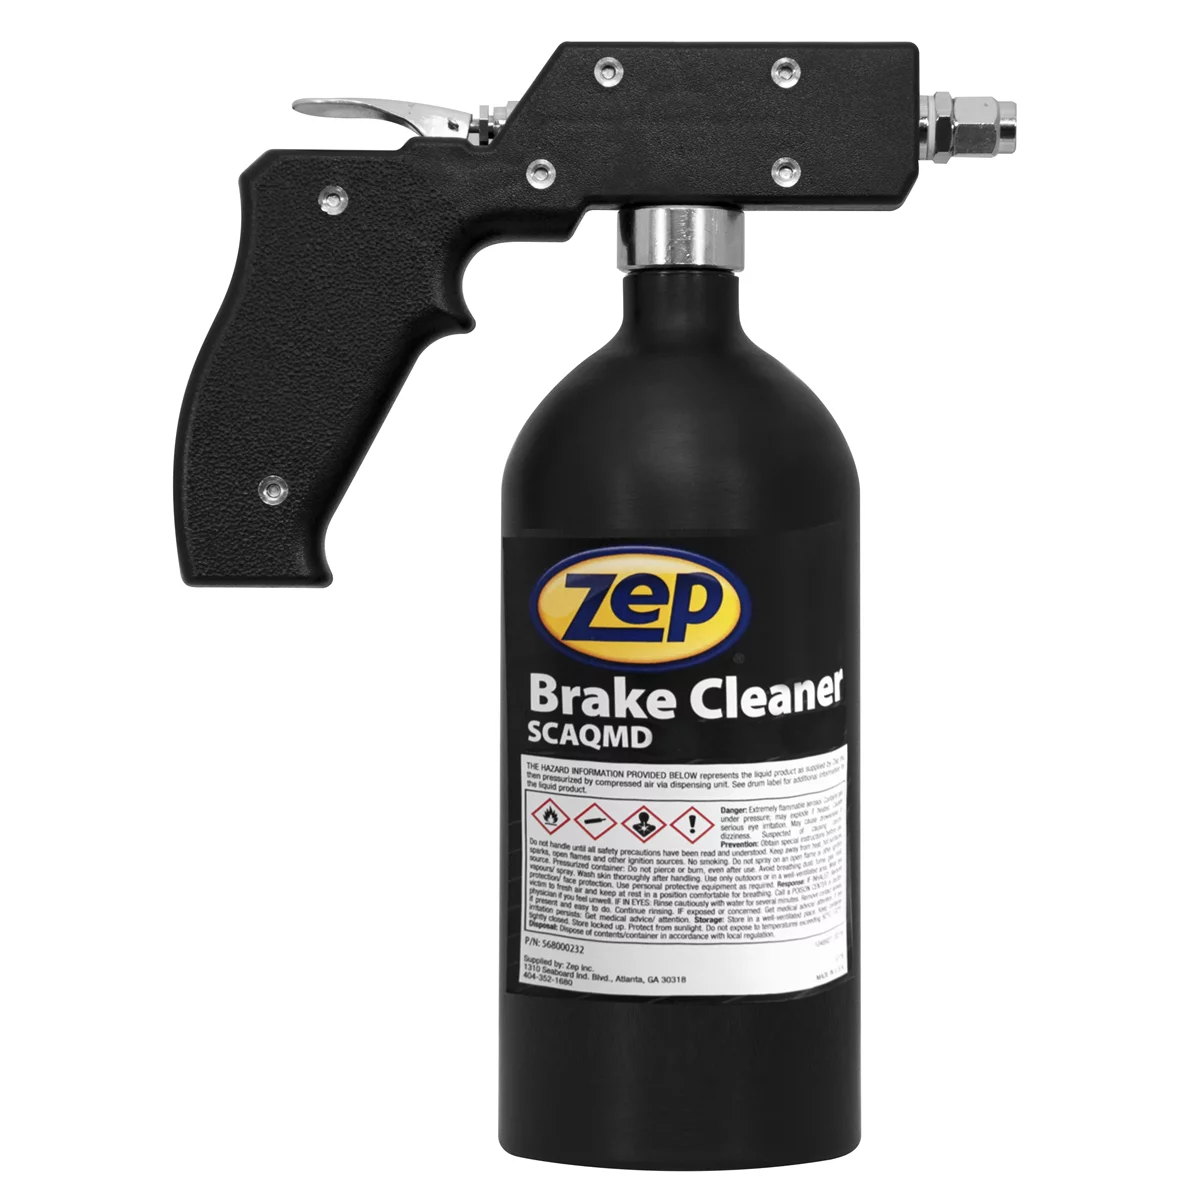
- Spray the friction surface generously with brake cleaner and wipe with a clean, lint-free rag or paper towel.
- Repeat until the rag comes away clean — don’t stop after one pass if you’re still pulling black residue. That black film is typically shipping coating or embedded brake dust, not rust, and it can take several rounds of cleaner to fully lift.
- For rust specifically, a wire wheel on a drill or bench grinder, or a handheld wire brush, knocks off loose oxidation quickly. Fine-grit sandpaper works too if you don’t have a wire wheel.
- Finish with another brake cleaner pass to remove any metal dust or grit left behind from brushing.
One point of debate worth knowing about: some techs avoid wire-wheeling the rotor face because it can alter the surface pattern in just the spot you worked on, creating a texture mismatch with the rest of the rotor. That mismatch can, in rare cases, contribute to noise as pads break in unevenly across the surface. If the rust is light, a lot of techs skip the wire wheel entirely and let brake cleaner plus normal pad contact do the work. If the rust is heavier, wire wheeling first still beats installing rotors caked in oxidation — just expect a slightly higher chance of a break-in squeak that usually fades after a few dozen stops.
===FYP-PRODUCT-SEARCH-1===


Bedding In Pads to Finish the Job
Even a well-cleaned rotor will still have some rust in the pores of the metal that cleaner and a wire brush can’t fully reach. That’s normal, and it’s exactly what the brake pad bedding-in process is designed to handle. As the new pads make contact and heat up, they burnish the rotor surface, transfer an even layer of friction material, and wear away the last of the light rust in the process.
A standard bedding-in procedure:
- Find a safe stretch of road with little to no traffic.
- Perform a series of moderate-speed stops (around 30-40 mph down to near-stop), braking firmly but not to a full skid.
- Allow the brakes to cool slightly between each stop — don’t ride the pedal or hold pressure at a stop.
- Repeat for 8-10 stops, then drive normally for the next 100-150 miles without any hard or prolonged braking to let the surface fully cure.
During this process, keep an eye (and ear) out for pulsation, grinding, or a burning smell. Mild noise or a rough pedal feel for the first few stops is common with rusty rotors and typically clears up. Anything that gets worse rather than better after a dozen stops is a sign the rotor should come back off for a closer look.
When to Skip the Cleanup and Replace
Cleaning is the right call for cosmetic rust, but there are situations where reinstalling a rusty rotor isn’t worth the risk:
- Visible pitting or flaking that doesn’t smooth out after wire brushing — the surface will never make even contact with the pad.
- Rotor thickness below spec — measure with a micrometer and compare to the minimum thickness stamped on the rotor hat. Rust doesn’t just sit on top; over years it can consume enough material to push a marginal rotor out of spec.
- Rust on the hat or hub mounting surface — this affects how flush the rotor sits against the hub and can cause runout (pedal pulsation) even if the friction surface looks fine.
- Years of exposure to moisture with no coating — a rotor that sat outside or in a damp environment for multiple years without any rust-preventive coating is a different animal than one that sat in a dry garage for a few months. When in doubt on an unknown-history part, replacing is cheaper than a comeback.
Cost is a legitimate factor in this decision, but it cuts both ways — a $40-80 rotor is a lot cheaper than a comeback for a pulsation complaint or a customer who doesn’t trust the shop’s judgment. When a rotor is borderline, it’s worth explaining the tradeoff rather than guessing.
Quick Reference Checklist
- Wipe/spray with brake cleaner until the rag comes away clean.
- Wire wheel or fine sandpaper only if rust is more than light surface discoloration.
- Check for pitting with a fingernail or screwdriver tip — rough and uneven after cleaning means inspect further.
- Measure rotor thickness against the minimum spec stamped on the hat.
- Check the hub mounting surface for rust, not just the friction face.
- Bed in new pads with 8-10 moderate stops, then 100-150 miles of easy driving.
- Watch for pulsation or worsening noise during break-in — that’s the signal to stop and re-inspect.
===FYP-PRODUCT-SEARCH-2===
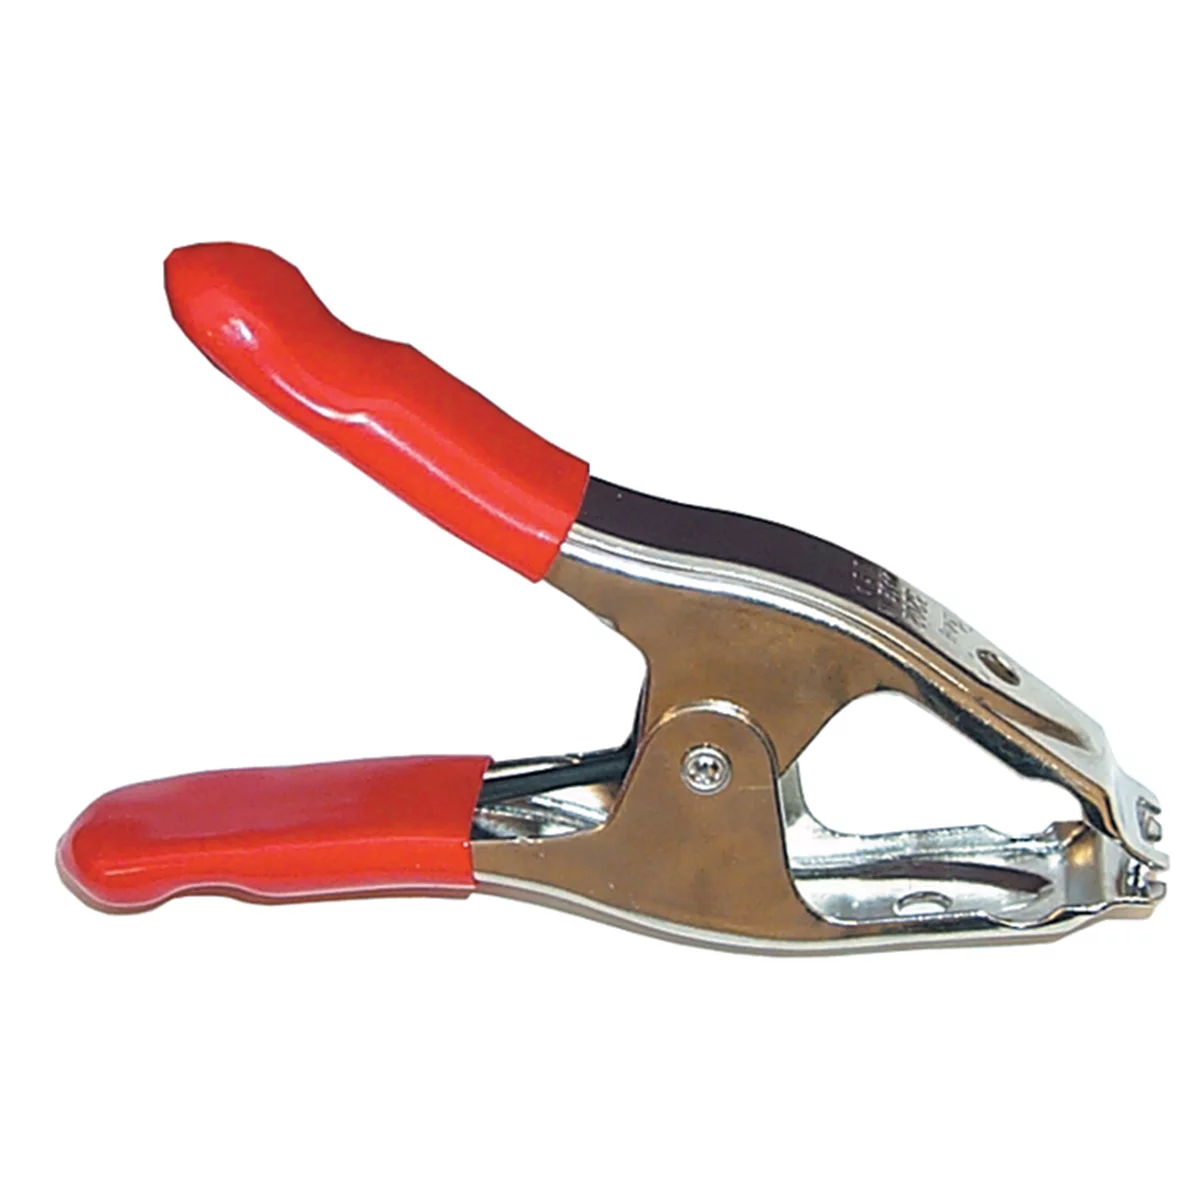
Brake Rotor Clamp 750 - Durable & Lightweight Tool
Mfg: Lock Technology LTI by Milton
Part #: 750
FAQ
Will surface rust on rotors damage my brake pads?
Light surface rust won’t meaningfully damage new pads. The rust gets ground off during the first several stops as the pad material contacts and burnishes the rotor surface. It may cause a bit more brake dust and slightly reduced initial bite until it clears.
Is it safe to drive on rusty rotors before they’re cleaned?
For a short trip at low speed, yes — braking performance with light surface rust is close to normal, and the first firm stops will start clearing it off. It’s not something to plan around long-term, but driving a rusty-but-structurally-sound rotor around the block or home from a parts store isn’t a safety issue.
What is the black residue on new rotors that brake cleaner doesn’t fully remove?
On new or lightly used rotors, this is often a protective coating (sometimes oil-based) applied before shipping to prevent rust in transit. It can take multiple rounds of brake cleaner and wiping to fully remove. On rotors that have seen some pad contact, it may also be embedded brake dust rather than a coating.
Can I just leave the rust and let the brake pads clean it off after installation?
For light, uniform surface rust, this works and is common practice — the bedding-in process is specifically designed to burnish the rotor surface anyway. It’s not the right call for heavier rust with visible pitting, since pads won’t restore lost material or fix an uneven surface.
How do I know if rotor rust has gone from cosmetic to structural?
Clean the surface first, then check for pitting, flaking, or divots that remain after cleaning. Also measure the rotor’s thickness with a micrometer and compare it to the minimum spec cast or stamped into the rotor hat. If it’s pitted or under spec, replace it.
Does wire-wheeling rotors before installation cause brake squeal?
It can, in some cases. Wire wheeling a specific section of the rotor can leave a slightly different surface texture than the rest of the rotor, which occasionally leads to noise while pads break in unevenly across that spot. This typically resolves after normal driving wears the surface uniform, but it’s a reason some techs prefer brake cleaner and bedding-in alone for light rust rather than mechanical abrasion.
Recommended Tools & Supplies
Brake rotor assessment and cleaning require specific tools and supplies. The Brake System category includes the essentials for proper rotor inspection and preparation.
- Brake cleaner, wire wheels, and handheld brushes for rust removal
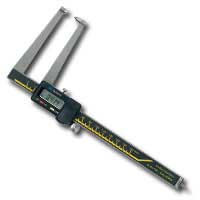
- Micrometers and precision gauges for measuring rotor thickness
- Rotors, brake pads, and complete hardware for brake service

The Toolsource Technical Team blends decades of real-world automotive service experience with up-to-date technical research. Our writers collaborate with professional mechanics, shop owners, and diagnostic specialists to deliver practical, workshop-ready guidance you can trust.


Follow us on social media