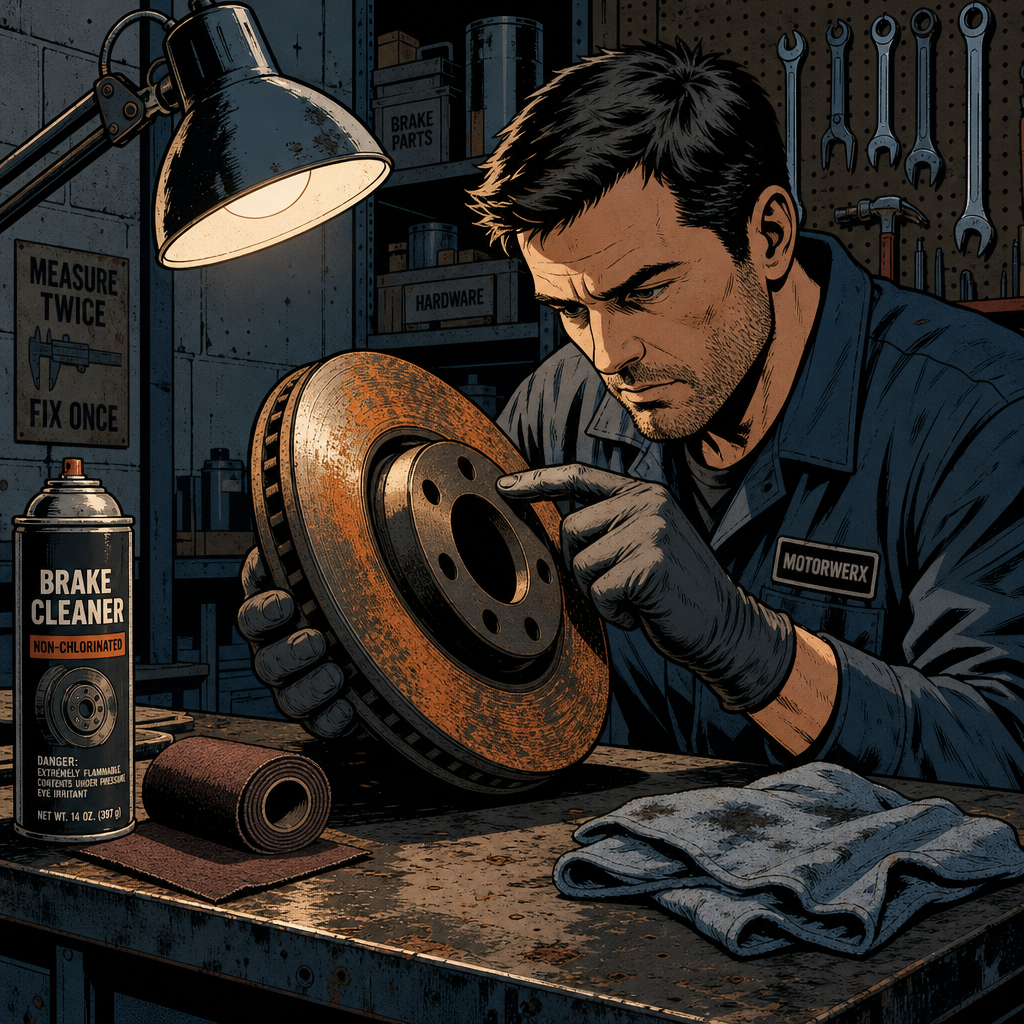
A customer drops off a box of new rotors, or you pull a set from stock, and they’re already showing orange bloom across the friction surface. Before anyone reaches for sandpaper or the phone to call the parts store, it helps to know what’s actually happening: bare cast iron rotors start oxidizing the moment they leave any kind of rust-preventive coating or VCI wrap, and a little humidity or a rainy delivery day is all it takes. Most of the time this is cosmetic and disappears within the first few stops. The job of a tech is knowing how to tell “cosmetic” from “this rotor has a problem,” how to prep it before install, and how to set expectations so nobody’s surprised when a customer pulls the car around and glances down at the wheel.
Why New Rotors Rust Before They’re Ever Installed
Cast iron is the standard material for brake rotors because it’s cheap, machinable, and has good thermal and frictional properties — but it has zero corrosion resistance on its own. Rotors typically leave the factory with a light oil film or a wax-based rust inhibitor, sometimes wrapped in VCI (vapor corrosion inhibitor) paper. That protection is thin and temporary. Once a box sits in a warehouse, a delivery truck, or a shop shelf through a humid stretch, or gets rained on during shipping, surface oxidation starts. It’s the same reason a car’s rotors look fully rusted after sitting in a driveway overnight during a rainstorm — cast iron reacts fast. None of this reflects the rotor’s structural quality; it’s a function of the material and storage conditions, not manufacturing defect, in the vast majority of cases.
Surface Rust vs. Pitting: How to Tell the Difference
This is the actual decision point, and it’s a visual and tactile inspection, not a guess:
- Surface rust looks like an even, thin orange or brown film across the friction surface. It wipes or scrapes off easily with a fingernail or light abrasion, and the metal underneath is smooth and uniform.
- Pitting shows as small pockmarks or craters that remain after the surface film is removed. Run a fingernail or a shop rag across the face — if you feel texture or depth changes after cleaning off the loose rust, that’s pitting, not surface staining.
- Lines or grooves under the rust can indicate the rotor was machined with a rough finish, was handled poorly, or in rare cases has a casting flaw. Lightly cleaning a section with emery cloth before install lets you check for this before you commit to a full brake job and a bunch of stops trying to “wear it off.”
If the rust is superficial and even, there’s no functional reason to reject the part. If you find pitting, deep grooves, or any flaking that leaves the surface uneven, that rotor should go back to the counter rather than get installed and hoped for.
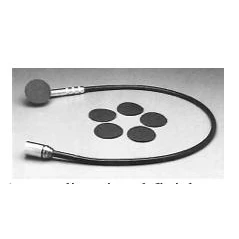
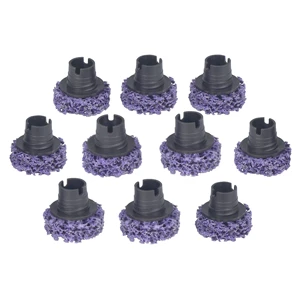
Ammco-Coats Mini Swirl Brake Rotor Cleaner
Mfg: Coats fmr. Ammco-Coats / Hennesy
Part #: 8740
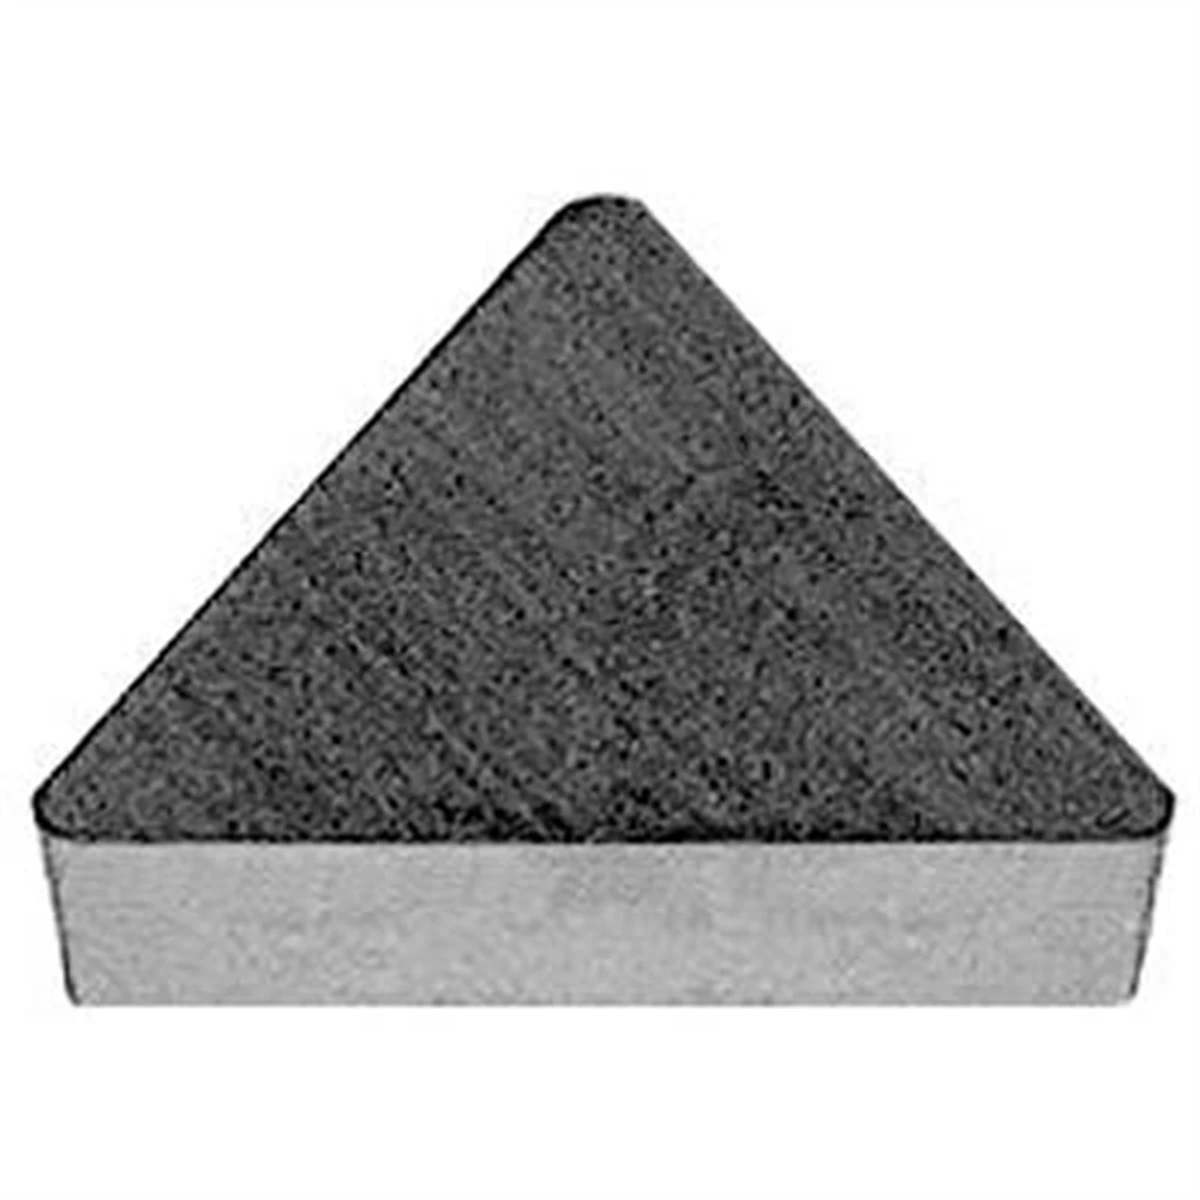
Van Norman/RELS Style Carbide Bits for Rotor Lathes. Positive Ra
Mfg: Shark
Part #: 903-10
Should You Clean Rotors Before Installation?
Technically, no — brake pads will scrub surface rust off within the first several stops, and that’s the mechanism most rotors are designed around. But there are legitimate reasons to give them a quick once-over first, especially on customer-pay jobs:
- Customer perception: A rotor with visible rust staining right after a brake job doesn’t inspire confidence, even if it’s cosmetically irrelevant. A quick wipe-down improves the finished look.
- Verifying integrity: As noted above, a light pass with 150–220 grit emery cloth wrapped around a flat block reveals whether you’re dealing with simple surface oxidation or something deeper, before the rotor is buried behind a wheel.
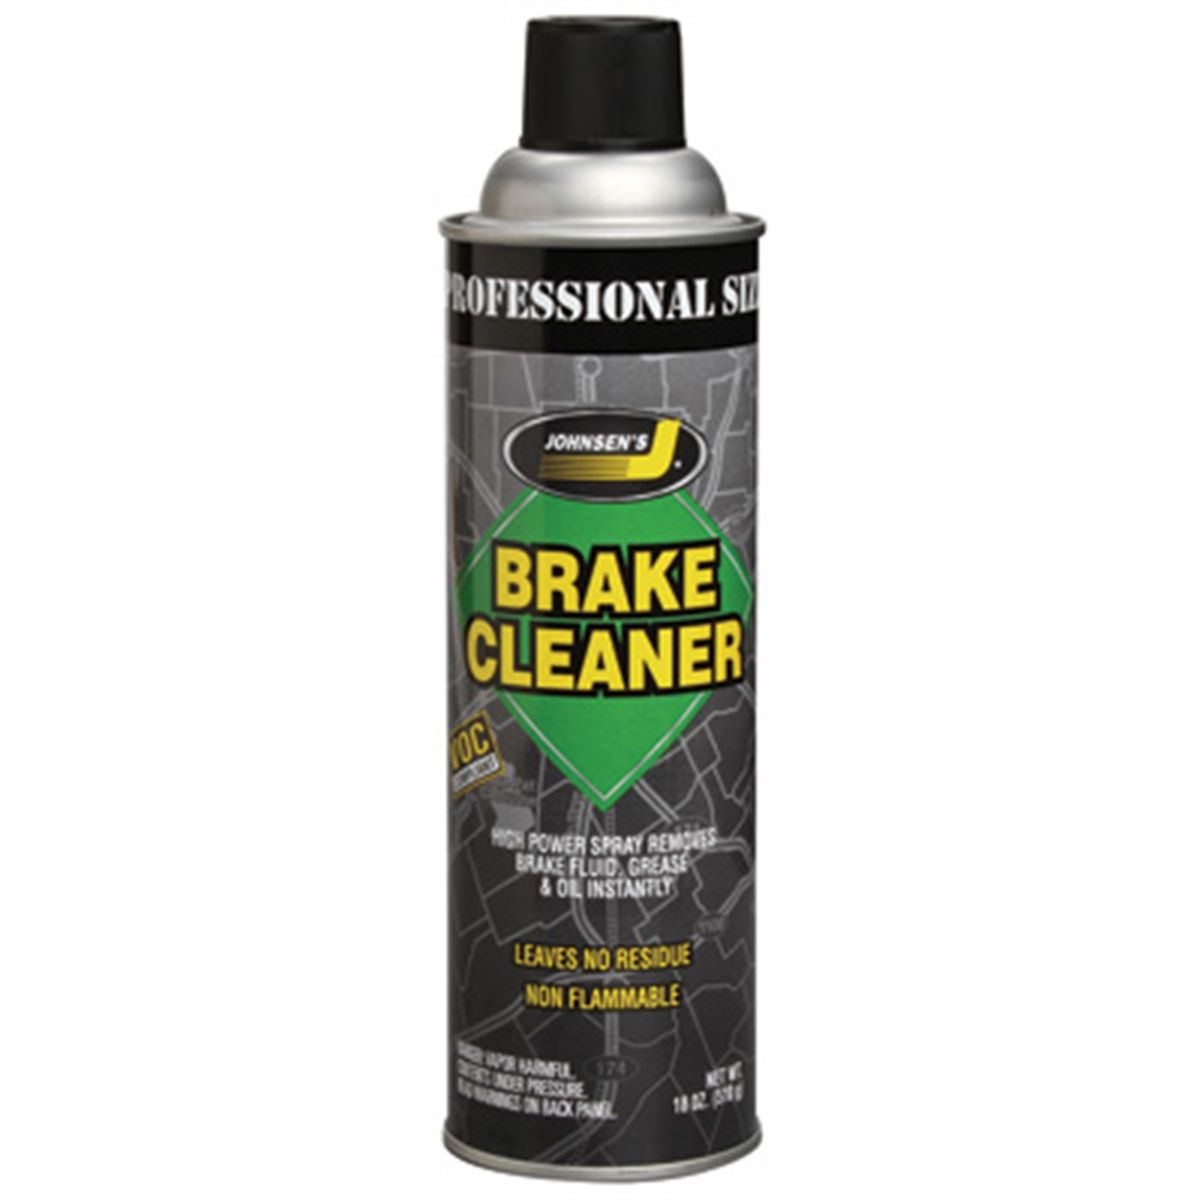
- Removing shipping residue: Any oil, wax, or rust inhibitor coating should be cleaned off with brake cleaner regardless of rust — that’s standard practice for new rotors and unrelated to the rust question.
If you do sand, keep it light and go in a non-directional pattern; the goal is knocking down loose oxidation and confirming a flat, sound surface — not machining the rotor by hand. Never use a lubricated or oil-based penetrant on the friction surface; stick to straight brake cleaner or an aerosol brake parts cleaner rated for use on friction surfaces.
The Correct Brake Bed-In Procedure
Whether or not you pre-clean, every new rotor and pad set needs a proper bed-in (burnishing) procedure — this is what actually removes surface rust in practice and, more importantly, transfers an even layer of pad material onto the rotor for consistent braking and reduced squeal or pulsation down the road.
- Find a low-traffic road or empty lot area where you can safely do repeated stops.
- Perform 6–10 moderate stops from roughly 35 mph down to about 5 mph (not a full stop each time), allowing the brakes to cool slightly between applications.
- Avoid coming to a complete stop and holding the pedal at the end of a hard stop — this can transfer an uneven, glazed layer of pad material onto one spot of the rotor (a common cause of brake pulsation later).
- Inspect the rotor faces after the first few stops. Rust should be visibly wearing off in an even pattern across the friction surface.
- Avoid heavy braking or highway driving for the first 20–30 minutes after installation to let the transfer layer set.
If after a handful of proper bed-in stops the rust is not clearing evenly, or you notice a rough or pulsating pedal, that’s a sign to pull the wheel back off and inspect further rather than assuming more driving will fix it.
When to Reject a Rotor and Send It Back
Surface rust alone is not grounds for rejecting a part, but there are clear lines where a rotor doesn’t belong on a car:
- Pitting that remains after the loose rust is cleaned off, especially if it’s deep enough to catch a fingernail.
- Any cracking, visible or found via light sanding/inspection — cracks are a safety issue, full stop.
- Rust that has caused visible swelling or an uneven wear pattern across the hat or vane area, not just the friction surface.
- A rotor that came without any wrapping or protective coating at all and shows heavier corrosion than a normally-stored part would after the same time in transit — that can indicate it was mishandled somewhere in the supply chain.
On customer-pay work, the standard is a little different than on your own vehicle: if you wouldn’t feel comfortable explaining the rust to the customer standing next to you, send the part back and get a fresh one. The cost of a rotor exchange is trivial compared to a comeback or a customer who loses confidence in the shop.
Quick Checklist: New Rotor Rust Inspection
- Wipe or lightly sand a test area — does the rust come off clean, revealing smooth metal?
- Check for pitting, cracks, or swelling after the loose rust is removed.
- Degrease the friction surface with brake cleaner regardless of rust condition.
- Install and torque to spec.
- Perform 6–10 stops from ~35–5 mph to bed in pads and clear remaining surface rust.
- Re-inspect after bed-in; if rust or roughness persists unevenly, investigate further before returning the car.
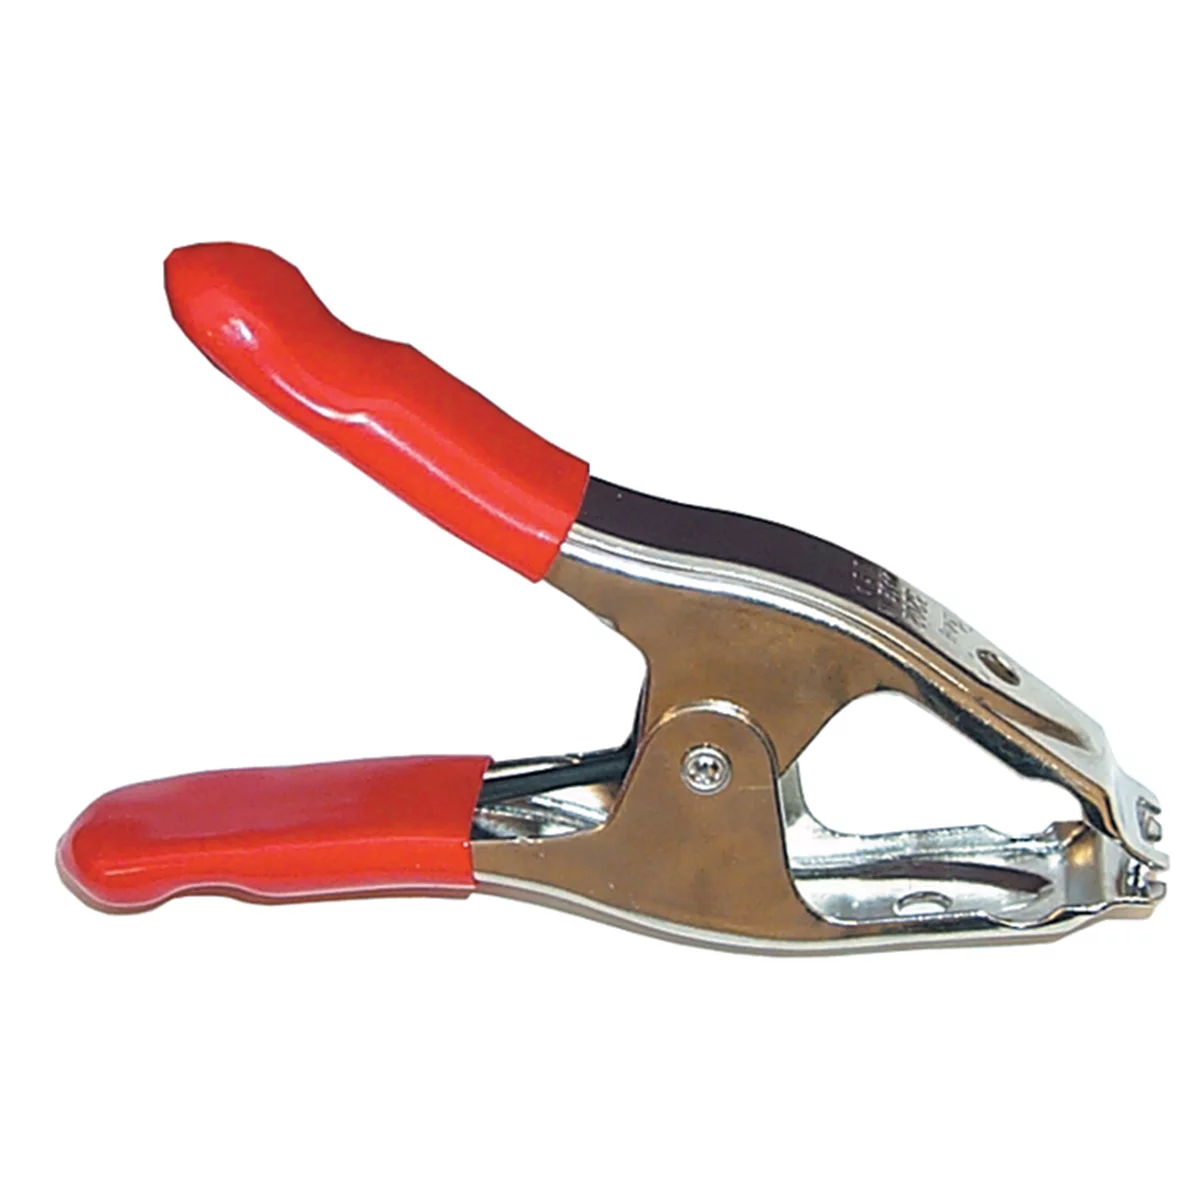
Brake Rotor Clamp 750 - Durable & Lightweight Tool
Mfg: Lock Technology LTI by Milton
Part #: 750
Frequently Asked Questions
Will surface rust on new rotors go away on its own?
In most cases, yes. Normal driving and braking — especially the first several stops — will wear the thin oxidation layer off evenly, since brake pads are abrasive enough to remove light surface rust.
How many stops does it take to clean rusty rotors?
Typically 3–10 moderate stops, which is also roughly the range of a standard bed-in procedure. If it’s still rusty and rough after that, inspect for pitting or other issues rather than continuing to drive on it hoping it clears.
Is it okay to sand new rotors before installing them?
Light sanding with fine emery cloth (150–220 grit) is optional but not harmful, and it can help you verify there’s no pitting or cracking underneath before the rotor goes on the car. It is not required for surface rust to clear on its own.
What causes brake rotors to rust before they’re even installed?
Bare cast iron has no corrosion resistance once its factory rust-inhibiting coating or wrapping is disturbed. Humidity, rain during shipping, or extended warehouse storage are enough to cause visible surface rust, even on a part that’s never been on a vehicle.
Can rusty rotors damage new brake pads?
Light surface rust won’t damage pads — it gets worn off in the bed-in process along with normal pad transfer. Pitting or flaking rust, on the other hand, can cause uneven pad wear and should be addressed before install.
Why does a bed-in (burnishing) procedure matter?
Bed-in evenly transfers a thin layer of pad material onto the rotor surface, which is what actually gives you consistent, quiet, pulsation-free braking. Skipping it — or braking hard and holding at a stop during the process — can bake an uneven layer onto the rotor and cause a comeback for pulsation or noise.
Brake System Tools & Supplies
Proper rotor inspection and prep work require the right supplies on hand. The Brake System category includes rotors, pads, brake cleaner, emery cloth, and tools needed for every step outlined above.
- Quality replacement rotors and brake pad sets
- Brake cleaner and fine abrasive materials for surface prep
- Torque wrenches and precision tools for spec-correct installation

The Toolsource Technical Team blends decades of real-world automotive service experience with up-to-date technical research. Our writers collaborate with professional mechanics, shop owners, and diagnostic specialists to deliver practical, workshop-ready guidance you can trust.


Follow us on social media