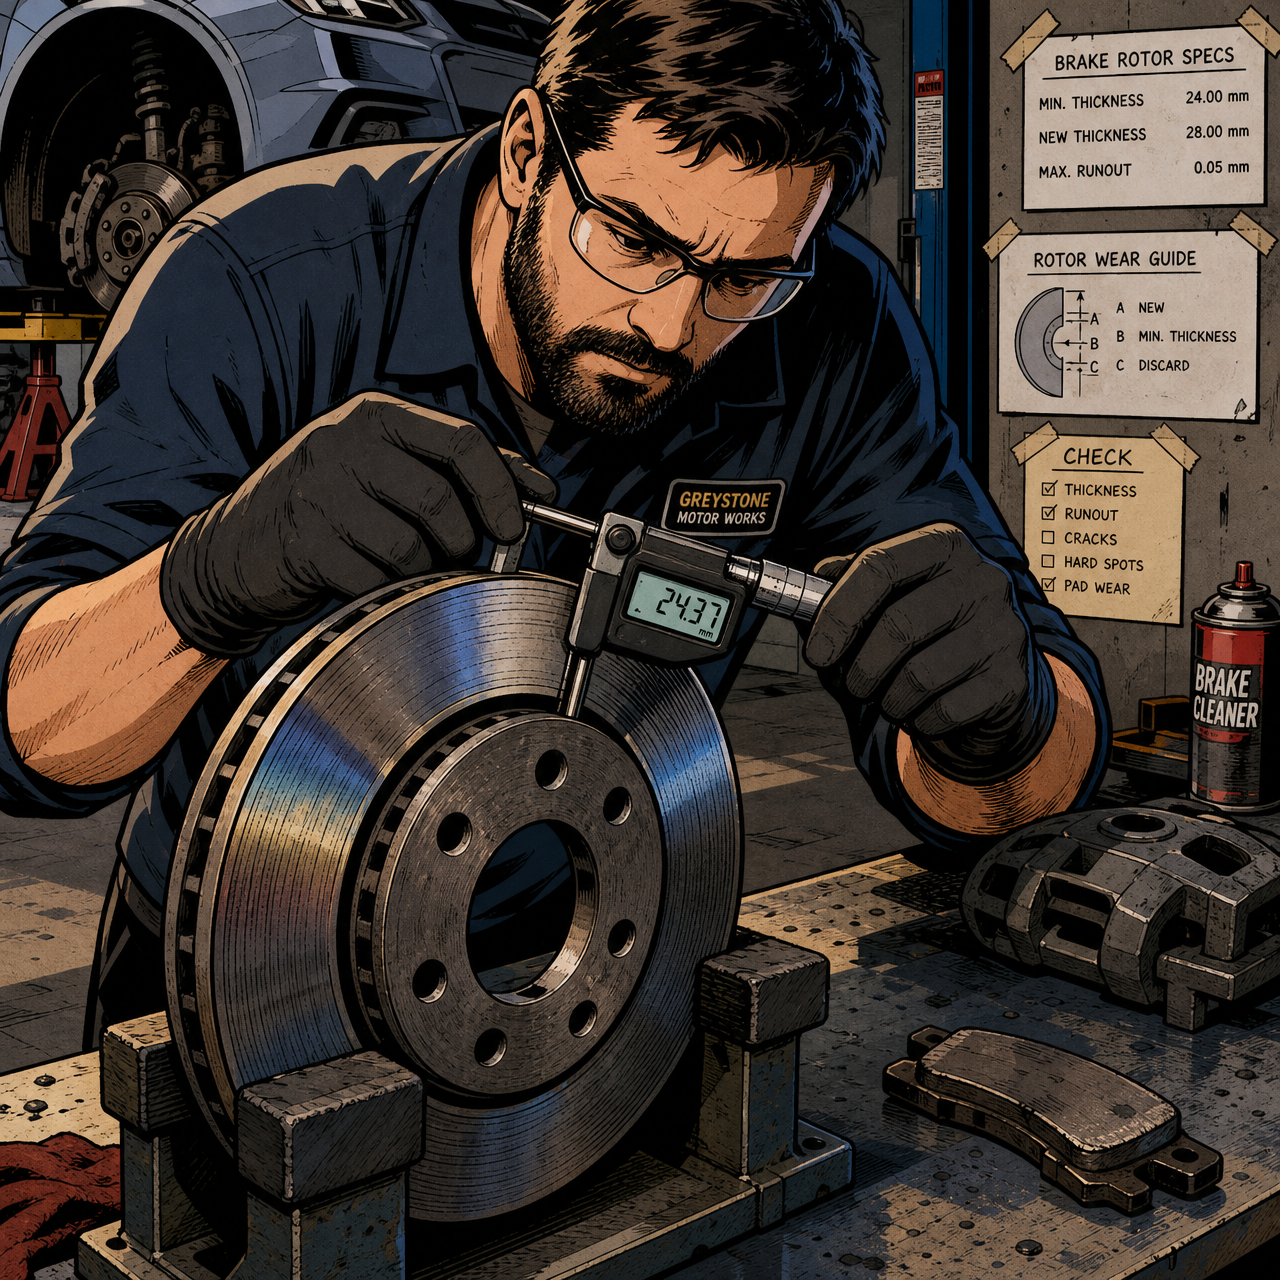
Every brake job eventually comes down to the same question: do these rotors get reused, turned, or tossed? The internet answer is usually “just replace them, they’re cheap,” and for a shop charging labor by the job, that’s often the right call. But if you’re doing the work yourself or trying to make an accurate diagnosis before you order parts, “replace everything every time” isn’t a diagnostic method—it’s a shortcut. The actual answer depends on measurable wear, visible damage, and how the car behaves under braking. Here’s how to work through it properly.
Start With the Symptom: Pulsation vs. Noise
Before any rotor comes off the car, drive it and pay attention to what’s actually happening under braking. The symptom tells you where to look.
- Steering wheel shakes or pulsates when braking: this points to the front rotors having uneven thickness (often from heat spotting or warping), causing the caliper piston to push in and out with each rotation.
- Pulsation felt through the seat or brake pedal, not the steering wheel: this usually means a rear rotor issue.
- Grinding or scraping noise with no pulsation: this is more likely a worn-out pad, a wear indicator tab contacting the rotor, or a stuck slide pin letting one pad drag—not necessarily a rotor problem.
- No pulsation, no unusual noise: the rotors may be fine. Don’t replace parts just because they’re on sale.
Pulsation is the single most reliable field symptom of a rotor that needs attention. A rotor can look rough or have surface rust and still be structurally fine; a rotor that causes pedal or steering wheel pulsation needs to be addressed regardless of how it looks.
Measure Before You Guess
Visual inspection alone will not tell you whether a rotor is within spec. You need two measurements, and both require real tools—not an eyeball estimate.
- Thickness: Every rotor has a minimum (discard) thickness stamped or cast into the hub or the outer edge. Measure the rotor’s thickness at the center of the friction surface, not over the unworn lip at the outer edge—that lip will give you a false high reading. Compare your measurement to the discard spec. If you’re close to minimum, don’t resurface; just replace.
- Runout: This checks whether the rotor is spinning true. Excessive runout causes the kind of pulsation drivers feel even when thickness is within spec.
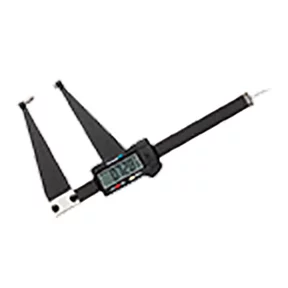
A basic set of Vernier or digital calipers will get you a usable thickness reading for a go/no-go decision. For a precise, repeatable measurement—especially if you’re deciding whether a rotor has enough material left to resurface—a dedicated brake micrometer is the industry-standard tool and removes the guesswork calipers can introduce over a worn or lipped edge.
[PRODUCT_SEARCH: brake rotor micrometer digital caliper set]

Rotomike Extended Range Electronic Brake Rotor Micrometer 0.3-1.
Mfg: Fowler High Precision
Part #: 74-860-434

Visual Inspection: What Actually Disqualifies a Rotor
Once you’ve got a thickness number, do a close visual pass on both faces of the rotor—not just the side you can see with the wheel off. Look for these conditions:
- Deep grooves or scoring on either face, especially if you can catch a fingernail on the groove.
- A hard ridge or lip at the outer edge where the pad never contacted the surface. A pronounced ridge is often a sign the rotor has worn close to or past its serviceable range, and it can also prevent new, wider pads from seating evenly.
- Heat discoloration—a blue or straw tint on the friction surface indicates the rotor got hot enough to change its metallurgy, which can lead to hard spots and future warping even if it measures fine today.
- Cracks, especially radial cracks reaching the edge—these are an automatic replace, no exceptions.
- Metal-to-metal contact evidence—shiny scoring that matches the pattern of a backing plate means the pads were gone and the rotor absorbed direct metal contact. That rotor is scrap.
Any of these count as a non-repairable condition. A rotor can be above minimum thickness and still be unsafe to reuse or resurface if it has cracks, severe scoring, or heat damage. Thickness is a necessary check, not a sufficient one.
Turn It or Replace It?
If the rotor has no non-repairable conditions and measures at least 0.030″ (about 0.5mm) above the discard spec, resurfacing (turning) is a legitimate option—not a compromise. Rotor lathes remove a thin layer of material to restore a flat, parallel surface, eliminating minor runout and glazing.
That said, the math has shifted over the past decade. New aftermarket rotors for most common vehicles often cost about the same as a machine shop’s turning fee, and many parts stores and shops have stopped offering resurfacing altogether because it isn’t worth the labor relative to new-part prices. A local machine shop or parts store with a lathe can typically turn a pair of rotors for $50–$100 and will measure them against factory specs before doing the work. This is most worth doing when you’re reusing OEM rotors on a lower-mileage vehicle, since factory rotors are often better-quality castings than budget replacements.
If the rotor is at or below minimum thickness, has already been turned once before, or shows any non-repairable condition, replace it. Don’t turn a rotor “down to spec”—turning removes material permanently, and a rotor machined too close to minimum thickness will overheat and warp faster the second time around.
Why Pads and Rotors Usually Go Together
If you’re replacing pads anyway, it’s standard practice to address the rotors at the same time, for a few concrete reasons:
- New pads on a worn, lipped, or glazed rotor won’t seat evenly, which slows bed-in and can cause uneven pad wear or noise.
- If a rotor is within a few thousandths of minimum thickness, it likely won’t survive the life of a new pad set, meaning you’d be back in the same spot in another 20,000–30,000 miles.
- Mismatched wear between old rotors and new pads can mask or mimic the exact pulsation and noise symptoms you’re trying to fix.
The exception: if the rotors measure well within spec, show no non-repairable conditions, and there’s no pulsation complaint, slapping on new pads and lubricating the slide pins and hardware is a perfectly valid repair. Don’t replace rotors just because a forum thread says to do it “every time”—that’s a shop-efficiency rule, not a mechanical requirement.
Checklist: Rotor Go/No-Go
- Drive-test for pulsation in the steering wheel (front) or pedal/seat (rear)
- Measure thickness at the center of the friction surface with calipers or a micrometer
- Compare to the discard spec stamped on the rotor
- Inspect both faces for grooves, cracks, heat tint, and edge ridges
- If above spec and damage-free: reuse or turn
- If at/below spec, cracked, or heat-damaged: replace
- Always replace pads and hardware alongside new or turned rotors
[PRODUCT_SEARCH: brake rotors and pads kit]

Frequently Asked Questions
How do I know if my rotors are warped without a shop visit?
Steering wheel shake under braking is the clearest sign for front rotors; pedal or seat pulsation points to the rear. If you don’t feel pulsation, the rotor is probably not warped, even if it has surface rust or light scoring.
Can I just measure rotor thickness with a regular caliper?
Yes, for a basic pass/fail check against the discard spec. A dedicated brake micrometer gives a more accurate reading and is the preferred tool when you’re deciding whether a rotor has enough margin left to resurface.
Is it worth paying to have rotors turned instead of replacing them?
Only if the rotors have significant wear reserve left, no cracks or heat damage, and are higher-quality OEM castings. On many late-model vehicles, new rotors cost close to what turning costs, so replacement is often the more practical choice.
What does a ridge on the outer edge of the rotor mean?
It’s the unworn lip where the pad never made contact. A pronounced ridge usually means the rotor has worn significantly and may be near or below minimum thickness—measure before assuming it’s fine.
Do I need to replace rotors every time I replace pads?
No. If the rotors measure within spec and show no cracks, heat damage, or deep scoring, new pads alone are a valid repair. Replacing rotors every pad change is a convenience practice, not a requirement.
What’s a non-repairable rotor condition?
Cracks, heat discoloration (blue/straw tint), deep grooves you can catch a fingernail on, and evidence of metal-to-metal pad contact. Any of these mean replacement regardless of measured thickness.
Recommended Tools
Proper rotor diagnosis requires precision measuring tools and quality replacement parts. Browse our Brake System category for everything you need to confidently diagnose, repair, and service brake systems.
- Precision measuring tools such as digital calipers and brake micrometers for accurate thickness and runout checks
- Quality brake rotors and pad sets designed for replacement or resurfacing applications
- Brake hardware, springs, and specialty tools for complete system maintenance and repair

The Toolsource Technical Team blends decades of real-world automotive service experience with up-to-date technical research. Our writers collaborate with professional mechanics, shop owners, and diagnostic specialists to deliver practical, workshop-ready guidance you can trust.


Follow us on social media