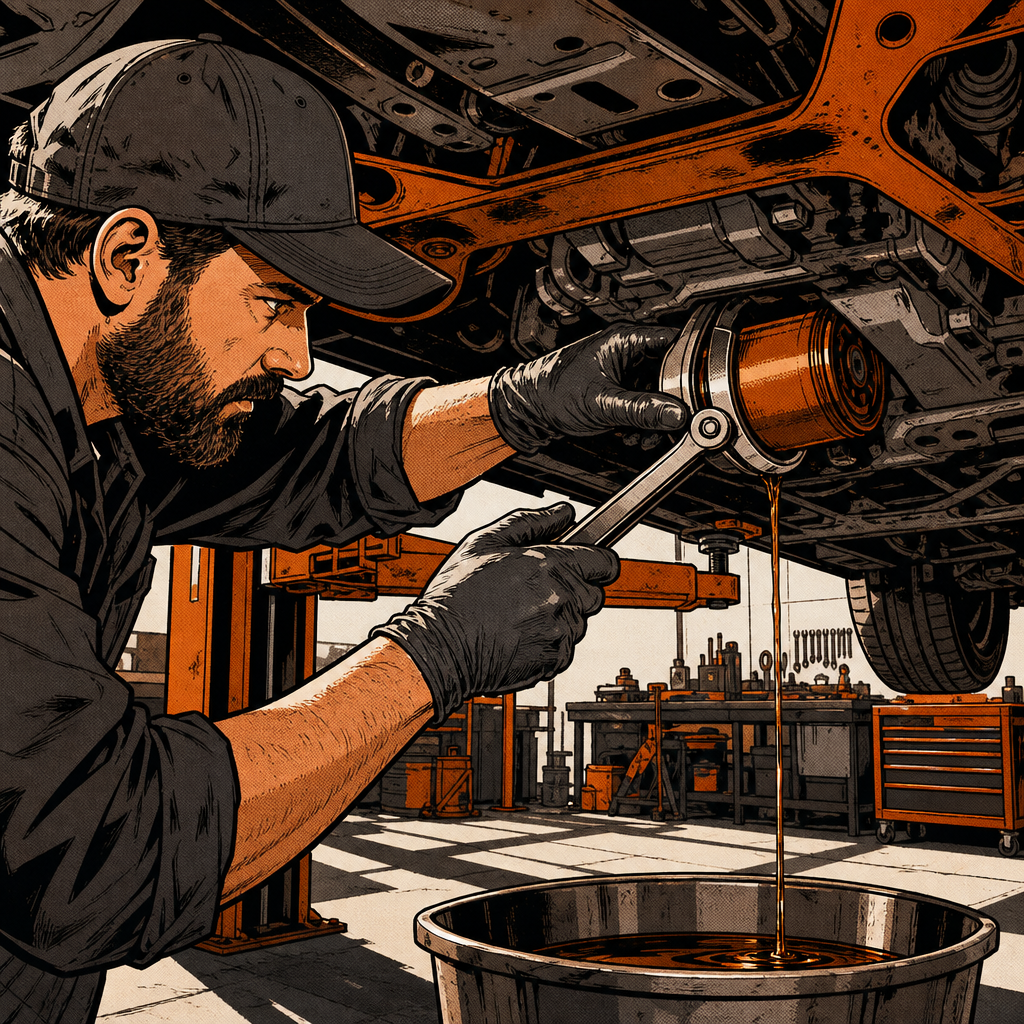
Ask any tech who has done a few thousand oil changes and they’ll tell you: no two manufacturers place the drain plug and oil filter the same way, and the differences aren’t accidental. Some layouts save time, some protect the frame from corrosion, and some seem designed purely to test your patience. Understanding why these placements differ — and having the right tools on hand for each — is the difference between a five-minute service and a fifteen-minute fight with a filter housing. This post breaks down the most common oil change layout quirks by manufacturer and what to do about each one.
Why Placement Varies by Manufacturer in the First Place
There isn’t one universal reason automakers position drain plugs and filters where they do, but a few design priorities show up repeatedly:
Rust prevention. Some manufacturers, GM included, mount the sway bar or other components several inches away from the drain plug specifically so road spray and drained oil residue don’t accelerate corrosion on suspension hardware. On trucks that live in the rust belt, that spacing matters more than shaving a few seconds off drain time.
Debris inspection. A drain plug positioned to spread oil flow across the pan (rather than a single straight stream) is sometimes said to help a tech visually catch metallic flakes in the draining oil — an early warning sign of internal wear. Whether that’s the actual engineering intent or a nice side effect is debated, but it’s a widely repeated explanation among techs on trucks from GM, Ram, and Ford.
Sound deadening and undertray design. Diesel and European models often bury the filter and drain plug behind acoustic panels or full underbody trays, prioritizing cabin noise and aerodynamics over service access. This is a common complaint with VW/Audi TDI platforms, where later model years reversed earlier improvements and buried the filter under sound deadening material again.
Cost and platform sharing. A filter housing shared across multiple trims or engine variants sometimes ends up in a suboptimal spot simply because it was cheaper to keep one casting or one mounting point across the lineup, rust protection or ergonomics aside.
GM’s Sideways Filter Mount: What It Means for Techs
Modern GM trucks and SUVs get consistent praise from techs for one specific design choice: mounting the oil filter horizontally, above the subframe, instead of vertically where it drains onto the frame or crossmember every time it’s removed. This keeps oil off structural metal and reduces the corrosion techs see on trucks serviced with vertical-drop filters for years. It also means you typically don’t need a second glove change — pull the filter, let it drain into the pan without splashing the truck’s underside, and move on.
The trade-off some techs note: GM still doesn’t apply strong factory undercoating or frame paint in the northern rust belt, so the filter placement helps but doesn’t fully offset corrosion exposure over a vehicle’s life. If you’re doing preventive maintenance work in a salt-heavy region, this is a good moment to flag frame undercoating or rust inhibitor treatment to the customer while the vehicle is already up on the lift.


Toyota Cartridge Filters and Oil Cap Torque Issues
Toyota’s older cartridge-style oil filter housings (largely phased out on current production but still common in the field) get mixed reviews. The upside is a smaller waste footprint than a full canister filter. The downside is almost entirely operator error: if the housing cap’s O-ring isn’t lubricated before reinstall, and the tech overtightens the cap out of habit, the housing can crack or the cap threads can gall over time. The fix is procedural, not mechanical — always lube the new O-ring with fresh oil before threading the cap back on, and torque to spec rather than “hand tight plus a grunt.”
Toyota oil filler caps themselves are generally regarded as one of the better designs in the industry — techs report being able to remove them by hand even after years of service, without needing an oil cap wrench. That’s largely down to a simpler thread design and a cap material that doesn’t gall or seize like some competitors’ plastic caps do.
Nissan and Honda: Where Oil Caps and Filters Get Frustrating
Nissan draws the most consistent frustration among techs for oil filler caps that seize or strip more easily than other brands, particularly on vehicles that have had a cap overtightened at some point in their service history. If you’re hitting resistance on a Nissan cap that won’t budge by hand, don’t force it with channel locks directly on the cap flats — use a proper oil filler cap wrench or strap wrench to avoid cracking the plastic, and inspect the threads before reinstalling.
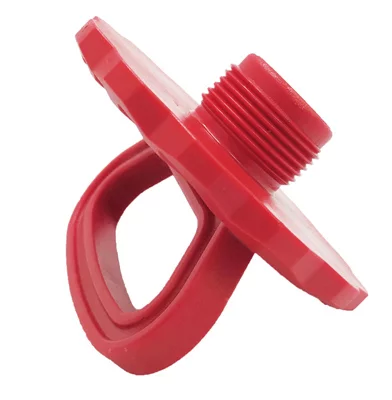
Nissan and Honda also account for a large share of the “sideways filter mounted right above the subframe” complaints — the opposite of GM’s approach — where the filter drains directly onto structural metal every time it’s serviced unless you take steps to catch it. A disposable plastic cup slipped around the filter base before you break it loose catches the bulk of the drainback and keeps that metal cleaner over the vehicle’s life.
Tools That Cut Time and Mess on Every Oil Change
Across all these platform differences, a few tools consistently show up in tech workflows to standardize the process regardless of what a given manufacturer decided to do with their filter housing:
- Magnetic filter and drain plug puller: A tool that slots into the oil filter’s base groove and also fits standard drain plug bolt heads lets you break both loose and control the drainback with one tool, instead of swapping sockets and wrenches mid-job.
- Disposable cups or filter drain bags: Slipping a cup or bag around a filter before final removal — especially on sideways or front-mounted filters — catches residual oil before it hits a splash guard or frame rail.
- Oil extractor: On platforms where the filter sits on top of the engine and is accessible without going under the vehicle, a vacuum extractor pulled through the dipstick tube can eliminate the need to get under the car at all for the fluid portion of the job, even if you still need to access the filter separately.
- Strap or cap wrench set: Keep both a strap wrench and a cap-style wrench on hand for filler caps that resist hand removal, since a single wrench style won’t fit every cap profile you’ll encounter.
European Platforms and Top-Side Extraction
Several European models, including certain VW and Audi diesel platforms, place the oil filter on top of the engine specifically so the fluid can be extracted through the dipstick tube without ever going underneath the vehicle. On the model years that got this right, it noticeably speeds up service. The catch is that this isn’t consistent even within a single manufacturer’s own lineup across model years — some refreshes moved the filter back under sound-deadening material, undoing the accessibility improvement and forcing techs back under the car with a wrench and a mess to manage.
If you’re quoting service time on an unfamiliar European model, don’t assume the previous model year’s access points still apply. A quick check of the service manual or a known-good reference before the vehicle is on the lift saves a surprise mid-job.
Quick Reference Checklist
- Confirm filter orientation (vertical, horizontal, top-mounted) before positioning your drain pan
- Lubricate O-rings on cartridge-style filter housings before reinstalling the cap
- Torque filter caps and drain plugs to spec — don’t rely on “feel”
- Use a cup, bag, or extractor on filters mounted directly above frame or subframe metal
- Keep both a strap wrench and cap wrench available for stubborn filler caps
- Flag undercoating or corrosion concerns on rust-belt vehicles during routine service

Frequently Asked Questions
Why do some trucks mount the drain plug away from the oil filter instead of right next to it?
It’s often intentional spacing to keep drained oil and road spray away from suspension components like the sway bar, reducing long-term corrosion risk on the frame and hardware near the drain point.
Does drain plug placement really help spot metal shavings in the oil?
Some techs believe certain plug designs spread the oil stream out as it drains, making it easier to visually catch metallic flakes. It’s not confirmed as an official design goal by automakers, but it’s a widely repeated field observation.
What’s the safest way to remove a stuck Nissan oil filler cap?
Avoid gripping the cap flats directly with pliers or channel locks, which can crack the plastic. Use a dedicated oil filler cap wrench or strap wrench, and inspect the threads and O-ring before reinstalling.
Are cartridge-style oil filters worth the extra care they require?
They reduce filter waste compared to spin-on canisters, but they’re more sensitive to installation error. As long as the O-ring is lubricated and the cap is torqued to spec rather than overtightened, they hold up fine.
Is a vacuum oil extractor a replacement for dropping the pan or filter?
No — an extractor removes the fluid through the dipstick tube on platforms designed for it, but you’ll usually still need to access the filter separately unless it’s also top-mounted on that specific vehicle.
Why does GM’s horizontal filter mount get praised by techs?
Because it keeps draining oil off the frame and subframe metal, reducing corrosion exposure and typically requiring less cleanup or glove-swapping than a vertical filter that drains directly onto structural components.
Get the Right Tools for Every Oil Change Layout
Since filter orientation and drain plug placement vary by manufacturer, having the proper tools on hand makes a real difference. Check out our Automotive Oil Change Tools selection to stock up on what works across all the platform layouts you’ll encounter.
- Magnetic filter and drain plug pullers for multiple housing and bolt styles
- Disposable cups, bags, and extractor systems for managing drainback
- Strap wrenches and cap wrenches for stubborn filler caps

The Toolsource Technical Team blends decades of real-world automotive service experience with up-to-date technical research. Our writers collaborate with professional mechanics, shop owners, and diagnostic specialists to deliver practical, workshop-ready guidance you can trust.


Follow us on social media