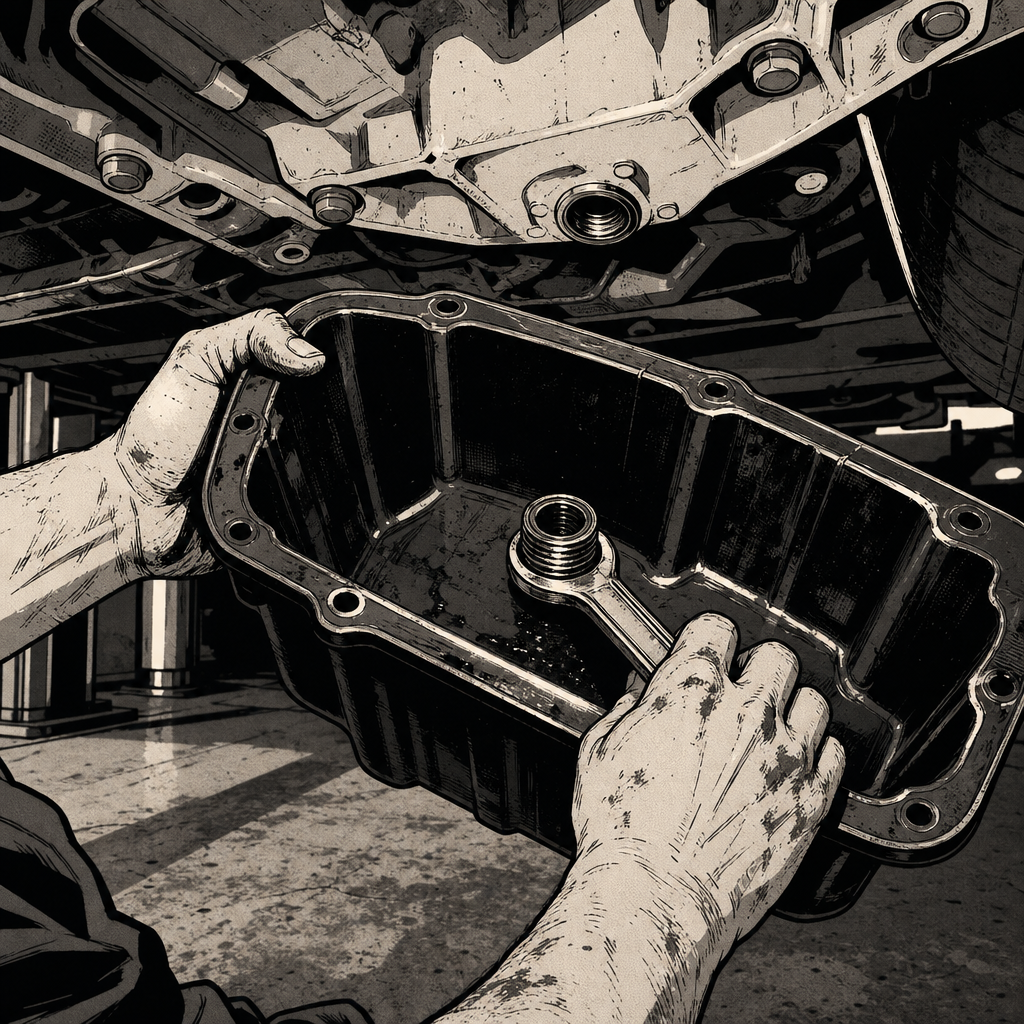
Plastic oil pans with a press-fit or heat-staked metal insert for the drain plug have become common across several manufacturers, and they’ve earned a reputation among techs for stripping out even when the plug is torqued exactly to spec. When it happens on your rack, the pan is compromised, the customer wants answers, and if you don’t document the failure the moment it occurs, you’re left arguing “he said, she said” with a service writer, a warranty admin, or a courtroom. This post walks through why these pans fail, how to diagnose and repair a stripped insert, and how to protect both the customer and the shop when it happens.
Why Plastic Oil Pans With Metal Inserts Strip Out
The failure point isn’t usually the plug or the threads in the traditional sense — it’s the interface between the plastic pan and the metal insert that’s molded or heat-pressed into it. That insert is only mechanically retained by the surrounding plastic, and repeated heat cycling, vibration, and torque loading gradually loosen the bond. Once the bond weakens, the insert starts to spin freely inside the pan the moment a wrench is applied, whether the tech uses a torque wrench dead-on spec or not. This is a documented design issue on several Nissan applications (including the VQ35 and VR30DDTT-equipped vehicles) and it also shows up on some Mercedes and heavy-duty diesel applications that use plastic pans for weight savings.
The important distinction for techs: this is a manufacturing defect, not a workmanship error, in the overwhelming majority of cases. Over-torquing can accelerate it, but shops report stripped inserts even when using a calibrated torque wrench set to factory spec with a new crush washer or gasket every time. That said, “it’s a defect, not my fault” doesn’t help you if you can’t prove when and how it happened — which is where documentation comes in.
How to Diagnose a Stripped Drain Plug Insert
Symptoms are straightforward once you know what to look for:
- The drain plug turns but doesn’t tighten — it spins with little to no resistance well past where it should seat.
- You can feel or hear the insert rotating inside the plastic pan rather than the threads engaging.
- Oil seeps or drips from around the plug after reinstall, even with a new washer.
- On visual inspection with the plug removed, the insert may be visibly loose, cracked, or partially pulled away from the surrounding plastic.
If you catch this during removal (rather than at reinstall), stop and get eyes on it before torquing anything. Once an insert has failed, no amount of thread sealant or additional torque will make it hold reliably — you’re just delaying an oil leak that will eventually leave the customer stranded with a fouled plug or a puddle in the driveway.
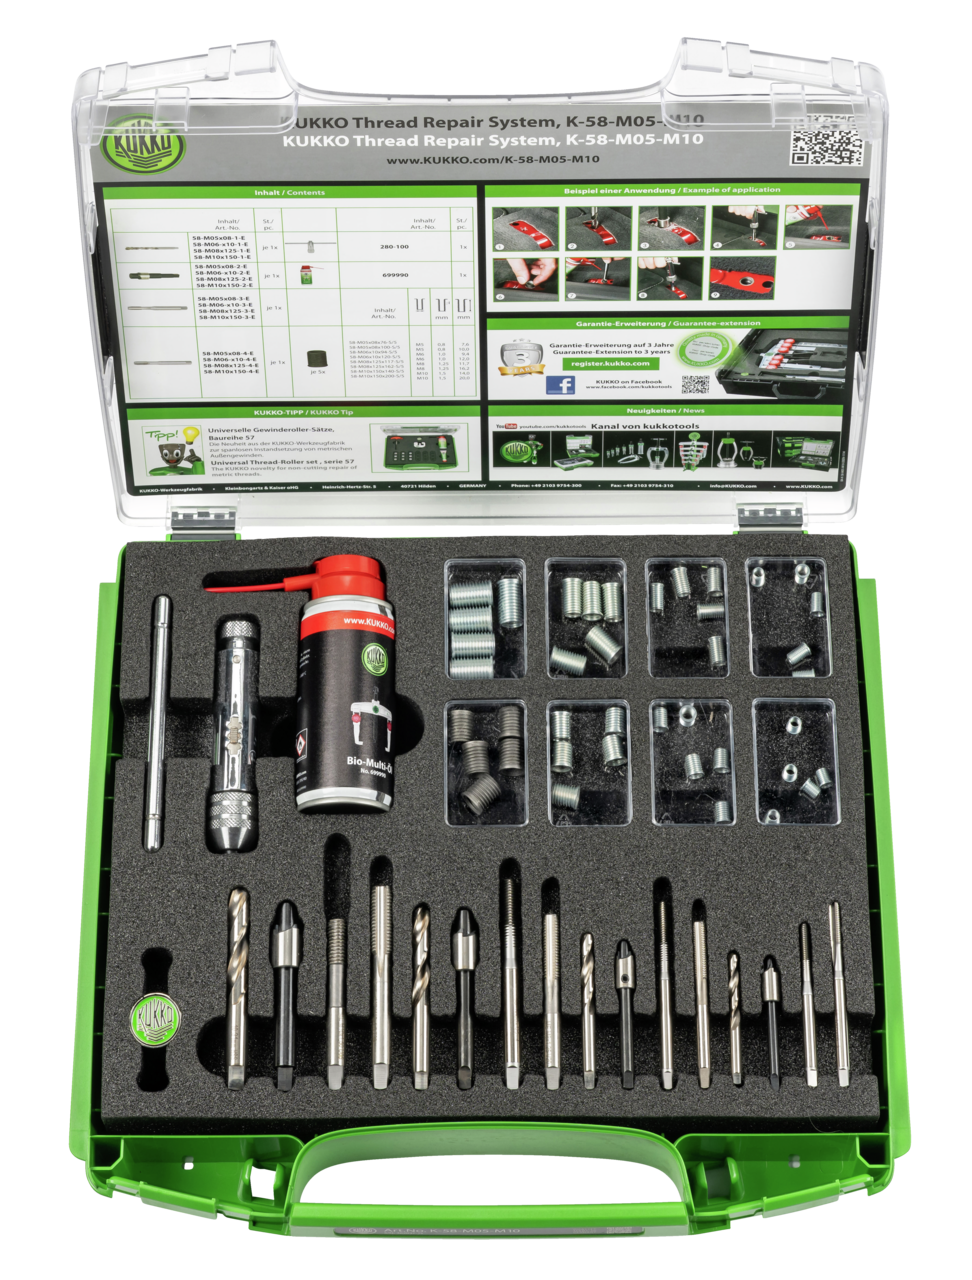
KUKKO-Thread-Repair-Set (M5x7,6, M5x10, M6x9,4, M6x12, M8x11,7
Mfg: Kukko Quality Tools Inc
Part #: K-58-M05-M10
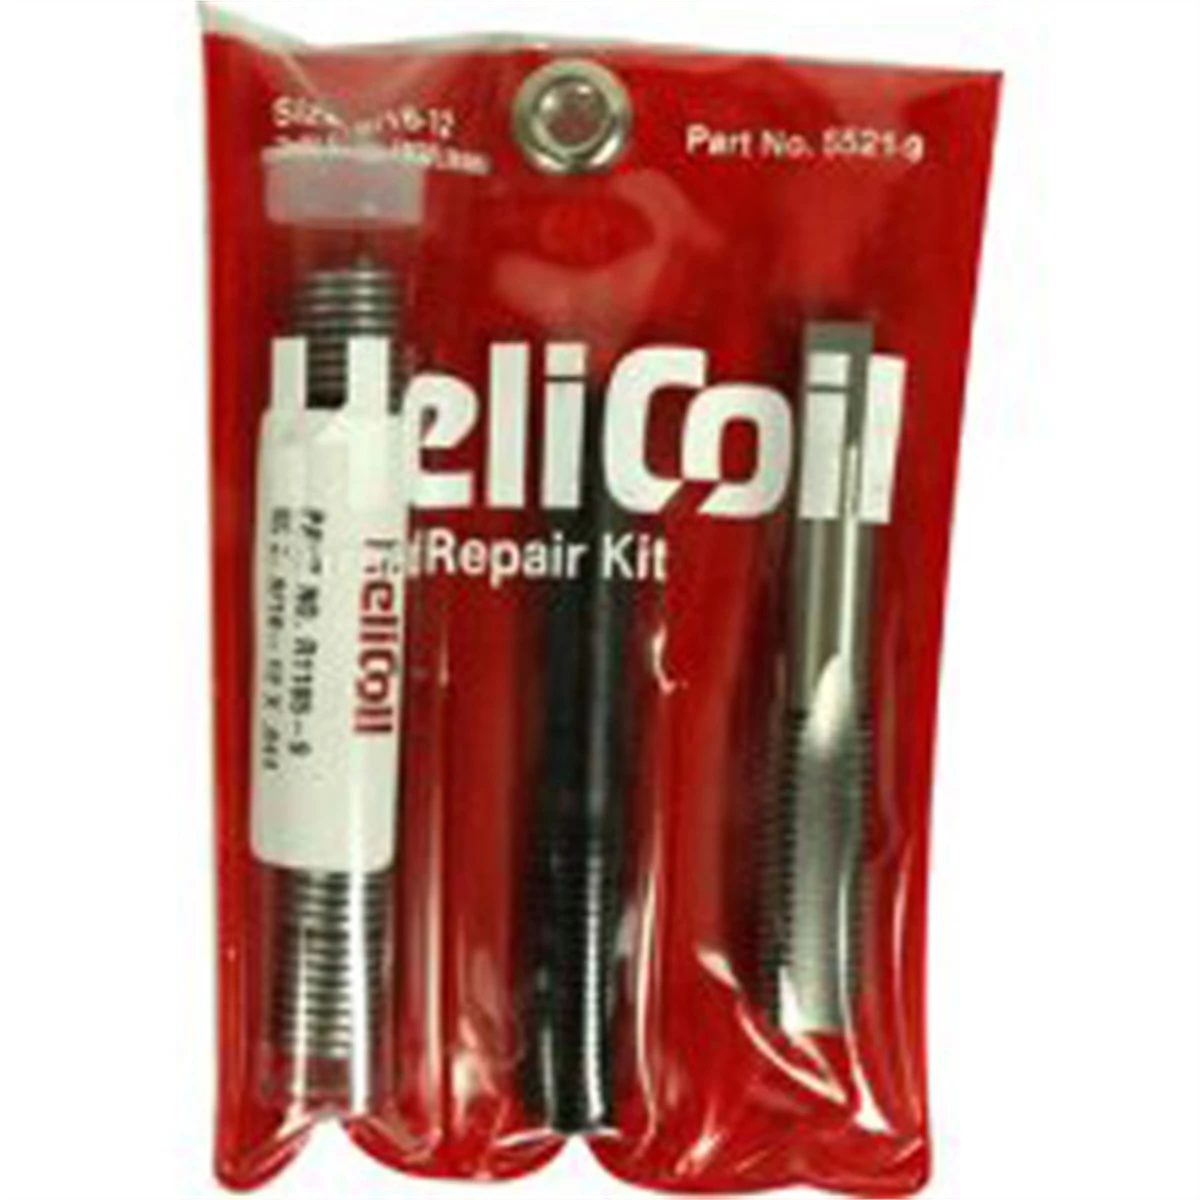
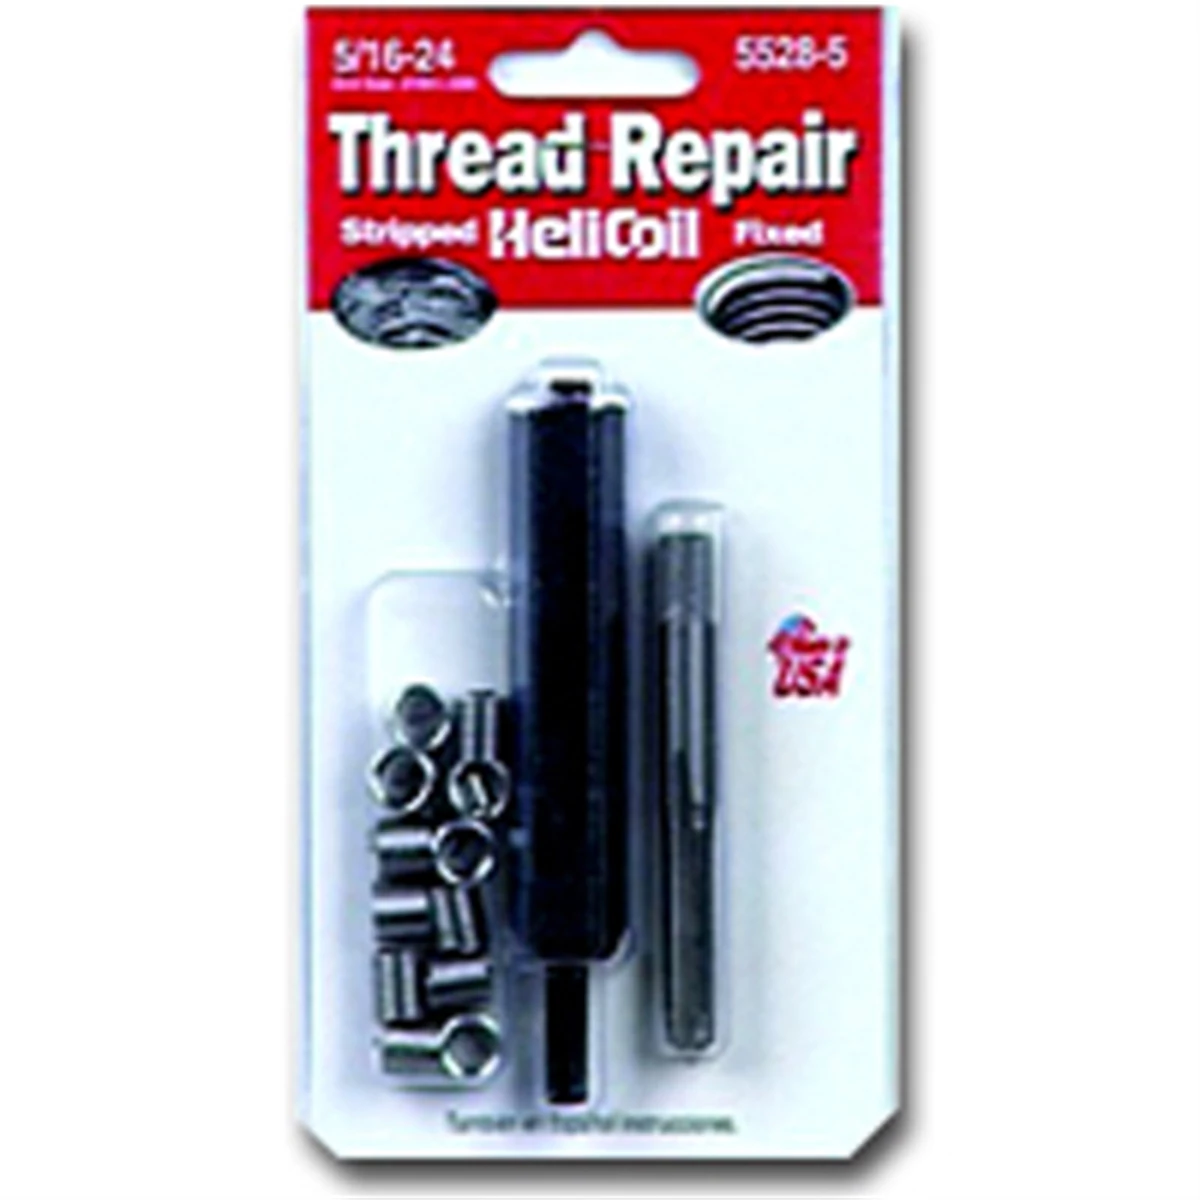
Repair Options: OEM Pan, Aftermarket Pan, or Insert Repair
Once you’ve confirmed the insert has failed, there are three practical paths, in order of how most shops actually handle it:
1. Replace the pan with an OEM or updated-design unit. Some manufacturers have released revised pans with a plastic drain plug and O-ring instead of a metal-insert-in-plastic design specifically to address this failure mode. If an updated part number exists, it’s the most durable fix and worth quoting even if it costs more.
2. Replace with a quality aftermarket pan. Aftermarket plastic pans for affected applications run in the $50–$100 range and are a common shop and DIY fix. Full pan replacement typically runs well under an hour of labor on most of these applications since the pan is easily accessed from underneath.
3. Repair the existing pan with a threaded insert. For pans that are otherwise sound, some techs successfully repair the stripped bore using a metal threaded bushing bonded in with a plastic-specific epoxy (a plastic welding epoxy, not standard JB Weld). This requires removing the failed insert, cleaning the bore thoroughly, and bonding in a properly sized threaded bushing so the drain plug has real metal threads to bite into. This is a lower-cost option but should be treated as a secondary repair — it’s more appropriate for a customer-pay job on an older vehicle than a comeback on a car you just serviced, since it introduces a bonded joint that needs to cure and be inspected before the vehicle goes back in service.
Whichever option you use, always install a new drain plug gasket or crush washer, and torque to the exact factory spec — don’t compensate for a “soft” feeling insert by cranking it down harder. That’s how you turn a manufacturing defect into an actual workmanship claim.
Documentation and Liability: Protecting the Shop and the Customer
This is the part that determines whether a stripped pan turns into a covered repair, a customer-pay job, or a dispute. A few rules that separate shops that handle this well from ones that don’t:
- Stop and report immediately. The moment a tech feels an insert spin or strip, the job stops and the service writer or manager is notified before the vehicle moves any further. Retroactive claims — after the vehicle has left and returned, or after another shop has already worked on it — are far harder to substantiate and are routinely denied.
- Get customer approval before proceeding. Any additional repair beyond the original oil change (a new pan, added labor) needs sign-off before work starts. Doing the repair first and presenting the bill afterward removes the customer’s ability to consent and is a common source of complaints.
- Photograph the failure in place before removing anything — the loose plug, the insert position, and the pan after removal. This protects the tech from accusations of over-torquing and protects the shop from disputes about what actually happened.
- Preserve old parts if requested. If a customer wants to keep or inspect a failed part, that request needs to be made at time of drop-off or immediately at pickup — many shops scrap old parts on a routine schedule and can’t guarantee recovery after the fact.
- Know your warranty documentation requirements. If you’re at a franchise or dealer that might pursue manufacturer warranty coverage for a defective part, most manufacturers require the failure to be reported to a warranty administrator at the time it happens, with the failed part retained for a required holding period. Applying sealant, epoxy, or other undocumented “field fixes” before that reporting happens can void the ability to claim it, so loop in your service manager before improvising a repair on a car that might qualify.
Preventing Comebacks on These Applications
Shops that see a lot of affected models build a standard procedure around this known failure point rather than treating each occurrence as a surprise:
- Flag known-affected VINs or models in your shop management system so every tech who touches the vehicle knows to expect it and inspects the plug carefully before and after.
- Use a torque wrench on every plug removal and reinstall on these applications — not just reinstall — so you have a consistent, defensible standard applied every time.
- Consider offering a proactive pan upgrade (to the revised OEM design or a quality aftermarket unit) as a preventive line item at the first sign of looseness, rather than waiting for a full failure mid-drain.
- For customers who do a lot of their own oil changes or use quick-lube chains that may not know about the issue, a drain valve (a screw-in or lever-style oil drain valve that replaces the stock plug) removes the repeated thread stress entirely and is a reasonable upsell for high-mileage customers.
- Brief new or lower-experience techs specifically on this failure mode — several reports note it catching newer techs off guard because the plug can feel “normal” right up until it doesn’t.
Quick Checklist: Handling a Stripped Drain Plug Insert
- Stop work the moment the plug spins or feels wrong — don’t force it further.
- Photograph the plug and pan before disassembly.
- Notify the service writer/manager immediately, before the vehicle is moved.
- Get customer approval for any repair beyond the original service.
- Choose OEM revised pan, aftermarket pan, or insert repair based on vehicle age and customer preference.
- Torque the new plug to factory spec with a new gasket or crush washer.
- Log the failure and repair in the RO with part numbers and photos for future reference.
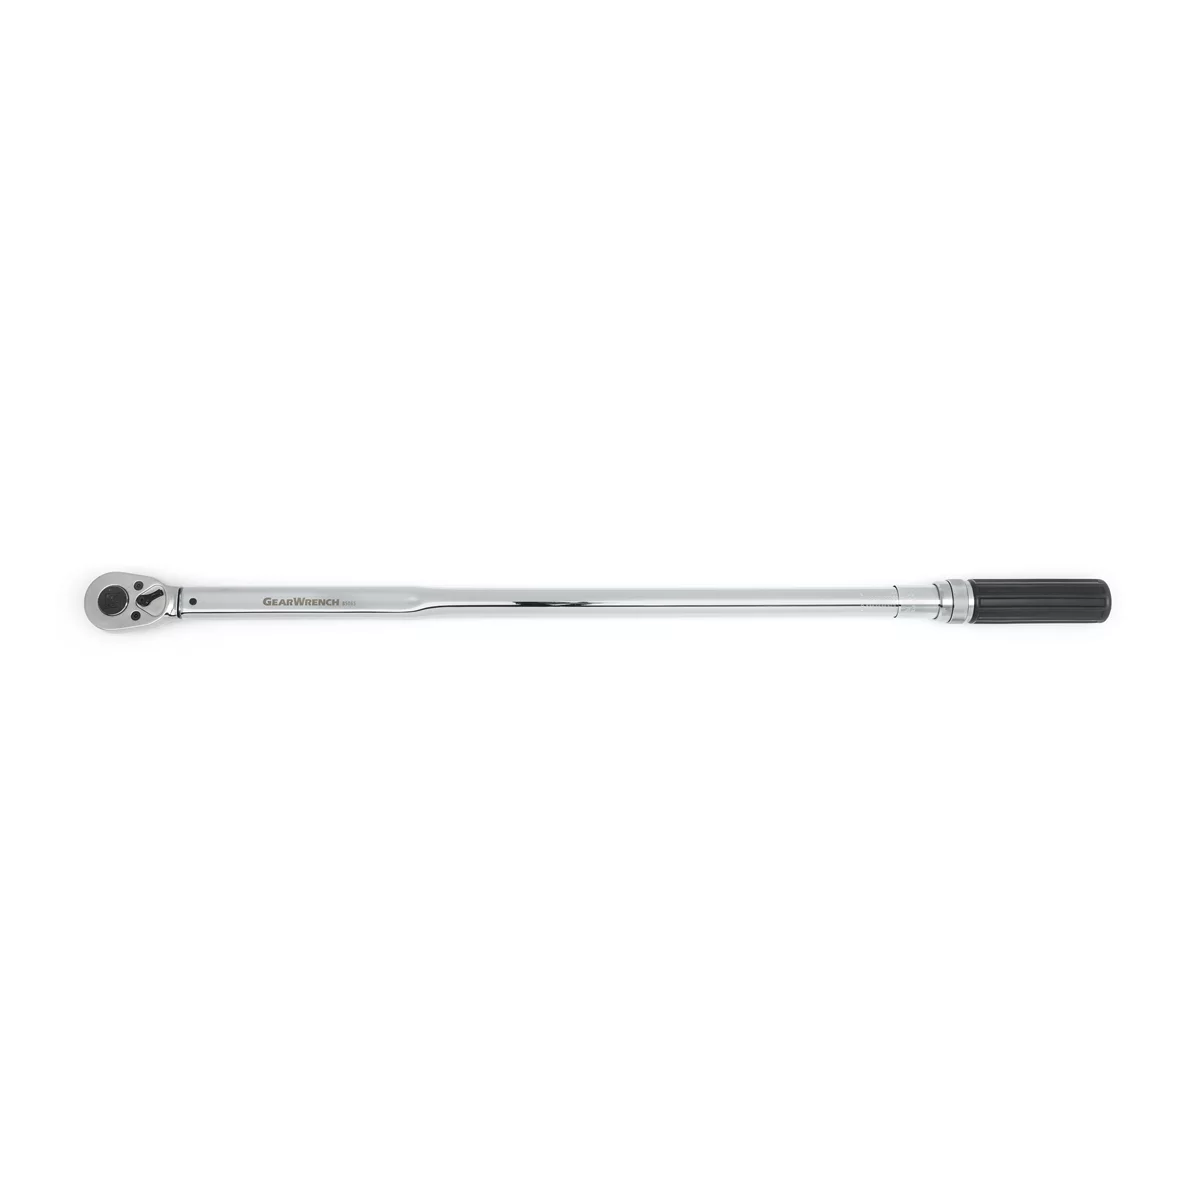
GearWrench 3/4" Drive Micrometer Torque Wrench 100-600 Ft-lb
Mfg: GearWrench
Part #: 85065M

730D/10 - Basic torque wrench w/ tool carrier for insert tools
Mfg: Stahlwille
Part #: 96501710
FAQs
Is a stripped plastic oil pan drain plug covered under manufacturer warranty?
It depends on the manufacturer and how quickly the failure is reported. Some warranty administrators will cover it if the tech reports the failure at the time it happens and follows the required documentation process; coverage is far less likely if the customer discovers it later or after another shop has already worked on the car.
Can I just use thread sealant or RTV to fix a stripped insert?
No — sealant does not restore mechanical thread engagement, and applying it can actually work against you if you later try to pursue warranty coverage, since it looks like an attempt to mask the failure rather than document it. Treat it as a parts-replacement issue, not a sealant issue.
How much does replacing a plastic oil pan typically cost?
Aftermarket pans commonly run $50–$100 in parts, with well under an hour of labor on most affected applications since the pan is accessible from underneath without major disassembly. OEM revised pans cost more but may be worth it for long-term ownership.
Is over-torquing the actual cause of these failures?
Not usually. Shops report failures even at proper factory torque with a torque wrench and new gasket, which points to a bonding/retention defect between the metal insert and the plastic pan rather than technician error. Over-torquing can accelerate an already-weak insert, but it’s rarely the sole cause.
What should I do if a shop tries to bill me for a stripped pan without asking first?
Ask for the repair order and service history — if the vehicle has a documented service history at that shop showing routine oil changes, that history supports the argument that the failure occurred there. Request that any additional charges be reviewed before payment, and escalate to management or corporate if the shop proceeded without prior approval.
Are drain valves a good permanent fix to avoid this issue?
A quality screw-in or lever-style oil drain valve eliminates repeated stress on the factory plug threads and can be a solid preventive option, particularly for vehicles that get frequent oil changes at multiple different shops or by the owner. It doesn’t fix an already-stripped insert, though — the pan or insert still needs to be repaired first.
Tools and Supplies You’ll Need
Any shop that works on these affected platforms should have a calibrated torque wrench and quality drain sockets on hand. Browse our Automotive Oil Change Tools for the full range of equipment and supplies needed for proper drain plug service and repairs.
- Calibrated torque wrenches and checking tools
- Drain plug sockets and specialized wrenches
- Replacement gaskets and crush washers

The Toolsource Technical Team blends decades of real-world automotive service experience with up-to-date technical research. Our writers collaborate with professional mechanics, shop owners, and diagnostic specialists to deliver practical, workshop-ready guidance you can trust.


Follow us on social media