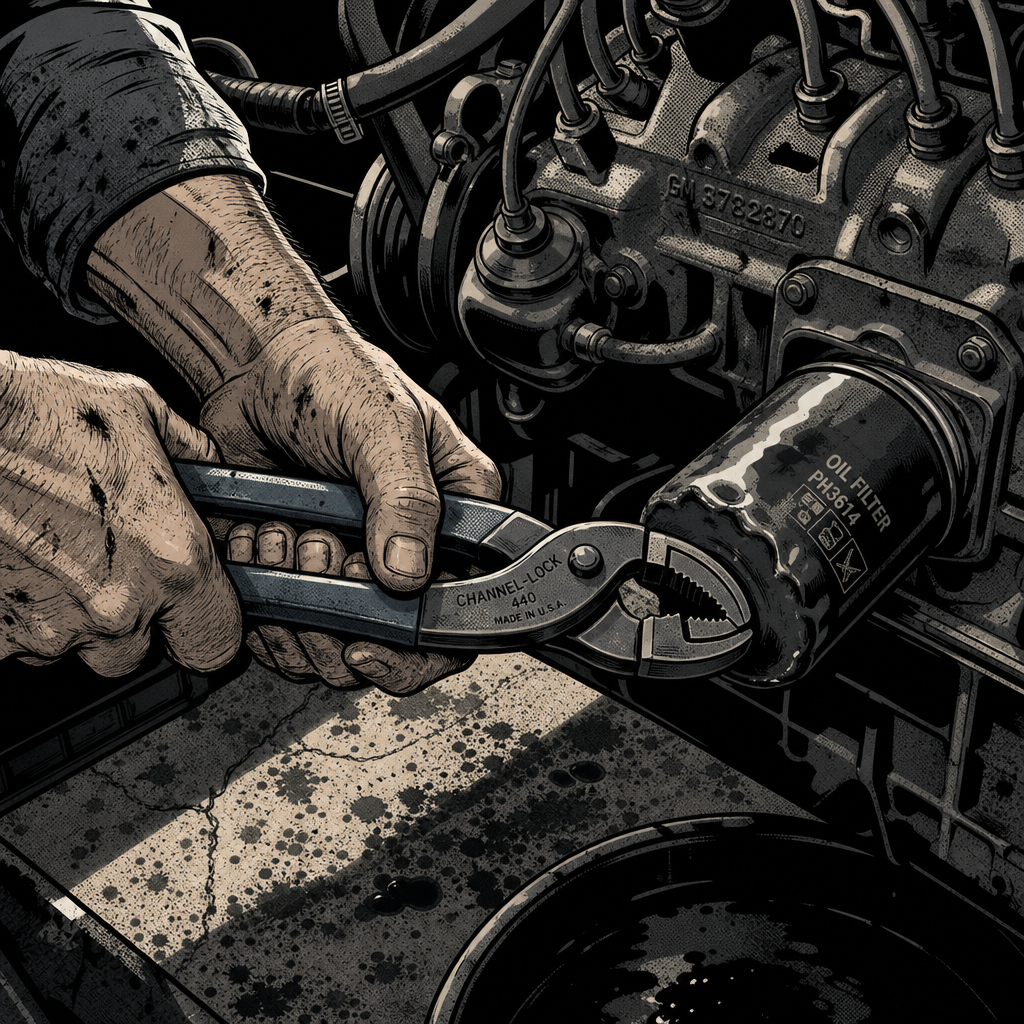
Every shop has a story about the oil filter that wouldn’t come off. It’s usually over-tightened by a quick-lube shop, baked on by heat-cycle corrosion, or simply seated on a filter mount with an odd clearance that makes standard tools slip. By the time most people ask for help, they’ve already tried the obvious fix and made things worse — a crushed can, a torn filter body, or a screwdriver hole that didn’t do anything but let oil leak out. This guide lays out a logical escalation path: start with the least destructive method, confirm you’re turning the correct direction, and only move to cutting tools when gripping tools have genuinely failed.
Confirm Direction and Access Before You Touch a Tool
Before grabbing anything, verify two things that cause more failed removals than any tool choice: turning direction and grip location. Oil filters use standard right-hand threads, so they loosen counterclockwise — but “counterclockwise” is only meaningful from a specific point of view. Stand facing the filter head-on, the same way you’d look at a clock, and turn left. If you’re working from underneath the vehicle or at an odd angle, it’s easy to mentally flip the direction and end up tightening a filter that’s already stuck, which mangles it further and burns time you didn’t need to lose.
Grip location matters just as much. The thin sheet-metal can of the filter has almost no structural strength and will crush, dent, or tear before it transmits real torque. The only part of the filter built to take load is the base — the wider metal ring near the mounting surface, sometimes called the collar or lip. Every technique below assumes you are gripping that base, not the mid-body of the can. If a tool keeps slipping or crushing the filter, the fix usually isn’t a bigger tool — it’s moving your grip down to the base.
Start With the Right Tool: Band, Strap, and Cap Wrenches
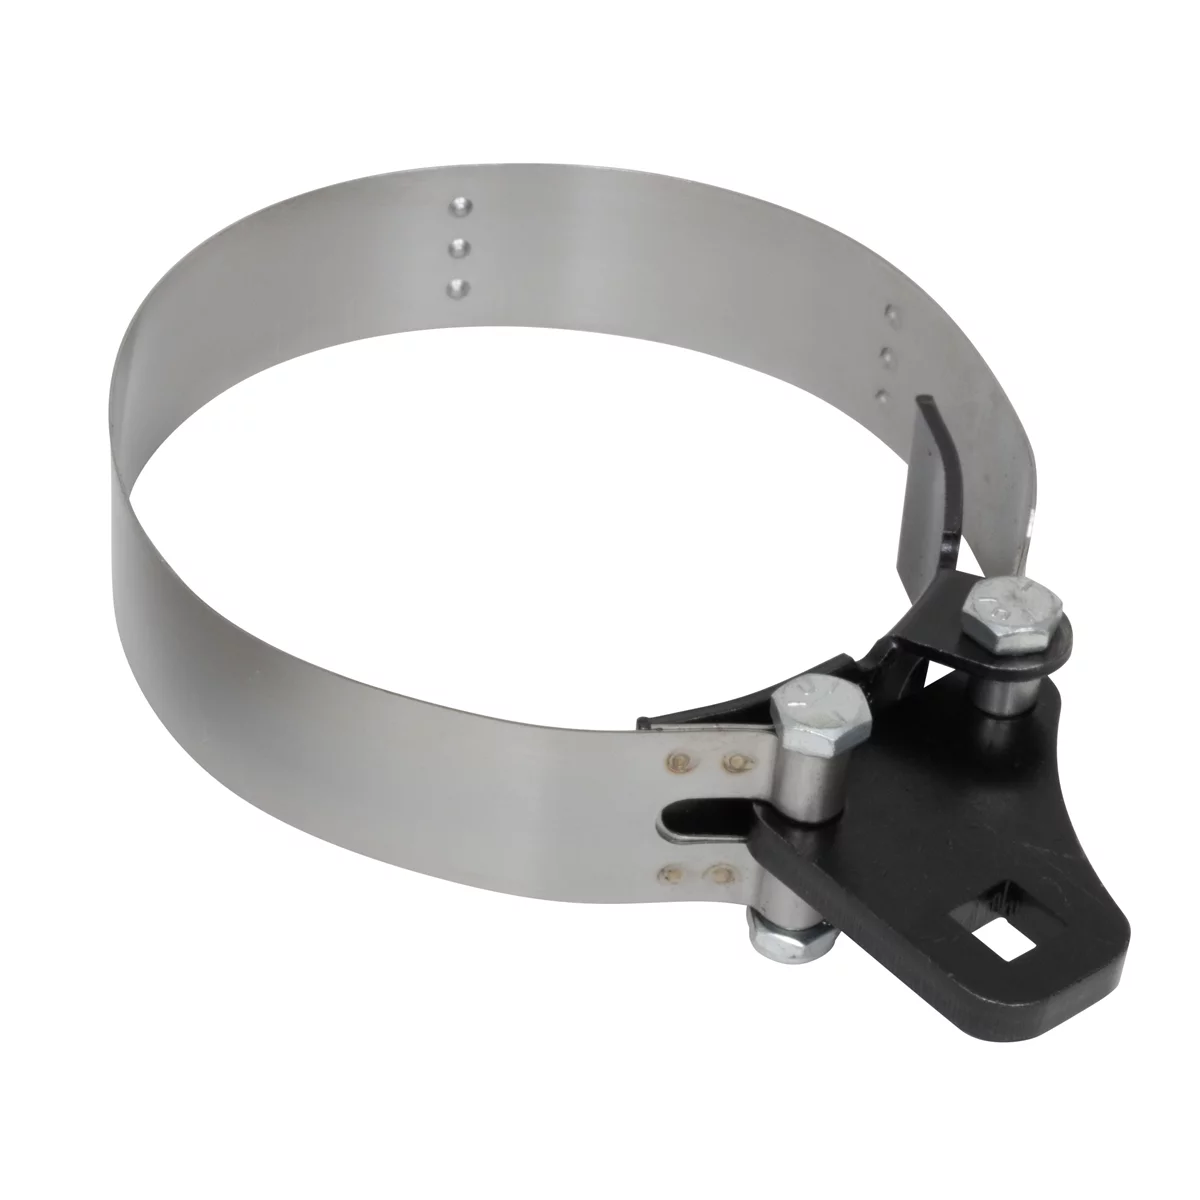
For a filter that’s simply tight but not damaged, a cap-style or band-style filter wrench is still the correct starting point, positioned as close to the base as physically possible. Cap wrenches (socket-driven, fitting over the end of the filter) give the most even grip and work well when there’s enough clearance above the filter to seat the cap fully. Band and strap wrenches are the better choice in tight engine bays since they only need clearance around the circumference, not above it.
If the filter has already been round-tripped by a strap wrench and just crushed the can without turning, that’s a signal the strap is riding too high on the body instead of the base, or that corrosion has welded the filter to the mount hard enough that a strap simply can’t generate enough torque. At that point, don’t keep re-trying the same strap position — move to a rigid gripping tool.
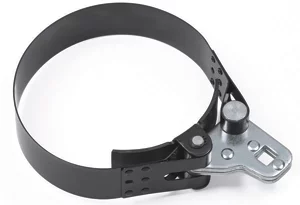
1/2 Inch Drive Heavy Duty Oil Filter Wrench - 4-21/32 to 5-5/32
Mfg: GearWrench
Part #: 2321
Escalate to Channel Locks or a Pipe Wrench on the Base
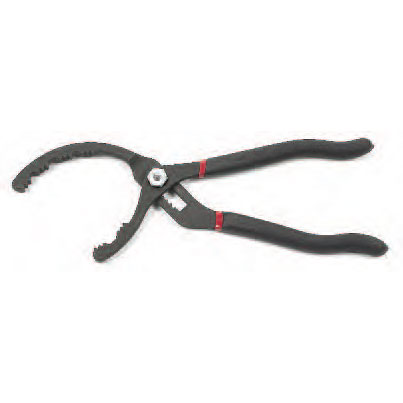
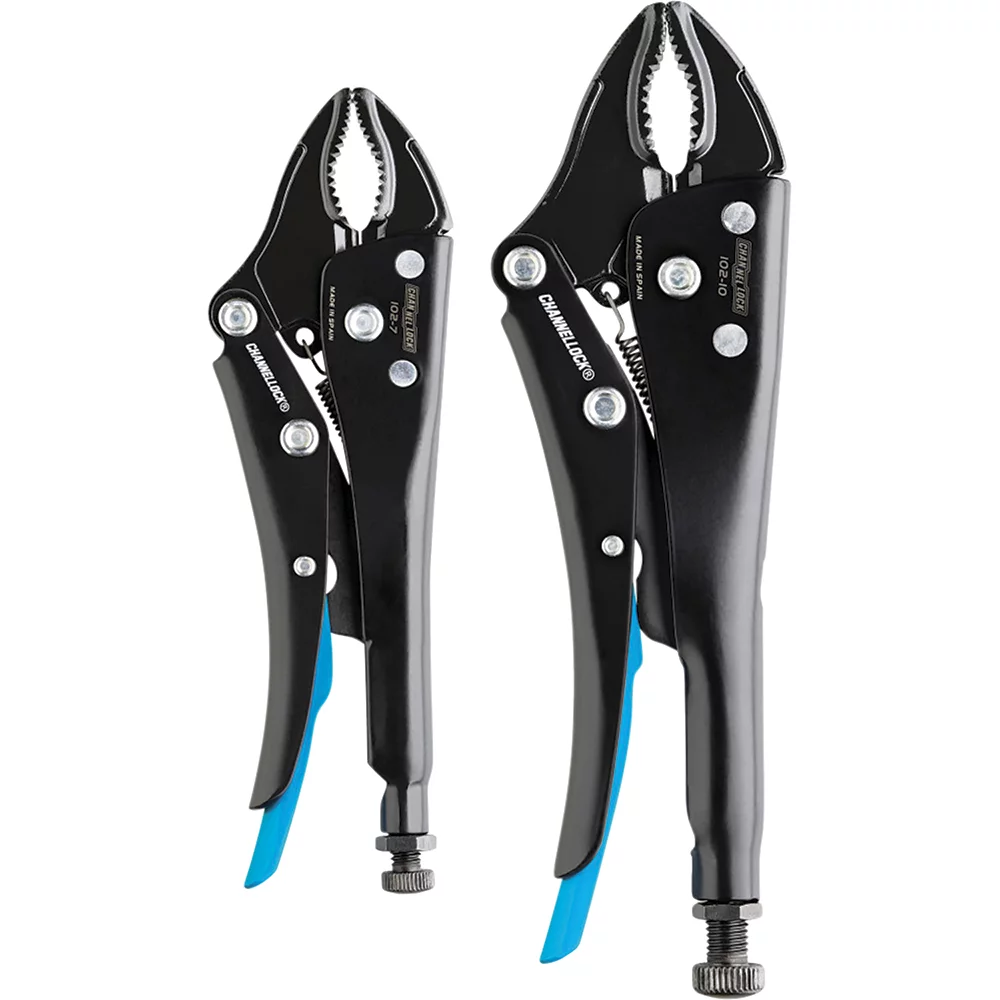
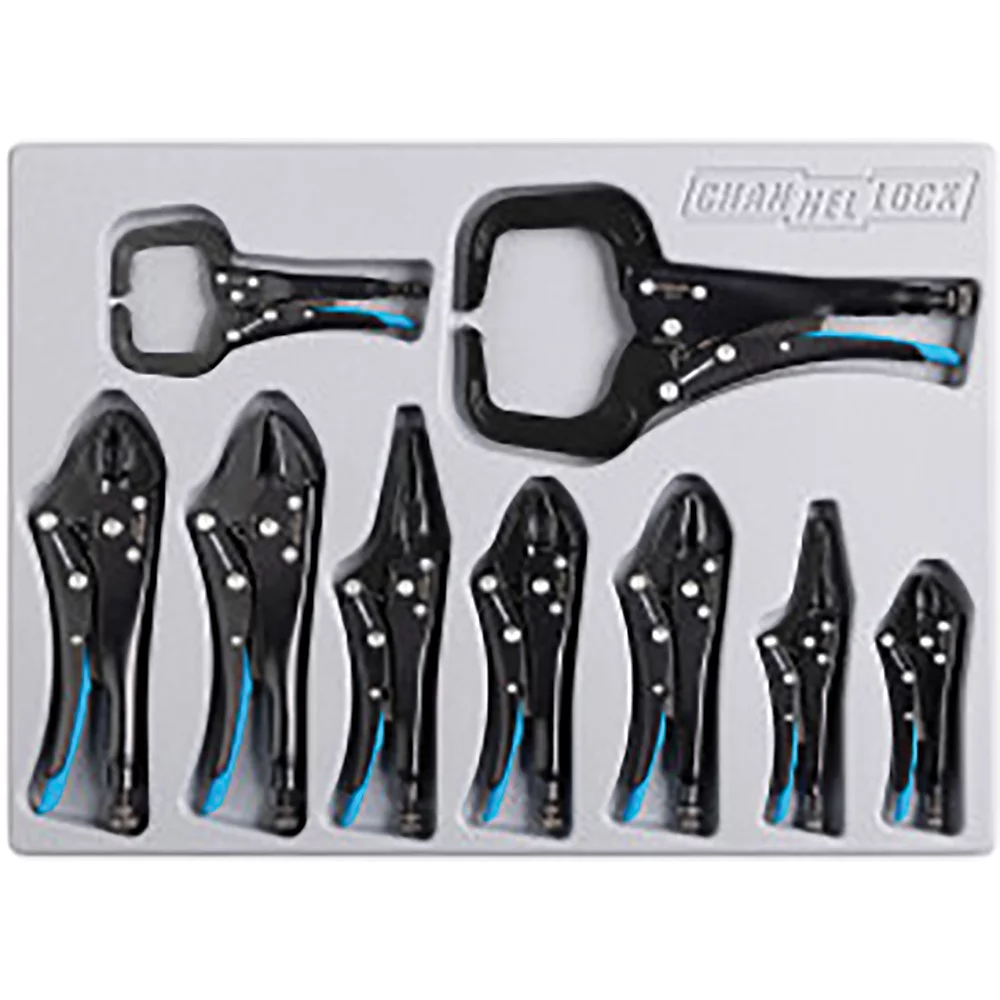
A large pair of channel-lock (tongue-and-groove) pliers, sized to open wide enough to bite the metal lip at the very base of the filter, is one of the most reliable next steps and something most techs already own. Clamp onto the base ring, not the can, and turn counterclockwise as viewed from in front of the filter. The wide jaw opening and long handle give substantially more leverage than a strap without the slippage that plagues cloth or rubber straps on an oily, corroded surface.
If channel locks won’t fit the space or can’t get enough bite, a pipe wrench serves the same purpose with more raw torque, and an offset pipe wrench is particularly useful because it can approach the filter at an angle when a straight-on swing isn’t possible. For extra leverage on either tool, slide a length of pipe over the handle as an extension — but apply steady, increasing pressure rather than a sharp jerk, since a snapped handle or a hand that slips off a suddenly-freed wrench is a real way to get hurt or gouge the surrounding sheet metal.
When the Can Is Already Torn or Crushed
If a strap wrench or an ill-advised screwdriver has already torn open the filter can, you’re past the point of finding a clean grip surface and need to work with what’s left. The base and the mounting plate (the flat disc with several smaller holes, located where the can meets the threaded fitting) are still intact and still the strongest part of the assembly. Peel or cut away the mangled paper element and outer can down to that base plate.
With the base plate exposed, use a punch or an old flat-blade screwdriver placed against the edge of one of the small holes in the plate, and drive it counterclockwise with a hammer, one controlled tap at a time. This works because you’re applying rotational force directly to the threaded base rather than to a deformed shell that can’t transmit torque anymore. Go slowly and reposition after every few taps — the goal is incremental rotation, not one dramatic strike.
Cutting and Impact Tools for Severely Seized Filters
For filters that are corroded onto the mount hard enough that hand tools won’t move them, two shop tools make the difference: an air hammer with a chisel bit, and a rotary tool with a cutting wheel. An air chisel placed against the base ring and worked in short bursts uses vibration as much as impact — the rapid hammering action can break a corrosion bond that steady pressure alone won’t budge, and it’s a good option before resorting to more destructive cutting.
If the filter needs to come off in pieces, a Dremel-style rotary tool with a small cutting wheel can score a notch into the metal base ring. That notch gives a cold chisel or old screwdriver a purchase point to hook into, so hammer blows convert into rotation instead of just glancing off a smooth, round edge. Whichever cutting method you use, stay well clear of the gasket sealing surface on the engine block or mounting adapter — a gouge there will cause a leak on the next filter installation, turning a stuck-filter problem into a seal problem. Cut and chisel on the filter side, working inward, never on the block side.
Preventing the Next Seized Filter
Most seized filters trace back to over-torquing at the last oil change — hand-tight plus a fraction of a turn is standard for most cartridge and spin-on filters, and a filter wrench should not be needed to install one in the first place. A thin film of fresh oil on the gasket before installation, snugged down by hand, prevents both leaks and the kind of bonding that makes next time’s removal a fight. Keeping a properly sized cap wrench or band wrench on hand for the specific filter dimensions your vehicle uses also avoids the improvisation that leads to crushed cans and stripped bases down the road.
Quick Reference Checklist
- Confirm you’re turning counterclockwise as viewed from directly in front of the filter
- Grip the metal base ring, never the thin can body
- Try a band or cap wrench positioned at the base first
- Move to large channel locks or a pipe wrench (offset if space is tight) if the strap slips
- If the can is torn, expose the base plate and walk it off with a punch and hammer
- Reserve air chisels and cutting wheels for corrosion-seized filters, and never cut toward the block’s gasket surface
Frequently Asked Questions
Why did the oil filter get this stuck in the first place?
The most common cause is over-tightening at the previous install, often from an impact tool or excessive hand torque. Heat cycling, road salt, and time can also corrode the filter to the mounting adapter even when it was installed correctly.
Is it safe to puncture the filter with a screwdriver to get leverage?
Generally no. Puncturing the can tears the sheet metal without providing a solid grip point, spills residual oil, and rarely generates enough torque to break the seal loose. It’s better used only as a way to relieve pressure/seal suction, not as a primary removal method.
Which direction do I turn to remove an oil filter?
Counterclockwise, viewed from directly facing the filter — the same convention as any standard right-hand thread. Working from an unusual angle underneath the car is the most common reason people turn the wrong way without realizing it.
Can I reuse a mounting surface after chiseling off a filter’s base plate?
Yes, as long as the gasket sealing surface on the engine or adapter wasn’t gouged or scratched during removal. Inspect it closely before installing the new filter, and clean off any old gasket material completely.
What tool should I buy so this doesn’t happen again?
A properly sized band or cap-style filter wrench matched to your specific filter’s diameter, plus a large pair of channel-lock pliers as a backup, covers the vast majority of removals without resorting to cutting tools.
Do I need an air compressor and air chisel just for oil changes?
Not for routine maintenance. An air chisel is worth having if you do a lot of your own repair work or regularly deal with corroded fasteners, but for a single stuck filter, it’s reasonable to borrow one or take the vehicle to a shop rather than buy a full air tool setup.
Recommended Tools
Whether you’re dealing with a stubborn filter or setting up your shop for routine maintenance, having the right tools makes the job faster and prevents damage. Browse our selection of Automotive Oil Change Tools to find band wrenches, cap wrenches, channel-lock pliers, and other essentials for reliable filter removal.
- Band, cap, and strap-style filter wrenches for standard removal
- Channel-lock and pipe wrenches for tight spots and extra leverage
- Specialty tools for corroded or seized filters

The Toolsource Technical Team blends decades of real-world automotive service experience with up-to-date technical research. Our writers collaborate with professional mechanics, shop owners, and diagnostic specialists to deliver practical, workshop-ready guidance you can trust.


Follow us on social media