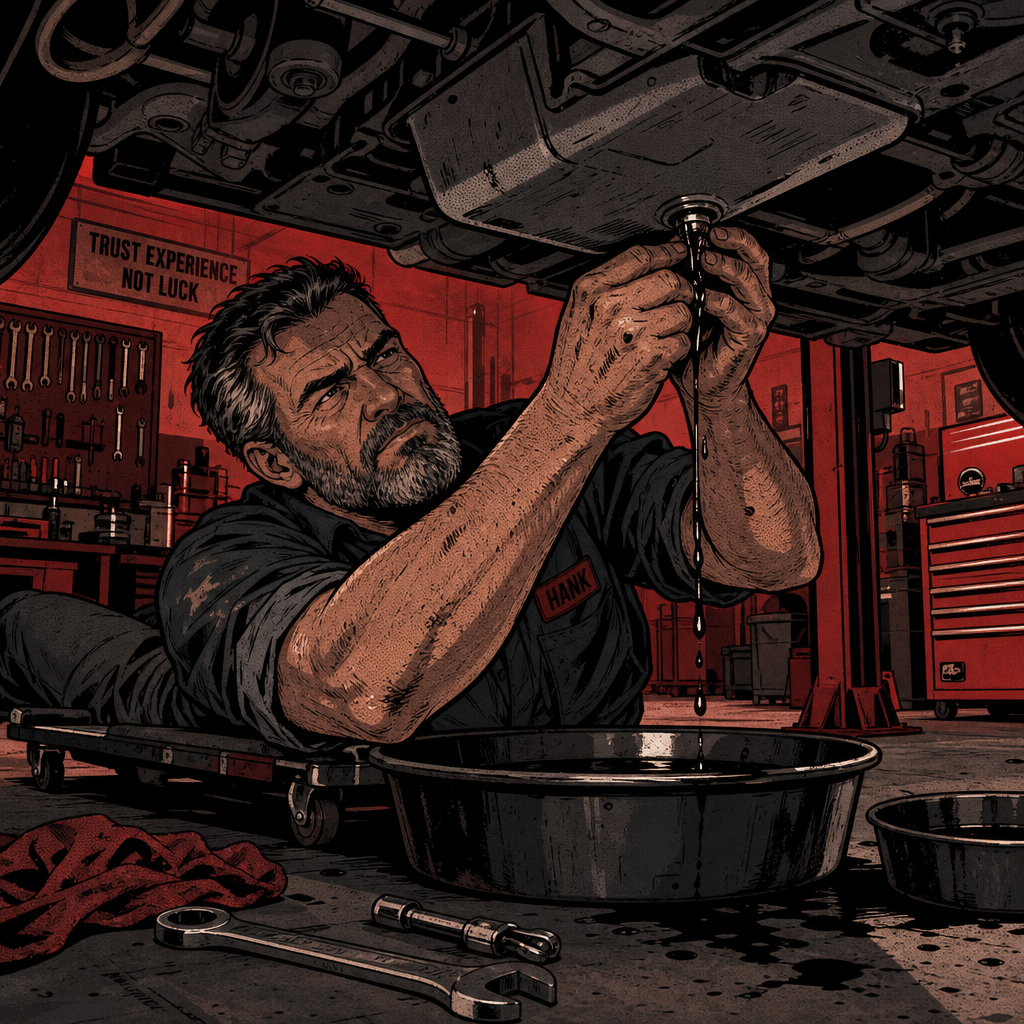
There’s a fundamental difference between twenty years of changing your own oil twice a year and twenty years working in a professional shop. The home mechanic who’s done forty oil changes over two decades hasn’t built the same muscle memory, error-catching habits, or systematic verification processes that a lube tech develops in their first six months turning wrenches for a living. This isn’t about skill or intelligence—it’s about repetition, accountability, and the systems that prevent catastrophic mistakes. When you drain the CVT fluid instead of engine oil on a Subaru, you’ve just turned a fifteen-minute maintenance task into a potential multi-thousand-dollar transmission replacement. Let’s examine why this specific mistake happens so frequently, what separates hobbyist experience from professional competency, and the verification protocols that catch errors before they destroy components.
Understanding the Experience Gap Between DIY and Professional Work
The phrase “twenty years of experience” means dramatically different things depending on context. A technician working in a dealership performs fifteen to twenty oil changes weekly—that’s roughly 800 to 1,000 services annually across dozens of different vehicle platforms. Within two years, that tech has seen more variations, encountered more unusual configurations, and developed more systematic habits than a DIYer will accumulate in a lifetime of home garage work.
The critical difference isn’t just volume. Professional environments create accountability structures that don’t exist in your driveway. When a comeback happens because you drained the wrong fluid, there’s a service advisor explaining the mistake to an angry customer, a shop foreman reviewing what went wrong, and potentially your paycheck taking a hit for comeback labor. That feedback loop creates behavioral changes. You start checking twice. You develop pre-start verification habits. You slow down on unfamiliar platforms even when you’re slammed with work.
Home mechanics rarely face immediate consequences for taking shortcuts. If you skip checking the dipstick before starting the engine after a fill, and everything seems fine, that shortcut gets reinforced. You might do it that way for years before the one time it matters—the time you accidentally put seven quarts into an engine that holds five, or worse, put five quarts of 5W30 into a CVT that now has twelve quarts of mixed fluids destroying clutch packs and valve bodies.
The other factor is pattern recognition across platforms. A professional tech learns that certain manufacturers position drain plugs in confusing layouts. Subaru’s CVT drain plug sits right out in the open on many models, easier to access than the engine oil pan plug tucked behind a skid plate. VW and Audi products from certain years have similar configurations. Once you’ve made that mistake—or watched a coworker make it—you develop specific caution around those platforms. The DIYer working on the same vehicle for two decades never builds that cross-platform awareness.
Why the Subaru CVT Drain Plug Gets Confused With Engine Oil
This specific mistake happens so frequently with Subaru vehicles that experienced techs can diagnose it over the phone. Customer calls in: “I changed my oil, used the right amount, but now it’s way overfull on the dipstick and my transmission temperature light is on.” That’s a textbook CVT drain instead of engine oil drain.
The physical setup creates the problem. On many Subaru models with CVT transmissions, the transmission drain plug is positioned front and center, easily visible from underneath without removing any shields. It’s a 19mm or 21mm hex plug that looks identical to an oil drain plug. Meanwhile, the actual engine oil pan sits further back, often partially obscured by subframe components or skid plates. If you’re rushing, if you’re working in a poorly lit area, or if you simply grab the first drain plug you see without verifying, you’ll drain the CVT.
The visual and tactile cues that should alert you can be subtle, especially if you’re not looking for them. CVT fluid has a distinct smell—slightly sweet, different from conventional motor oil—but in a shop environment filled with various fluid odors, or if you’re not specifically checking, you might miss it. Color is another indicator: Subaru CVT fluid is typically green when fresh and remains relatively light even with use, while engine oil darkens quickly. However, if you’re draining into a dirty pan or the lighting is poor, you might not notice the color difference until it’s too late.
Some Subaru models compound the problem by using spin-on transmission filters in addition to the drain plug. Early to mid-2000s Foresters, Outbacks, and Imprezas with automatic transmissions have these filters, and they’re sometimes the same size as the engine oil filter. A distracted tech might remove both the wrong drain plug and the wrong filter before realizing the mistake.
No products found for “subaru cvt transmission fluid”
Immediate Actions When You Realize You’ve Drained the Wrong Fluid
If you catch the mistake before starting the engine, you’re in recovery mode, not disaster mode. Do not start the vehicle. The engine now has roughly double its correct oil capacity (original oil plus whatever you added thinking you were doing an oil change), and the CVT has lost most or all of its fluid. Starting in this condition will cause the engine to foam and aerate oil throughout the crankcase while the CVT attempts to operate with insufficient or no lubrication.
First, drain the excess oil from the engine. You put in four to six quarts thinking you were refilling after an oil change, but you never drained the engine, so now you’re massively overfilled. Get that excess out immediately. Then properly drain the engine oil and proceed with the actual oil change you intended to perform in the first place.
Next, address the CVT. You’ll need the correct Subaru CVT fluid—this is not a place to substitute or use universal ATF. Subaru CVT fluid is formulated specifically for their continuously variable transmissions, and using the wrong fluid will cause premature failure even if you didn’t make any other mistakes. The fill procedure is critical: most Subaru CVTs require checking and filling at a specific operating temperature, typically around 95-113°F (35-45°C), which requires either a scan tool to read CVT temp or careful monitoring with an infrared thermometer.
Underfilling is better than overfilling with CVTs. Overfilling by even a half quart can cause pressure issues, foaming, and damage to clutch packs. Follow the exact procedure in the service manual. Most Subaru CVTs have a fill plug and a separate overflow/level check plug. You fill until fluid runs out of the level check port at the specified temperature. Do not guess. Do not estimate. Get the temperature right and fill to the exact level specified.
If you started the engine before realizing the mistake, shut it down immediately the moment you notice any unusual behavior—rough running, warning lights, strange noises. How long it ran matters significantly. A few seconds of operation might cause no permanent damage beyond needing fresh fluids and possibly some seal replacement. Running for minutes with the CVT dry can destroy clutch packs, valve bodies, and the chain or belt assembly. At that point, you’re looking at CVT replacement, which runs $4,000 to $8,000 depending on the model and whether you’re using remanufactured or new units.
The Pre-Start Verification Checklist That Prevents Disasters
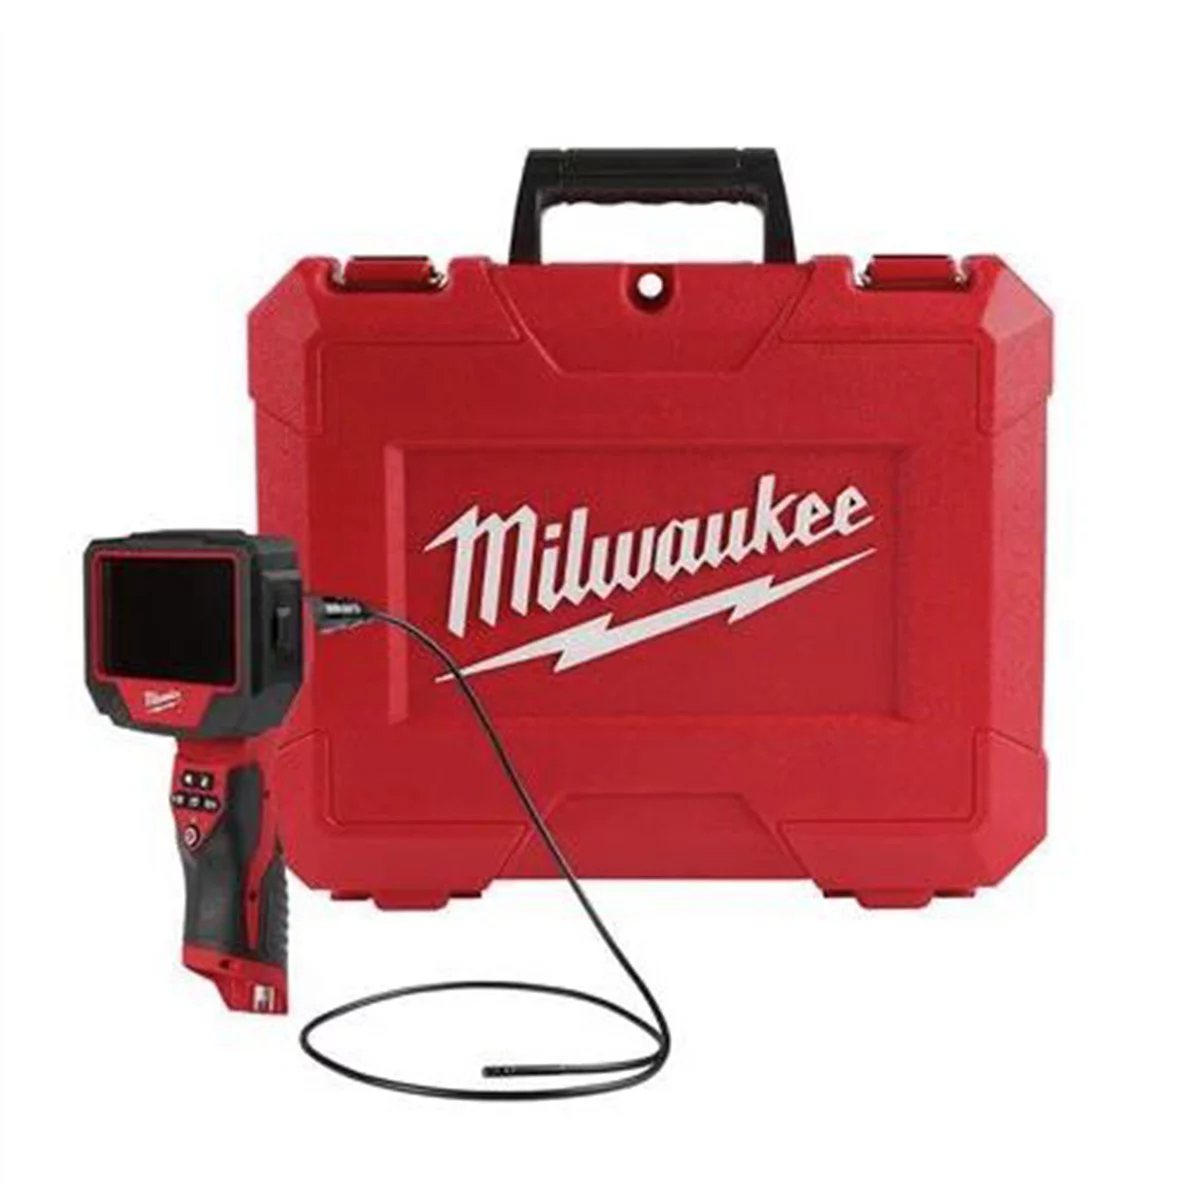
Milwaukee Tool M12 Auto Technician Borescope with 2.0 Starter Ki
Mfg: Milwaukee Electric Tools
Part #: TECHBORESCOPEKIT
Professional shops use systematic verification steps because they work. These aren’t suggestions for beginners—they’re the baseline procedures that experienced techs follow on every service because complacency kills transmissions and engines. Adapt this checklist to your process:
Before going under the vehicle:
- Verify the year, make, model, and engine size—pull up the service information for that specific platform
- Note the oil capacity and specification from the service manual, not from memory
- Identify drain plug location and size from service documentation if you’re not intimately familiar with this exact model
- Gather the correct filter, drain plug washer or gasket, and exact quantity of specified oil before starting
During the drain process:
- Positively identify the engine oil drain plug before loosening—verify location matches service information
- Check the drain plug size with your socket or wrench—if it’s not the expected size, stop and verify
- Observe the color and smell of draining fluid—engine oil should be dark brown to black, not red, green, or pink
- Verify the drained quantity is approximately correct—if you expected five quarts and drained twelve, you drained the wrong thing
Before starting the engine after fill:
- Check the dipstick with engine off—oil level should be at or near the full mark
- Visually inspect under the vehicle for leaks at the drain plug and filter
- Start the engine and let it run for 10-15 seconds, then shut off
- Wait two minutes for oil to drain back to the pan, then recheck dipstick level
- Top off if needed to reach the full mark—level will drop slightly after initial circulation
- Check for leaks again before releasing the vehicle
The step that catches the drain plug mistake before it becomes catastrophic is checking the dipstick before starting. If you drained the CVT and added five quarts to the engine, the dipstick will show massively overfull. That’s your warning. If you skip this check and just start the engine, you’ve eliminated your last safety net.
Why Complacency Is More Dangerous Than Inexperience
Beginning technicians make mistakes because they don’t know better yet. Experienced techs make mistakes because they stop checking. This is the “one year of experience repeated twenty times” problem referenced in shop culture. If you’ve changed oil on the same vehicle for years without incident, your brain shifts into autopilot. You stop consciously verifying each step because it’s always been fine before.
Autopilot mode works until something changes. Maybe you’re distracted by a conversation. Maybe you’re thinking about the next job. Maybe you’re just tired after a long day. Your hands go through the familiar motions, but your attention isn’t fully present. You reach for the first drain plug you see instead of consciously verifying it’s the correct one. That’s when twenty years of experience fails to prevent a rookie mistake.
Professional environments combat complacency through systems. Quality control checkpoints force verification even when you think you don’t need it. In a busy shop, the guy running the oil change station might complete fifteen services in a shift, but there’s usually a final inspection or road test process before customer delivery. That creates a second set of eyes. At home, you’re the only set of eyes, which means you need to be more deliberate about building verification into your process, not less.
The other complacency trap is overconfidence in pattern recognition. You’ve done this specific job so many times that you trust your instincts. The problem is that instincts are pattern-matching algorithms running in your subconscious, and they can match the wrong pattern when you’re not paying full attention. Your brain sees “drain plug under Subaru” and categorizes it as “oil drain” without conscious verification. Building a habit of deliberately checking—looking at plug location, fluid color, drained quantity—interrupts that autopilot pattern and forces conscious engagement.
Cross-Platform Awareness and Why It Matters for DIYers
Professional techs develop an awareness of which platforms have confusing or similar drain plug configurations. This knowledge comes from either making the mistake themselves, watching someone else make it, or hearing about it from other techs. DIYers working exclusively on their own vehicles never build this cross-platform database of “watch out for this” scenarios.
Subaru CVT drain plugs are the most commonly reported mix-up, but they’re not the only one. Older VW and Audi products have transmission drain plugs positioned prominently while engine oil drains are less accessible. Some Honda models have similar configurations. Certain Ford applications have multiple drain plugs for different systems in close proximity. If you’ve only ever worked on Toyota products, you might not know that Subarus are set up differently, and that lack of awareness creates risk when you help a friend or family member with their vehicle.
The lesson here is to treat unfamiliar platforms with extra caution, even if you have decades of experience with other vehicles. When working on a make or model you’re not intimately familiar with, pull up the service information. Verify drain plug location. Don’t rely on assumptions based on other vehicles. Five minutes of research prevents hours of repair work and potential component replacement.
This applies even to different model years of the same vehicle line. A 2010 Outback might have a different configuration than a 2015 Outback. Engine changes, transmission updates, and platform revisions mean that “I’ve been working on Subarus for years” doesn’t guarantee you know the specific layout of the exact vehicle in front of you. Check the service manual for that VIN, not for the general model line.
Recovery and Repair: What Happens After a Fluid Mix-Up
If you caught the mistake quickly—drained the wrong fluid but didn’t start the engine, or only ran it for a few seconds before shutting down—the recovery process is straightforward but tedious. You’ll need to properly drain and refill both the engine and the CVT with correct fluids at correct levels. The engine should get fresh oil and a new filter. The CVT needs correct Subaru CVT fluid filled to the precise level at the specified temperature.
Change the fluids, follow the fill procedures exactly, and monitor for issues over the next few hundred miles. Check for leaks. Pay attention to any transmission warning lights or unusual behavior. If the CVT was only dry for a few seconds, there’s a good chance you avoided permanent damage. The residual fluid coating internal components provides minimal protection during very brief operation.
If the engine ran for more than a few seconds with the CVT dry, you’re in a different situation. CVTs are less forgiving than conventional automatics when it comes to running without adequate fluid. The clutch packs and chain or belt assemblies require constant lubrication and cooling. Even thirty seconds of operation without fluid can cause overheating damage that won’t be immediately apparent but will manifest as slipping, shuddering, or failure within the next few hundred miles.
In cases where the vehicle ran for a minute or more, or was driven even a short distance, the recommendation from most manufacturers and transmission specialists is CVT replacement. Subaru has occasionally covered these situations under warranty or goodwill depending on circumstances, mileage, and service history, but that’s not guaranteed. If you’re a DIYer who made this mistake, you’re looking at paying out of pocket for a replacement unless you can find a remanufactured unit or used transmission with reasonable mileage.
The overfilled engine side of the equation is less catastrophic but still concerning. Excessive oil in the crankcase gets whipped into foam by the crankshaft, reducing its lubricating properties and potentially causing pressure issues. If you overfilled by a quart or two and only ran the engine briefly, draining to the correct level and changing the oil should resolve it. If you overfilled severely and ran the engine for any length of time, you’ll want to monitor for oil leaks from seals that may have been pressured beyond their design limits.
Building Better Habits: Moving From Casual DIY to Systematic Approach
The gap between hobbyist experience and professional competency isn’t about talent or mechanical aptitude—it’s about systems and habits. Professional techs work within structures that catch mistakes: documentation requirements, quality control checkpoints, comeback accountability, and supervision. DIYers need to build those structures for themselves.
Start by treating every job as if someone else will be inspecting your work afterward. That mindset shift changes how you approach verification steps. Instead of skipping the dipstick check because you’re “sure” you filled it correctly, you check because that’s part of the process, every time, regardless of confidence level.
Document your work, even for routine maintenance. A simple log noting what you did, what parts you used, what the mileage was, and any observations during the service creates a reference for future work and helps you spot patterns. If you track that you’ve been adding a quart of oil between changes for the last three services, you know to investigate for leaks or consumption issues. That’s the kind of pattern recognition professionals develop through volume, but you can build it systematically through documentation.
Invest in proper service information rather than relying on forums and YouTube. Factory service manuals or quality third-party subscriptions like AllData or Mitchell provide specifications, procedures, torque values, and fill capacities that are specific to your vehicle’s VIN. Generic advice about “Subarus” might not apply to your specific year and model. Five dollars per month for a subscription prevents five thousand dollar mistakes.
Accept that mistakes will happen and build verification steps that catch them before they cause damage. The pre-start dipstick check catches overfills and underfills. Checking fluid color and smell during drain catches wrong-fluid scenarios. Running the engine briefly then rechecking catches leaks before they become puddles. These verification steps take an extra five minutes total but prevent catastrophic failures.
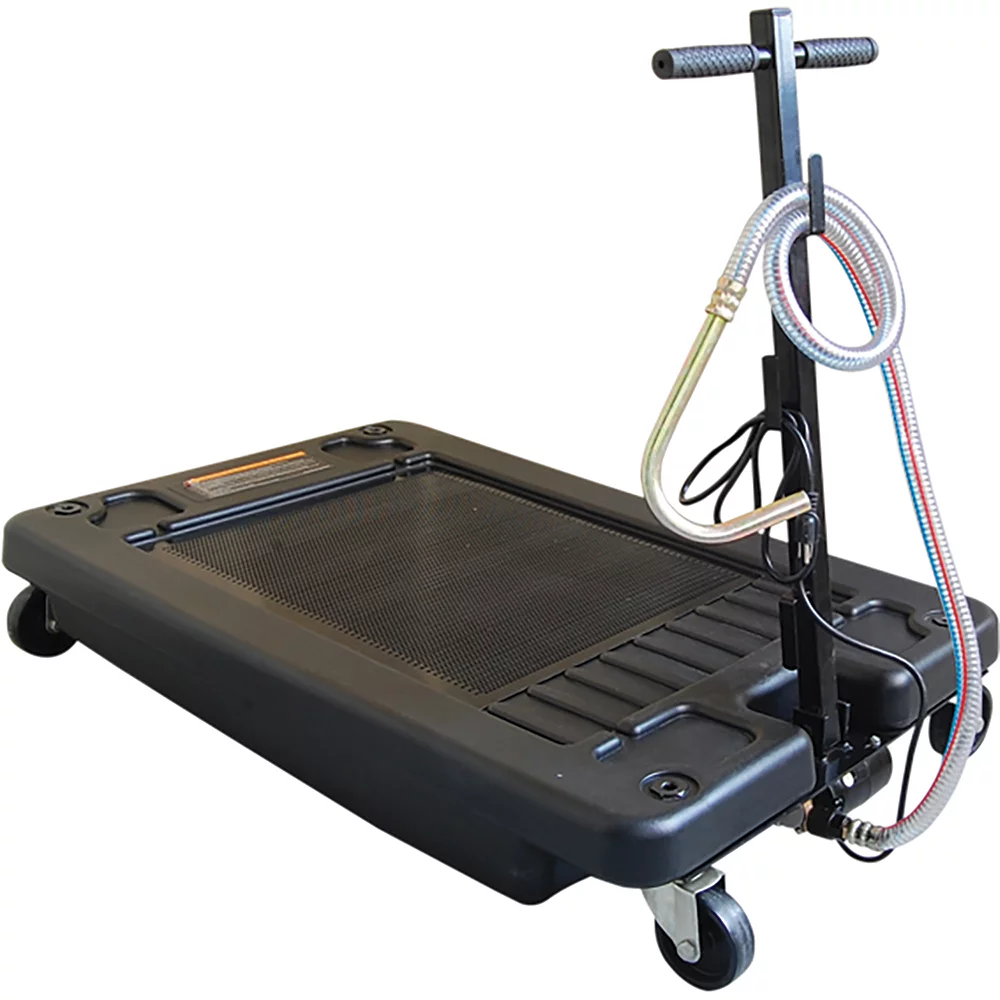
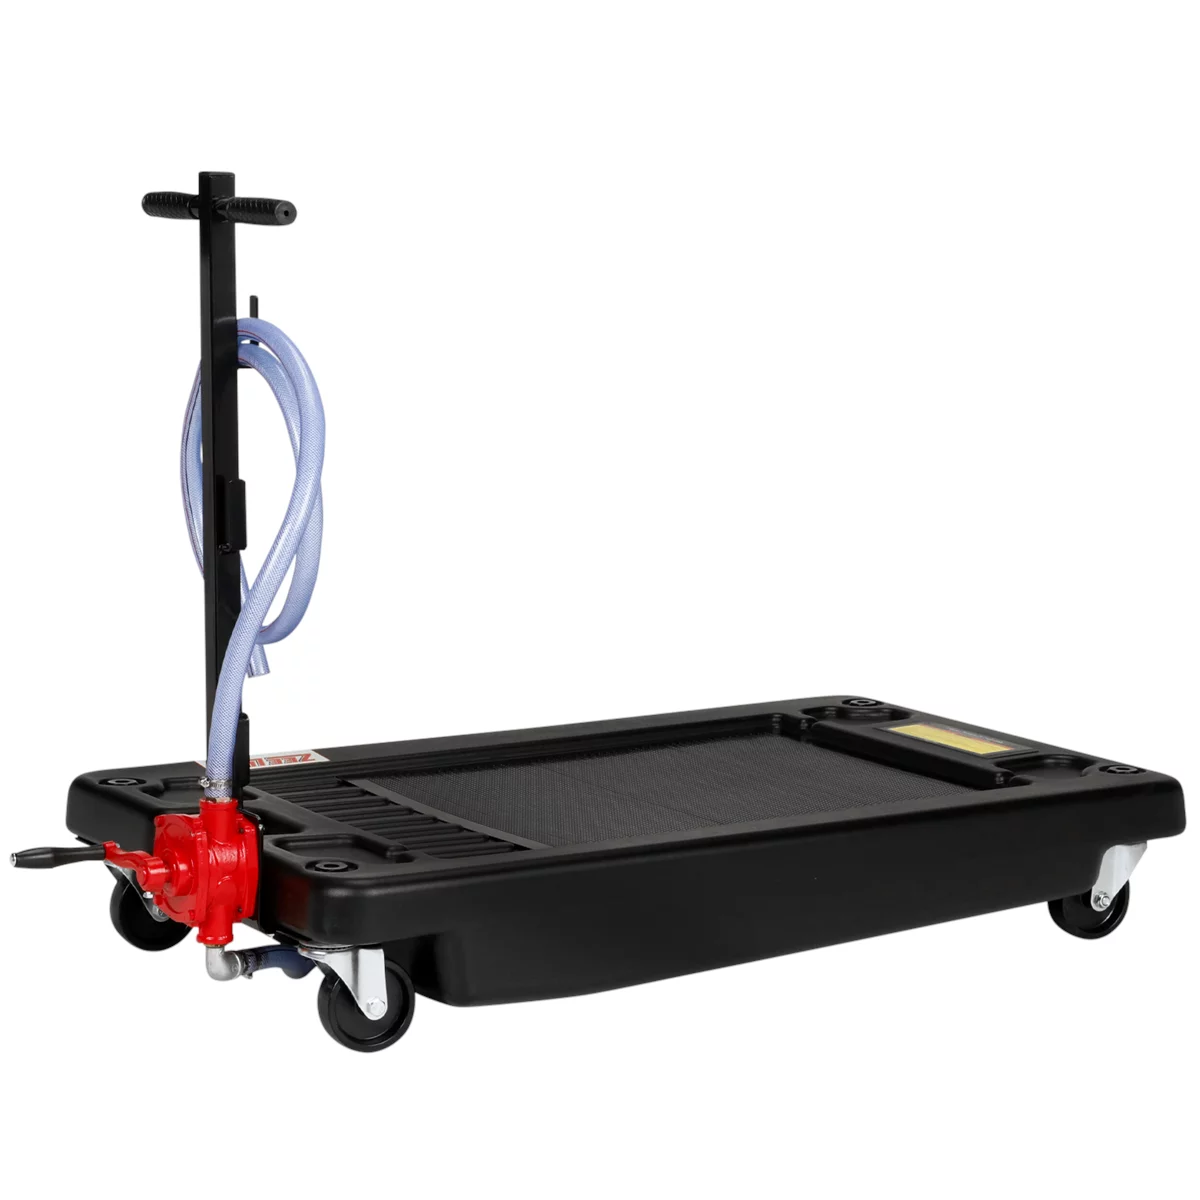
17-Gallon Poly Low-Profile Oil Drain w/ Manual Evacuation Pump
Mfg: Milton Industries
Part #: ZELP17-MP
ID: 388912
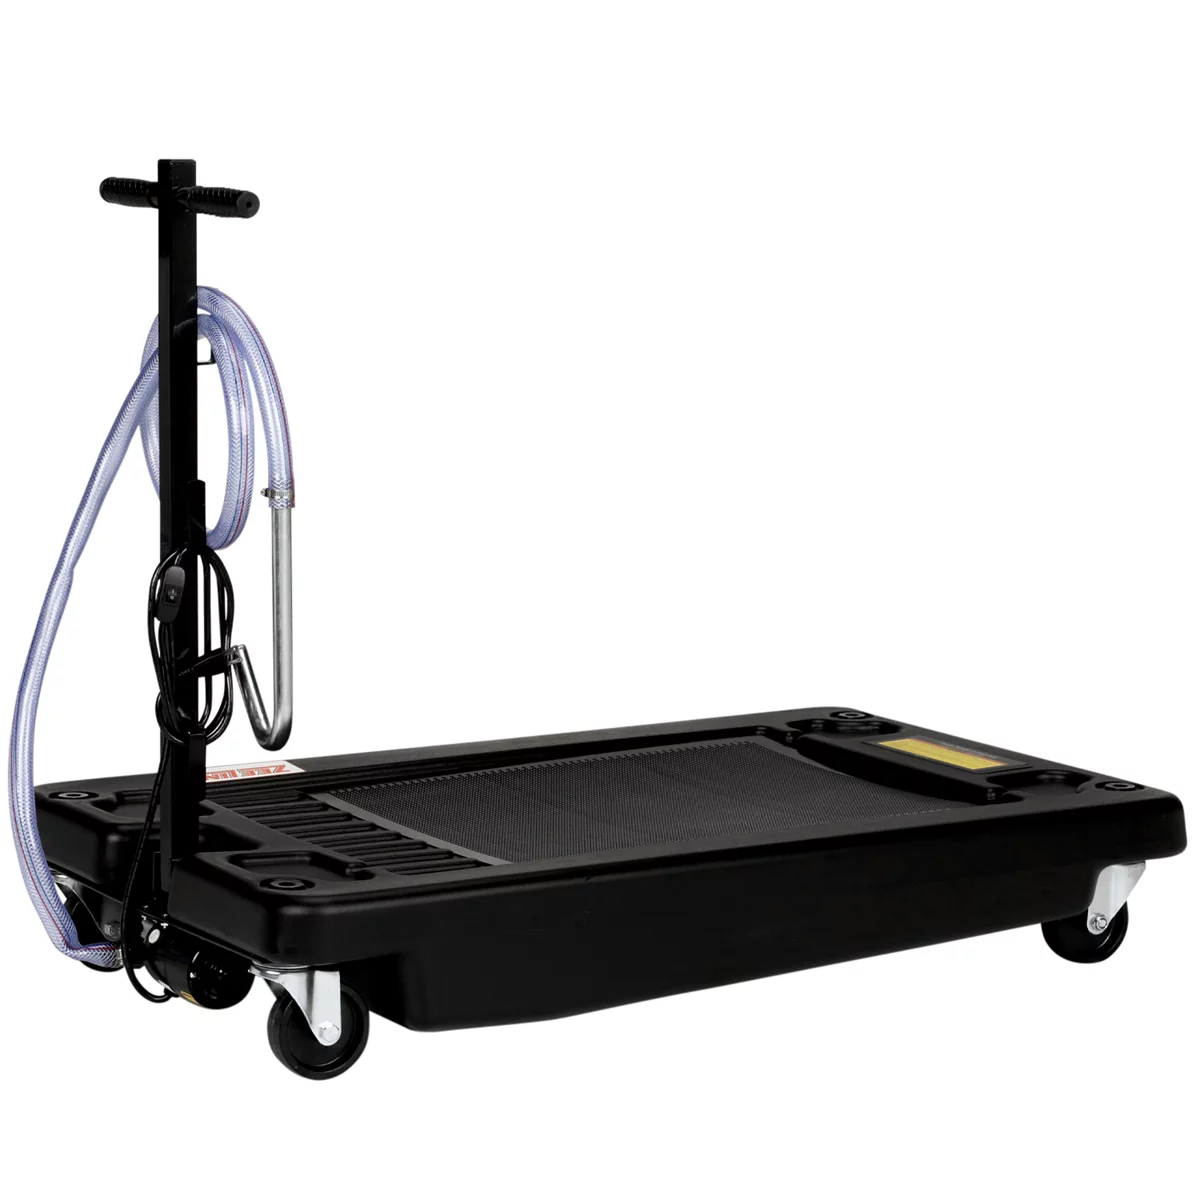
17-Gallon Poly Low-Profile Oil Drain w/ Electric Evacuation Pump
Mfg: Milton Industries
Part #: ZELP17-EP
ID: 393169
Frequently Asked Questions
How can I tell the difference between a CVT drain plug and an engine oil drain plug on a Subaru?
The engine oil drain plug is typically on the oil pan toward the rear of the engine, often partially hidden behind crossmembers or skid plates. The CVT drain plug sits on the transmission pan, usually more forward and easily accessible. Check your service manual for exact locations for your specific model year. The drain plug size may be the same (often 19mm or 21mm), so size alone won’t tell you which is which. Fluid color and smell during drain are your confirmation: engine oil is dark brown to black, while CVT fluid is typically green or light amber.
If I drained my CVT by mistake but haven’t started the engine, is my transmission ruined?
No. If you haven’t started the engine, you can recover without damage. Drain the overfilled engine oil, perform the correct engine oil change, then properly refill the CVT with the correct Subaru CVT fluid following the temperature-specific fill procedure. The key is catching the mistake before starting the engine. Once you start it with the CVT dry, you’re risking damage that increases with every second of operation.
How much does it cost to replace a CVT that was damaged by running it without fluid?
CVT replacement typically runs between $4,000 and $8,000 depending on whether you use a remanufactured unit or new OEM transmission, plus labor costs of $800 to $1,500. Some specialty shops offer CVT rebuilds for $2,500 to $4,000, but availability depends on your location and the specific transmission model. This is why the pre-start verification checklist is critical—it’s the difference between a twenty-minute recovery procedure and a multi-thousand-dollar repair.
What should I do if I started my engine after draining the CVT and adding oil to the already-full engine?
Shut the engine off immediately if it’s still running. Do not drive the vehicle. Drain the excess oil from the engine to bring it to the correct level, then perform a proper oil change. Refill the CVT following the exact procedure in the service manual, ensuring correct fluid type and level. Monitor for transmission warning lights, unusual noises, slipping, or shuddering over the next several hundred miles. If you only ran the engine for a few seconds, you may have avoided permanent damage, but any extended operation likely damaged the CVT and you should consult with a transmission specialist about inspection or replacement.
Can I use universal ATF instead of Subaru CVT fluid after draining my transmission by mistake?
No. Subaru CVT fluid is specifically formulated for their continuously variable transmissions and is not interchangeable with conventional ATF or universal CVT fluids. Using incorrect fluid will cause premature transmission failure even if you didn’t make any other mistakes. Always use the exact fluid specified in your owner’s manual or service information. For most Subaru CVTs, this means genuine Subaru CVT fluid or the specific aftermarket equivalent approved for your model.
How do professional techs avoid this mistake when they’re doing fifteen oil changes a day?
Professional shops use systematic verification procedures and quality control checkpoints. Most techs verify drain plug location against service information before going under the vehicle, check fluid color and smell during drain, verify drained quantity matches expected capacity, and check the dipstick before starting the engine. Shops often have secondary inspection processes before vehicles are returned to customers. The key difference is that professionals make verification steps habitual rather than optional, because their jobs and reputations depend on not making costly mistakes.
Recommended Oil Change Tools
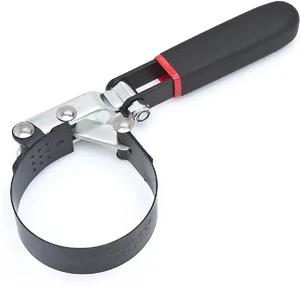


Proper oil change work requires the right tools to access drain plugs correctly and verify your work. Our Automotive Oil Change Tools selection includes everything needed for accurate fluid service:
- Drain plug sockets and wrenches in common sizes (19mm, 21mm, and others)
- Dipstick readers and oil level indicators for verification
- Fluid catch pans and drain plug gasket removal tools
Essential Oil Change Tools & Supplies
Even with decades of experience, having the right tools makes all the difference in a successful oil change. Our automotive oil change tools category features everything you need to do the job correctly—from drain plug sockets to oil filter wrenches and drain pans.
Explore these recommended products to upgrade your oil change setup:
- Oil Drain Plugs & Sockets – Precision-fit tools designed to securely grip your drain plug without stripping, available in multiple sizes for any vehicle
- Oil Filter Wrenches – Heavy-duty filters wrenches that provide superior grip and leverage for quick, hassle-free filter removal
- Oil Drain Pans & Funnels – Durable drain pans with spill-proof designs and matching funnels to keep your workspace clean

The Toolsource Technical Team blends decades of real-world automotive service experience with up-to-date technical research. Our writers collaborate with professional mechanics, shop owners, and diagnostic specialists to deliver practical, workshop-ready guidance you can trust.


Follow us on social media