Every technician knows the feeling: what started as a straightforward thirty-minute job has stretched into hours of frustration. A simple brake caliper replacement becomes an extraction nightmare when mounting bolts snap off. A routine fluid change turns into a full system bleed when fittings strip. These complications separate shade-tree mechanics from professionals—not because pros avoid problems, but because they’ve developed systematic approaches to handle them. This guide covers the practical steps experienced technicians use when jobs go sideways, from seized fasteners and wrong parts to missing tools and scope creep that tests both patience and profit margins.
Reading the Warning Signs Before You Start
Professional technicians perform pre-job assessments that DIYers often skip. Before touching a fastener on a rusty undercarriage or opening a fluid system on a fifteen-year-old vehicle, experienced hands look for trouble indicators. Surface rust on bolt heads signals potential seizure. Corrosion around fittings means plan for leaks and rounded nuts. Previous repair evidence—mismatched fasteners, gouged bolt heads, or evidence of impact tools—tells you someone already struggled here.
Document the condition before disassembly. Take photos of rusty areas, note existing damage, and identify aftermarket modifications that aren’t in the service manual. This fifteen-minute investment saves hours of backtracking when you discover a non-standard part or someone’s creative wiring solution. Check parts availability before starting tear-down on older vehicles or European models where common wear items might require overnight shipping. The time to discover your brake caliper is on national backorder is before the old one is in the scrap bin.
Mental rehearsal matters more than most techs admit. Walk through the job sequence mentally, identifying where you’re most likely to encounter seized fasteners, tight clearances, or parts that crumble on removal. Visualize your fallback plan: if this bolt strips, I’ll need an extractor; if that fitting rounds, I’ll need a line wrench; if this clip breaks, I’ll need the part number for a replacement. This mental prep isn’t pessimism—it’s professional planning that keeps jobs moving when complications arise.
Managing Seized and Stripped Fasteners Systematically
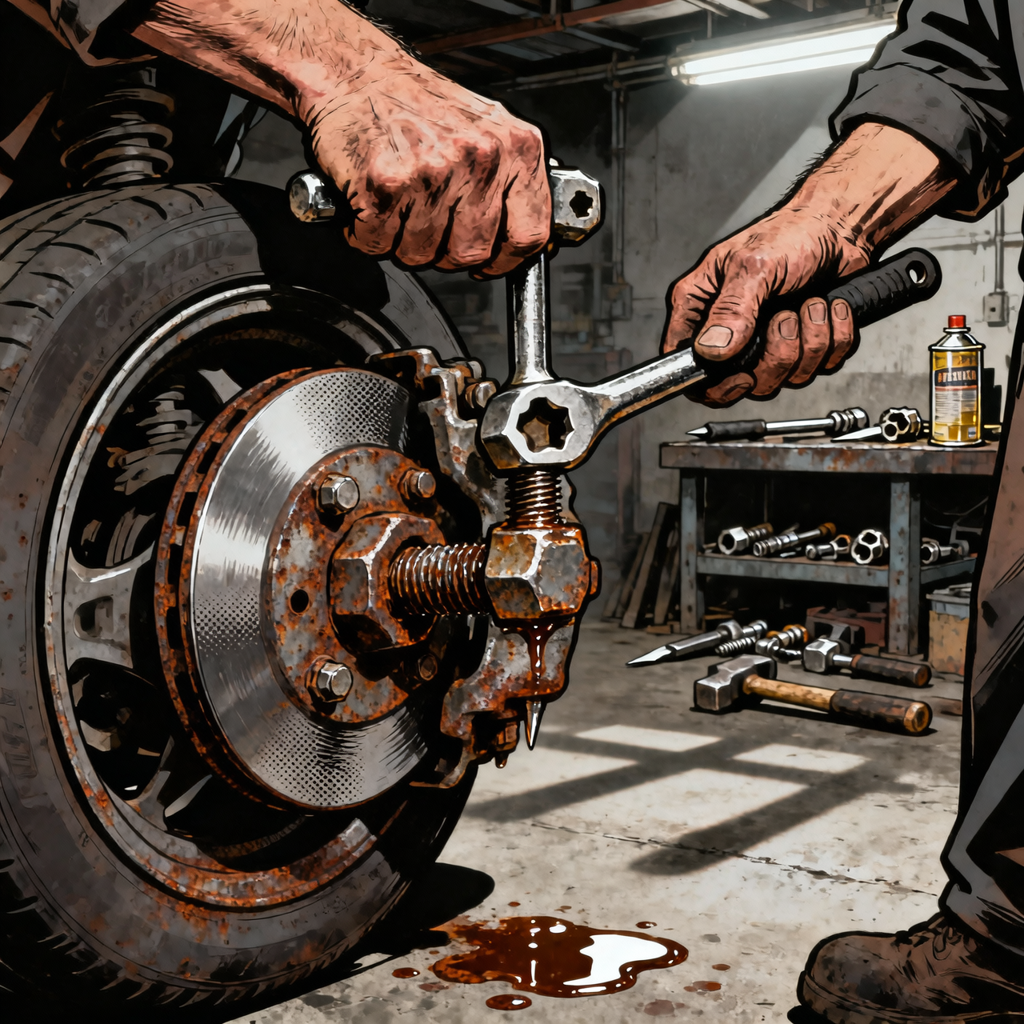
Seized fasteners cause more job blowouts than any other single factor. The technician who jumps straight to maximum force learns expensive lessons about snapped bolts and damaged threads. Start with penetrating oil applied twelve to twenty-four hours before the job when possible. For same-day work, apply penetrant and let it soak while you do other tasks—even twenty minutes of dwell time improves results dramatically.
Progress through force levels systematically. Hand tools first—a six-point socket or box wrench, not twelve-point that rounds fasteners under load. If hand force fails, tap the fastener head with a hammer while applying steady turning pressure. The vibration helps penetrant reach thread surfaces. Move to a breaker bar before jumping to impact tools. The slow, steady force of a breaker bar often succeeds where sudden impacts fail, and you maintain better control.
When fasteners strip or snap, stay systematic. For rounded bolt heads, try a slightly smaller six-point socket tapped firmly onto the damaged head. Bolt extractor sockets with reverse-spiral teeth grip damaged fasteners better than standard sockets. For snapped bolts, center-punch precisely before drilling—off-center extraction attempts usually make things worse. Start with undersized drill bits and work up gradually. Rushing with an oversized bit damages threads you’re trying to save.
Heat application requires judgment. A propane torch helps on many fasteners, but know when heat makes things worse. Heating aluminum parts around steel fasteners can strip threads. Heat near fuel lines, brake lines, or wiring harnesses creates safety hazards. When you do apply heat, focus it on the nut or surrounding material, not the bolt—you want expansion of the female threads, not the male fastener. Let heated parts cool naturally before applying force; thermal cycling helps break corrosion bonds.


The Wrong Parts Problem: Prevention and Recovery
Nothing stops momentum like discovering the new part doesn’t fit. The caliper mounting holes are stripped on the remanufactured unit. The supposedly correct brake line has the wrong thread pitch. The air filter is three inches too long despite matching the catalog number. These failures happen to every technician, but professionals minimize their frequency and impact through verification steps.
Before removing the old part, verify the replacement against it when possible. Match bolt patterns, connector types, mounting ear locations, and overall dimensions. This catches application errors before you’re committed. For items you can’t pre-check—like remanufactured parts in sealed boxes—know your parts supplier’s exchange policy and build return time into your schedule estimate. Budget an extra thirty minutes for parts runs on complex jobs involving multiple suppliers or hard-to-source components.
When wrong parts arrive mid-job, assess your position honestly. Can you reinstall the old part temporarily while sourcing the correct replacement? Is there a workaround that meets safety and quality standards? Sometimes a universal part with minor modifications works better than waiting days for the exact OEM piece. Other times—especially with safety systems—there’s no acceptable substitute and the vehicle stays parked until correct parts arrive. Make these calls based on technical requirements, not schedule pressure.
Develop relationships with parts counter staff who understand technical applications. A knowledgeable counter person catches catalog errors and suggests alternatives when standard parts don’t fit modified vehicles. They become partners in solving application problems rather than just order-takers. Keep a reference collection of failed part attempts—the wrong filter that looked right, the bracket that didn’t match—to educate future parts orders and help countermen serve you better.
Tool Gaps and Improvisation Limits
The realization hits mid-job: the tool that would make this easy is the one you don’t own. Many technicians waste hours improvising with inadequate tools before finally acquiring what the job requires. Experience teaches when to improvise and when to immediately get the proper tool.
Improvisation works for access and positioning challenges. Extensions, swivels, and universal joints combined creatively reach difficult fasteners. Stacking sockets or using socket adapters solves occasional size mismatches. Modified tools—ground-down wrenches or cut-away sockets—earn their keep for specific repeated applications. But improvisation fails for jobs requiring precision, significant force, or specialized functions. You can’t fake a proper bearing puller, line wrench set, or torque-angle gauge when the application demands it.
Develop a mental catalog of common job-specific tools you lack. When you hit one, note it immediately—in your phone, on paper, or in a shop log. These notes guide tool purchases that improve future efficiency rather than random acquisitions that sit unused. Budget regular tool investment as a business expense, not a personal indulgence. The correct tool purchased once pays for itself across multiple jobs in time saved and frustration avoided.
Rental and borrowing options exist for specialty tools used infrequently. Many auto parts stores loan specific tools with deposit. Fellow technicians or shop neighbors often share rarely-needed equipment. But don’t become the technician who always borrows and never contributes. Build your core toolkit to professional standards, then strategically rent or borrow the specialized items that don’t justify purchase for your typical work mix.
Taking the Break: When to Step Away
The stubborn refusal to pause kills more jobs than mechanical difficulties. Fatigue leads to mistakes. Frustration causes expensive errors. Tunnel vision makes you miss obvious solutions. Professional technicians recognize when continuing makes things worse and have strategies for productive breaks that actually help.
Physical signs indicate you need to step back: you’re forcing tools beyond reasonable pressure, making the same failed attempt repeatedly, or skipping safety steps you’d normally follow. Mental signs include imagining conversations where you explain the failure to customers or other mechanics, feeling angry at inanimate objects, or fantasizing about destructive solutions. When these emerge, you’re past productive work and into damage territory.
Effective breaks reset both body and mind. Leave the immediate work area—don’t just stand next to the problem vehicle. Do something completely different for fifteen to thirty minutes minimum. Work on an unrelated job, handle paperwork, clean and organize tools, or take an actual break outside the shop. The change in activity and environment lets your subconscious work on the problem while your conscious mind relaxes.
Return to stuck jobs with a formal restart. Review what you’ve tried and why it failed. Look at the problem from different angles—literally walk around the vehicle and examine access from all sides. Consult service information you might have skipped earlier. Call a more experienced technician or search forums for that specific vehicle and problem. The solution often appears obvious after a break, even though it was invisible minutes before in your frustrated state.
For jobs that sprawl across multiple days, accept reality early. Some repairs simply can’t be completed in a single session due to parts availability, required special tools, or complexity you underestimated. Park the vehicle safely, document your stopping point thoroughly, and schedule continuation time. Fighting through just creates mistakes you’ll need to fix later.
The Mental Game: Patience and Problem-Solving Under Pressure
Technical skill matters, but mental approach determines whether difficult jobs end in success or disaster. Experienced technicians develop psychological strategies that keep them effective when complications mount. The first strategy is accepting that complications are normal, not personal failures. Every technician faces seized fasteners, wrong parts, and unexpected obstacles. These are inherent to repair work, not signs you’re inadequate.
Reframe problems as puzzles requiring solution rather than obstacles proving your incompetence. A snapped bolt isn’t a disaster—it’s an extraction exercise. Stripped caliper mounting holes aren’t catastrophic—they’re a thread repair opportunity. This mental reframing reduces emotional charge and maintains problem-solving capacity. You stay in technical mode rather than spiraling into frustration or self-criticism.
Track your successes with difficult jobs. When you extract that snapped bolt, note it mentally or actually write it down. When you work around a parts problem creatively, recognize that as professional problem-solving. Building this success catalog creates confidence for future complications. You’ve handled worse before; you’ll handle this too.
Separate ego from outcomes on personal projects. The DIYer on their own vehicle often faces more frustration than working on customer cars because personal projects carry emotional weight. Your car sitting disassembled in the driveway feels like public failure. Customer cars are business problems with less identity attachment. Recognize this psychological difference and compensate by treating personal projects with the same professional detachment you bring to paid work.
Quick-Reference Checklist for Complicated Jobs
- Apply penetrating oil 12-24 hours before starting when possible, minimum 20 minutes for same-day work
- Photograph existing conditions and damage before disassembly begins
- Verify replacement parts against old components before removal when feasible
- Progress through force levels systematically: hand tools, breaker bar, then impact tools
- Use six-point sockets on questionable fasteners, never twelve-point
- Center-punch precisely before drilling out snapped fasteners
- Step away for 15-30 minute minimum breaks when frustration builds
- Budget extra time for parts runs and unexpected complications on older vehicles
- Keep backup plans ready: if this bolt breaks, if that part is wrong, if clearance is tighter than expected
- Document tool gaps immediately when you encounter them for future purchases
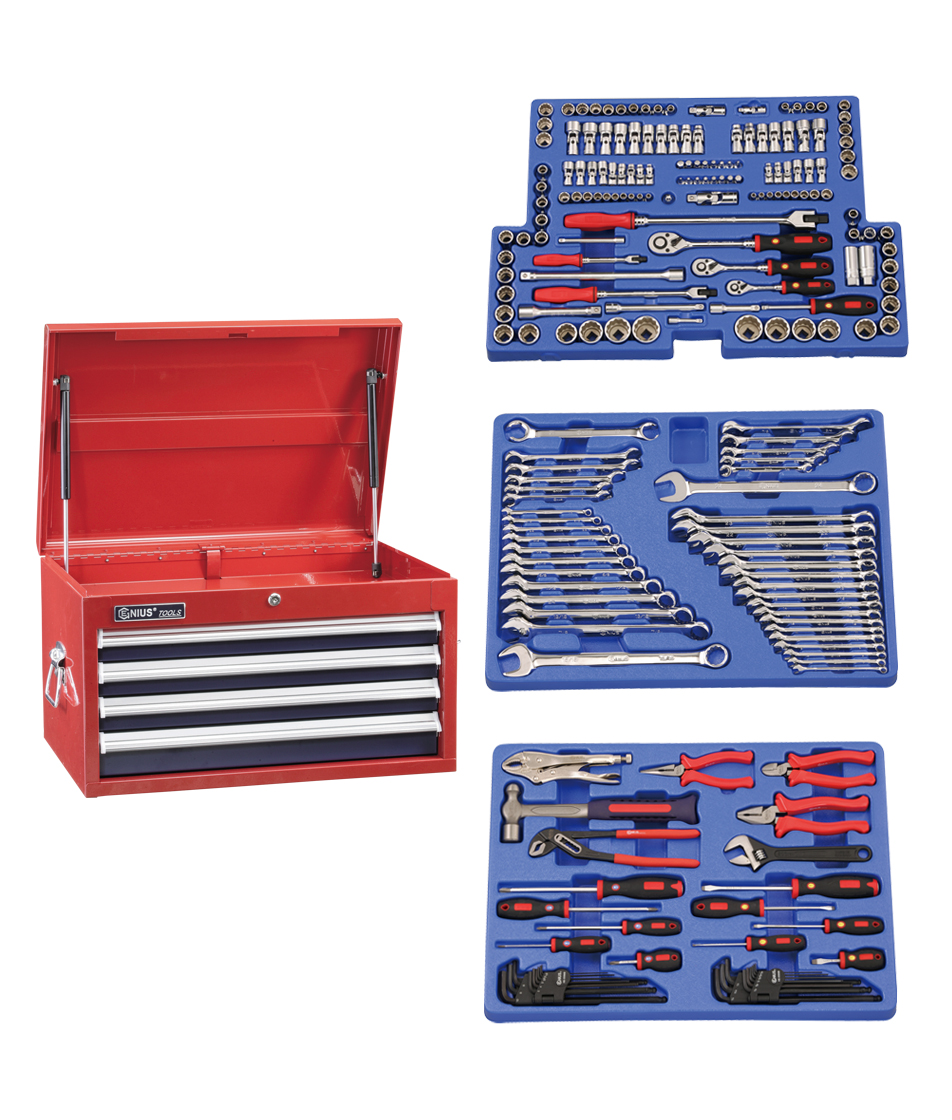
215PC Metric & sae sae standard Tool Set with 4 Drawers Top Che
Mfg: Genius Tools
Part #: MS-215TA
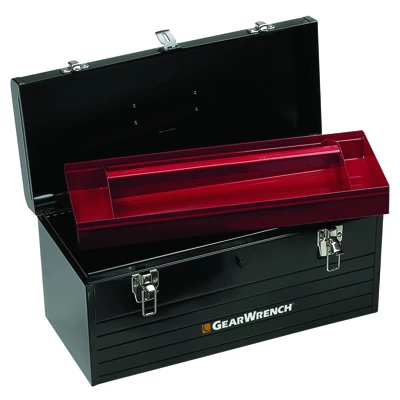
111579 83130 GearWrench KD83130 KD83130 KDT-83130 19" Tote Box
Mfg: GearWrench
Part #: 83130

WOOD-COMPO Socket Wrench Set No.HRW2303M-W one four inch & three eight inch SQ Drive
Mfg: Vessel Tools USA
Part #: HRW2303MW
Frequently Asked Questions
How do I know when to keep trying versus calling for help?
Call for help when you’re about to cause damage you can’t repair yourself, when you lack critical information despite checking service resources, or when you’re making the same failed attempt repeatedly without changing approach. If the next step risks breaking something expensive or safety-critical, pause and consult someone with more experience on that specific issue.
What’s the best penetrating oil for really stuck fasteners?
Professional-grade penetrants like PB Blaster, Kroil, or AeroKroil outperform hardware store options significantly. For maximum effectiveness, apply multiple times with dwell periods between attempts. Heat cycling—apply penetrant, heat the area, let it cool, and reapply—works better than a single application. The best penetrant is the one applied early with adequate soak time, not the one grabbed in desperation.
Should I buy the specialty tool or try to work around it?
If you’ll use the tool across multiple future jobs, buy it. If it’s truly one-time and you can rent or borrow it, do that. If you’re two hours into improvisation, you should have purchased the tool ninety minutes ago. Calculate the cost of your time honestly—a $60 tool that saves two hours pays for itself immediately in productive capacity.
How do I prevent scope creep on personal projects that keep expanding?
Define clear stopping points before starting and write them down. When you discover additional problems, add them to a separate list for future work rather than automatically expanding the current job. Unless the additional issue is safety-critical or directly prevents completing the original repair, park it for next time. Finish one job successfully rather than starting five and completing none.
What do I do when the replacement part has obvious defects out of the box?
Don’t install it hoping it will work despite visible problems. Document the defect with photos, return it immediately, and source from a different supplier if the same part fails twice. Remanufactured parts especially have quality variation—stripped mounting holes, missing hardware, or wrong coatings appear regularly. A reputable parts supplier stands behind defective merchandise; if they don’t, find a different supplier.
How can I better estimate time for jobs that might go wrong?
For straightforward jobs on newer vehicles in good condition, use book time. For vehicles over ten years old, add 25-50% contingency time. For rust-belt vehicles or anything with visible corrosion, double the estimate. For jobs you haven’t done before, add 50% learning time to your research-based estimate. Estimate ranges rather than single numbers: this brake job runs 2-4 hours depending on complications. Under-promising and over-delivering beats the reverse every time.
Essential Hand Tools for Tackling Unexpected Repairs
When complications arise mid-job, having the right hand tools on hand makes the difference between a quick fix and hours of frustration. From extracting stripped fasteners to applying systematic force on seized bolts, quality hand tools are foundational to professional repair work. Browse our Hand Tools selection to build or upgrade your toolkit.
- Fastener removal: six-point sockets, bolt extractors, center punches, and specialized fastener tools
- Force application: breaker bars, torque wrenches, and socket extensions for systematic pressure
- Access and precision: swivels, universal joints, and ground-down wrenches for difficult angles
The Toolsource Technical Team blends decades of real-world automotive service experience with up-to-date technical research. Our writers collaborate with professional mechanics, shop owners, and diagnostic specialists to deliver practical, workshop-ready guidance you can trust.


Follow us on social media