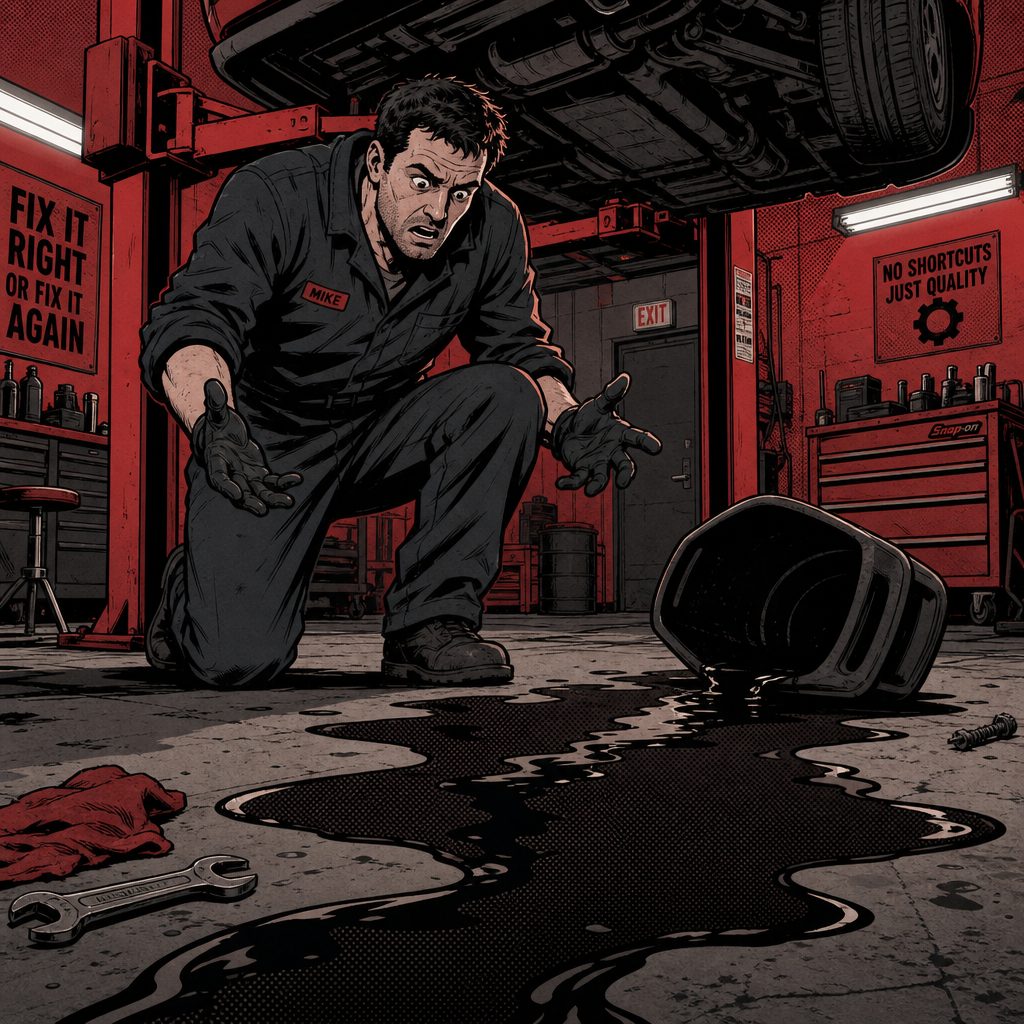
When an oil filter isn’t properly seated or a double gasket causes catastrophic leakage, a modern engine can dump its entire oil capacity in less than 30 seconds. While the dramatic oil spray and pooling looks catastrophic, the immediate engine damage from brief oil loss is typically minimal—but the real hazards lie in what happens after the spill. Understanding the actual risks, proper cleanup requirements, and documentation procedures separates a manageable shop mistake from a liability nightmare. This guide covers the technical realities of oil spill incidents, critical cleanup steps that prevent fires, and the inspection protocol every technician should follow when this happens on their watch.
Understanding the Mechanics of Oil Filter Failures
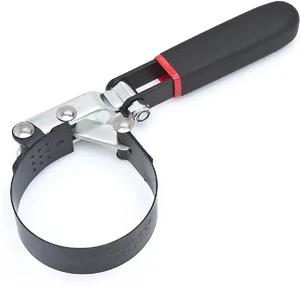

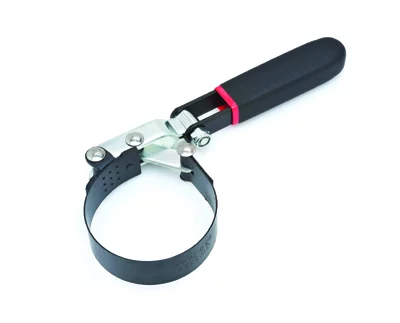
The most common cause of catastrophic oil loss during or immediately after an oil change is the double gasket scenario. This occurs when the old filter’s rubber gasket remains stuck to the engine block and the technician installs a new filter with its own gasket on top. Once the engine starts, oil pressure forces its way past the doubled gasket, creating an immediate high-volume leak that can empty 3-5 quarts in 10-20 seconds.
The second common failure mode is undertightening the filter during installation. A filter that’s only hand-tight or not properly threaded can work loose under pressure, again creating rapid oil loss. Less common but still occurring are manufacturing defects where filters arrive with double gaskets already installed, bypassing even careful technician inspection.
Modern low-viscosity oils like 0W-20 compound the visual drama of these failures. These thin oils spread extensively, making even 2-3 quarts appear like a complete oil system dump. A single quart of 0W-20 will create a 3-5 foot diameter puddle once it settles, and the oil’s low viscosity means it penetrates into every crevice, fabric sound deadener, and heat shield cavity in the undercarriage.
The critical timeframe for engine damage assessment is those first 10-30 seconds. Engine bearings, valve train components, and oil galleries retain residual oil film even when the pan is empty. Additionally, cold starts—which happen every day—subject engines to several dry rotations before oil pressure builds. Brief running with compromised oil supply, while not ideal, falls within tolerances modern engines experience regularly during normal operation.
Immediate Engine Damage Assessment
The primary diagnostic indicator for bearing damage is the oil pressure warning light. If the low oil pressure warning illuminates during the incident and the engine is immediately shut down, residual oil film on bearings typically prevents scoring. Engines that run for 15-30 seconds with the oil light on rarely show immediate damage, though longer durations increase risk exponentially.
Visual inspection should focus on the oil that was recovered. If the shop’s drain collection system shows 4-5 quarts recovered from the ground plus what remained in the pan, the engine likely maintained some oil circulation during the brief run time. Shops claiming they only lost 0.2 quarts when ground evidence shows 3+ quarts are either misreading their collection equipment or being dishonest—collection tanks often retain residual oil from previous drains that skews measurements.
For customers concerned about hidden bearing damage, an oil analysis at 500 miles provides objective evidence. Labs test for trace wear metals including copper, lead, and aluminum. Elevated levels of these metals indicate bearing surface damage that occurred during the incident. This creates a documented baseline that’s valuable for any future warranty or liability claim.
Listening for unusual engine noise in the days following the incident is equally important. Bearing damage typically announces itself through knocking or ticking sounds, particularly at idle when oil pressure is lowest. Modern engines with variable valve timing may also throw codes if oil control solenoids experienced air ingestion during the oil loss event.
Critical Cleanup Requirements: Fire Hazard Mitigation
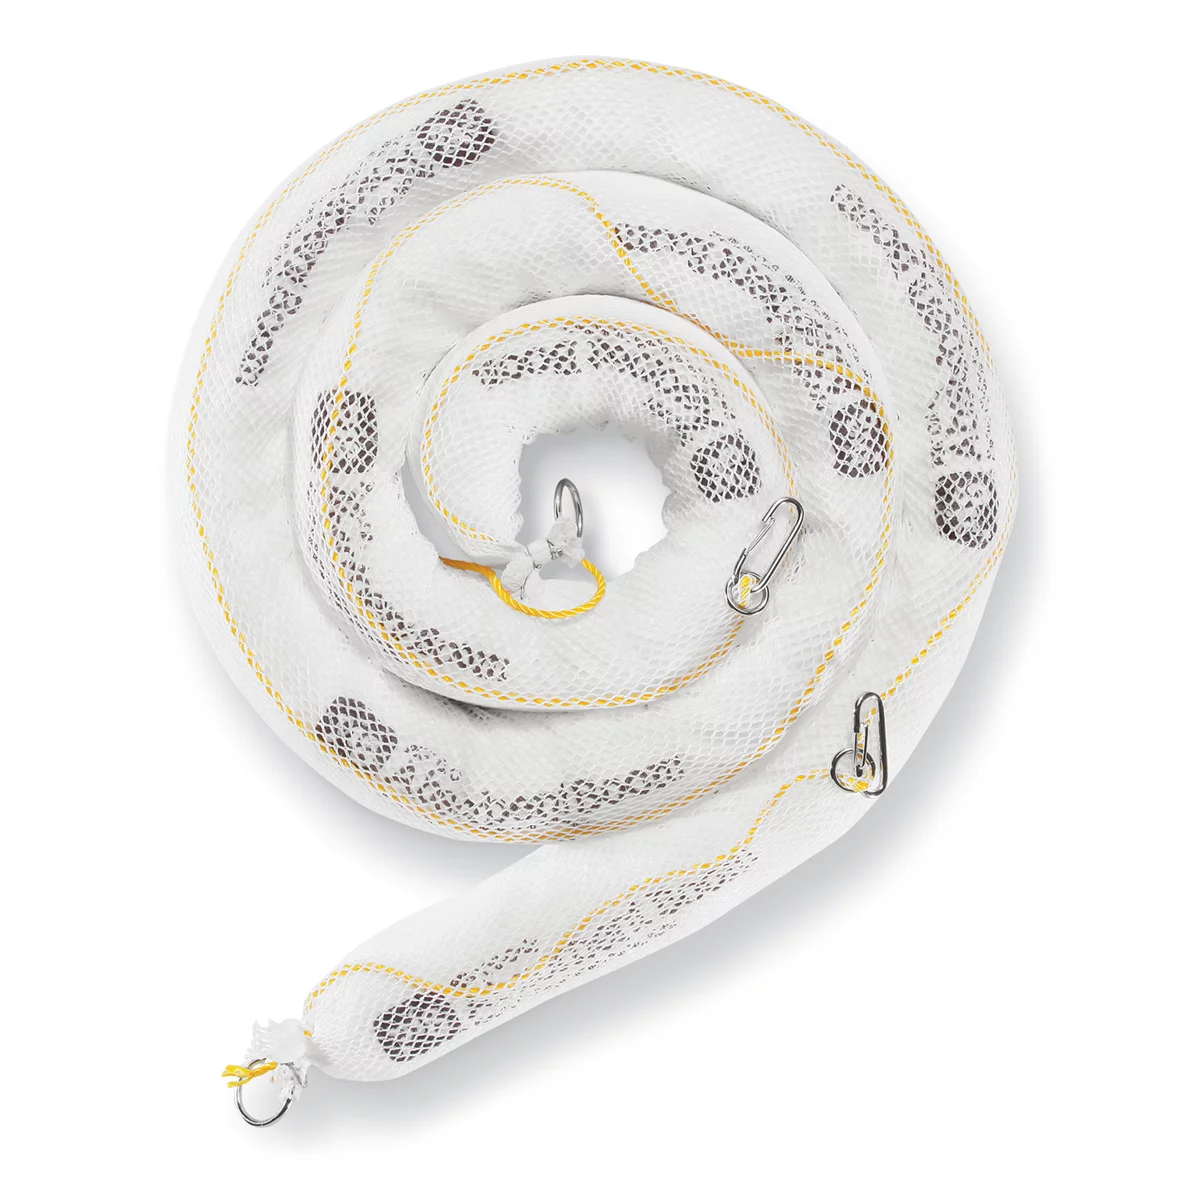
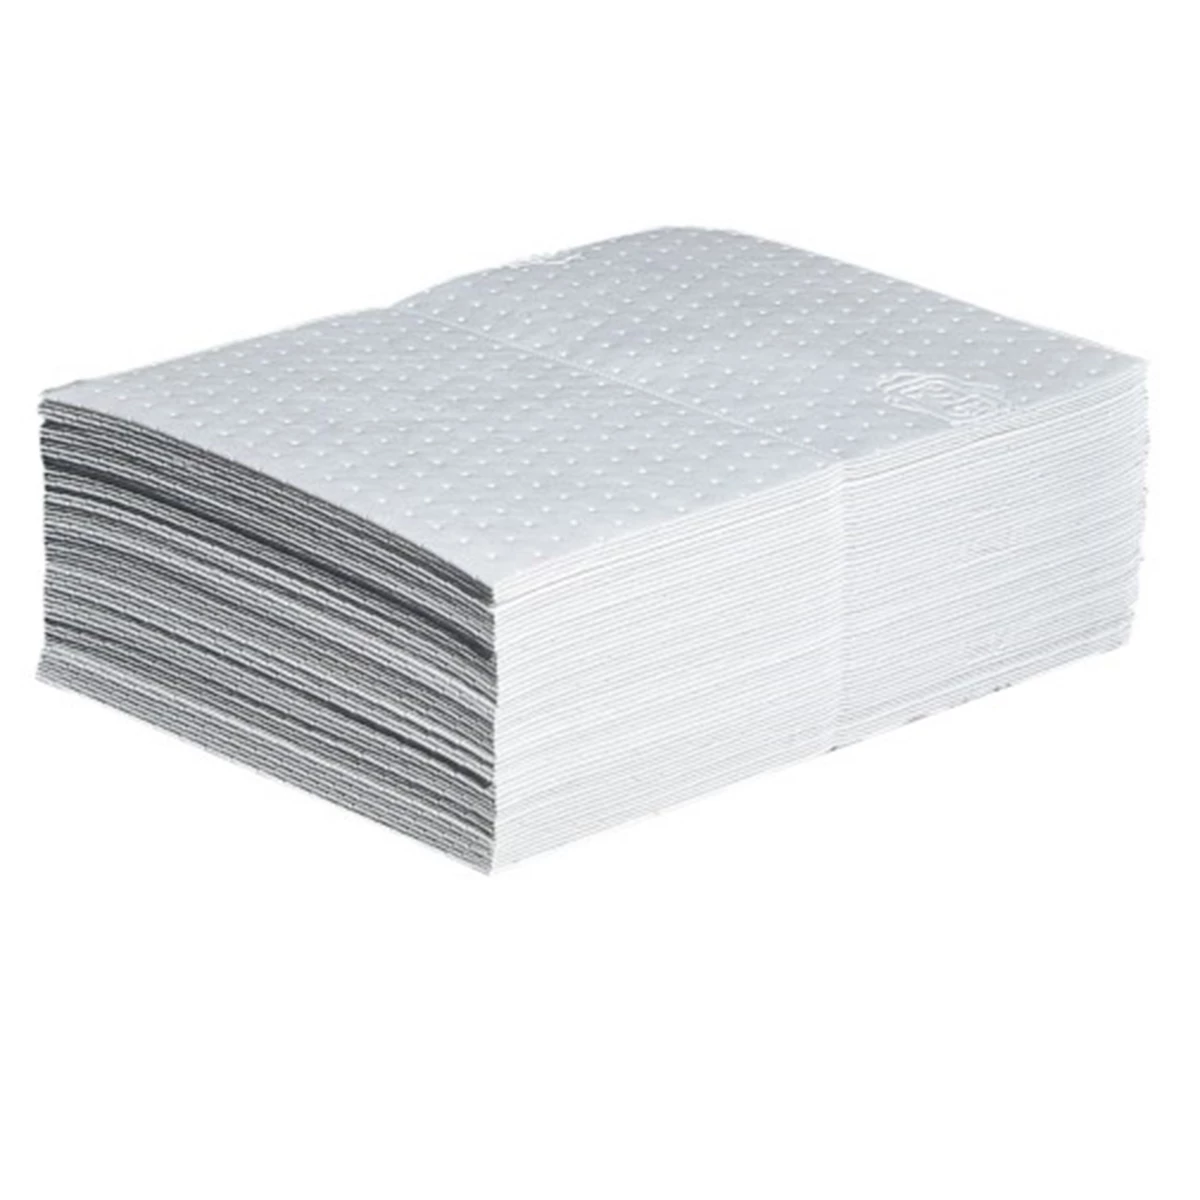
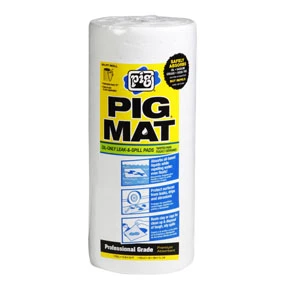
The most serious post-spill risk isn’t engine damage—it’s fire. Modern vehicles incorporate extensive sound deadening materials in the engine bay and undercarriage, including polyester batting and foam pads inside catalytic converter heat shields. These materials absorb and retain oil like a sponge, creating a fuel source directly adjacent to exhaust components that reach 1200-1400°F during operation.
Multiple field reports document vehicles catching fire 5+ hours after an oil spill cleanup, following highway driving that heated the exhaust system to operating temperature. The oil-soaked insulation smolders, then ignites, often melting plastic connectors and wiring harnesses before becoming visible. This delayed ignition makes inadequate cleanup particularly dangerous.
Proper cleanup requires removing the engine undertray and inspecting all fabric and foam materials for saturation. The heat shield directly below the engine and surrounding the catalytic converter contains the highest-risk materials. These shields are typically held by 8-12 bolts and must be removed for inspection. Oil-soaked materials should be replaced, not simply wiped down—dried oil residue will still combust under heat.
Engine bay cleanup should include degreaser application to all visible oil spray areas, followed by high-pressure washing and air drying. Serpentine belts require special attention: once contaminated with oil, the rubber compound swells and the belt loses grip. Oil-contaminated belts will squeal, slip, and fail prematurely. Belt replacement should be considered mandatory after any significant oil exposure, as the cost of a belt is trivial compared to the risk of losing alternator charging or water pump operation.
Serpentine Belt and Accessory Inspection

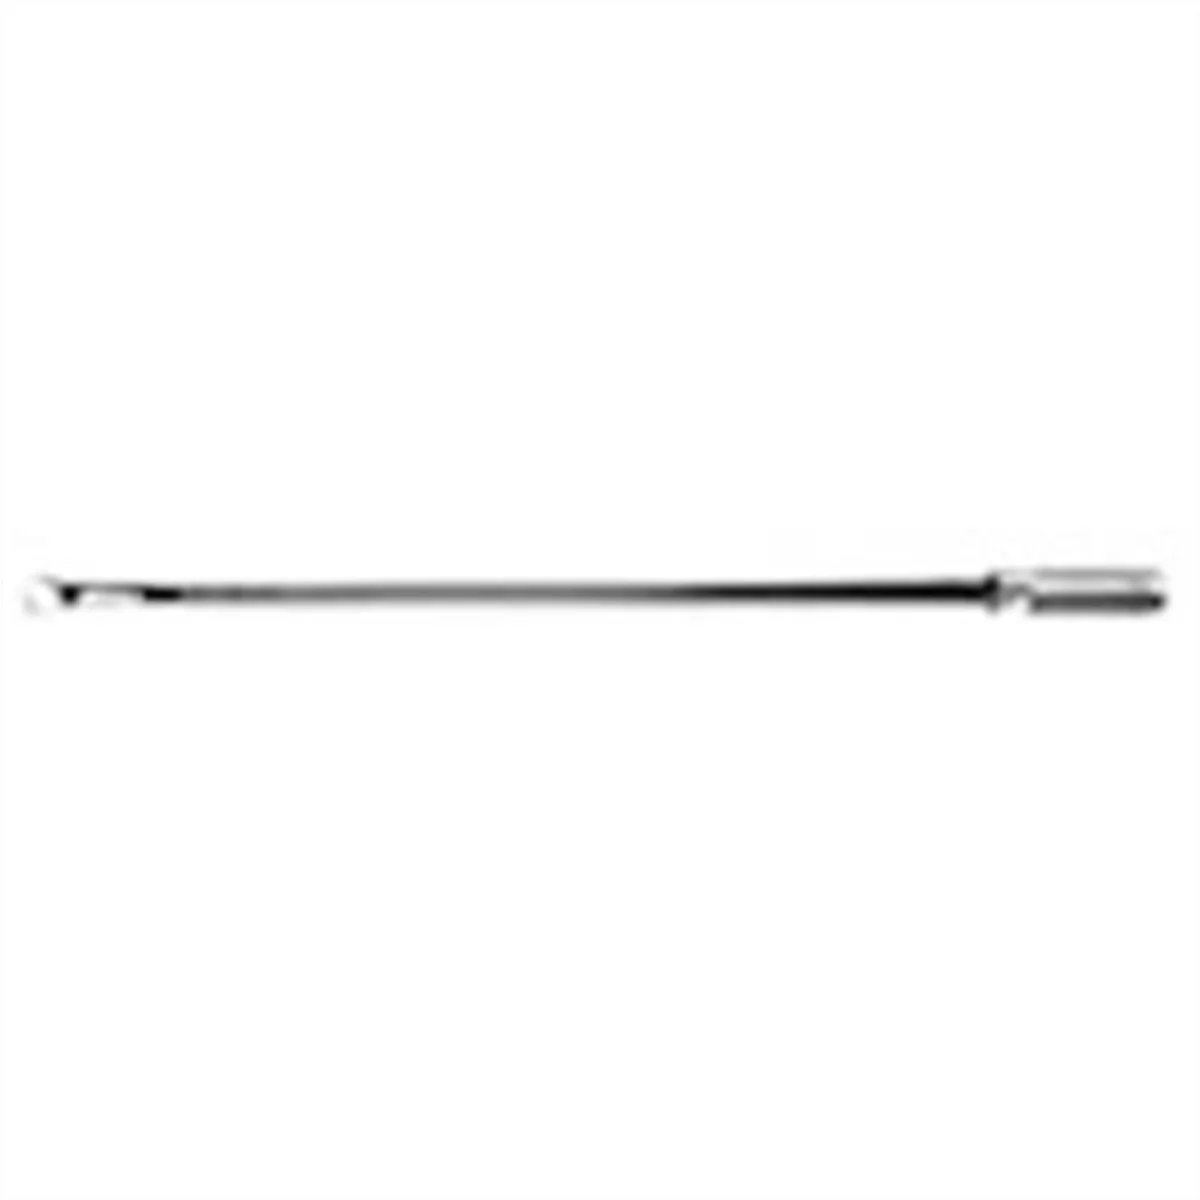
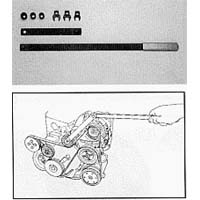
Serpentine Belt Tool - Chrysler Mini Van & Neon
Mfg: Schley Products, Inc
Part #: 63200
Oil exposure fundamentally changes serpentine belt material properties. The oil penetrates the rubber compound, causing swelling that increases belt length and reduces tension. Even if the automatic tensioner compensates initially, the swollen belt will slip under load, particularly when driving the alternator, power steering pump, or air conditioning compressor.
Technicians should inspect the entire belt path for oil contamination. This includes the belt itself, all pulley surfaces, and the tensioner assembly. Pulley grooves contaminated with oil will cause ongoing belt slip even after belt replacement, so thorough degreasing of all pulleys is essential before installing a new belt.
The belt should be replaced as part of the incident remediation, not run until it shows obvious symptoms. Shops that resist belt replacement after dumping oil on it are creating a future failure and customer comeback. Document the belt condition with photos showing oil contamination before removal—this creates evidence for insurance claims if the shop refuses to cover the replacement.
For vehicles with multiple belts or separate accessory drive systems, inspect all belts even if oil spray appears localized. Oil mist from high-pressure leaks can travel surprisingly far in the engine bay, and belts in seemingly unaffected areas may still have oil film on their surfaces.
===FYP-PRODUCT-SEARCH-MID===
serpentine belt replacement tools
===FYP-PRODUCT-SEARCH-MID-END===
Documentation and Liability Protection
Whether you’re the technician who made the error or the customer dealing with the aftermath, documentation is critical. Photos should capture the oil spill extent, the oil level on the dipstick, any warning lights on the dashboard, and the condition of removed parts like heat shields and belts. Time-stamped photos create an objective record that’s valuable for insurance claims or future warranty disputes.
Request that the shop create a formal incident report detailing what happened, what cleanup was performed, and what parts were replaced. This report should be signed by the service manager and kept with the vehicle’s maintenance records. If the shop operates as a franchise or dealer, report the incident to corporate—this creates an additional documentation trail and often results in more thorough remediation than the individual shop would provide.
For shops, honest documentation protects against inflated future claims. Record the actual amount of oil lost, the engine run time with low oil, the cleanup procedures performed, and parts replaced. Include technician statements about what happened—double gasket, undertightened filter, or other failure mode. This documentation demonstrates professional responsibility and supports insurance claims if the customer later alleges engine damage.
Insurance notification should happen immediately for significant spills, even if no damage is apparent. Many shop insurance policies require prompt incident reporting, and delayed reporting can jeopardize coverage. The small increase in insurance premiums from a reported claim is trivial compared to the cost of an uncovered engine replacement if delayed damage appears months later.
Prevention Protocol for Technicians
The double gasket scenario is entirely preventable with a simple tactile check. Before installing the new filter, run your finger around the engine block’s filter mounting surface. The old gasket should come off with the filter, but gaskets occasionally stick to the block. This five-second check prevents 90% of catastrophic oil filter leaks.
Factory defect double gaskets—where a new filter arrives with two gaskets already installed—are caught by visual inspection of the new filter before installation. Look at the filter’s sealing surface and verify only one gasket is present. Some technicians report quality issues with specific filter brands where gaskets fall off during installation; switching to different filter brands eliminated the problem.
For filters in hard-to-see locations, use a mirror or phone camera to inspect the mounting surface before and after filter installation. Subaru boxer engines, with their horizontal configuration, create particularly difficult sight lines for filter work. The filter on models like the Forester sits in a location where you can spin the filter on by feel without seeing the mounting surface—exactly the scenario where old gaskets go unnoticed.
After installation, before starting the engine, visually inspect for any oil seepage around the filter. Hand-tighten the filter until the gasket contacts the block, then rotate an additional 3/4 to 1 full turn. This provides proper compression without overtightening. Start the engine and immediately check for leaks—if oil begins spraying, shut down within 2-3 seconds to minimize spillage.
Quick Reference Checklist: Post-Spill Inspection
- Check for oil pressure warning light activation and duration
- Measure actual oil loss (ground spillage plus what’s missing from capacity)
- Remove engine undertray and inspect all sound deadening materials
- Remove catalytic converter heat shields and check foam/fabric pads for saturation
- Replace any oil-soaked insulation materials (do not simply clean and reuse)
- Inspect serpentine belt for oil contamination and replace if affected
- Degrease all pulleys in belt path before installing new belt
- Apply engine degreaser to all oil-contaminated surfaces in engine bay
- High-pressure wash engine bay and undercarriage
- Document incident with photos, written report, and shop manager signature
- Schedule 500-mile oil analysis to check for bearing wear metals
- Monitor for unusual engine noises or smoke for first 100 miles
===FYP-PRODUCT-SEARCH-END===
automotive oil change equipment
===FYP-PRODUCT-SEARCH-END-END===
Frequently Asked Questions
How long can an engine run with no oil before damage occurs?
Modern engines retain oil film on bearings and in galleries even when the pan is empty. Running for 10-30 seconds with low oil pressure typically doesn’t cause immediate damage, as this timeframe is similar to what happens during cold starts. Extended running beyond 60 seconds significantly increases the risk of bearing scoring and permanent damage. The oil pressure warning light is the critical indicator—if it illuminates, immediate shutdown prevents most damage scenarios.
Can cleaning oil-soaked insulation prevent fire risk, or must it be replaced?
Oil-soaked foam and fabric insulation in heat shields must be replaced, not cleaned. Even after degreasing, residual oil remains in the material’s cellular structure and will combust when exposed to catalytic converter temperatures (1200-1400°F). Field reports document fires occurring 5+ hours after cleanup when vehicles reached highway speeds and exhaust systems reached operating temperature. The cost of replacement insulation is trivial compared to fire risk.
Will insurance cover engine damage from a shop’s oil change mistake?
The shop’s general liability and garage keeper’s insurance should cover damage resulting from their error. Document the incident with photos, written reports, and shop manager acknowledgment. If immediate damage isn’t apparent, request a written incident report that’s kept with vehicle records. For delayed damage claims, oil analysis at 500 miles provides objective evidence of bearing wear that can be attributed to the incident. Report significant incidents to your own insurance as backup if the shop’s coverage is inadequate.
How much oil does it take to create a large puddle or spray pattern?
A single quart of modern low-viscosity oil (0W-20, 5W-20) creates a 3-5 foot diameter puddle once settled. Three quarts will appear as a massive spill covering significant shop floor area. The thin oil also creates extensive spray patterns, coating engine bay components and undercarriage areas far from the leak source. Visual appearance of oil loss often exceeds the actual volume lost, which is why measurement from drain collection is important for accurate assessment.
Should serpentine belts always be replaced after oil contamination?
Yes. Oil exposure causes rubber swelling that permanently changes belt dimensions and reduces grip on pulleys. Even if the belt doesn’t immediately squeal, it will slip under load and fail prematurely. The cost of a serpentine belt ($20-60) is trivial compared to the risk of losing alternator charging, power steering assist, or water pump operation. Shops should replace oil-contaminated belts as standard procedure, not wait for symptoms to develop.
What’s the most common cause of catastrophic oil filter leaks?
The double gasket scenario—where the old filter’s gasket remains stuck to the engine block and a new filter with its own gasket is installed on top—accounts for the majority of catastrophic oil filter leaks. When the engine starts, oil pressure forces past the doubled gasket, creating immediate high-volume oil loss. This is entirely preventable by running your finger around the filter mounting surface before installing the new filter to verify the old gasket came off with the old filter.
Can borescope inspection detect bearing damage from brief oil loss?
Borescope cylinder inspection can identify scoring on cylinder walls but won’t visualize bearing surfaces, which are the primary concern after oil loss. For bearing assessment, oil analysis at 500 miles is more diagnostic—labs test for elevated copper, lead, and aluminum levels that indicate bearing material loss. Borescope inspection is useful if the incident involved engine overspeeding or valve contact concerns, but for standard oil loss scenarios, oil analysis provides better evidence of bearing condition.
Automotive Oil Change Tools
Proper oil change execution and incident prevention start with reliable equipment. The tools you use during an oil change—from filter wrenches to drain collection systems—directly impact whether catastrophic spills happen at all. Stock your shop with quality Automotive Oil Change Tools to reduce the risk of filter failures and ensure accurate oil measurements.
- Oil filter wrenches and removal tools for secure, damage-free filter installation
- Drain collection systems for accurate measurement of oil loss during incidents
- Engine degreaser and cleaning supplies for post-spill remediation
Essential Oil Change Tools & Supplies
Oil spills happen to the best of us, but they’re easier to prevent and clean up with the right equipment. Our automotive oil change tools category features everything you need to handle oil changes safely and efficiently, minimizing mess and protecting your workspace.
- Oil Drain Pans: Capture spills before they happen with our selection of large-capacity drain pans and collection systems
- Oil Absorbent Materials: Quick-absorbing granules and spill mats for immediate cleanup of any accidental spills
- Drip Trays & Containment: Heavy-duty portable containment solutions to protect your driveway and shop floor

The Toolsource Technical Team blends decades of real-world automotive service experience with up-to-date technical research. Our writers collaborate with professional mechanics, shop owners, and diagnostic specialists to deliver practical, workshop-ready guidance you can trust.


Follow us on social media