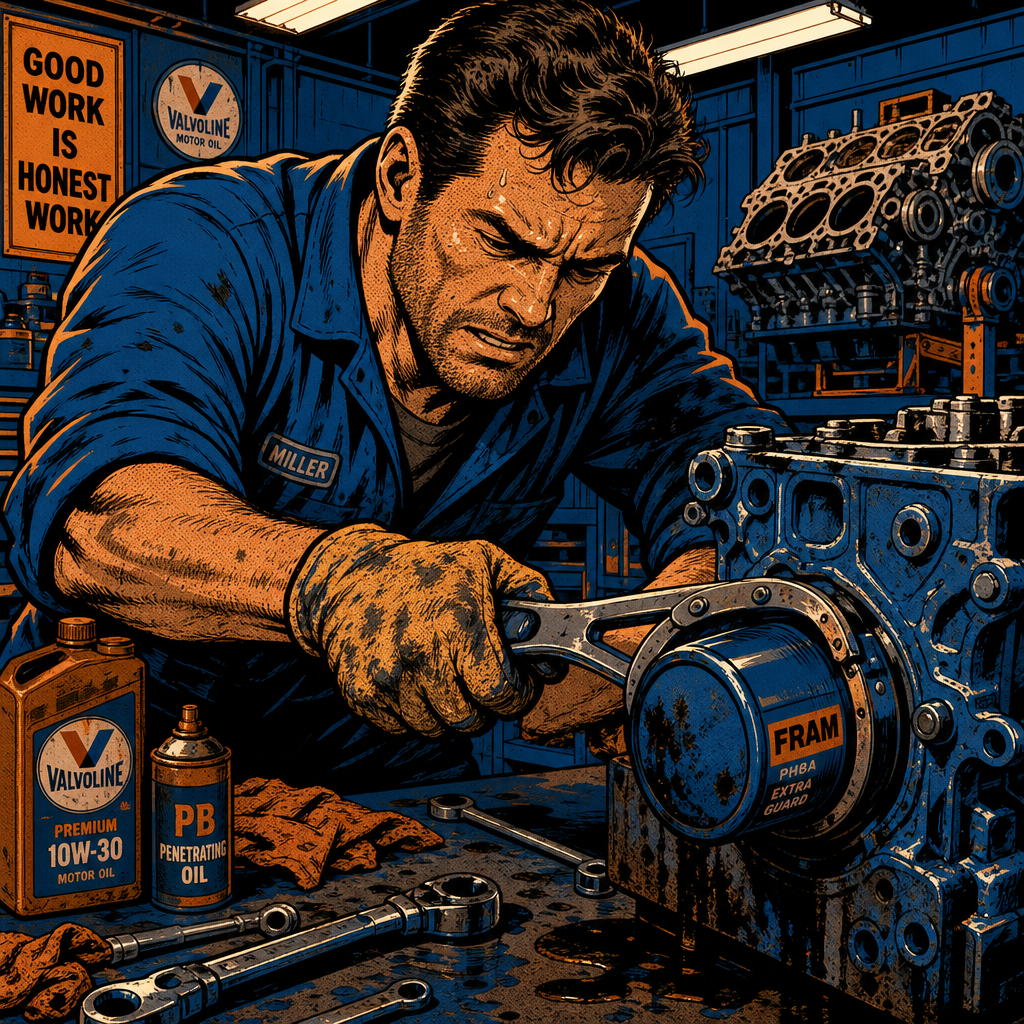
Every experienced technician has seen it happen—an oil filter that wasn’t seated properly or carried a double gasket from the factory suddenly dumps three to four quarts of oil onto the shop floor in less than 20 seconds. The customer’s engine bay becomes a dripping mess, oil pools under the lift, and panic sets in. While catastrophic engine damage from brief oil loss is rare, the real work—and real liability—begins after the initial spill. Understanding what components are at risk, how to properly clean contaminated areas, and what documentation protects both shop and customer makes the difference between a resolved incident and a potential lawsuit months down the road.
Why Oil Filters Fail During Installation
The two most common causes of sudden oil loss during or immediately after an oil change are improper filter seating and double-gasket installation. When a filter isn’t threaded correctly or isn’t tightened to spec, it can work loose within seconds once the engine starts and oil pressure builds. The result is a catastrophic leak that empties the oil pan faster than most warning systems can react.
Double-gasketing occurs when the old filter’s gasket remains stuck to the engine block and the technician installs a new filter with its own gasket on top. This creates an imperfect seal that fails under pressure. Some technicians report this happening with certain filter brands where gaskets separate during removal or installation. Factory quality control issues occasionally result in filters shipping with two gaskets already installed, though this is less common.
A typical engine holds between 4.5 and 6 quarts of oil depending on the vehicle. When a filter fails, expect to lose three to four quarts in 10 to 20 seconds. The oil doesn’t just pool beneath the vehicle—it sprays across the engine bay, soaks into sound-deadening materials, coats belts and pulleys, and penetrates plastic engine covers and heat shields. Even experienced technicians who catch the problem immediately will face extensive cleanup.
Assessing Engine Damage From Brief Oil Loss
The good news: modern engines retain oil in critical areas even after the pan drains. Oil clings to bearings, valve train components, cylinder walls, and passages throughout the engine. During a cold start, engines routinely make several rotations before oil pressure fully builds and reaches the cylinder head—a condition far more stressful than running for 15-20 seconds while losing oil from a filter leak.
If the low oil pressure warning light illuminated and the engine was shut down within 30 seconds, significant bearing damage is unlikely. Main bearings and rod bearings maintain an oil film that doesn’t instantly disappear. The engine’s rotation was also minimal—likely just idling or moving the vehicle a few feet into a service bay.
However, documentation is critical. If the customer experiences engine problems weeks or months later, you need a paper trail showing exactly what happened, what steps were taken, and what condition the engine was in immediately after the incident. Have the shop manager create an incident report that includes:
- Date, time, and mileage at the time of the incident
- Description of what failed (filter type, brand, and failure mode)
- Estimated runtime and oil loss
- Cleanup procedures performed
- Any diagnostic codes pulled immediately after
- Customer notification and acceptance of the situation
For maximum protection, recommend an oil analysis at the next oil change interval (typically 500-1,000 miles later). Oil analysis labs test for elevated levels of copper, lead, aluminum, and iron—metals that indicate bearing wear. If the brief oil loss caused accelerated wear, the analysis will reveal it. This gives both shop and customer concrete data rather than speculation.
Critical Cleanup: Preventing Fire Hazards
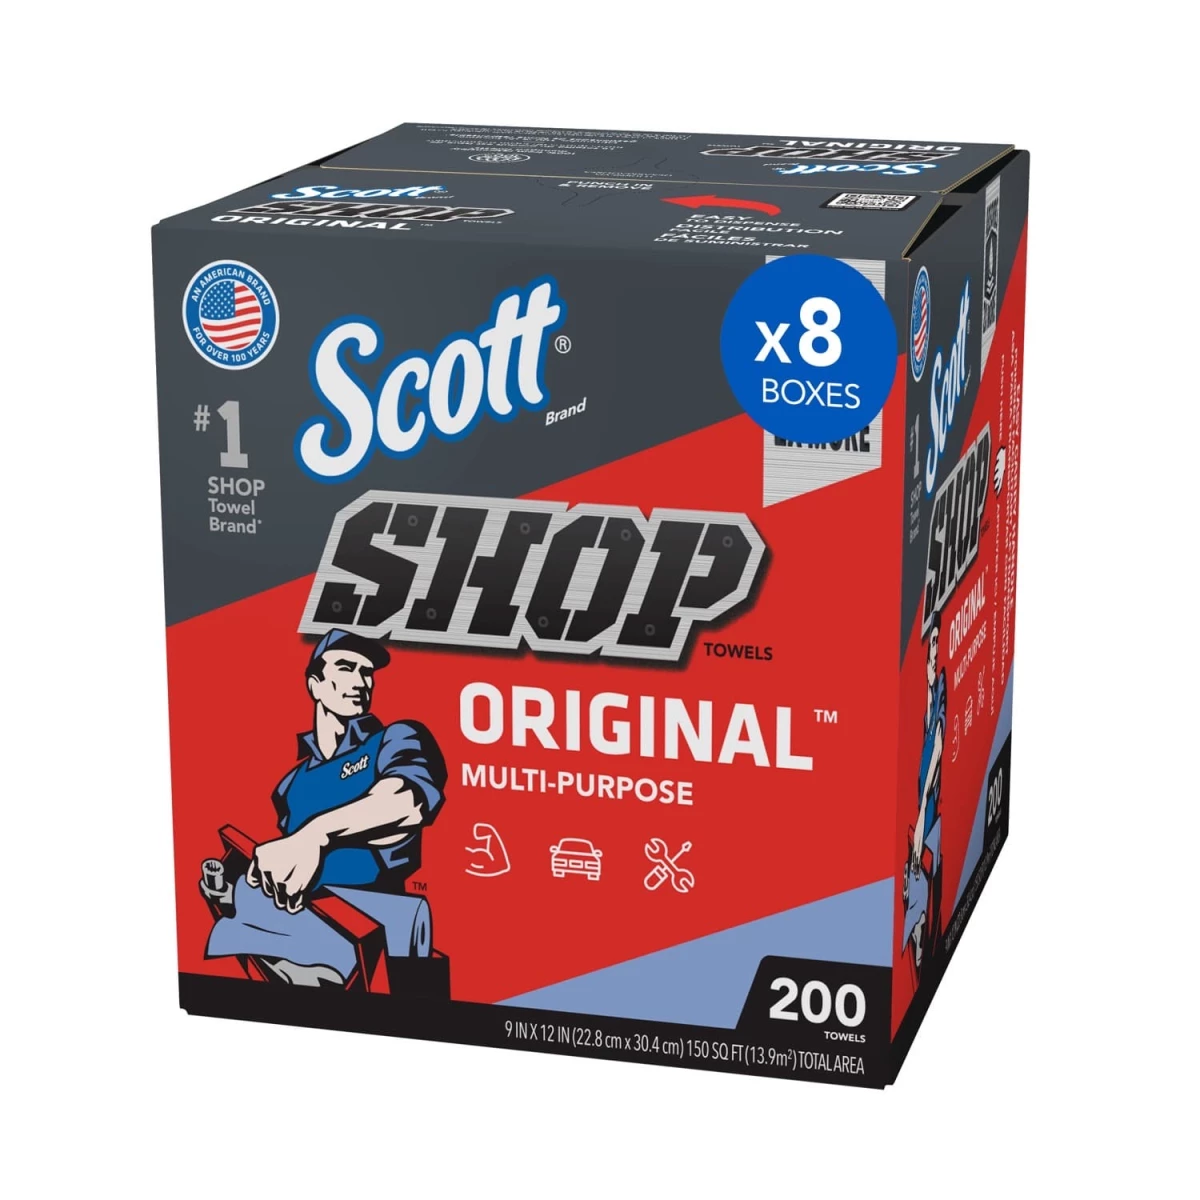
Engine fires from oil-soaked components are a real risk that many technicians underestimate. Oil doesn’t just sit on metal surfaces—it soaks into absorbent materials designed for sound deadening and heat management. The most dangerous area is the catalytic converter heat shield and the fabric or polyester sound-deadening pads mounted to plastic under-engine covers.
These pads absorb oil like a sponge. Even after hosing down the engine bay and wiping visible surfaces, oil remains deep in the material. As the vehicle is driven and exhaust components reach operating temperature (catalytic converters routinely exceed 1,200°F), the soaked material can ignite. Multiple documented cases exist of vehicles catching fire hours after an oil change incident, even after apparent cleanup.
Proper cleanup requires removing and inspecting every plastic under-cover and heat shield. If sound-deadening material is oil-soaked, it must be replaced—not just cleaned. The cost of replacement pads is minimal compared to liability for a vehicle fire. Use degreaser on all hard surfaces, but understand that spraying and wiping alone won’t remove oil from absorbent materials.
Pay special attention to electrical connections and sensors in the engine bay. Oil contamination on connectors can cause intermittent faults or corrosion over time. Plastic wire loom and connectors should be wiped clean, and any heavily contaminated sections should be replaced. Don’t forget the alternator—oil that enters the alternator through ventilation holes can cause bearing failure or electrical shorts.
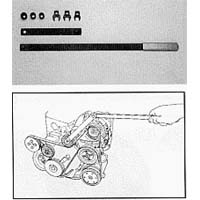
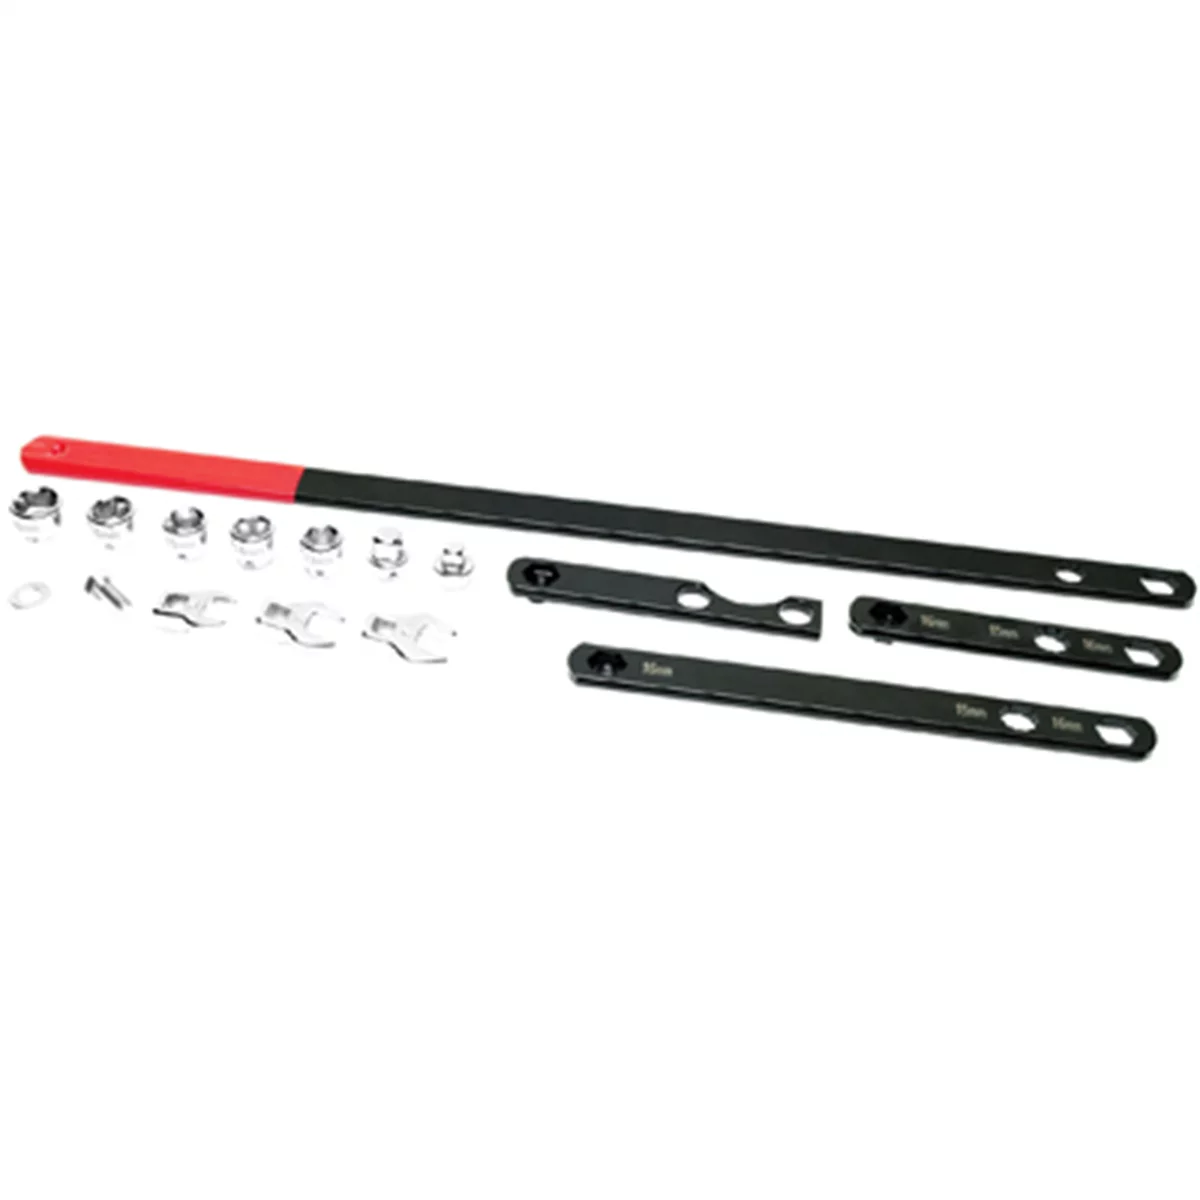
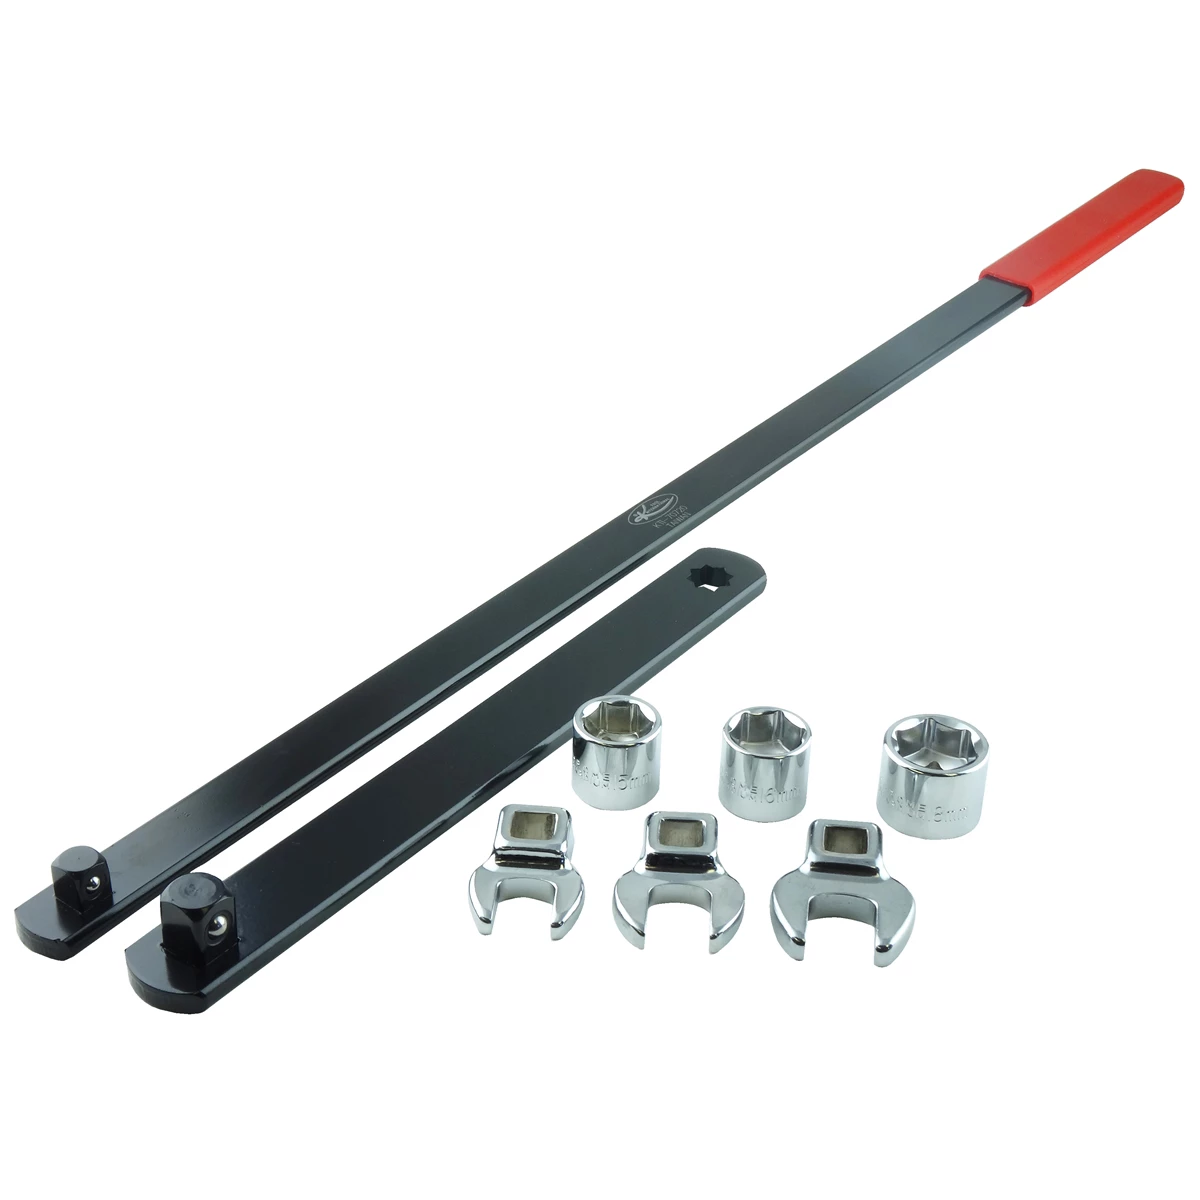
Finally, clean the serpentine belt and all pulleys thoroughly. Even trace amounts of oil reduce belt friction, causing slip and noise. In most cases, the belt should be replaced rather than cleaned, as oil penetrates the belt material and weakens it permanently.
Serpentine Belt and Accessory Component Replacement
Once a serpentine belt is contaminated with oil, its lifespan is dramatically shortened even if it appears to function normally after cleaning. Oil breaks down the rubber compound and reduces the belt’s ability to grip pulleys. Technicians frequently report squeaking belts after oil contamination cleanup—a sign that the belt is slipping rather than driving accessories effectively.
The shop should replace the serpentine belt as part of the cleanup process, not as an additional charge to the customer. This is a direct consequence of the oil filter failure and falls under the shop’s responsibility. Attempting to clean and reuse an oil-soaked belt may seem cost-effective in the moment, but it sets up a customer complaint weeks later when the belt fails prematurely or creates noise.
Inspect all pulleys and tensioners for oil contamination as well. Oil on a pulley surface creates the same friction loss as oil on the belt. Clean pulleys with brake cleaner or degreaser and verify they spin freely. If the tensioner pulley bearing has ingested oil, it should be replaced. A contaminated tensioner bearing will fail earlier than its normal service life and may seize, causing belt failure and potential engine damage if the timing belt shares the same routing.
Check the condition of any hoses or rubber components in the area of the spill. Oil degrades rubber over time, and while immediate damage is unlikely, hoses that were directly sprayed with oil should be noted in the service record for future inspection.
Documentation and Customer Communication
Transparency with the customer is essential. Explain exactly what happened, what steps were taken to address it, and what they should monitor going forward. Don’t minimize the incident, but also don’t catastrophize it. Most customers appreciate honesty and a clear action plan more than vague reassurances.
Provide the customer with a written summary that includes the incident report details, confirmation of cleanup procedures, and a list of components replaced (such as the serpentine belt and any under-covers). If the shop is offering any goodwill gestures—such as a free oil analysis at the next service or a complimentary inspection—document that as well.
Encourage the customer to monitor for unusual smells, noises, or warning lights over the next several hundred miles. If they notice burning odors, squeaking belts, or oil pressure warnings, they should return immediately. Make it clear that the shop stands behind the work and will address any related issues at no charge.
From a liability perspective, having the customer sign an acknowledgment that they were informed of the incident and the steps taken protects the shop if future claims arise. This isn’t about evading responsibility—it’s about creating a clear record that the shop acted appropriately and the customer was fully informed.
Prevention: Double-Checking Before Startup
The best way to handle an oil filter failure is to prevent it in the first place. Even experienced technicians benefit from a systematic final check before starting the engine after an oil change. Create a quick mental or physical checklist that includes:
- Verify the old filter gasket was removed from the mounting surface
- Confirm the new filter gasket is present and properly lubricated
- Hand-tighten the filter, then apply the manufacturer’s recommended additional torque (typically 3/4 to 1 full turn)
- Check that the drain plug is installed and torqued to spec
- Verify the correct oil quantity was added
- Inspect under the vehicle before starting the engine
Some shops require two-technician sign-off on oil changes for high-value vehicles or after a spill incident. While this adds time, it dramatically reduces the chance of a repeat failure. The second technician spends 30 seconds verifying the filter is seated and the drain plug is tight—a small investment compared to the cost of cleanup and potential liability.
When installing a new filter, always inspect the gasket before threading it onto the engine. Quality control issues do occur, and catching a double-gasket at the factory saves the catastrophic failure in the bay. Run your finger around the filter’s sealing surface to confirm a single, intact gasket is present.
Finally, if your shop uses a bulk oil system with a meter, verify the meter reading matches the vehicle’s specified capacity. If you pulled 5.1 quarts out and only put 4.2 quarts back in, something is wrong. Cross-check with the vehicle’s service manual or oil cap specification before starting the engine.

Crew Chief Oil Change Station – 22 Gallon
Mfg: John Dow Industries
Part #: JDI-22DCX
ID: 93787
Frequently Asked Questions
How much oil does it take to make a large puddle under a vehicle?
A single quart of oil spreads into a puddle three to five feet in diameter once it settles on flat pavement. The images showing widespread oil coverage likely represent three to four quarts, not the 0.2 quarts some shops claim was lost. Use the visual evidence to challenge inaccurate measurements from collection tanks that may contain residual oil from previous services.
Can an engine survive running with no oil for 20 seconds?
Yes, in most cases. Modern engines retain oil on bearings and internal surfaces even after the pan drains. Cold starts routinely subject engines to several seconds of low oil pressure before full circulation is established. However, the risk increases with runtime—20 seconds is marginal, but five minutes would likely cause severe damage. The key is immediate shutdown once the oil pressure warning illuminates.
Should I demand a full engine diagnostic after an oil spill incident?
A diagnostic scan immediately after the incident is reasonable to check for any fault codes, but it’s unlikely to reveal bearing damage that may develop over time. A better approach is requesting an oil analysis at the next service interval (500-1,000 miles later). This will show elevated wear metals if any damage occurred, giving you concrete evidence rather than speculation.
What’s the most dangerous component to leave oil-soaked after a spill?
The sound-deadening pads inside catalytic converter heat shields and on plastic under-engine covers pose the greatest fire risk. These materials absorb oil deeply and are positioned near exhaust components that reach extreme temperatures. If these pads are soaked, they must be replaced, not just surface-cleaned. Multiple vehicle fires have been documented hours after apparent cleanup when these materials ignited during highway driving.
How long after an oil spill might I smell burning oil?
Burning oil smells can persist for days or even weeks if cleanup was incomplete. Trace amounts of oil on exhaust manifolds, catalytic converters, and heat shields will vaporize as these components reach operating temperature. However, if you smell burning oil weeks after the incident or notice smoke, return to the shop immediately—this indicates oil-soaked materials that weren’t properly cleaned or replaced.
Is a shop legally liable for engine damage from an oil filter they installed incorrectly?
Yes. If a shop’s negligence (improper installation, failure to remove the old gasket, or inadequate tightening) caused oil loss and subsequent engine damage, the shop is liable for repairs. This is why documentation is critical for both parties. The shop should create an incident report, perform thorough cleanup, and offer preventive measures like oil analysis. If engine failure occurs later and is proven to be related to the incident, the shop’s insurance should cover the claim.
Recommended Tools for Oil Change Work
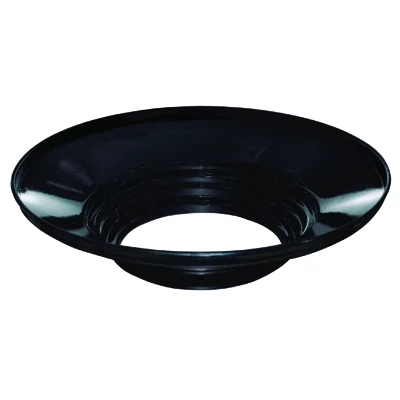
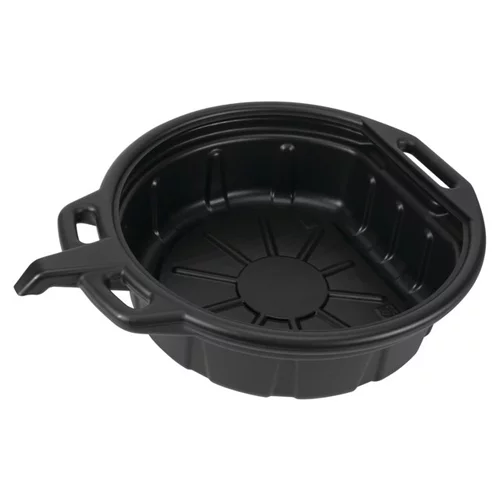

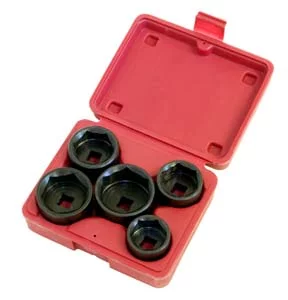
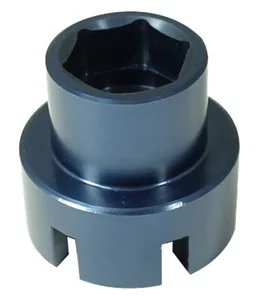
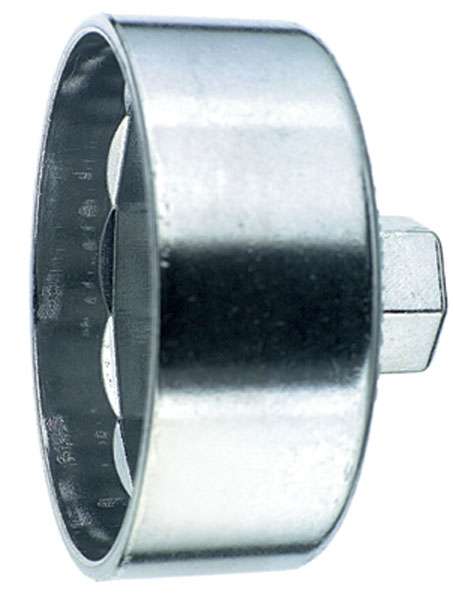
Preventing oil filter failures starts with using the right tools and following a clear process. Proper filter installation, drain plug management, and final verification all depend on having reliable equipment on hand. Browse our selection of Automotive Oil Change Tools to ensure your shop is equipped for safe, accurate service.
- Filter wrenches and socket sets for secure installation and removal
- Oil drain pans and collection systems for accurate measurement
- Torque wrenches and gauges to verify proper tightening
Essential Oil Change Tools & Supplies
When an oil filter fails mid-change, having the right backup tools and quality supplies on hand can save you time and frustration. Explore our complete selection of automotive oil change tools to ensure you’re prepared for any situation.
- Oil Filter Wrenches: Adjustable and socket-style wrenches to prevent filter seizing and damage during removal
- Oil Drain Pans & Gaskets: Heavy-duty containers and replacement gaskets to contain spills and handle filter debris safely
- Oil Filter Crushers & Recycling Kits: Professional-grade equipment for proper disposal and environmental compliance

The Toolsource Technical Team blends decades of real-world automotive service experience with up-to-date technical research. Our writers collaborate with professional mechanics, shop owners, and diagnostic specialists to deliver practical, workshop-ready guidance you can trust.


Follow us on social media