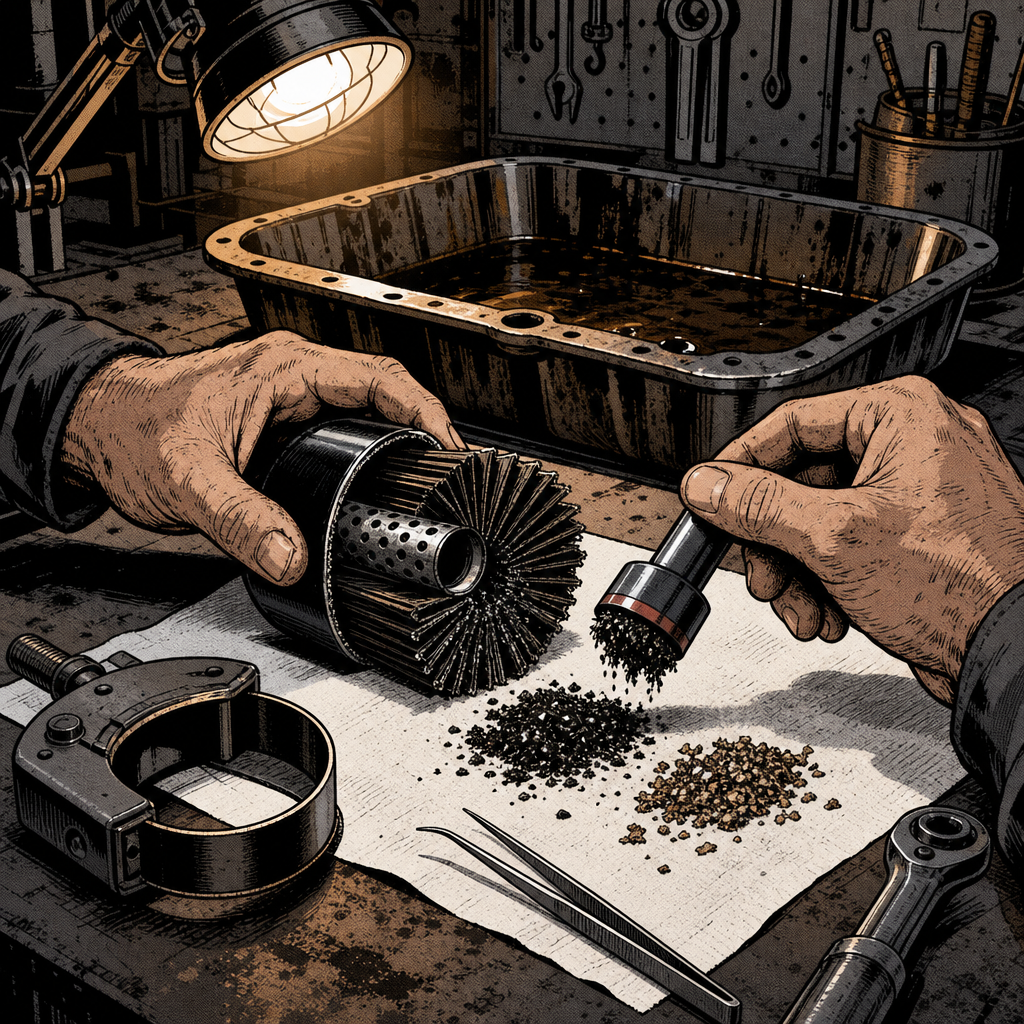
Every technician eventually pulls a drain plug or cracks open an oil filter and finds something that shouldn’t be there — glittery flakes, fine dust, or worse, chunks of metal you can pick up with your fingers. It’s an unsettling find, and it’s also one of the most misunderstood diagnostic moments in the shop. Not all metal in the oil means the same thing, and jumping straight to “the engine is done” without doing the legwork can cost a customer a car that was actually fine, or worse, send them home with a ticking time bomb. Here’s how to work through it methodically.
Why Metal Shows Up in Oil in the First Place
Oil picks up metal from normal operation constantly. Every engine sheds microscopic particles as rings, cams, and bearings wear against each other — that’s what oil filters and additive packages are designed to manage. The question isn’t whether metal exists in the oil; it’s how much, what size, what material, and where it’s coming from. A few things generate metal contamination:
- Normal wear: Sub-micron particles suspended in oil, invisible to the naked eye, filtered out by a functioning filter media.
- Break-in debris: After a rebuild, a new engine, or replaced bearings/timing components, it’s expected to see elevated metal in the first oil change or two as parts seat.
- Active component failure: Visible flakes, chunks, or “glitter” usually mean something — a rod bearing, main bearing, timing chain guide, or a failing oil pump — is actively grinding itself apart.
- Neglect-related buildup: On a car with a severely overdue oil change, sludge and varnish can trap metal that accumulated over a long period rather than all at once.
The size and shape of the debris matters more than most people think. Fine, dust-like particles that stick to a magnet are usually iron/steel from cylinder walls or cam lobes — concerning but often gradual. Larger flakes or shiny, non-magnetic material point toward bearing material (often a copper/aluminum alloy) or aluminum from a piston or bearing carrier, which is a much more urgent finding.
How to Properly Inspect a Cut-Open Oil Filter
Draining the pan and eyeballing the plug only tells part of the story — the filter catches the bulk of what’s circulating. Any time metal is found in the pan or on a magnetic drain plug, cut the filter open and inspect it properly:
- Use a dedicated oil filter cutter rather than a hacksaw or angle grinder — you want a clean cut through the canister without introducing shop debris that muddies the diagnosis.
- Drain residual oil from the filter into a clear pan before cutting.
- Cut around the circumference near the base, then peel back the pleated media.
- Run a strong magnet through the pleats and through any sludge caught at the bottom of the canister.
- Spread debris on a white paper towel or shop towel to separate magnetic material from non-magnetic flakes, and photograph everything for the record before it gets tossed.
If the filter pleats are loaded with metal beyond what a couple hundred miles should generate, that’s a strong signal of active failure rather than a one-time contamination event. A clean filter with only a small amount of debris in the pan is a very different conversation than a filter caked in metal.
===PRODUCT_SEARCH_1===

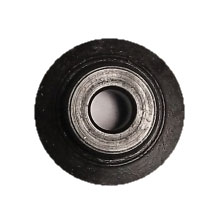
Replacement Blade for AT3391 Oil Filter Cutter
Mfg: K-Line Industries
Part #: AT50102G
Telling Normal Break-In or Neglect Debris From Catastrophic Failure
This is where judgment matters most, and it’s the step that gets skipped most often. A few practical questions help sort it out:
- What’s the service history? If this is the first oil change after years of neglect, some accumulated debris is expected and not necessarily a death sentence. If the last oil change was recent (under a year or a few thousand miles) and metal is already showing up again, that points to an active, ongoing failure.
- Was there recent internal work? A rebuild, bearing replacement, or timing chain/guide job in the last several hundred miles means some break-in debris is normal. Anything beyond a light dusting after that mileage window warrants a closer look.
- Is there an audible symptom? Rod knock, a rattling timing chain on cold start, low oil pressure on the gauge, or a check engine light for oil pressure/cam or crank correlation all corroborate a mechanical failure rather than incidental debris.
- What does the debris look like under magnification? Fine gray dust is usually cylinder/ring wear. Bright, jagged, or curled metal shavings suggest something is actively being machined away — a bearing spinning, a chain guide disintegrating, or a gear tooth failing.
As a rule of thumb: small amounts of fine metallic dust, especially on a neglected car getting its first service in a long time, is worth monitoring. Visible flakes or chunks — anything you can pick up with tweezers — is not something to write off, regardless of how the car is currently running.
Confirming the Diagnosis: Short-Interval Oil Changes and Oil Analysis
Don’t make a repair-or-replace call off a single filter inspection. The standard diagnostic sequence is:
- Change the oil and filter immediately. Use a fresh filter and full oil fill to establish a clean baseline.
- Run it a short, controlled interval. Somewhere between 30 minutes of idle/light driving up to 100 miles, depending on severity of the initial find. Avoid hard acceleration or towing during this window.
- Pull the filter and drain plug again. Compare debris volume to the first inspection. More debris in a short interval confirms an active failure. Little to no new debris suggests the first find was residual buildup that’s now been flushed out.
- Send a sample for oil analysis if available. A lab report identifies specific metals (iron, copper, aluminum, lead, chromium) and their concentration in parts-per-million, which pinpoints the likely source — bearings, rings, timing components, or cooler/gasket wear — far more precisely than a visual inspection alone.
- Check oil pressure with a mechanical gauge, not just the dash gauge or light, especially if bearing wear is suspected. Low or fluctuating pressure at idle and under load is a strong corroborating sign of bearing clearance issues.
This process protects both the shop and the customer — it turns “I found metal, it’s probably toast” into a documented, defensible diagnosis with before/after evidence.
Making the Repair, Rebuild, or Replace Call
Once the source is reasonably confirmed, the decision usually comes down to economics rather than pure feasibility:
- Bearing failure confirmed: This almost always means an engine-out job at minimum, and often a full rebuild or replacement, since bearing material circulating through the system can score the crank journals and contaminate the oil cooler and passages.
- Timing chain/guide wear: Sometimes serviceable in place if caught early and the chain hasn’t jumped time or caused valve contact, but guides and tensioners generating visible plastic or metal debris need replacement soon regardless.
- Compare repair cost to vehicle value. A full rebuild or a quality used/remanufactured engine frequently costs more than the car is worth on a high-mileage, lower-value vehicle. Get a written estimate before committing, and give the customer the real numbers alongside the option to sell as-is or part-out.
- Consider the source of a replacement engine carefully. A used engine from an unknown history can carry the same latent problem. A remanufactured unit with a warranty is usually the safer bet if replacement is the chosen path.
===PRODUCT_SEARCH_2===
Quick Reference Checklist
- Drain oil into a clean, light-colored pan and inspect the drain plug (check if magnetic).
- Cut open the old filter with a proper filter cutter and inspect the pleats and canister base.
- Run a magnet through debris to separate ferrous from non-ferrous material.
- Photograph and document findings before disposal.
- Change oil/filter, run a short controlled interval, and re-inspect to confirm trend.
- Check oil pressure with a mechanical gauge if bearing wear is suspected.
- Send a sample for lab oil analysis when the diagnosis is unclear.
- Weigh repair/rebuild cost against vehicle value before recommending work.
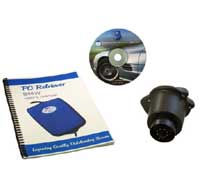

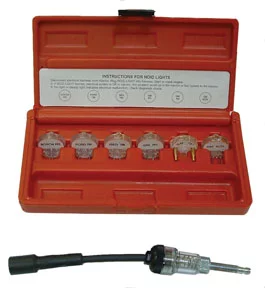
Electronic Fuel Injection and Ignition Spark Tester Kit
Mfg: S & G Tool Aid
Part #: 36310
Frequently Asked Questions
Is any metal in the oil pan normal?
Trace amounts of fine metallic dust are common, especially on high-mileage or recently neglected vehicles. Visible flakes or chunks are not normal and warrant further inspection.
How much metal in a filter is considered serious?
There’s no exact threshold, but anything beyond a light dusting — especially pieces large enough to pick up individually — should be treated as a sign of active mechanical failure until proven otherwise.
Can I just keep changing the oil more frequently instead of repairing the engine?
Short-term, frequent oil changes can buy time on mild cases, but they don’t stop the underlying wear. If a controlled test interval keeps producing new debris, the source needs to be repaired, not managed with oil changes alone.
Does a magnetic drain plug catch everything I need to see?
No. A magnetic plug only catches ferrous material and only what settles near it. Always pair it with a cut-open filter inspection, since the filter processes all the oil that circulates through the engine.
What’s the difference between break-in debris and failure debris?
Break-in debris typically appears after recent internal engine work (rebuild, bearing or timing component replacement) and tapers off after one or two short oil changes. Failure debris continues or increases across successive short-interval checks with no recent internal work to explain it.
Should I trust oil analysis over a visual inspection?
Use both. Visual inspection is fast and catches obvious large debris; lab analysis identifies specific metal types and concentrations, which pinpoints the likely wear source far more reliably, especially for borderline cases.
Recommended Oil Change Tools
Proper diagnosis of metal contamination requires the right equipment. Browse our Automotive Oil Change Tools for filter cutters, drain pans, inspection magnets, and collection containers — everything needed for accurate metal contamination analysis.
- Oil filter cutters for clean cuts through filter canisters
- Magnetic inspection tools to separate ferrous from non-ferrous material
- Quality drain pans for collection and documentation

The Toolsource Technical Team blends decades of real-world automotive service experience with up-to-date technical research. Our writers collaborate with professional mechanics, shop owners, and diagnostic specialists to deliver practical, workshop-ready guidance you can trust.


Follow us on social media