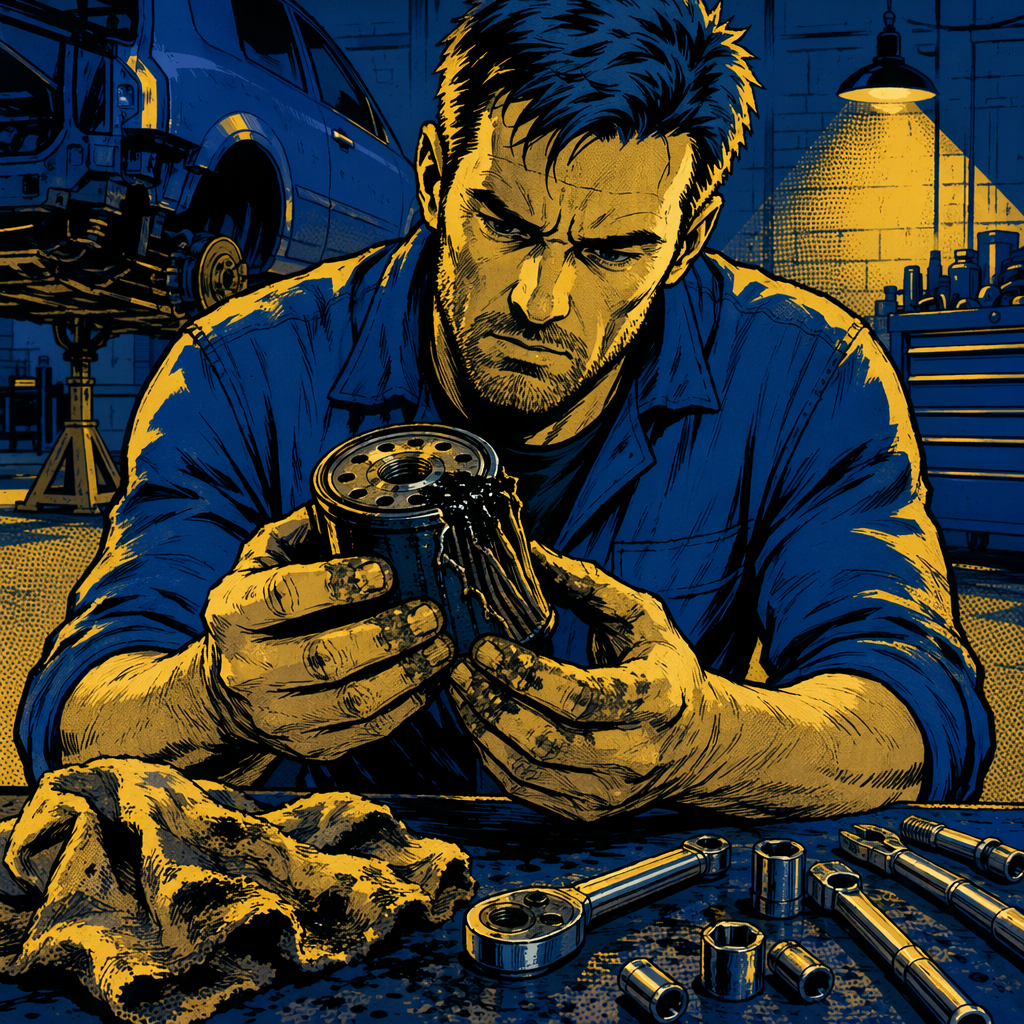
Oil filter failures represent one of the most dramatic—and surprisingly common—mistakes that can happen during routine maintenance. Whether it’s an improperly seated filter, a double-gasketed installation, or a factory defect that slipped past quality control, the result is the same: multiple quarts of oil evacuating your engine in seconds. The good news is that modern engines are remarkably resilient to brief low-oil events. The bad news is that the cleanup is critical, and the consequences of doing it wrong can include engine bay fires days after the incident. This guide walks you through the immediate response, thorough decontamination procedures, and long-term monitoring steps that separate a close call from a catastrophic failure.
Understanding How Oil Filter Failures Happen
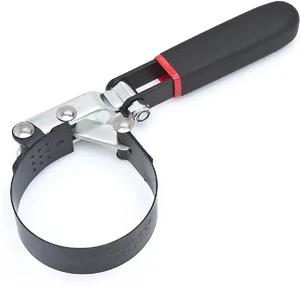

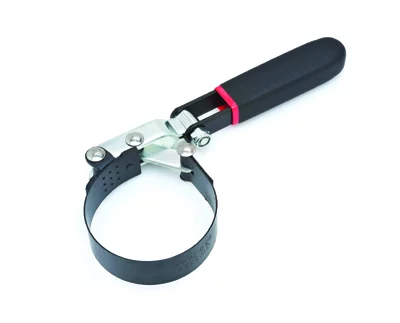
The most common cause of catastrophic oil loss during an oil change is the double-gasket scenario. This occurs when the old filter’s rubber gasket remains stuck to the engine block after removal, and the technician installs a new filter with its own gasket on top of it. When oil pressure builds, the seal fails almost immediately, and the engine can dump its entire capacity—typically four to five quarts—in less than 30 seconds.
Factory defects also contribute to failures, though less frequently. Some filters arrive from the manufacturer with gaskets that aren’t properly adhered to the filter housing. During installation, the gasket falls off unnoticed, especially in hard-to-see locations like the filter mount on Subaru’s boxer engines or transversely-mounted V6 applications where the filter is tucked against the firewall.
Filters that aren’t torqued to specification represent a third failure mode. An under-tightened filter will weep initially, then begin streaming oil as pressure and vibration work it loose. This scenario typically develops more slowly than a double-gasket failure but can still result in significant oil loss if the vehicle is driven before the problem is detected.
Even experienced technicians encounter these failures. The key differentiator is recognizing the problem immediately and implementing proper containment and cleanup procedures. An oil light that illuminates within 10 to 20 seconds of startup is the primary warning sign—and the point at which the engine should be shut down immediately.
Immediate Engine Safety Assessment
The first question after any rapid oil loss event is whether the engine sustained damage during the brief period it operated with compromised lubrication. Modern engines retain a surprising amount of oil in galleries, passages, and bearing surfaces even after the sump is empty. Every cold start subjects your engine to several revolutions with minimal lubrication while oil pressure builds—a condition arguably more severe than a 15-20 second run with some oil still coating critical surfaces.
The runtime before shutdown is the critical variable. If the engine ran for less than 30 seconds after the leak began, and if an oil pressure warning illuminated prompting immediate shutdown, the likelihood of bearing damage is minimal. The oil film on bearing surfaces, combined with residual oil in the galleries, provides enough boundary lubrication to prevent metal-to-metal contact during this brief window.
However, don’t rely solely on the absence of obvious symptoms. Request a detailed inspection that includes checking for metal particles in the oil that was recovered. If the shop uses a common drain tank, this won’t be possible—but a reputable facility should be willing to perform a fresh drain into a clean container to verify the oil is free of metallic contamination.
For definitive peace of mind, consider requesting an oil analysis at the 500-mile mark following the incident. Laboratories can detect elevated levels of copper, lead, and aluminum—metals present in bearings and bushings—that indicate accelerated wear. This creates a documented baseline that’s invaluable if problems develop later. The analysis costs between $30 and $50 and provides objective data about what’s happening inside your engine.
Critical Cleanup: Beyond What You Can See
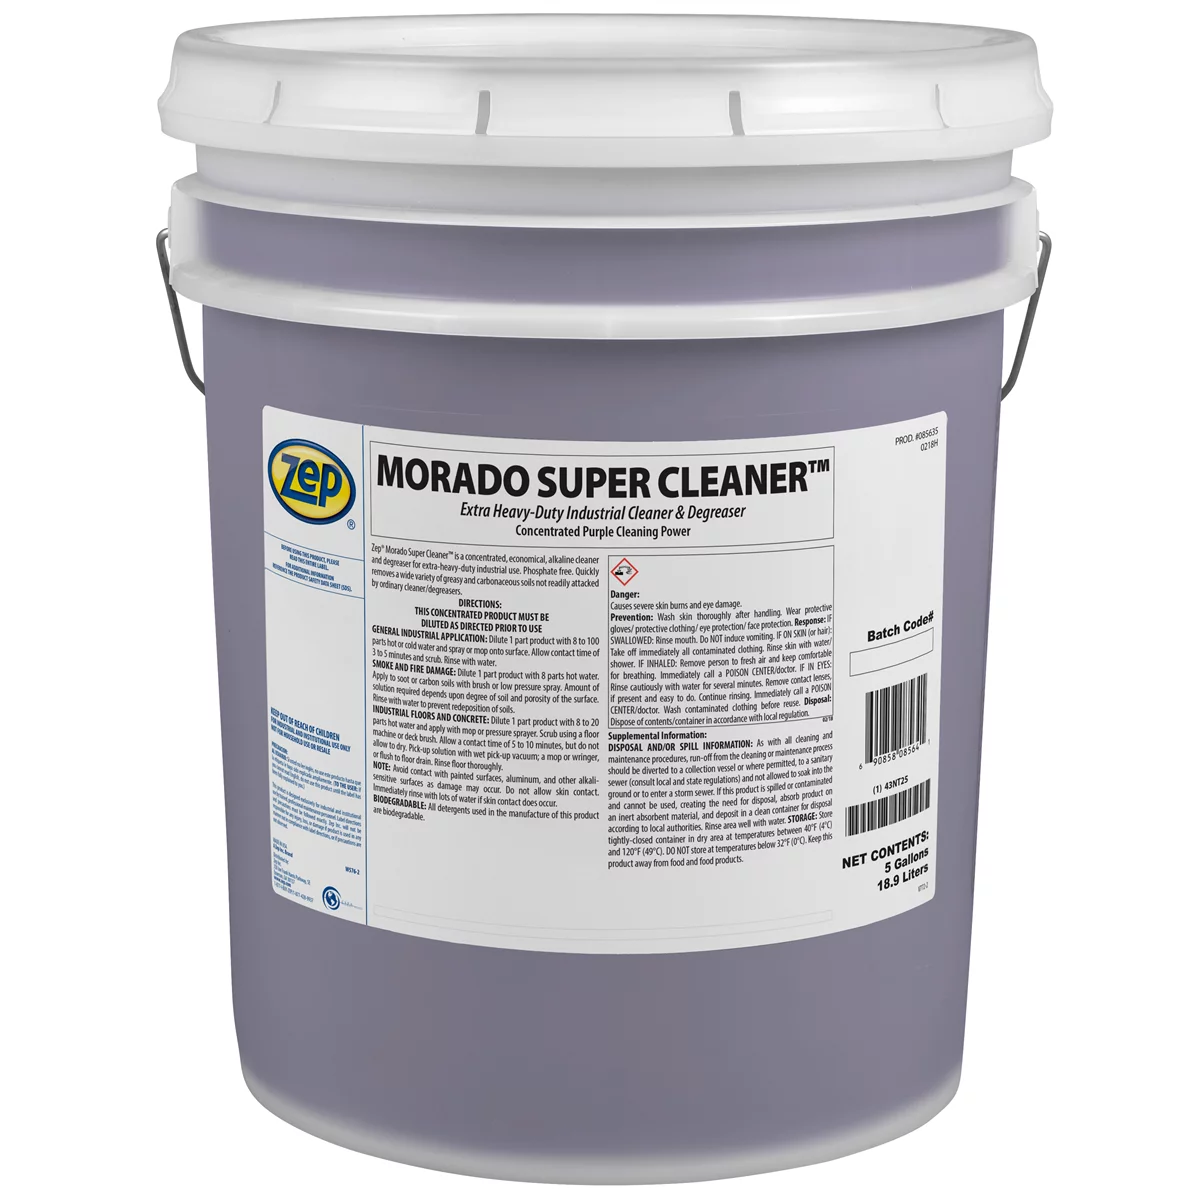
The visible oil puddle under the vehicle represents only a fraction of the contamination problem. Low-viscosity oils like 0W-20 have exceptional penetration characteristics—the same property that helps them lubricate efficiently also allows them to wick into every porous surface, fabric shield, and insulation pad in the engine bay and underbody.
The most critical cleanup zone is the heat shield assembly surrounding the catalytic converter. This component typically incorporates sound-deadening material—cloth, polyester batting, or foam—that absorbs oil like a sponge. Once saturated, this material acts as a slow-release fuel source. It may not ignite immediately; the oil needs to reach its flash point, which can take sustained heat from highway driving. Multiple documented cases exist of vehicles that sat for hours after cleanup, then caught fire during extended high-speed operation when the exhaust reached full operating temperature.
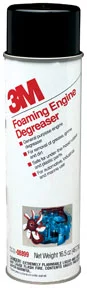
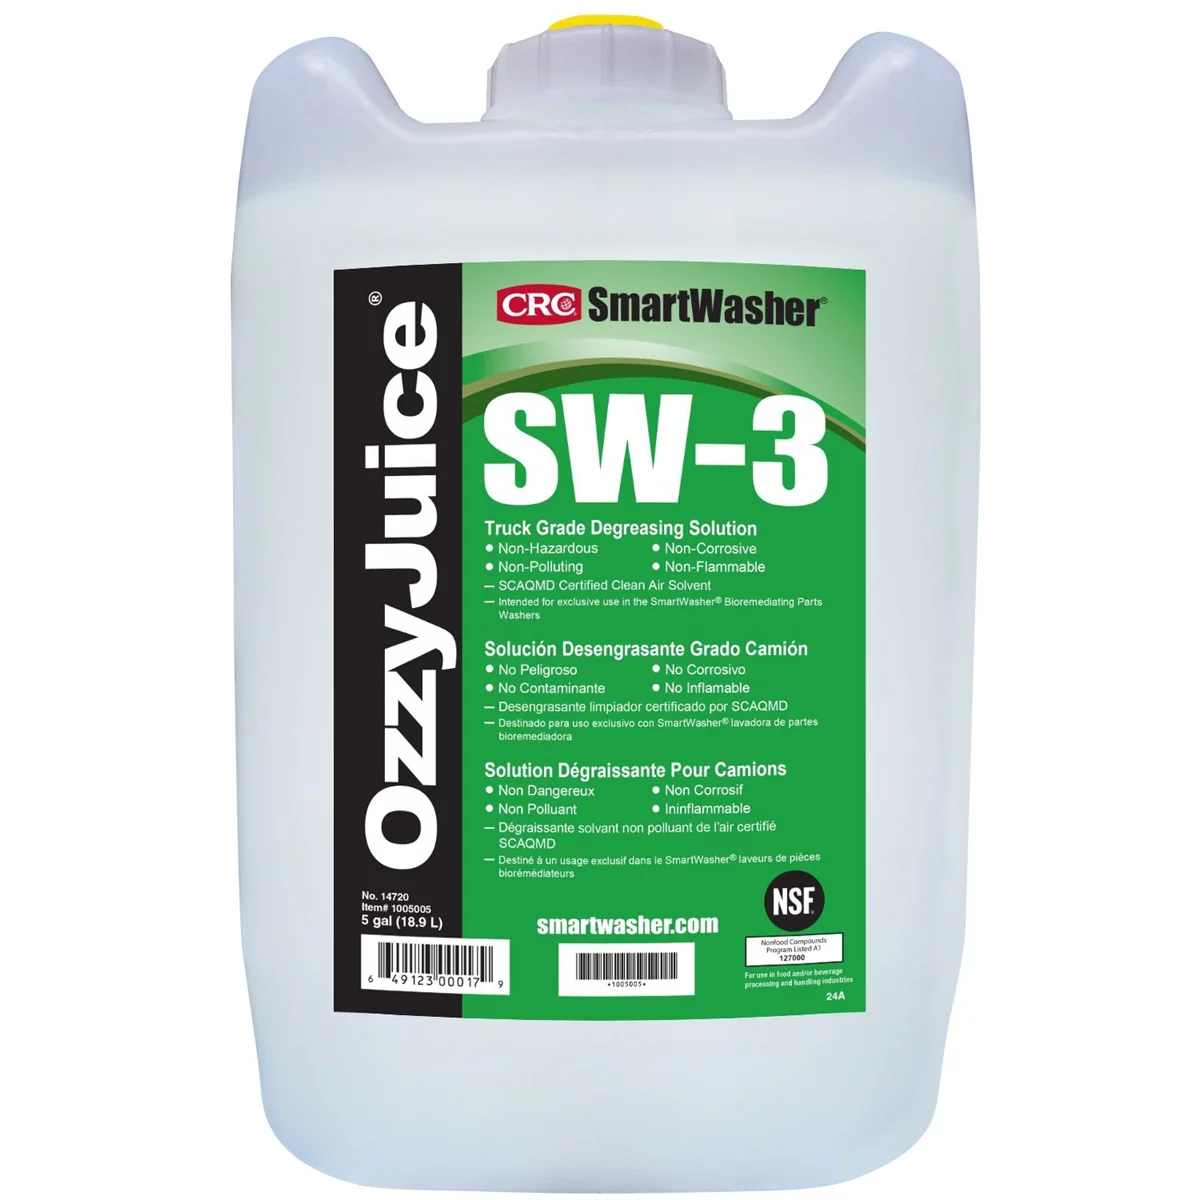
Demand that the facility remove and clean or replace these heat shields. This isn’t optional. The shields are typically held with a handful of bolts and can be removed in 15 minutes. Once removed, they should be degreased with a proper solvent—not just sprayed off with a pressure washer, which will spread the oil around without removing it from porous materials. If the material is heavily saturated, replacement is safer than attempting to clean it.
The plastic engine undertray deserves similar attention. Most modern vehicles use a composite panel with integrated acoustic insulation. Oil penetrates this insulation and can’t be fully removed with surface cleaning. At minimum, the panel should be removed, degreased on both sides, and inspected for saturation. If you can smell oil or see discoloration in the insulation after cleaning, request replacement.
Don’t overlook electrical connectors and sensor bodies in the spill zone. Oil contamination can cause intermittent connections and corrosion over time. Each affected connector should be disconnected, inspected, cleaned with electrical contact cleaner, and verified dry before reassembly.
Serpentine Belt and Drive Component Replacement

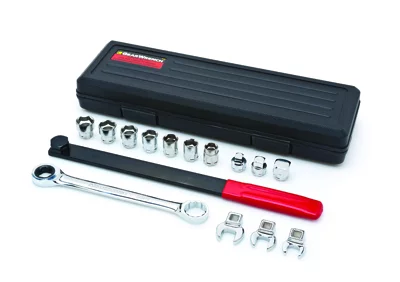
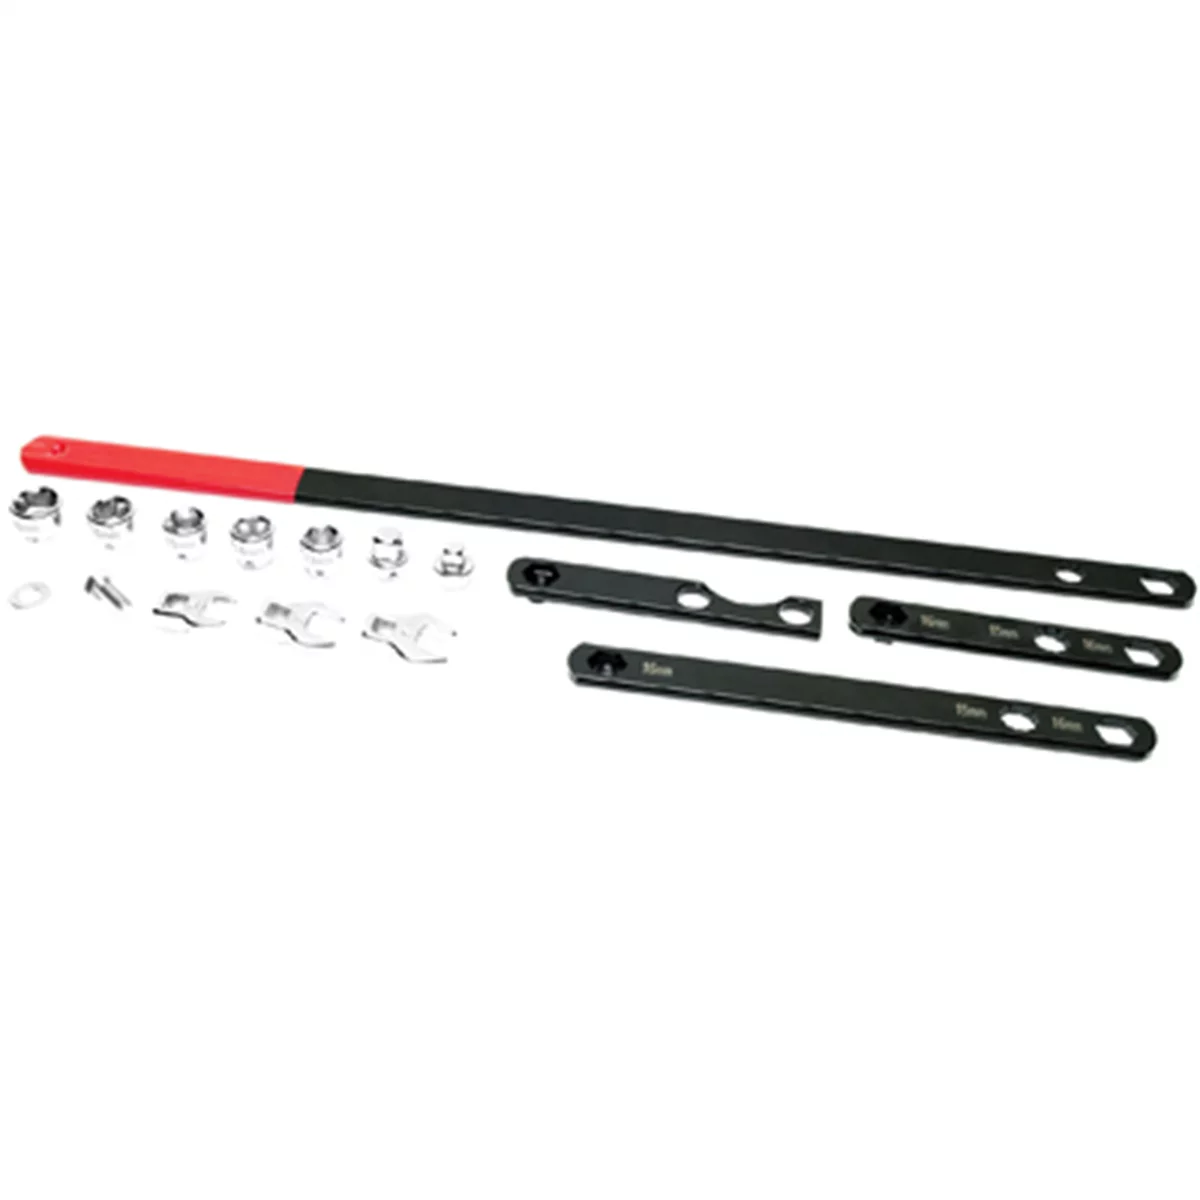
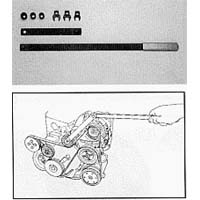
Serpentine Belt Tool - Chrysler Mini Van & Neon
Mfg: Schley Products, Inc
Part #: 63200
Any serpentine belt or accessory drive belt exposed to engine oil is compromised and should be replaced—no exceptions. Oil attacks the rubber compound, causing it to swell initially and then degrade. Even if the belt appears to function normally after cleaning, its service life is dramatically shortened, and the risk of sudden failure is elevated.
Belt squeal after an oil spill cleanup is a clear indicator of contamination. The noise occurs because oil reduces the friction coefficient between the belt and pulley surfaces, allowing slip. This condition may improve temporarily as the belt runs and generates heat, but it indicates the belt has been saturated and lost its grip characteristics.
Beyond the belt itself, inspect the pulleys. Oil creates a residue that collects dust and debris, forming an abrasive compound that accelerates wear. Each pulley in the affected area should be cleaned with brake cleaner or a dedicated degreaser and inspected for damage. If any pulley shows grooving or surface irregularities, address it before installing a new belt.
Tensioner and idler pulley bearings are also vulnerable. If these components were saturated with oil, the lubricant in their sealed bearings may be contaminated. While not an immediate failure risk, consider replacing them if the vehicle has significant mileage or if the bearings show any roughness when rotated by hand.
The cost of a serpentine belt is minimal compared to the consequences of a failure. A broken belt will disable your alternator, water pump, and power steering—potentially causing engine overheating and leaving you stranded. Make belt replacement a non-negotiable part of the post-spill service.
Documentation and Liability Protection
Create a paper trail immediately. Request that the facility document the incident in writing, including the amount of oil lost, the duration the engine ran with low oil, and all cleanup and remediation steps taken. This documentation is essential if problems develop later.
If the facility resists providing written documentation, escalate to the service manager or corporate office. A reputable shop will understand the importance of documenting the incident both for customer protection and their own liability coverage. If you’re dealing with a franchise location, corporate should be notified regardless—they need to know about training gaps or systemic issues.
Photograph everything. Capture images of the spill area, the oil puddle dimensions, the affected components, and any parts that are replaced. Time-stamped photos from your phone create a contemporaneous record that’s difficult to dispute later.
Consider requesting a complementary inspection at a Subaru dealership or independent facility familiar with your vehicle platform. A third-party assessment of the cleanup quality and engine condition provides additional documentation and may identify issues the original facility missed. The cost of this inspection is reasonable compared to the peace of mind it provides.
Keep all service records, receipts, and correspondence related to the incident in a dedicated file. If engine problems develop within the next 12 to 24 months, this documentation will be essential for any warranty claim or legal action. Include the oil analysis results from the 500-mile check—objective data about bearing metal levels creates a baseline that proves whether subsequent wear is related to the incident.
Post-Incident Monitoring and Prevention
After cleanup and component replacement, implement a monitoring protocol for the next several hundred miles. Pay attention to any unusual smells, particularly the sweet-acrid odor of burning oil. This can indicate residual contamination that wasn’t removed during cleanup. If you detect burning oil smell, particularly after sustained highway driving, return to the facility immediately.
Monitor your oil level closely. Check it every 100 miles for the first 500 miles, then return to your normal interval. If you notice consumption that exceeds the manufacturer’s specification, it may indicate that the brief low-oil event caused ring or cylinder wall damage. Document the consumption rate and consult with the facility that performed the service.
Watch for any changes in engine noise, particularly at cold start. A slight increase in valve train noise or a new ticking sound can indicate that bearing clearances have opened due to wear. These sounds may not appear immediately—they often develop gradually as damaged surfaces deteriorate further.
Schedule the 500-mile oil analysis mentioned earlier. This provides objective data about what’s happening inside your engine and creates a documented record. If the analysis shows elevated wear metals, you have grounds to request additional inspection or even component replacement at the facility’s expense.
For future oil changes—whether you perform them yourself or use a service facility—implement a verification protocol. If doing your own work, always check that the old filter gasket came off with the filter. Run your finger around the filter mounting surface on the engine block to verify it’s clean before installing the new filter. If using a shop, request that the technician show you the old filter with gasket attached before the new one is installed. This takes 30 seconds and prevents the most common cause of catastrophic oil loss.
Quick Reference: Post-Oil Filter Failure Checklist
- Verify engine was shut down within 30 seconds of oil pressure warning
- Inspect recovered oil for metallic particles or contamination
- Remove and clean or replace catalytic converter heat shields
- Remove and clean or replace plastic engine undertray and insulation
- Replace all serpentine belts exposed to oil contamination
- Clean all pulleys with brake cleaner and inspect for damage
- Clean electrical connectors and sensor bodies in affected area
- Document incident in writing with service facility
- Photograph spill area and all affected components
- Schedule oil analysis at 500-mile mark post-incident
- Monitor oil level every 100 miles for first 500 miles
- Listen for unusual engine noise, particularly at cold start
- Watch for burning oil smell during highway driving
192329 450175 SCA Tissue MOL-450175 450 TALL POP-UP WIPE
Mfg: SCA Tissue
Part #: 450175
ID: 192329

Frequently Asked Questions
How much oil does it take to create a large puddle under the vehicle?
A single quart of oil will spread into a puddle three to five feet in diameter on a flat surface once it settles. If you’re seeing a puddle that covers most of the area under the engine bay, you’re looking at two to four quarts minimum. The claim that only 0.2 quarts leaked—when photos show extensive contamination—indicates either poor measurement methodology or an attempt to minimize the incident. Most shops measure recovered oil using a common drain tank, which already contains residual oil from previous services, making accurate measurement nearly impossible.
Can an engine survive running with no oil for 20-30 seconds?
Yes, typically. The critical factor is that oil doesn’t instantly disappear from bearing surfaces and internal passages. Even with an empty sump, residual oil provides boundary lubrication for a brief period. Every cold start subjects your engine to several revolutions with minimal oil pressure while the pump primes—a condition similar to a brief low-oil event. However, 20-30 seconds represents the outer edge of the safe window. Anything beyond 45-60 seconds significantly increases the risk of bearing damage.
Why do belts squeal after oil contamination even after cleaning?
Oil penetrates into the rubber compound of the belt and between the belt and pulley surfaces. While surface cleaning may remove visible oil, it can’t extract oil that has absorbed into the belt material. This contamination reduces the friction coefficient, causing the belt to slip on the pulleys rather than gripping firmly. The squeal is the sound of this slippage. The condition may temporarily improve as the belt heats up and some oil evaporates, but the belt’s structural integrity is compromised and replacement is necessary.
How long after an oil spill can a fire start?
Documented cases exist of fires starting five or more hours after the initial spill and cleanup. Oil-saturated insulation in heat shields and undertray components acts as a slow-release fuel source. During normal driving, these materials may not reach ignition temperature, but sustained highway speeds generate higher exhaust temperatures. When the oil-soaked material reaches its flash point—which varies depending on the specific oil formulation but is typically between 400-500°F—ignition can occur. This is why thorough removal and cleaning of all porous materials in the exhaust area is non-negotiable.
What should an oil analysis show after a low-oil incident?
A baseline oil analysis performed 500 miles after the incident should show wear metal levels within the normal range for your engine type and mileage. Specifically, copper (from bearings), lead (from bearing overlays), and aluminum (from pistons and bearing alloys) should be at or below the laboratory’s reference ranges. Elevated levels indicate accelerated wear—potential evidence that the low-oil event caused damage. The analysis also checks for coolant contamination, fuel dilution, and viscosity—all of which should be normal. Request a copy of the full report for your records.
Should I request a borescope inspection after an oil filter failure?
A borescope inspection can identify cylinder wall scoring or piston damage, but these aren’t the most likely failure modes from a brief low-oil event. Bearing damage is the primary concern, and bearings can’t be inspected with a borescope without disassembly. If you want definitive verification of engine condition, an oil analysis is more cost-effective and provides better information about bearing wear. Reserve borescope inspection for situations where you’re seeing symptoms like reduced compression, excessive oil consumption, or visible smoke—indicators of cylinder or ring damage.
Automotive Oil Change Tools
Proper technique and the right tools are essential to preventing oil filter failures during routine maintenance. Our selection of automotive oil change tools includes everything needed for safe, precise filter installation and removal.
- Oil filter wrenches and sockets for secure removal and installation
- Drain pans and catch containers for controlled oil collection
- Torque specifications guides and reference tools for proper filter seating
Essential Oil Change Tools & Supplies
A failed oil filter can derail your entire oil change. Make sure you’re equipped with reliable, professional-grade tools before your next service. Browse our complete selection of automotive oil change products to prevent mishaps and ensure a smooth maintenance routine.
- Oil Filter Wrenches & Removal Tools – Safely extract filters without spills or damage
- Oil Drain Pans & Containers – Collect and dispose of used oil properly
- Socket Sets & Wrenches for Drain Plugs – Get the right fit every time

The Toolsource Technical Team blends decades of real-world automotive service experience with up-to-date technical research. Our writers collaborate with professional mechanics, shop owners, and diagnostic specialists to deliver practical, workshop-ready guidance you can trust.


Follow us on social media