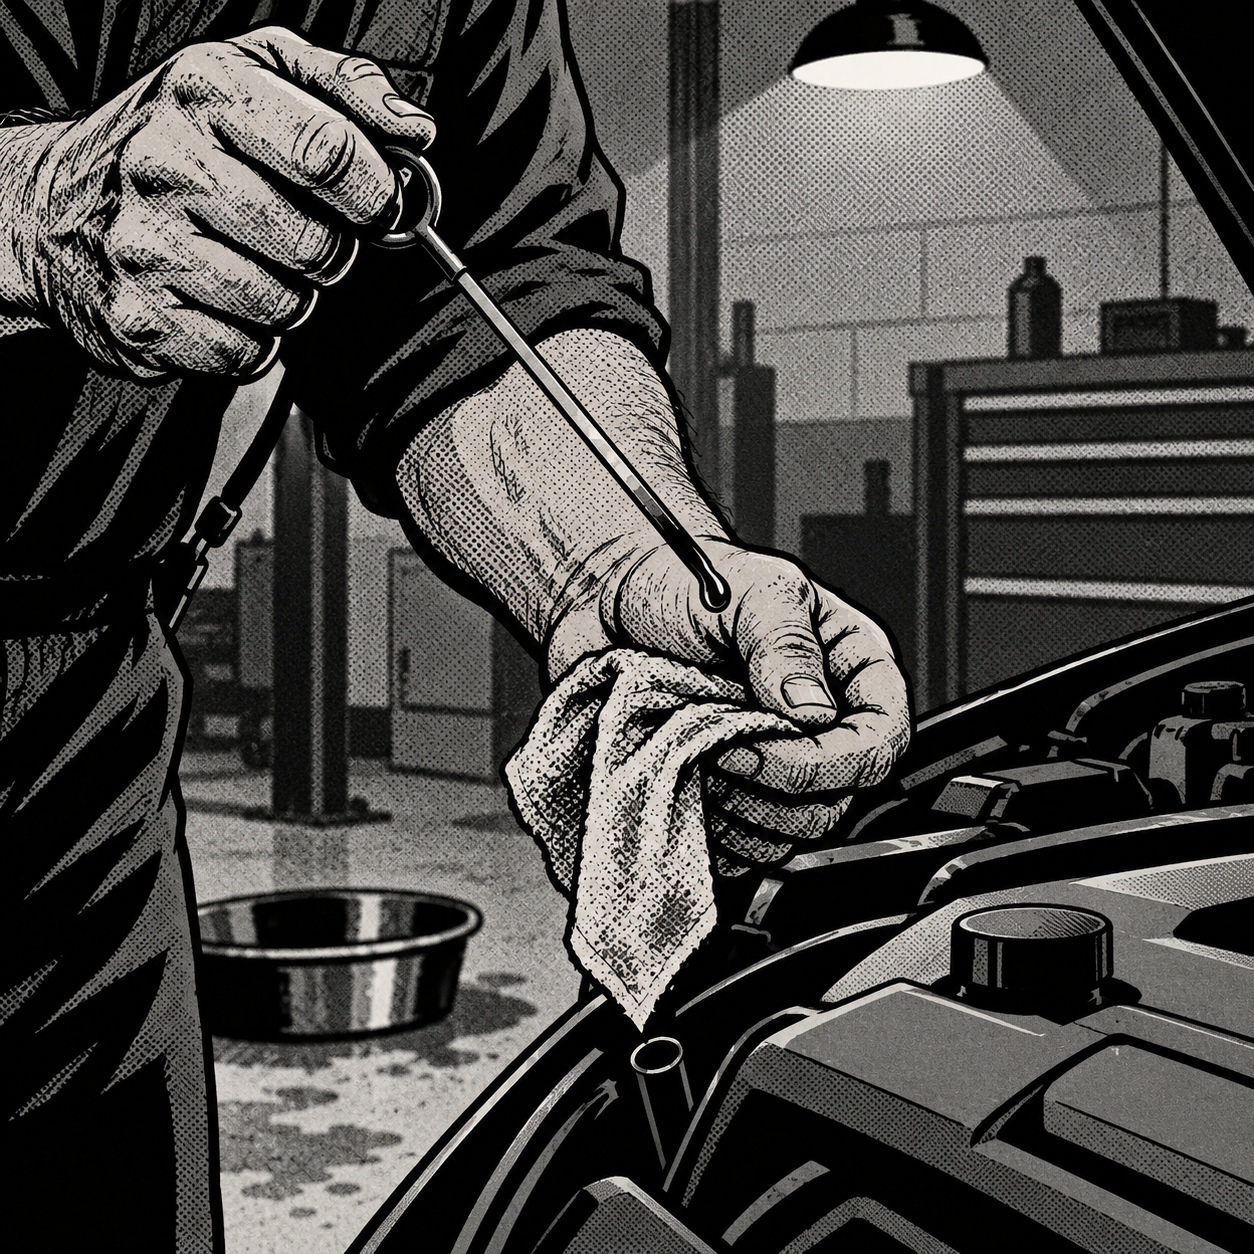
Every technician has heard the stories: a drain plug stripped by an impact gun, a filter gasket left out of the groove, a quick lube that forgot to torque the lug nuts on a rotation. These aren’t urban legends — they’re the predictable result of rushed, under-trained, high-turnover oil change operations, and they show up in shop inspection bays as comebacks, warranty disputes, and occasionally a blown engine. The good news is that every one of these failure modes has a known cause and a known fix. If you run a bay, train techs, or just want to tighten up your own process, the patterns below are worth building into your routine.
Why Oil Change Comebacks Keep Happening
Oil changes get treated as the easiest job in the shop, which is exactly why they get rushed. A 15-minute job done by someone on their third car of the hour, with no second check, is where small misses turn into big failures: a drain plug gasket that doesn’t get replaced, a filter that’s hand-started but never fully seated, a fluid reservoir glanced at instead of actually read against the fill lines. None of these take skill to get right. They take a process that doesn’t let a step get skipped.
The common thread in nearly every horror story is the same: a single tech working alone, no verification step, and no documentation trail. When something goes wrong, there’s no record of what was actually done, which is why “it’s not our fault” is the first thing a tech hears when a comeback walks back in. Build verification into the job and you remove most of the risk — and the liability.
The Five Checks Before Any Vehicle Leaves the Bay
Treat these as non-negotiable, not optional upsells:
- Drain plug torque and gasket. Confirm the crush washer or gasket was replaced, not reused past its service life, and torqued to spec — not “tight by feel” with an impact gun.
- Filter seating and torque. Hand-thread until the gasket contacts the mounting surface, then go an additional 3/4 to 1 turn (or to the torque spec on canister-style filters). Never seat a spin-on filter with an impact wrench.
- Oil level and fill confirmation. Check the dipstick after the vehicle has sat a minute, not while the tech is already moving to the next bay.
- Adjacent fluid levels. Power steering, coolant, washer fluid — a tech who’s already under the hood has no excuse for missing an empty reservoir with the fluid line sitting well below “L.”
- Any service performed beyond oil. If tires were rotated, torque the lug nuts to spec and verify pressure in all four — not just by trusting the TPMS light to “recalibrate itself” after a few feet of driving.
If a shop can’t check all five in the time it takes to do the oil change, the oil change is being rushed.

Drain Plugs and Filter Gaskets: Where Most Failures Start
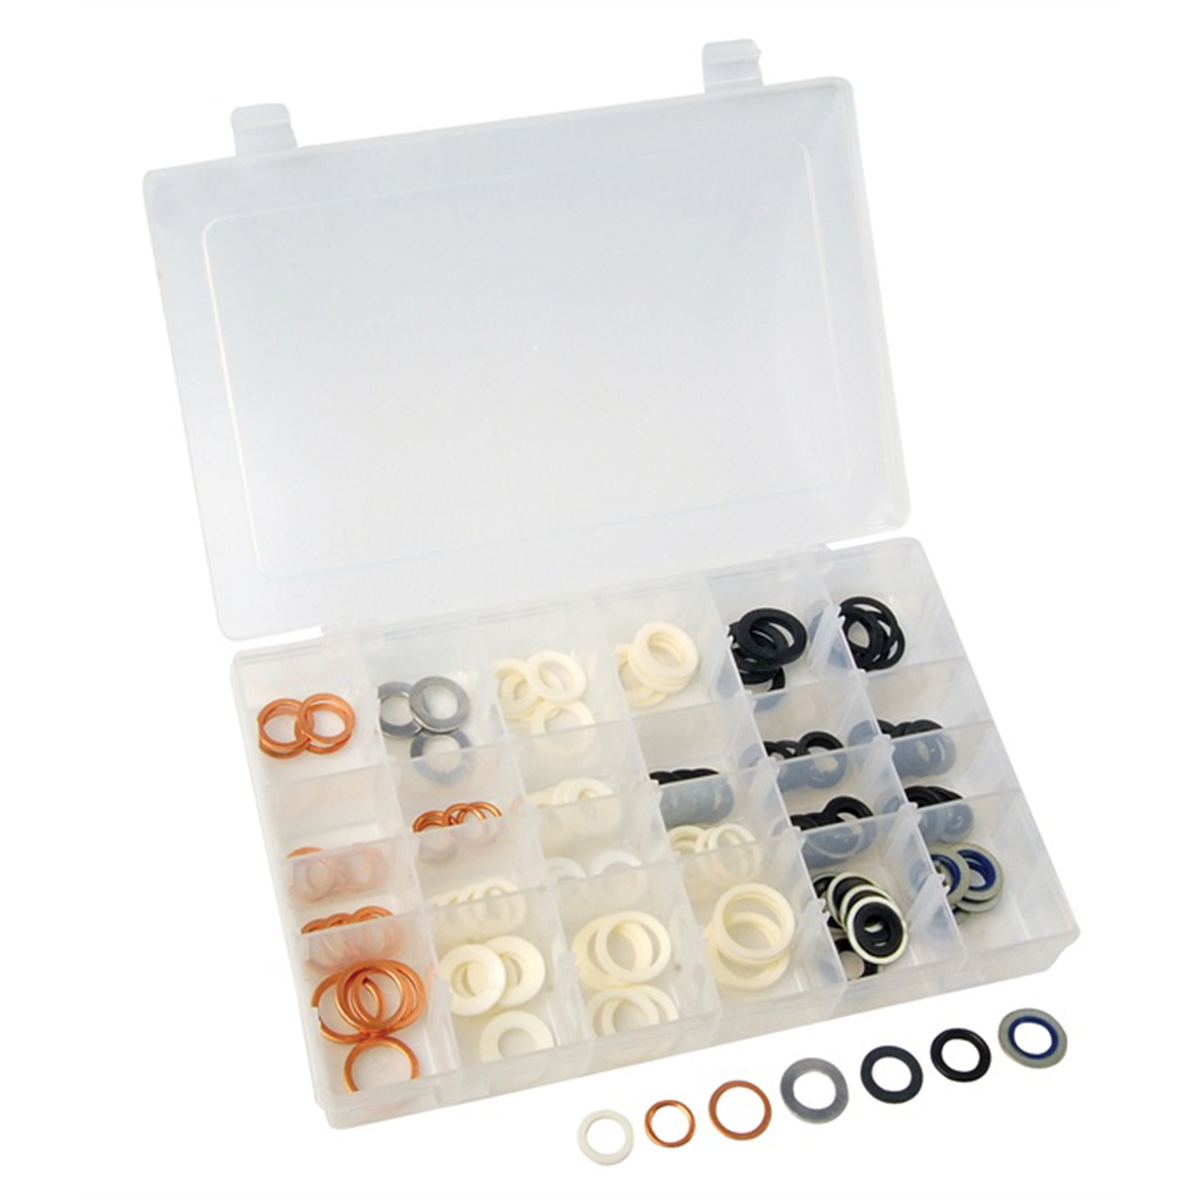
A drain plug gasket doesn’t fail on its own — rubber and composite washers can be reused for multiple intervals without hardening to the point of cracking, assuming they’re installed correctly. What actually causes the classic “gasket found in pieces on the pan” scenario is a tech seating the washer in the wrong groove, cross-threading the plug, or over-torquing with an impact gun until the gasket shears. The fix isn’t “always replace the washer” (though that’s cheap insurance) — it’s slowing down enough to seat it correctly and torquing with a calibrated wrench, not a gun set to “whatever feels right.”
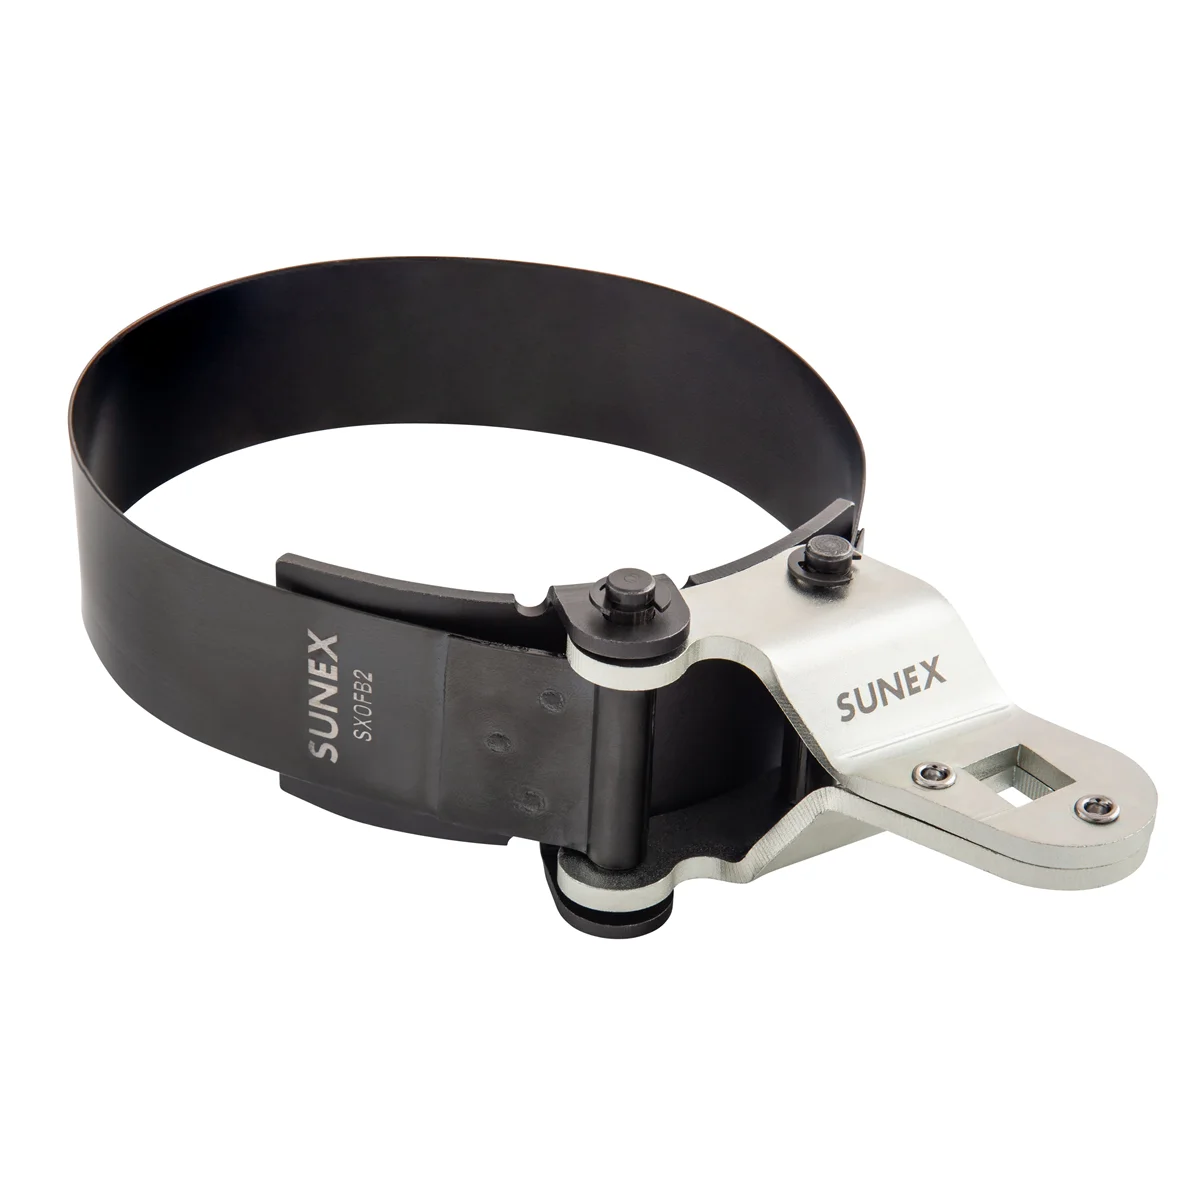
The same logic applies to spin-on filters. A loose filter will leak immediately and obviously. A filter that’s cross-threaded or installed without the gasket seated will hold for a few miles before it lets go — which is exactly the “filter fell off 10 miles down the road” pattern that shows up again and again. Buy a filter wrench sized for the vehicles you actually service, and never consider a filter installed until you’ve done a visual check of the sealing surface, not just a torque check.
Oil-Soaked Alternators and Belts: Diagnosing Collateral Damage
When oil or power steering fluid overflows during a service, it doesn’t just make a mess — it finds the alternator and serpentine belt, both of which usually sit low and close to fluid reservoirs on many platforms. A battery warning light with no oil pressure light, a charging system that’s intermittent, or a belt that squeals despite looking fine on the surface are all signs of fluid contamination rather than a mechanical fault. Oil-soaked belts lose grip and can glaze; an oil-soaked alternator can short internally or just fail to charge consistently.
If you inherit a vehicle with this symptom pattern after a recent service: pull the belt and inspect for sheen or soft, swollen rubber, test the charging system output under load rather than just checking battery voltage at rest, and if contamination is confirmed, clean affected belts with a mild degreaser (dish soap works for minor cases) and let them fully dry before judging whether they’re salvageable. When in doubt on the alternator, test it off the vehicle — a unit that’s taken on fluid can look fine and still fail days later.
Build a Two-Check Process That Catches Mistakes Before the Customer Does
The highest-performing quick-service operations use a documented, two-person verification process: one tech performs the service, a second tech (or the same tech following a physical checklist) confirms and initials each step — drain plug torqued, filter seated and torqued, oil level confirmed, fluids checked, product used verified against a sealed container opened in front of the customer. This isn’t bureaucracy for its own sake; it’s what turns “trust me” into a paper trail that protects both the shop and the customer if something does go wrong later.
If you’re running your own bay, this translates to a physical or digital checklist taped inside the service bay door, signed off per vehicle, with the oil brand and viscosity logged against the work order. It costs seconds per vehicle and eliminates most of the “we don’t know what happened” conversations after a comeback.
Quick Checklist: Oil Change QC Before Keys Go Back
- Drain plug gasket replaced/reseated correctly and torqued to spec
- Filter hand-threaded, seated against gasket, torqued correctly — no impact gun
- Oil level confirmed on dipstick after settling time
- Power steering, coolant, and washer fluid levels checked against fill lines
- Correct oil grade and filter part number confirmed against the work order
- Any tires removed are torqued to spec and pressures verified on all four
- Under-vehicle visual check for drips before the customer drives off


FAQs
Can an oil filter gasket really crack or shatter during a change?
Not typically from age alone within a normal interval — composite and rubber gaskets usually tolerate well beyond standard oil change intervals. A gasket found cracked or in pieces almost always points to incorrect seating (wrong groove, cross-threading) or over-torquing, not simple wear.
What’s the first thing I should check immediately after any oil change?
Look under the vehicle for drips at the drain plug and filter before leaving the lot, and check the dipstick yourself rather than taking the sticker or tech’s word for the fill level.
How do I know if oil or another fluid got onto my alternator or belt?
Watch for a battery/charging warning light without a matching oil pressure light, a belt squeal that wasn’t there before, or visible fluid sheen on the belt and pulleys. Confirm with a charging system load test rather than guessing from symptoms alone.
Is some oil smell or light smoke normal right after a change?
A brief faint smell from a drip on a hot exhaust manifold can happen even on a clean job, but it should clear quickly and not recur. Persistent smoke or burning smell points to spilled oil on the exhaust or a leak that wasn’t cleaned up or fixed.
What torque spec should I use on a drain plug if I don’t have the manual handy?
Torque specs vary significantly by plug size and pan material (aluminum pans are far more sensitive to over-torque than steel), so always pull the manufacturer spec rather than relying on a generic number — over-torquing is one of the most common causes of stripped pans.
How often should lug nuts be re-torqued after a tire rotation?
Lug nuts should be torqued to spec immediately during the service, not “set and checked later.” Many shops also recommend a re-check after the first 50–100 miles of driving, especially on aluminum wheels, since initial seating can slightly reduce clamping force.
Shop Oil Change Tools
Preventing the comeback failures detailed above starts with having the right equipment. Our Automotive Oil Change Tools selection includes drain plug gaskets, filter wrenches, torque wrenches, and verification equipment for accurate service work.
- Drain plug tools, gaskets, and crush washers for correct seating and torque
- Filter wrenches and torque specifications for spin-on and canister installation
- Torque wrenches and fluid level verification equipment for service confirmation

The Toolsource Technical Team blends decades of real-world automotive service experience with up-to-date technical research. Our writers collaborate with professional mechanics, shop owners, and diagnostic specialists to deliver practical, workshop-ready guidance you can trust.


Follow us on social media