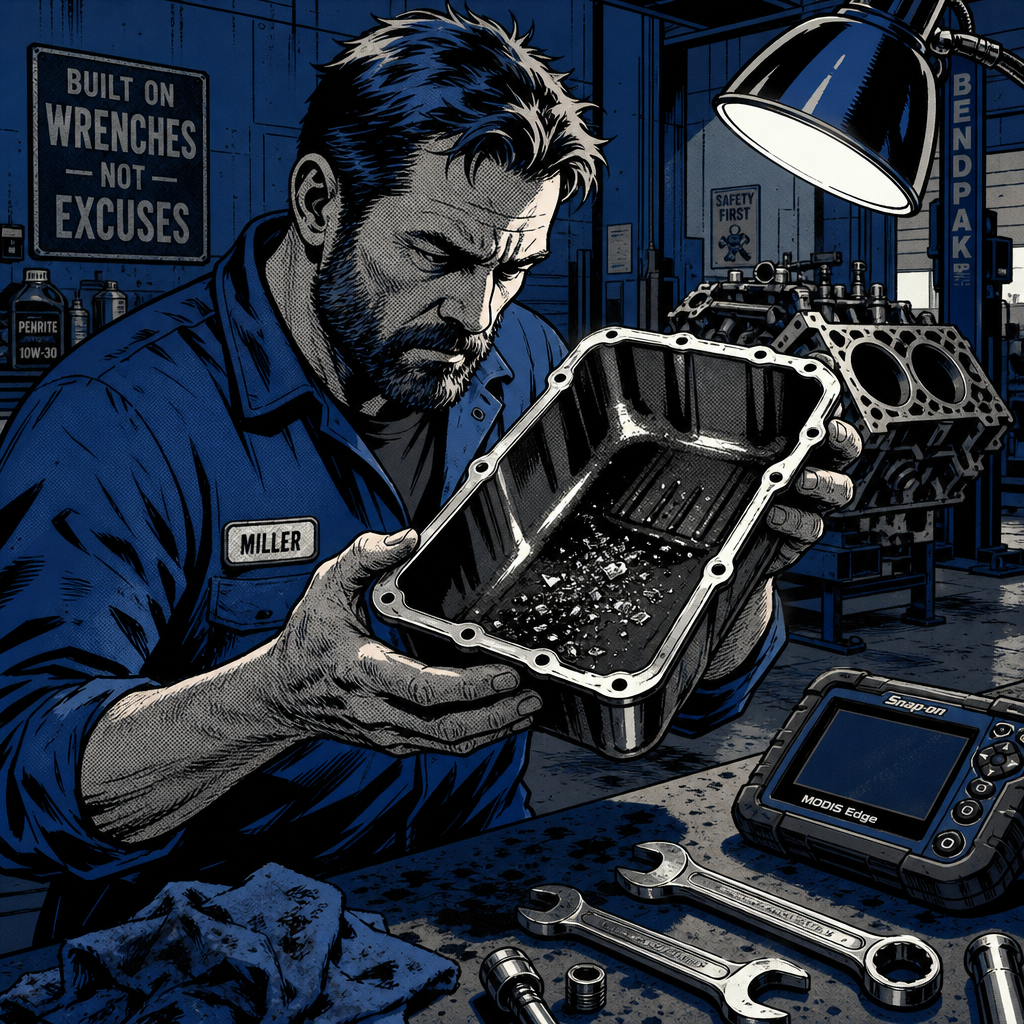
Every technician has experienced that stomach-dropping moment when draining oil reveals something that shouldn’t be there—metal shavings, chunks, or mysterious objects floating in the pan. While some debris is normal wear, larger pieces demand immediate attention. One of the most common culprits that stumps even experienced techs is a broken dipstick tube end sitting in the oil pan. Understanding what you’re looking at, how it got there, and what damage it may have caused can mean the difference between a quick fix and a complete teardown.
Identifying Common Oil Pan Contaminants
When you find metal debris in an oil pan, accurate identification is your first priority. The most frequently encountered foreign object is the bottom portion of a dipstick tube, particularly on engines where the tube extends into the pan. This piece typically includes the curved end and O-ring section that seals against the block. It’s most common on Ford Triton engines and similar designs where the dipstick tube is a separate component rather than integrated into the block.
Dipstick tube ends are usually recognizable by their tubular shape, curved configuration, and the presence of an O-ring groove. The break typically occurs right at the O-ring seal point where stress concentrates during removal or when the tube is disturbed during manifold work, valve cover replacement, or other engine-bay operations. If the remaining tube is still intact above the pan, you’ve likely found evidence of a previous repair where the mechanic simply pushed the broken piece down rather than dropping the pan to retrieve it.
Other common contaminants include broken baffle pieces, pickup tube fragments, pieces of timing chain guides or tensioners (especially plastic ones), and occasionally tools or hardware dropped during previous repairs. In rare cases, catastrophic failures produce pushrod fragments, valve spring retainer pieces, or even piston pin clips, though these typically come with obvious performance issues.
Assessing Potential Engine Damage
Once you’ve identified what’s in the pan, you need to evaluate whether it caused damage during its time swimming in oil. A dipstick tube end that’s been sitting in the pan is generally less problematic than actively circulating debris, but it’s not without risk. The primary concern is whether the object could have been sucked against the oil pickup screen, restricting flow and causing oil starvation. Even partial blockage can lead to bearing damage, especially during cold starts when oil is thicker.
Inspect the retrieved piece carefully for wear patterns. If edges are rounded or there’s evidence of contact marks, it’s been moving around and potentially contacting internal components. Check the oil pickup tube screen for damage or deformation—any dents or punctures indicate the foreign object was bouncing around with enough force to cause concern. Pull the oil filter and cut it open to inspect for unusual metal content. While some fine material is normal, larger particles or an unusual volume of metal suggests the debris caused component wear.
Consider the timeline. If the vehicle has been driven extensively since the object entered the pan, yet oil pressure remains normal and there are no bearing noises, the engine likely escaped serious damage. However, short oil change intervals and close monitoring are warranted for the next few thousand miles. If the contamination is fresh—say, from a recent dipstick tube replacement—and the vehicle hasn’t been driven, you’re probably looking at a clean retrieval with no collateral damage.
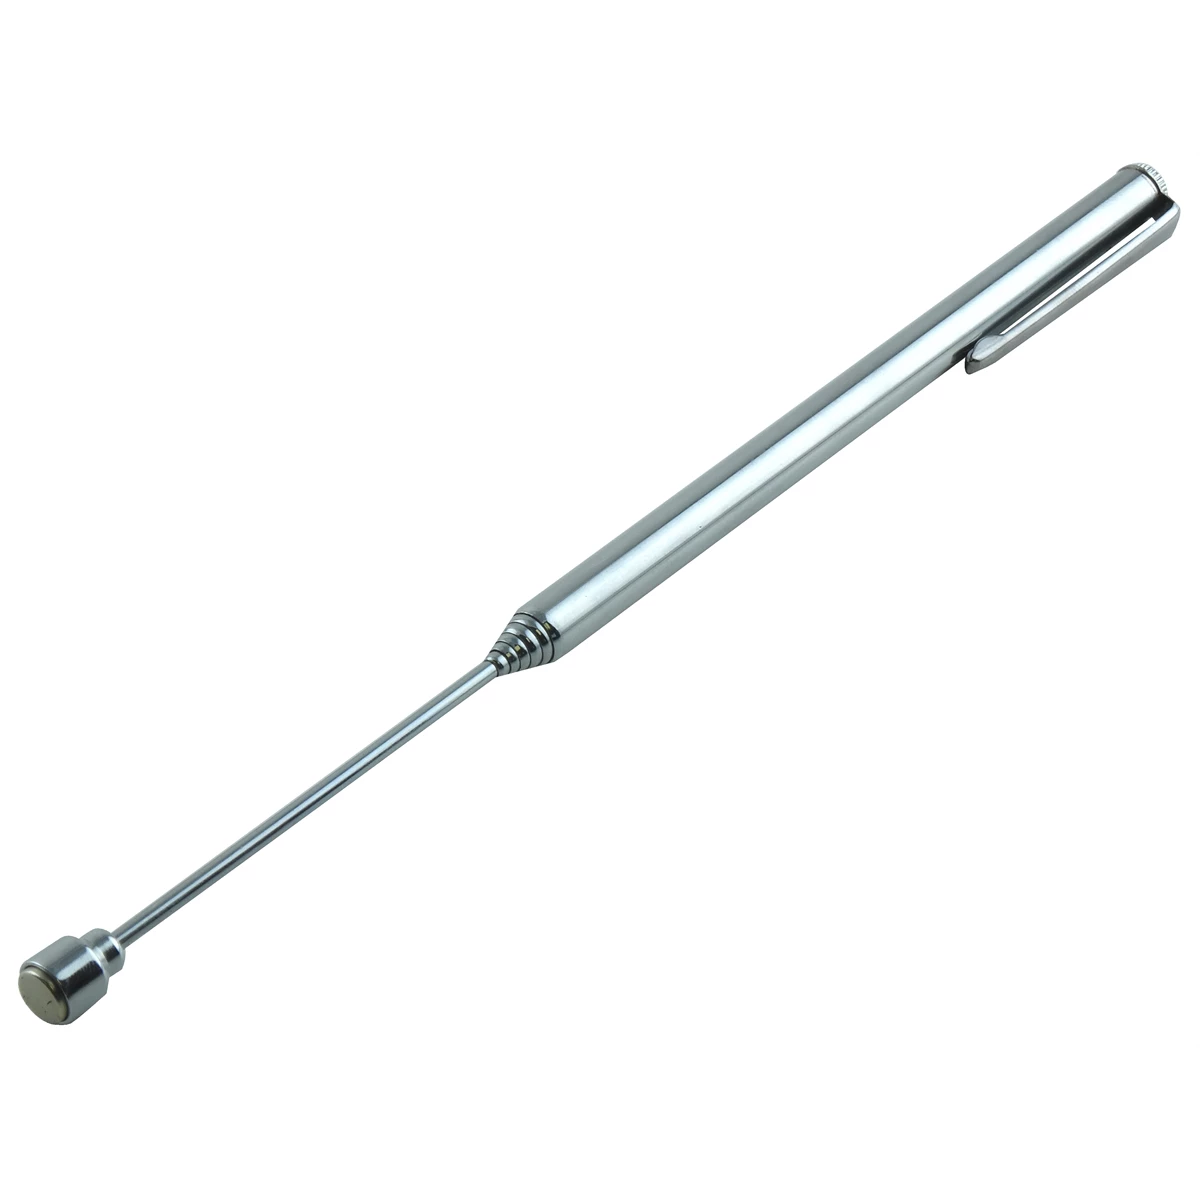
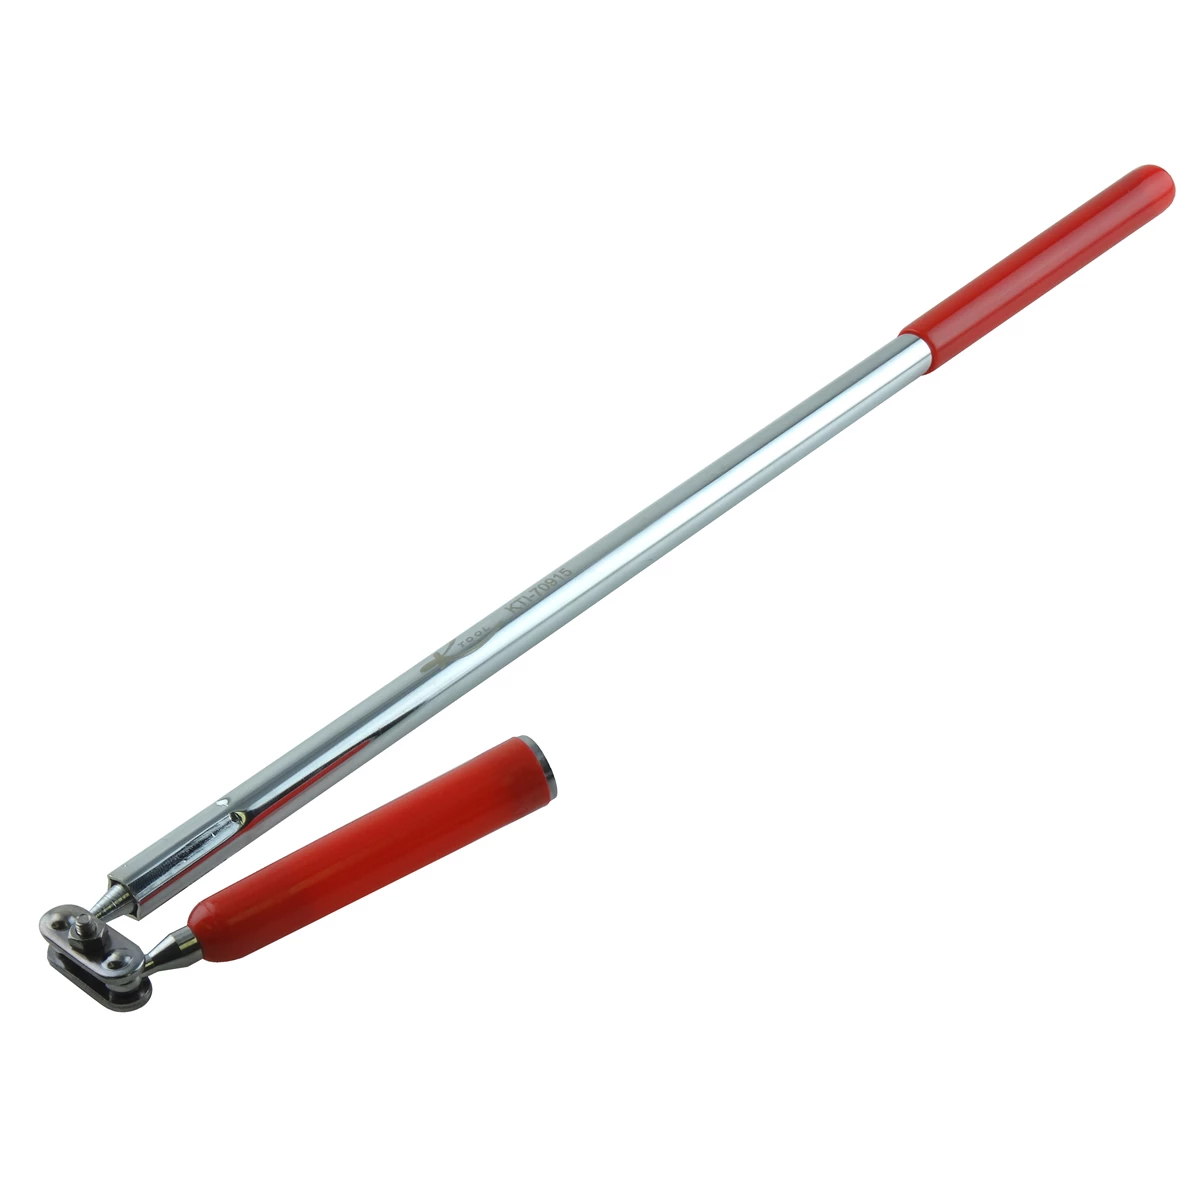
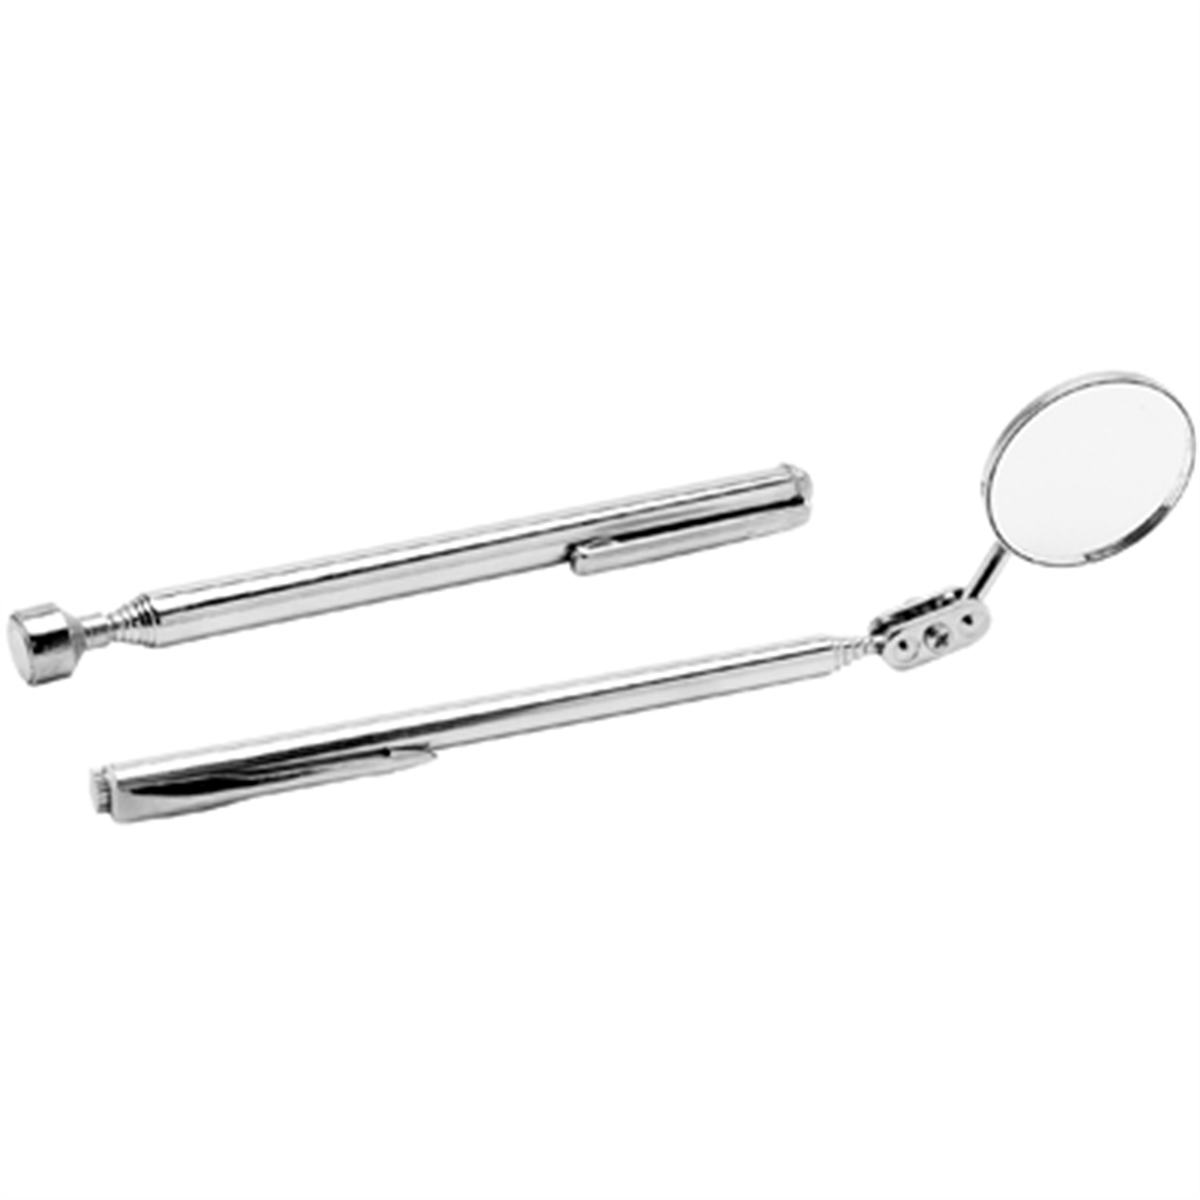
158493 1478 Wilmar – Performance Tool WLM1478 2 pc Magnetic Pickup Tool/
Mfg: Wilmar – Performance Tool
Part #: 1478
ID: 158493
Retrieval Methods and Pan Removal

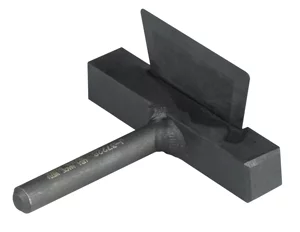
Your retrieval approach depends on the object’s size, shape, and position. For dipstick tube ends and similar smooth objects sitting in accessible areas, a telescoping magnetic pickup tool often does the trick. These tools, available from any parts supplier for under twenty dollars, extend into the pan through the drain hole and can grab ferrous metal pieces. Work slowly and methodically—rushing increases the chance of pushing the object further away or into a less accessible position.
If magnetic retrieval fails or the object is non-ferrous, you’ll need to drop the pan. This is also the preferred method when you suspect additional debris or want to perform a thorough inspection. Pan removal difficulty varies wildly by vehicle. Some allow pan access with the engine in place by simply supporting it and removing the front crossmember. Others require full engine removal or at minimum lifting the engine significantly to clear the front subframe. Always consult service information for the specific vehicle—what’s a two-hour job on one platform might be eight hours on another.
When dropping the pan, have a clean drain table ready to catch all oil and debris. Inspect every corner of the pan interior and use a strong magnet to sweep for metallic particles. Check the pickup tube mounting—it should be tight with no cracks in the tube or at the mounting flange. If you’re already this deep, consider replacing the pickup tube O-ring and inspecting the oil pump for wear. Once the pan is clean and inspected, use a new gasket or high-quality RTV as specified by the manufacturer. Reusing old gaskets on oil pans is false economy that leads to comebacks.
Preventing Dipstick Tube Failures
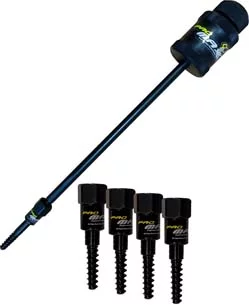
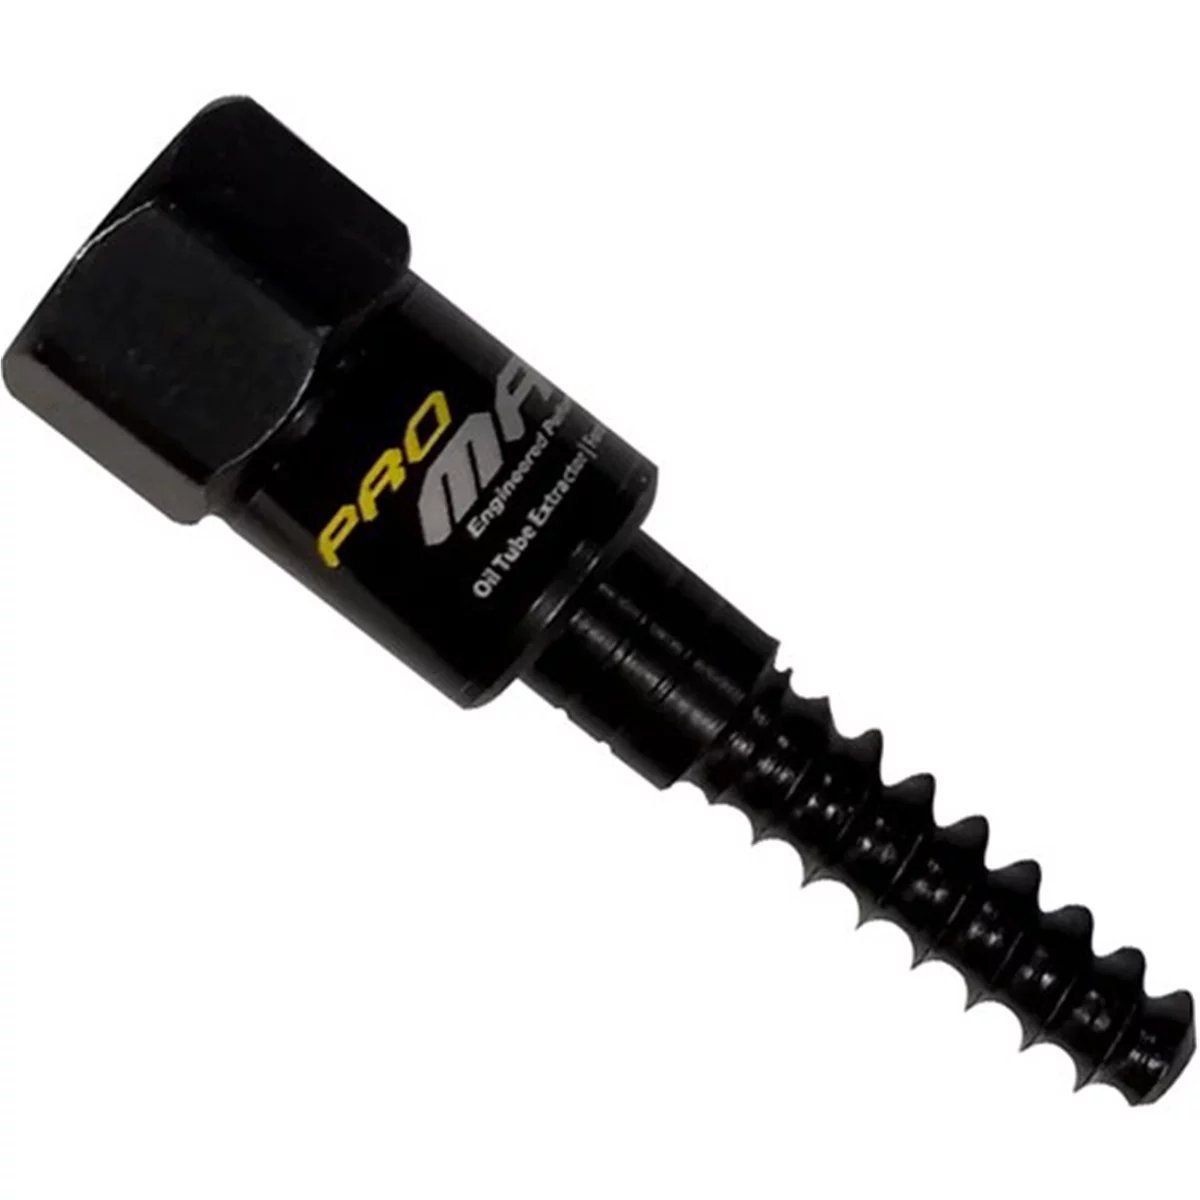
ProMaxx Ford 6.2L PowerPull Oil Tube Extractor ProKit 11" Sl
Mfg: ProMaxx Tool by Milton
Part #: OTE360
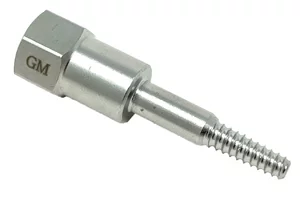
Dipstick tube breakage is largely preventable with proper technique. The most common failure mode occurs during intake manifold removal, exhaust manifold service, or valve cover work when the tube gets stressed or bumped. Before starting any job that brings you near the dipstick tube, assess its condition. Tubes that are corroded, previously damaged, or on high-mileage vehicles in rust-prone areas are candidates for preemptive replacement.
When you must work around the tube, never use it as a handhold or push-point. If the tube needs to come out, use a gentle rocking motion while pulling—straight yanking often breaks the tube at the O-ring. Penetrating oil applied 24 hours before removal helps with stubborn tubes. On Ford Triton engines, which are notorious for this issue, some techs preemptively replace tubes as part of any major service, especially when doing spark plugs or cam phaser work where the tube is in the way.
If a tube breaks during your service, never simply push the piece into the pan and hope for the best. This leaves the next technician with a problem and potentially exposes the customer to engine damage. Take the time to retrieve it properly—your reputation depends on thoroughness. When installing a new tube, ensure the O-ring is properly lubricated with clean engine oil and the tube seats completely. A partially seated tube will leak or break prematurely.
Special Considerations for Common Problem Engines
Certain engines have well-documented issues that make oil pan contamination more likely. The Ford 5.4L Triton three-valve engine, used extensively in F-150s and Expeditions, suffers from plastic timing chain tensioner failure. When these tensioners deteriorate, plastic fragments circulate through the oil system. If you’re working on a Triton and find plastic debris, assume you’re dealing with tensioner failure and budget for a full timing service with updated steel tensioners from the two-valve engine, which are far more durable.
Similarly, GM’s 3.6L V6 used across multiple platforms has timing chain guide issues that produce debris. Volkswagen/Audi 2.0T engines can shed timing chain tensioner material. Any time you encounter debris that matches known failure patterns for the engine family you’re servicing, treat it as a symptom of a larger problem rather than an isolated incident. Retrieving the debris is just step one; addressing the root cause prevents catastrophic failure down the road.
On vehicles with previous engine work, always consider that foreign objects might be shop debris—dropped sockets, broken tools, or installation mistakes. I’ve personally witnessed everything from broken feeler gauges to entire drain plug washers found in pans during subsequent services. This underscores the importance of thorough cleanup and inspection during any internal engine work.
Documentation and Customer Communication
When you find debris in a customer’s oil pan, documentation becomes critical. Photograph the debris, noting size, location, and condition. Document oil pressure readings, any unusual noises, and the vehicle’s mileage and service history. If the contamination resulted from previous work—especially if it’s recent work your shop performed—your documentation protects both you and the customer by establishing facts.
Customer communication should be direct and jargon-free. Explain what you found, what it means, and what action you’re taking. If the debris appears to be from previous service by another shop, present the facts without editorializing. Let the evidence speak for itself. If you recommend additional inspection or monitoring, explain why in terms of protecting their investment. Most customers appreciate thoroughness and will understand additional charges when you explain the discovery clearly.
For debris that’s been present for extended periods with no apparent damage, reassure the customer while recommending shorter oil change intervals for the next few services. This gives you the opportunity to monitor for accelerated wear without unnecessarily alarming them. If significant damage is suspected, present options ranging from continued monitoring to teardown inspection, along with your professional recommendation based on the evidence.
Quick Reference Checklist for Oil Pan Debris
- Drain oil completely and inspect for metal shavings, chunks, or foreign objects
- Identify debris type: dipstick tube, baffle, timing component, or other
- Check oil pressure readings and listen for unusual engine noises
- Attempt magnetic retrieval for accessible ferrous metal objects
- Drop pan if retrieval fails or thorough inspection is warranted
- Inspect pickup tube screen for damage or blockage
- Cut open oil filter to check for unusual metal content
- Determine if debris indicates systemic failure (timing components, etc.)
- Document findings with photos and detailed notes
- Recommend follow-up monitoring or additional inspection as appropriate
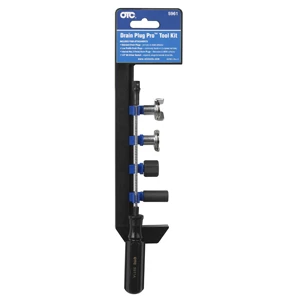
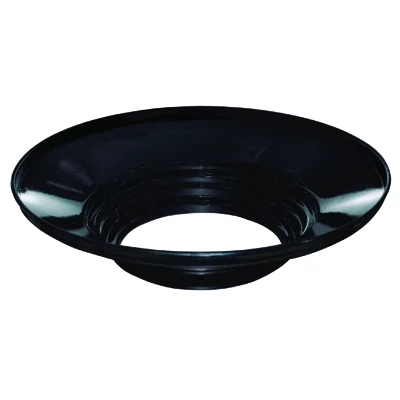
154697 JD-1416 John Dow Industries JDJD-1416 DOWJD-1416 JDI-1416 24" Drain Pan Adapter
Mfg: John Dow Industries
Part #: JD-1416
ID: 154697
Frequently Asked Questions
Can I drive with a broken piece of dipstick tube in the oil pan?
While some vehicles have been driven extensively with dipstick tube debris without apparent damage, it’s not recommended. The object can block the oil pickup, causing starvation and bearing damage. If you discover this issue, retrieve the debris as soon as possible and monitor oil pressure closely until you do.
How do I know if the debris caused engine damage?
Monitor oil pressure at idle and operating temperature—it should meet factory specifications. Listen for bearing knock, especially on cold starts. Cut open the oil filter and inspect for unusual metal content. If pressure is normal, there are no abnormal noises, and filter inspection shows typical wear material, the engine likely escaped damage.
Why do dipstick tubes break so often on Ford Triton engines?
The design places the dipstick tube in a high-traffic area where it’s frequently bumped during manifold and valve cover service. The tube’s thin wall and O-ring seal create a stress concentration point. Corrosion and age make the metal brittle. Using proper removal technique and preemptively replacing old tubes during major service prevents most failures.
Should I replace the oil after removing debris from the pan?
Absolutely. Even if the oil looks clean, it’s been contaminated by whatever debris was present and possibly by metal particles too small to see. Fresh oil with a new filter is inexpensive insurance after any internal contamination event. Consider a second oil change at 1,000 miles to flush any residual contaminants.
What if I find plastic debris in the oil pan?
Plastic debris typically indicates timing chain guide or tensioner failure, particularly on engines with known issues like the Ford 5.4L Triton three-valve or GM 3.6L V6. This is a serious concern requiring immediate timing system inspection and likely complete replacement with updated components. Don’t ignore plastic debris—it’s a warning of impending catastrophic failure.
Can debris damage the oil pump?
Yes, though the pickup screen protects the pump from larger objects. Fine debris that passes through the screen can score pump gears and cause accelerated wear. If you find significant debris, inspect the pump for scoring or unusual wear patterns. Given the labor involved in dropping the pan, pump replacement is often warranted as preventive maintenance.
Recommended Tools for Oil Pan Service
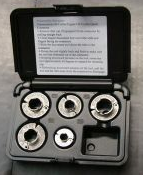
ProMaxx Ford 6.2L PowerPull Oil Tube Extractor ProKit 11" Sl
Mfg: ProMaxx Tool by Milton
Part #: OTE360
Retrieving debris from an oil pan requires the right equipment. Whether you’re using a magnetic pickup tool for simple extraction or dropping the pan for a thorough inspection, having quality Automotive Oil Change Tools on hand speeds the job and reduces the risk of causing additional damage.
- Magnetic retrieval tools for accessible ferrous debris
- Oil drain pans and containers for safe fluid handling
- Inspection equipment like oil filter cutters for contamination assessment
Essential Tools for Oil Pan Maintenance
Finding metal debris in your oil pan signals the need for proper diagnostics and preventive maintenance tools. Our automotive oil change toolkit includes everything you need to safely drain, inspect, and refill your system with confidence.
- Oil Drain Pans & Drip Trays – Capture and contain oil safely while inspecting for metal particles and debris
- Oil Filter Wrenches & Sockets – Professional-grade tools for secure filter removal and inspection
- Magnetic Drain Plugs & Inspection Mirrors – Detect ferrous metal debris early and monitor engine health between oil changes

The Toolsource Technical Team blends decades of real-world automotive service experience with up-to-date technical research. Our writers collaborate with professional mechanics, shop owners, and diagnostic specialists to deliver practical, workshop-ready guidance you can trust.


Follow us on social media