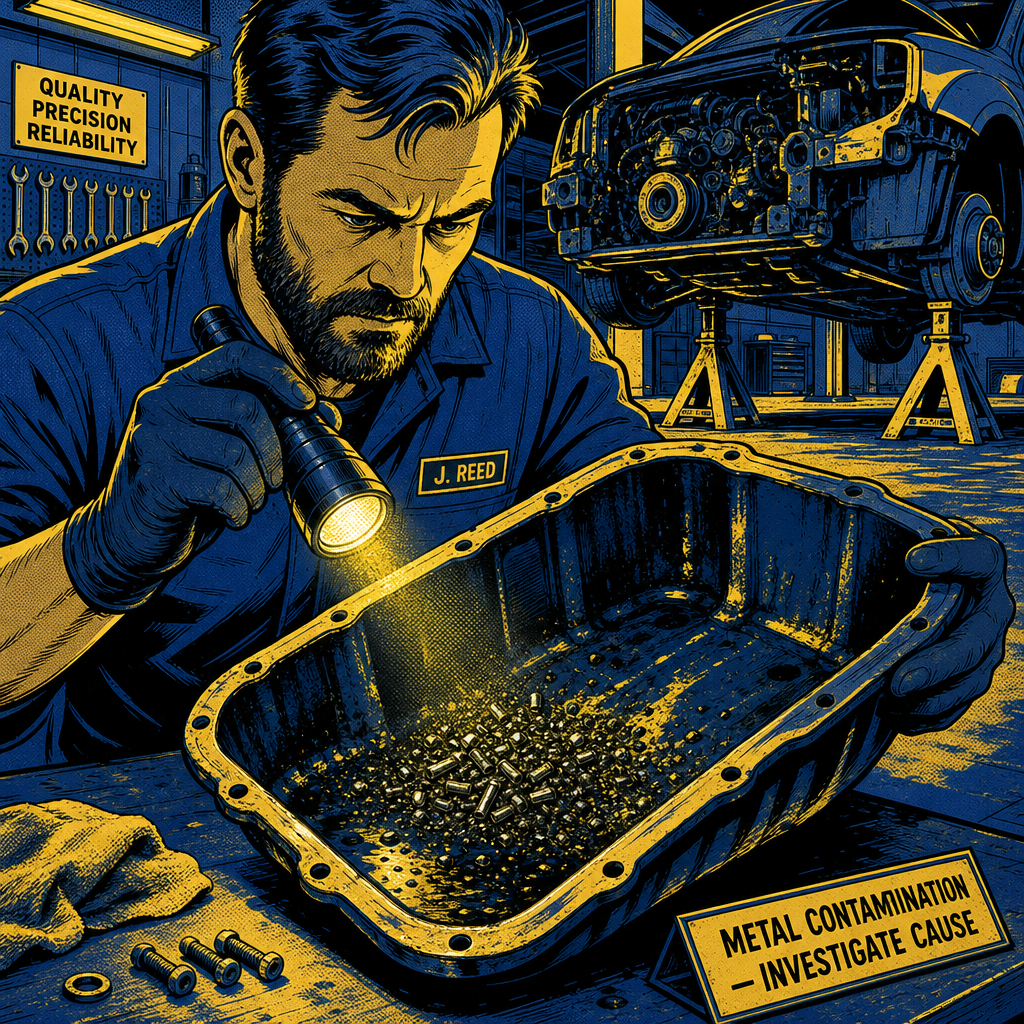
When you drop an oil pan and find metal debris staring back at you, your first instinct is probably to assume the worst. While metal contamination in the oil system is never good news, not all debris signals catastrophic engine failure. Broken dipstick tubes, remnants from previous repairs, and loose baffles are surprisingly common findings that may have been circulating harmlessly for thousands of miles. The key is knowing how to identify what you’re looking at, assess the potential damage, and determine whether you’re facing a quick fix or a complete teardown. This guide walks you through the diagnostic process and repair procedures based on real-world shop experience.
Identifying Common Metal Debris in Oil Pans
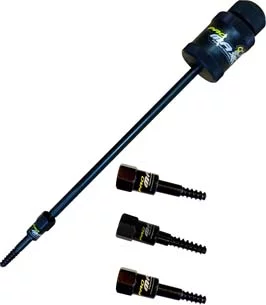
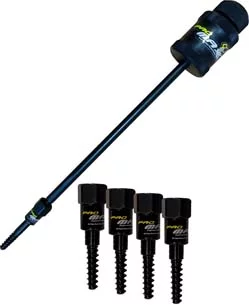
The most frequently encountered piece of metal debris in an oil pan is the bottom section of a dipstick tube. This tubular piece, which includes the O-ring groove, breaks off at a predictable failure point right where the seal sits. If you’re working on Ford 5.4L engines—particularly the troublesome 3-valve variant—you’ve likely seen this before. The dipstick tube on these engines becomes brittle over time and is easily damaged during manifold work, exhaust repairs, or any procedure requiring access to that side of the engine bay.
To confirm you’re dealing with a dipstick tube fragment, examine the piece carefully. You’ll see a hollow tube section approximately two to four inches long with a distinct O-ring channel machined into the exterior. The break point is typically clean, suggesting metal fatigue rather than impact damage. Compare the fragment to the existing dipstick tube still in the engine—if that tube looks intact, you’re almost certainly looking at a remnant from a previous repair where the old piece was simply pushed into the pan rather than properly removed.
Other common debris includes pieces of oil pump pickup tubes, broken baffle components, and occasionally helicoil fragments or bolt pieces from previous stripped-thread repairs. Pickup tube debris is particularly concerning because it indicates potential oil starvation issues. Baffles, on the other hand, are typically spot-welded or pressed into place and can break loose due to metal fatigue or improper pan installation in the past.
Assessing Potential Engine Damage
Once you’ve identified the debris, the next critical question is whether it’s caused internal damage. A dipstick tube fragment sitting in the bottom of the pan generally poses minimal risk to engine components. The oil pickup screen should have prevented it from entering the pump, and its size and weight keep it from being thrown around by the crankshaft. However, “minimal risk” doesn’t mean zero risk.
Inspect the oil pickup tube and screen thoroughly. Look for impact marks, dents, or any deformation that might restrict oil flow. Even a small reduction in pickup efficiency can cause oil starvation under high-load conditions. If the screen shows any damage or if the debris has a rounded, tumbled appearance suggesting it’s been circulating for an extended period, you need to dig deeper.
Check the oil filter for metal particles. Cut open the filter canister and examine the filter media carefully. Small metallic flakes indicate that debris has been circulating through the oil system, potentially scoring bearings, cylinder walls, and other precision surfaces. If you find significant contamination, recommend a complete engine teardown and inspection. The cost of rod and main bearing replacement now is far less than a seized engine later.
Pull the valve covers and inspect the valvetrain components, especially if you’re working on an engine known for timing system issues like the Ford 5.4L 3-valve. Look for abnormal wear patterns on cam lobes, rocker arms, and follower surfaces. Metallic debris can accelerate wear in these high-stress areas even if it never entered the main oil galleries.

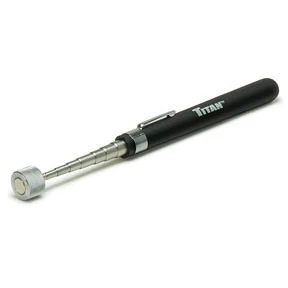
20 Pc. 3 lb. Telescoping Magnetic Pickup Tool Counter Display
Mfg: Titan
Part #: 11763-20
ID: 389775
Removal Techniques and Tools

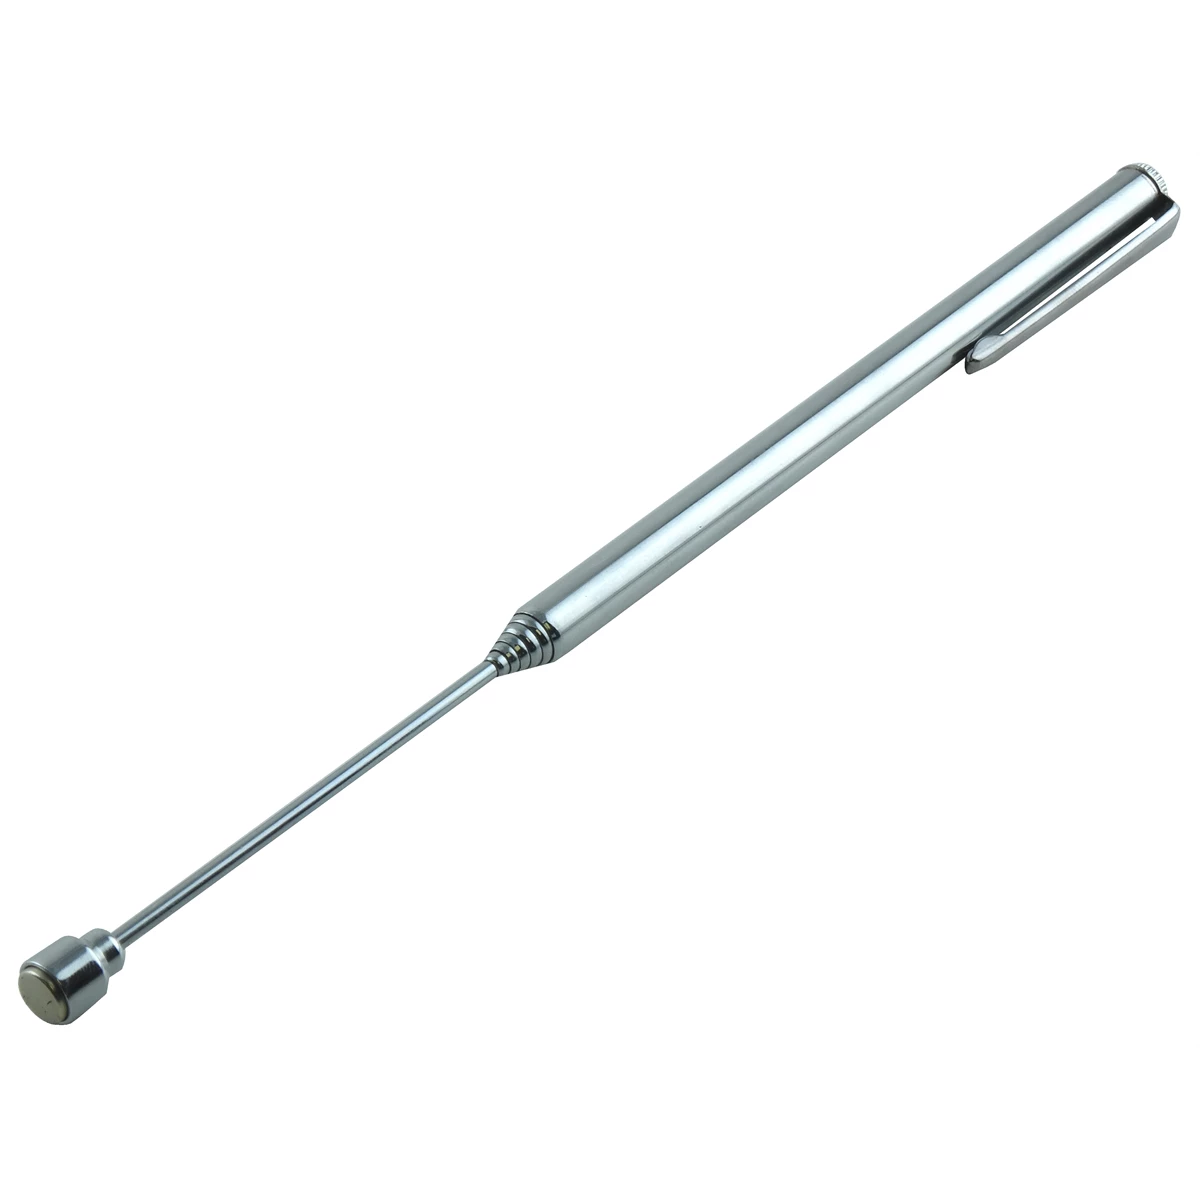
Getting debris out of an oil pan requires different approaches depending on accessibility and the size of the fragment. For larger pieces like dipstick tube sections, a telescoping magnetic pickup tool is your first option. These tools, widely available for under twenty dollars, extend up to thirty inches and feature strong neodymium magnets that can extract ferrous metal fragments through the drain hole without dropping the pan.
Position the vehicle on a lift and remove the drain plug completely. Use a bright inspection light to locate the debris—you may need to rotate the crankshaft by hand to move the fragment into view. Insert the magnetic pickup tool through the drain hole and maneuver it carefully to grab the piece. This works surprisingly well for dipstick tubes and similar-sized debris, though it requires patience and a steady hand.
If the magnetic method fails or if you’ve found multiple pieces, dropping the pan is unavoidable. Before you start unbolting, check your service manual for any special procedures. Some engines require partial transmission removal, crossmember dropping, or engine mount adjustments to gain pan clearance. Budget extra time for these vehicles—what looks like a two-hour job can easily stretch to four or five.
With the pan removed, clean it thoroughly and inspect every square inch of the interior surface. Look for metal shavings in corners, stuck to baffles, or embedded in sealant remnants. Use a magnet to sweep the entire pan and verify you’ve collected all ferrous debris. Non-magnetic metals like aluminum require visual inspection and manual removal.
Preventing Future Dipstick Tube Failures
If you’ve confirmed the debris is from a broken dipstick tube, replacement is straightforward, but prevention requires understanding why these tubes fail. On Ford 5.4L engines and similar designs, the dipstick tube is pressed into the block and sealed with an O-ring. Over time, heat cycling degrades the tube material, making it brittle. Any lateral force—from accidentally leaning on the dipstick, yanking it out at an angle, or bumping it during other repairs—can snap the tube at the O-ring groove.
When installing a new dipstick tube, always use a new O-ring and lubricate it with clean engine oil before insertion. Press the tube straight into the block without angling or twisting. Some technicians apply a small amount of anti-seize to the O-ring groove to prevent corrosion bonding, though this is debatable on aluminum blocks where dissimilar metal galvanic corrosion isn’t a significant concern.
Train your service writers and technicians to handle dipsticks carefully. That means pulling them straight out, not at an angle, and never using the dipstick tube as a handhold or leverage point when working in tight engine bays. This simple procedural change can eliminate ninety percent of dipstick tube failures in your shop.
During manifold replacements, exhaust work, or any repair near the dipstick tube, take thirty seconds to inspect the tube for cracks, brittleness, or previous damage. If it looks questionable, replace it preemptively. The cost of a new tube is negligible compared to the labor of dropping an oil pan later to fish out the broken piece.
Quick Inspection Checklist
- Identify debris type (dipstick tube, baffle, pickup tube, or unknown)
- Inspect oil pickup screen for damage or blockage
- Cut open and examine the used oil filter for metal particles
- Check for impact marks on the oil pan interior surfaces
- Verify dipstick tube integrity (existing tube may be intact if debris is from previous repair)
- Inspect valvetrain components for abnormal wear patterns
- Document findings with photos before removal for customer communication
- Verify all debris has been removed before reassembly
When to Recommend Further Disassembly
Not every debris discovery requires a full engine teardown, but certain warning signs demand it. If the oil filter contains significant metal particles beyond normal wear levels, you’re looking at circulating contamination that has likely damaged bearings. Recommend pulling the main and rod bearing caps for inspection at minimum. Measure bearing clearances and check for scoring on the crankshaft journals.
Unusual engine noises—knocking, ticking, or grinding that wasn’t present before—indicate potential bearing damage or valvetrain issues. Don’t assume debris found in the pan is harmless just because the engine still runs. Many engines continue operating with damaged bearings until catastrophic failure occurs, often at highway speeds under load.
If you’ve found pieces of an oil pump pickup tube or screen, complete pump replacement is non-negotiable. A damaged pickup tube can collapse under suction, starving the engine of oil even if it appears intact during visual inspection. The pump itself may also have ingested debris, scoring the gears and reducing output pressure.
For engines with known design weaknesses—Ford 5.4L 3-valve timing systems, GM 3.6L timing chain guides, Chrysler 2.7L oil sludge issues—use debris as an opportunity to inspect related components. A broken dipstick tube in a 5.4L 3-valve is a perfect excuse to check those notorious cam phasers and timing chain tensioners before they fail catastrophically.
Communicating with Customers
Transparency is critical when you’ve found metal debris during what the customer thought was a routine oil change. Take clear photos of the debris, the oil pan interior, and any related damage. Most customers don’t understand the technical details, but they respond well to visual evidence and straightforward explanations.
Explain what you found, what it means for their engine, and what options they have. If it’s a relatively benign dipstick tube fragment with no evidence of circulating damage, reassure them while recommending the appropriate repair. If you’ve found concerning contamination in the oil filter, present the evidence and explain the risks of continuing to drive without further inspection.
Provide repair estimates in tiers: minimum necessary work, recommended additional inspection, and comprehensive repair if significant damage is found. This gives customers control over the process while ensuring they understand the consequences of declining recommended services. Document everything in the repair order, including customer decisions to defer work, to protect yourself from future liability claims.
For vehicles with recurring issues or design flaws, set realistic expectations. If you’re working on a high-mileage 5.4L 3-valve, be honest about the engine’s reputation and the likelihood of additional problems. Customers appreciate honesty, and it builds trust for future repairs when those predicted issues inevitably surface.
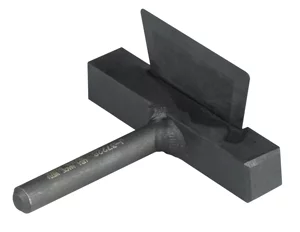
Replacement Blade for AT3391 Oil Filter Cutter
Mfg: K-Line Industries
Part #: AT50102G
ID: 135988
Frequently Asked Questions
Can I drive with a broken dipstick tube piece in the oil pan?
While many engines run for thousands of miles with dipstick tube fragments in the pan, it’s not recommended. The debris can potentially damage the oil pickup screen, block oil passages, or be thrown into rotating components. The risk increases with aggressive driving, high RPMs, and low oil levels. Remove it as soon as practical to eliminate the risk entirely.
How do I know if the debris has been in there for a long time?
Debris that has circulated for extended periods often shows rounded edges, a tumbled appearance, and may have a darker, oil-varnished surface. Fresh breaks show sharp edges and bright metal. Additionally, if you cut open the oil filter and find metal particles, the debris has been circulating long enough to contaminate the oil system.
Why would a previous mechanic leave debris in the pan?
In some cases, removing a broken dipstick tube requires dropping the oil pan, which adds significant labor time and cost to a repair. If the mechanic was replacing the dipstick tube during another job and the old piece broke off, they may have simply pushed it into the pan rather than extending the repair. This is poor practice but unfortunately not uncommon in shops focused on speed over quality.
Will my engine warranty cover damage from debris in the oil pan?
It depends entirely on the warranty terms and the debris source. If the debris is from a manufacturing defect or failed OEM component, many warranties will cover related damage. However, if the debris is from a previous repair or modification, warranty coverage is unlikely. Always document findings thoroughly and contact the warranty administrator before proceeding with major repairs.
What’s the difference between the Ford 5.4L 2-valve and 3-valve in terms of reliability?
The 2-valve 5.4L is generally more reliable, with simpler timing chain tensioners and fewer common failure points. The 3-valve version introduced variable cam timing (cam phasers) and used plastic timing chain tensioners that are prone to failure. Replacing the plastic tensioners with the steel 2-valve versions significantly improves reliability. Both engines can suffer from dipstick tube and spark plug ejection issues, but the 3-valve has a worse overall reputation.
Should I always drop the pan when I find metal debris during an oil change?
Not always. If you can positively identify the debris as a single piece (like a dipstick tube fragment) and successfully remove it with a magnetic pickup tool, and the oil filter shows no evidence of circulating contamination, dropping the pan may be unnecessary. However, if there’s any doubt about complete removal or potential damage, dropping the pan is the only way to verify the oil system is clean and intact.
Tools for Engine Debris Removal and Inspection
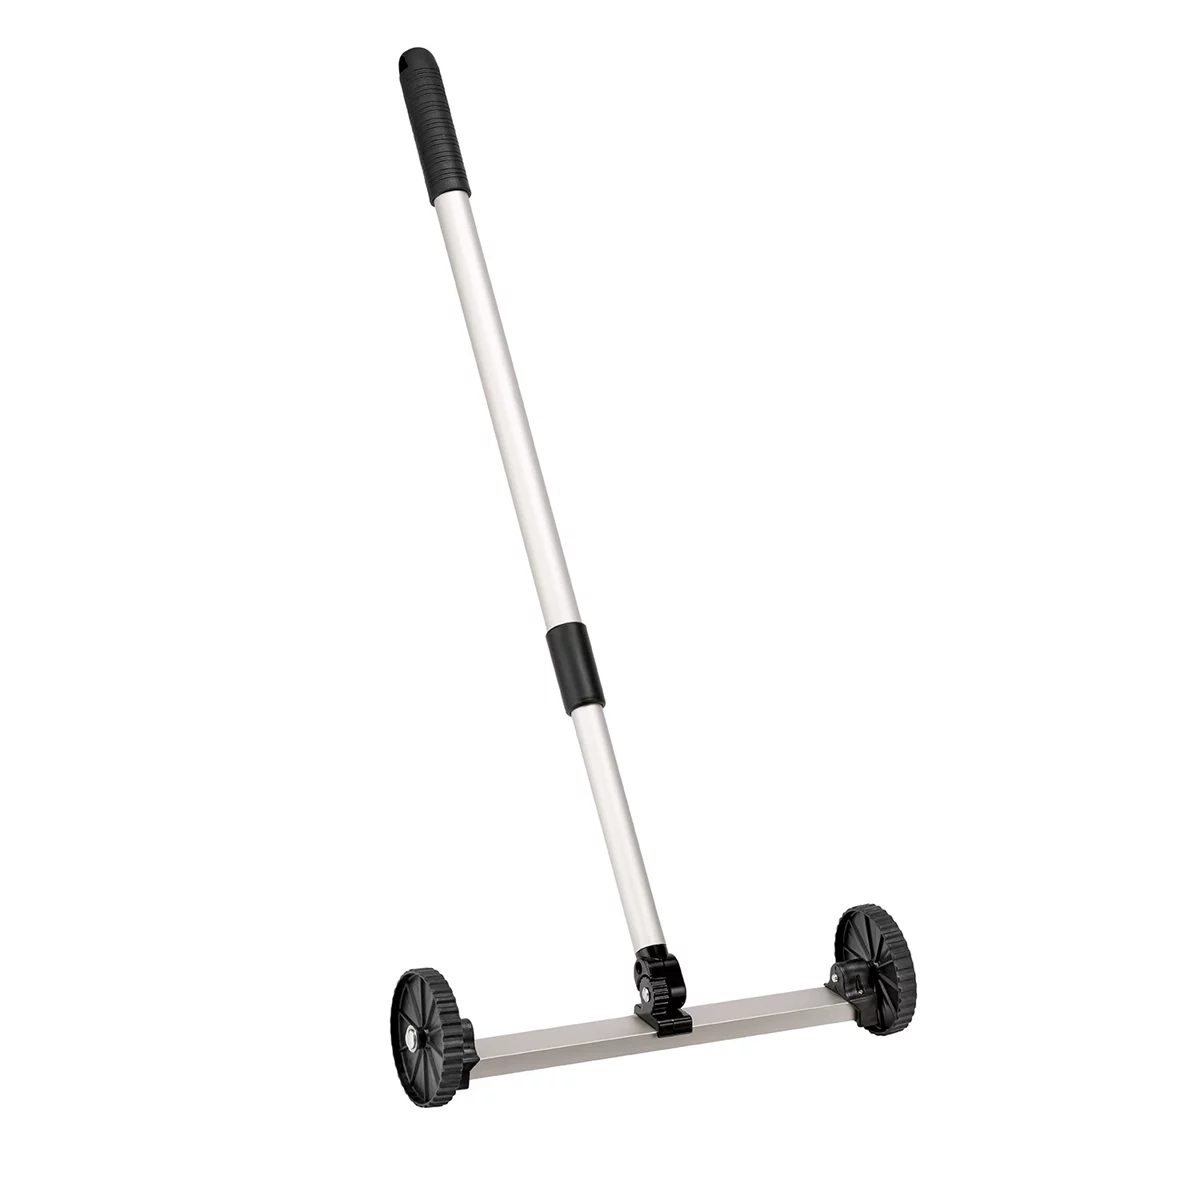
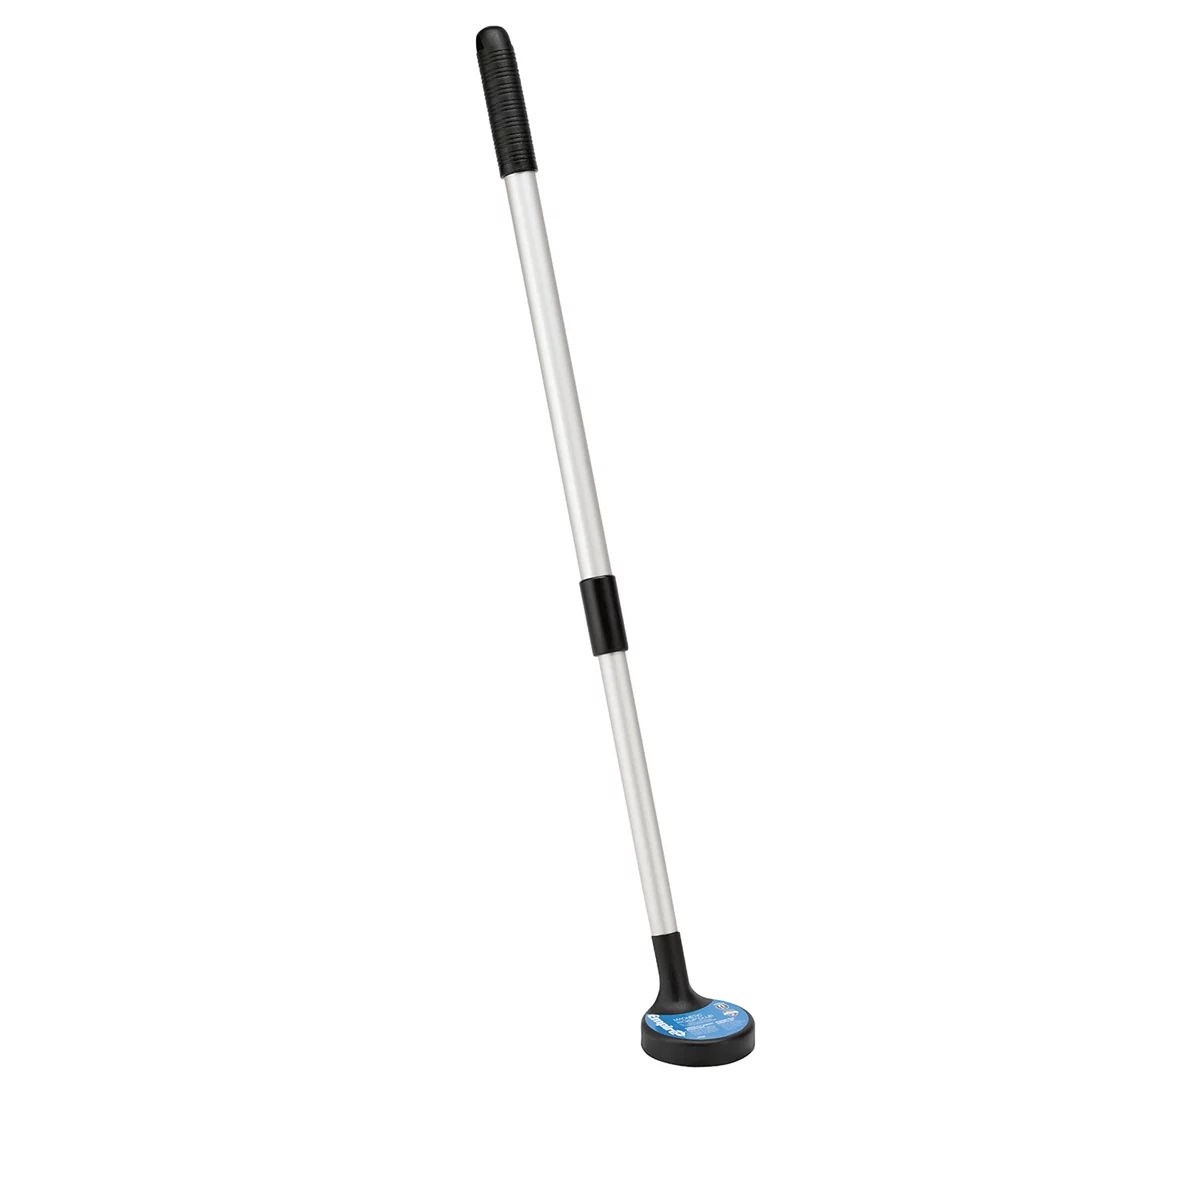
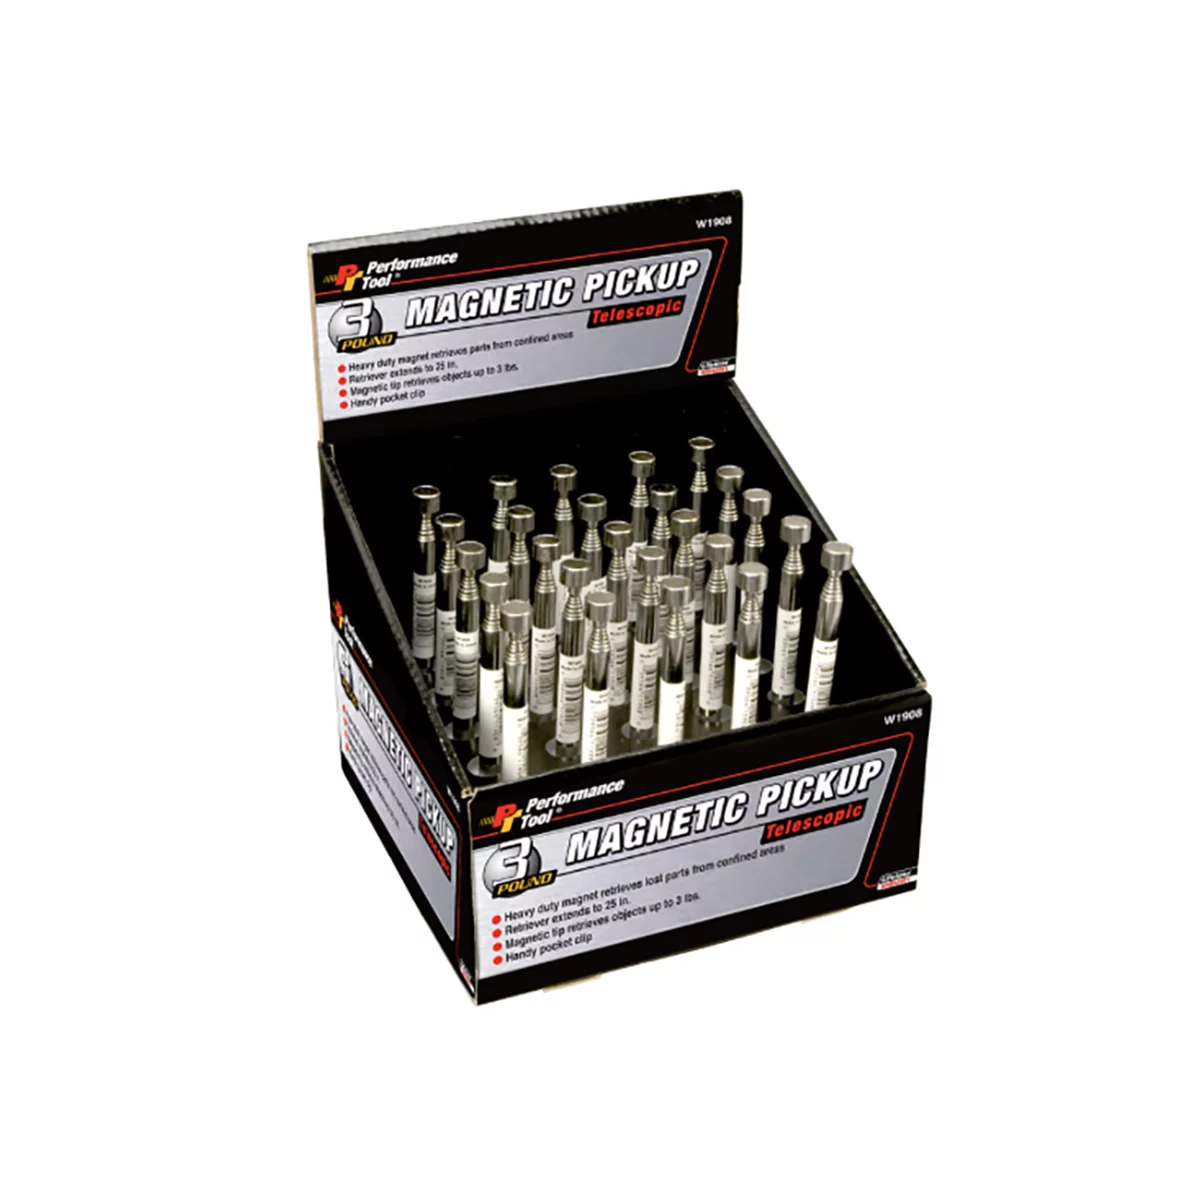
MAGNETIC RETRIEVER COUNTER MERCHANDISER-25PC DISP
Mfg: Wilmar - Performance Tool
Part #: W1908
Diagnosing and removing metal debris from your oil pan requires the right equipment on hand. A quality magnetic pickup tool, oil filter cutter, and inspection lights make the job faster and more reliable. Browse our Engine Repair Tools selection for everything you need to inspect oil systems, extract contamination, and verify engine integrity.
- Magnetic pickup tools and inspection mirrors for debris extraction
- Oil filter cutters and analysis supplies for contamination assessment
- Bearing pullers, dipstick tubes, and gasket removal tools for repairs
Essential Engine Repair Tools for Oil Pan Inspection
Finding metal debris in your oil pan signals the need for proper diagnostic and repair tools. Our Engine Repair Tools category features professional-grade equipment trusted by technicians to handle contamination assessment and engine maintenance with confidence.
Recommended tools for this job:
- Oil Drain Pan & Magnetic Collector Set — Capture and analyze metal particles to assess damage severity
- Engine Borescope Camera — Visually inspect internal engine components for wear and damage
- Oil Analysis Test Kit — Send samples to labs for detailed contamination and wear metal reports

The Toolsource Technical Team blends decades of real-world automotive service experience with up-to-date technical research. Our writers collaborate with professional mechanics, shop owners, and diagnostic specialists to deliver practical, workshop-ready guidance you can trust.


Follow us on social media