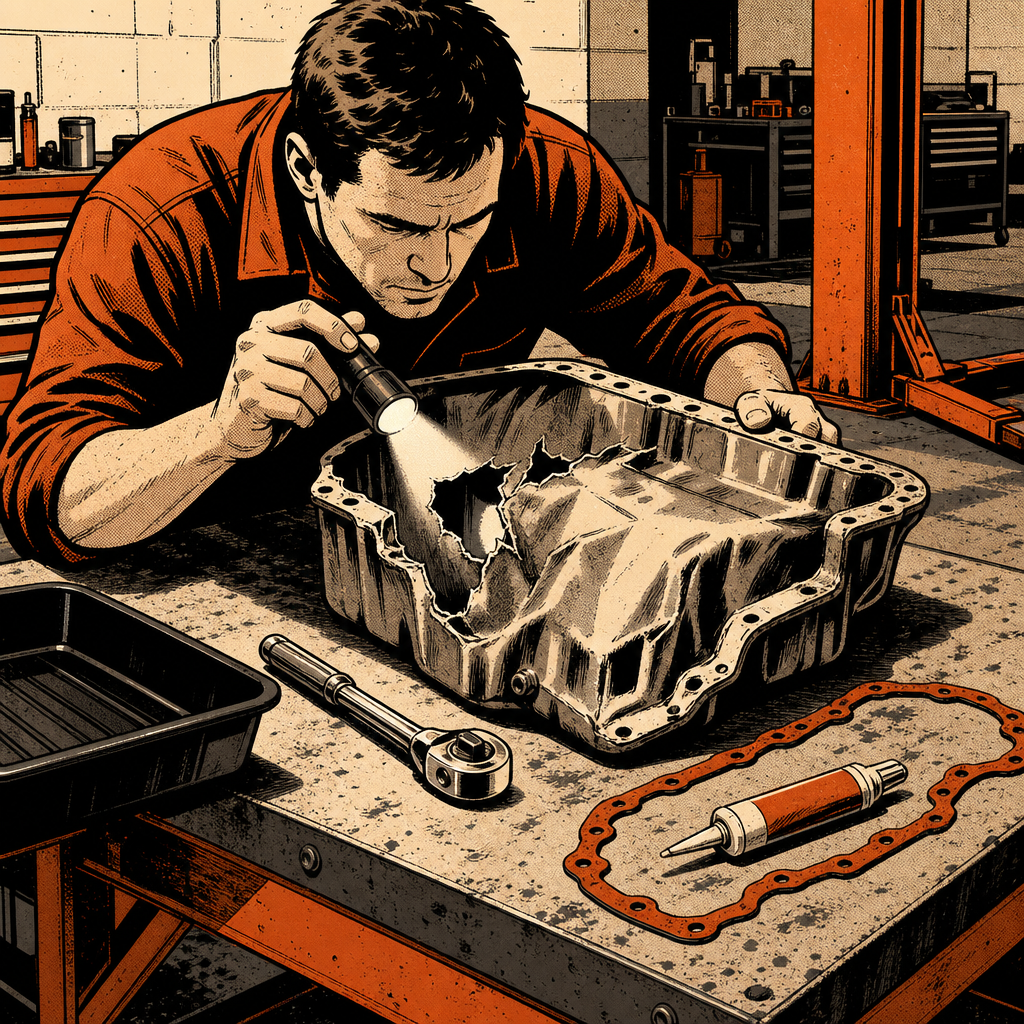
A dented, torn-open oil pan on the side of the road looks alarming, and the instinct is to either panic about a blown engine or try to fix it right there on the shoulder. Neither reaction serves the vehicle or the person under it. The damage pattern, the direction of the deformation, and what’s visible through the hole all tell a story — and that story determines whether you’re looking at a $30 pan and a quart of oil or a short block replacement. This guide walks through how to read the damage, why the repair location matters more than most people think, and how to do the job correctly once the car is somewhere safe.
Read the Damage Before You Assume the Worst
Not every torn oil pan means a spun bearing or a thrown rod. Debris strikes — a chunk of retread, a dropped trailer part, a curb or rock kicked up at speed — hit the pan from below and push metal inward and up. A rod or piston failure does the opposite: it pushes metal outward from the inside, because something inside the engine is trying to exit. If you’re looking at a pan that’s crushed upward with jagged inward folds, that’s consistent with an impact, not an internal failure.
Check the surrounding sheet metal too. If the subframe, crossmember, or a skid plate near the pan shows the same fresh scrape or gouge pattern as the pan itself, that strongly supports a debris strike — a connecting rod exiting the block doesn’t also gouge the subframe on its way out. Also note the timing described by the driver: an engine that keeps running smoothly for several seconds or longer after the noise, and gets shut off normally, is a different situation than one that immediately seizes or knocks violently.
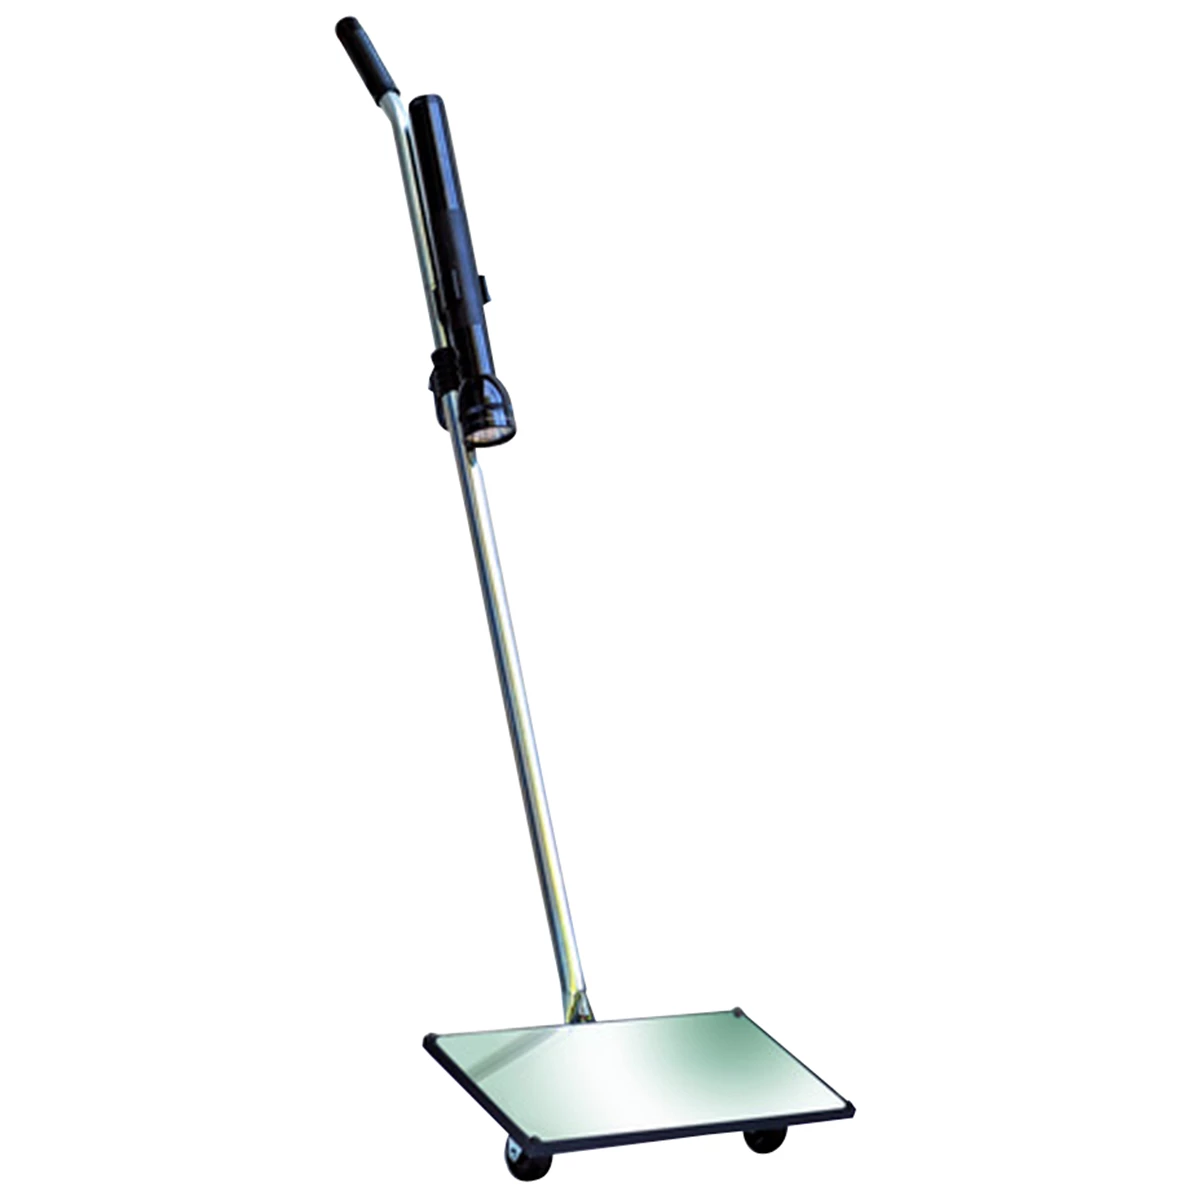
None of this replaces a physical inspection. Before ordering parts, pull the pan (or at minimum shine a light and a borescope/phone camera up through the hole) and look for metal shavings, a visibly damaged rod or cap, or oil that’s obviously metallic. A pan that’s merely punctured with clean edges and an otherwise normal-looking interior is a strong sign you got lucky.
Why This Isn’t a Roadside Job
Even on vehicles where the pan itself is genuinely easy to remove — some engines really are a dozen bolts and a straightforward drop — the shoulder of a highway is not the place to do it. Being on your back under a car, jack and stands as the only thing between you and moving traffic, carries real risk that has nothing to do with your mechanical skill. Distracted drivers drift onto shoulders regularly, and object fixation (the tendency to steer toward whatever is grabbing your attention, including a car pulled over with someone underneath it) makes shoulder work more dangerous than it looks. People have been killed doing far smaller roadside tasks than an oil pan swap.
There’s also a practical problem: you often don’t know the full extent of the damage until the pan is off, and that’s not a diagnosis you want to be making with a truck doing 70 mph three feet from your head. If the vehicle is drivable at all, get it off the shoulder and onto flat, stable ground first — even moving it to a nearby lot with a tow strap and the recovery hook is safer than working where it sits. If it’s not safely drivable, call for a tow.


Getting the Vehicle Home Safely
For a front-wheel-drive car with the front axle undriven or safely disconnected, a rental tow dolly (available at most truck rental locations) lets you get the vehicle home under your own power without running the engine or drivetrain any further than necessary. This is the better option over limping it home on its own power — if there’s any chance of internal damage, running the engine longer only makes things worse and can turn a cheap repair into an expensive one.
If you don’t have a way to tow it yourself, or the vehicle is all-wheel or rear-wheel drive, a flatbed tow is the safer call. Most insurance policies include roadside assistance or towing coverage, and it’s worth a call before you assume you’re paying full price out of pocket. Either way, the goal is the same: get the car onto a driveway, garage floor, or lift where you have good light, no traffic, and time to actually look at what you’re dealing with.
Diagnosing and Repairing the Pan Once It’s Home
With the vehicle safely parked, let the engine cool completely before doing anything — a hot aluminum or steel pan and a curing gasket sealant don’t mix well, and you risk burns pulling a pan that’s still hot from a shutdown. Once it’s cool:
- Drain any remaining oil and remove the pan following the factory bolt pattern — most passenger car pans come off with a single socket size and no special tools.
- Inspect the crankshaft, rod caps, and oil pickup for scoring, metal debris, or visible damage before you assume a straight pan-and-gasket swap will fix it.
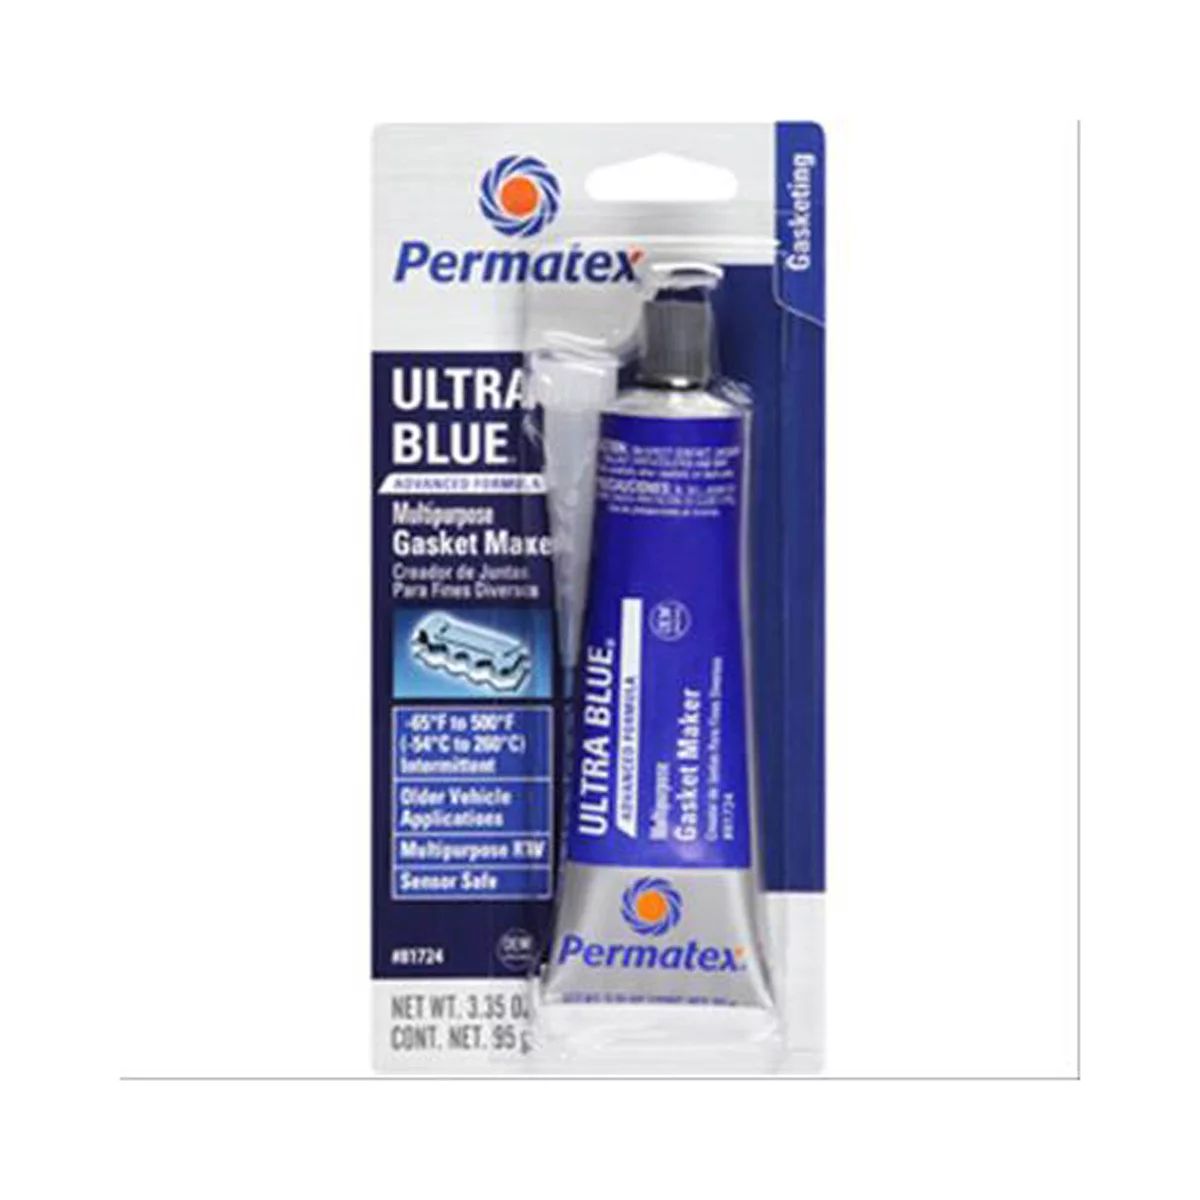
- If everything inside looks clean, order the correct replacement pan (OE or quality aftermarket) and gasket, or RTV sealant if the application is gasket-less per factory spec.
- Clean the mating surface on the block thoroughly — old gasket material and RTV residue are the most common causes of new-pan leaks.
- Torque bolts to spec in the correct sequence; overtightening a stamped steel pan is a common way to warp it and create a leak that wasn’t there before.
- Refill with the correct oil weight and quantity, and allow RTV sealant to cure per the manufacturer’s time recommendation before starting the engine if a gasket wasn’t used.
A short cold start followed immediately by a visual leak check and an oil pressure/warning light check is a reasonable way to confirm the repair before you drive it. Don’t skip a full oil and filter change even if the pan is the only damage — any debris intrusion is a good reason to get contaminated oil out of the system entirely.
Don’t Stop at the Pan
An impact hard enough to crush an oil pan usually transfers force into whatever is directly above and around it. Check the subframe for cracks, bends, or fresh gouges matching the pan’s damage, and inspect nearby components — steering linkage, sway bar links, exhaust, and any skid plates — for secondary damage. A hit hard enough to deform the pan is also hard enough to knock the front end out of alignment, so a wheel alignment check is worth adding to the post-repair list even if nothing looks visibly bent. If the subframe itself shows deformation, that’s a job for a shop with a lift and possibly a frame-measuring system — not something to eyeball and call good.
Quick Reference Checklist
- Get the vehicle off the roadway/shoulder before inspecting or repairing anything
- Look for inward vs. outward metal deformation to gauge impact vs. internal failure
- Check subframe and nearby components for matching fresh damage
- Tow (dolly or flatbed) rather than drive it home if internal damage is possible
- Let the engine cool fully before dropping the pan
- Inspect crank, rods, and pickup before ordering a replacement pan
- Torque to spec, allow sealant to cure, then do a full oil and filter change
- Check alignment and subframe condition after any hard undercarriage impact
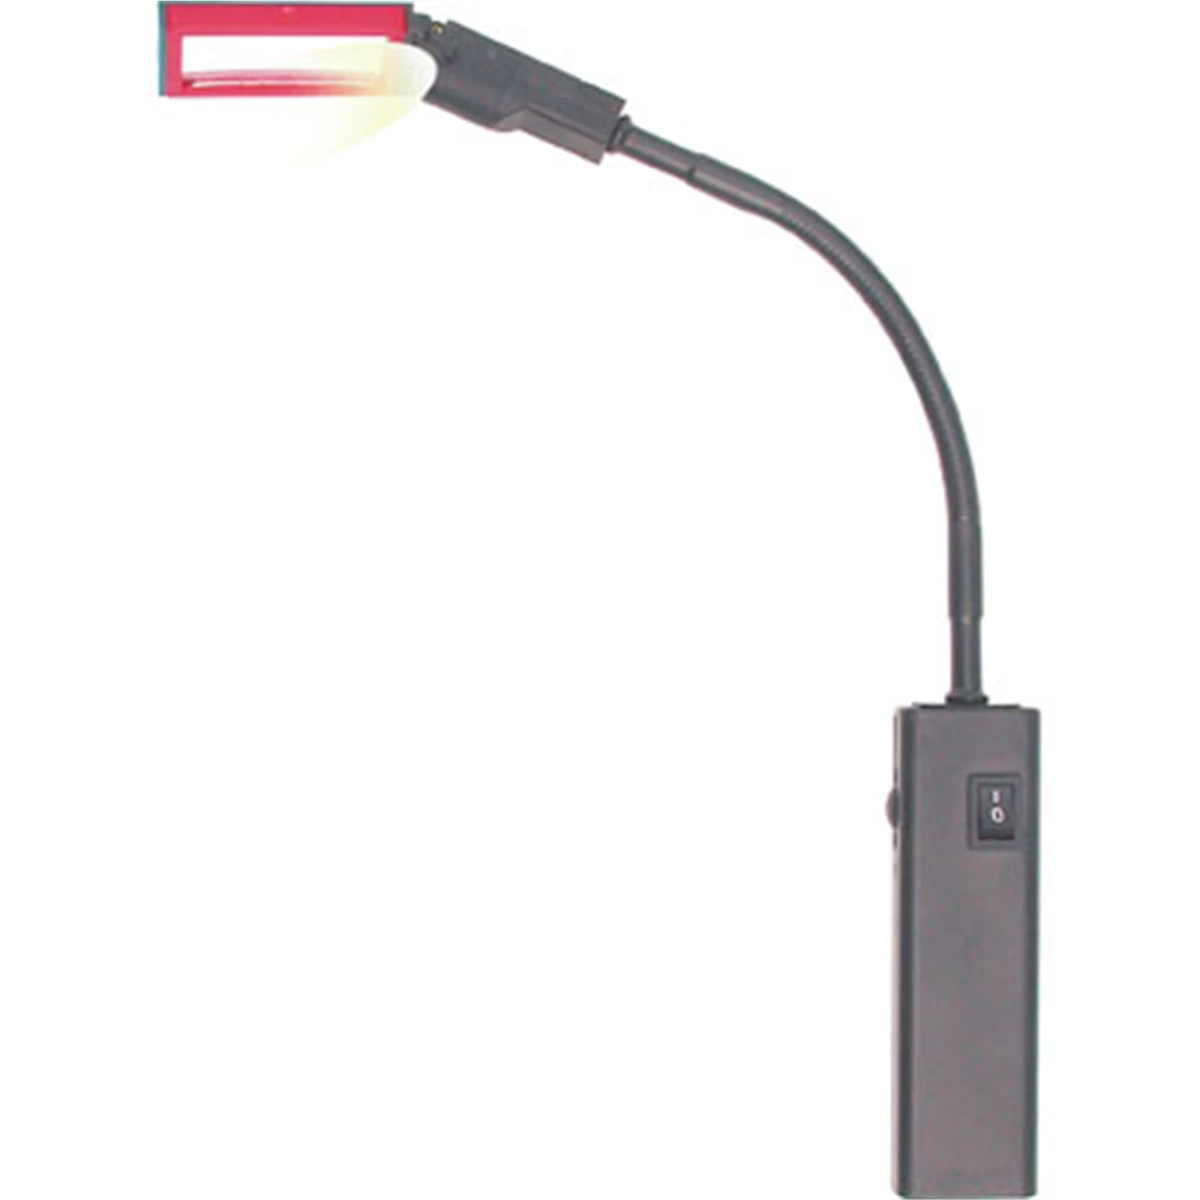
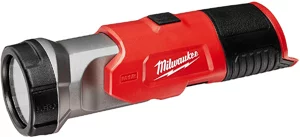
M12 TRUEVIEW HD LED Flashlight Light (Bare Tool)
Mfg: Milwaukee Electric Tools
Part #: 49-24-0146
Frequently Asked Questions
Can I tell if it’s a thrown rod just from a photo of the pan?
Not with certainty. Direction of the metal deformation (inward from an impact vs. outward from an internal failure) and matching damage on the subframe are strong clues, but a physical inspection through the drain hole or with the pan off is the only reliable confirmation.
Is it ever okay to do a quick roadside fix to limp the car home?
Only if there’s truly no other option and the vehicle can be moved off active traffic lanes to flat, stable ground first. Temporary sealants are a last resort for getting a vehicle to safety, not a substitute for a proper repair, and they shouldn’t be used as a long-term fix.
How much does an oil pan replacement typically involve?
On many vehicles it’s a bolt-off job with no major disassembly, but on others you may need to remove exhaust components, subframe braces, or use a jack to reposition the engine slightly for clearance. Confirm the process for your specific engine before assuming it’s quick.
Should I use RTV sealant or a gasket?
Follow the factory specification for that engine. Some pans use a reusable gasket, others are designed for RTV sealant applied directly to a clean mating surface — using the wrong method is a common cause of leaks.
Does my insurance cover towing after hitting debris?
Many policies include roadside assistance or towing coverage, sometimes bundled with comprehensive coverage for the debris strike itself. It’s worth a quick call to your insurer before paying out of pocket, especially if there’s a deductible consideration either way.
Do I need to check anything besides the pan and engine internals?
Yes — inspect the subframe, steering and suspension components, and get an alignment check. An impact hard enough to damage the pan can affect components well beyond it.
Tools for Oil Pan Diagnosis and Repair
Whether you’re inspecting an oil pan for internal damage or performing a full replacement, having the right tools on hand makes the work safer and the diagnosis more reliable. Our selection of Engine Repair Tools includes everything needed for pan removal, inspection, gasket preparation, and reinstallation.
- Socket sets, wrenches, and specialty removal tools for pan bolt extraction on various engine layouts
- Gasket scrapers, surface cleaners, and RTV application tools for proper mating surface preparation
- Torque wrenches and inspection equipment for accurate reassembly and leak-free sealing

The Toolsource Technical Team blends decades of real-world automotive service experience with up-to-date technical research. Our writers collaborate with professional mechanics, shop owners, and diagnostic specialists to deliver practical, workshop-ready guidance you can trust.


Follow us on social media