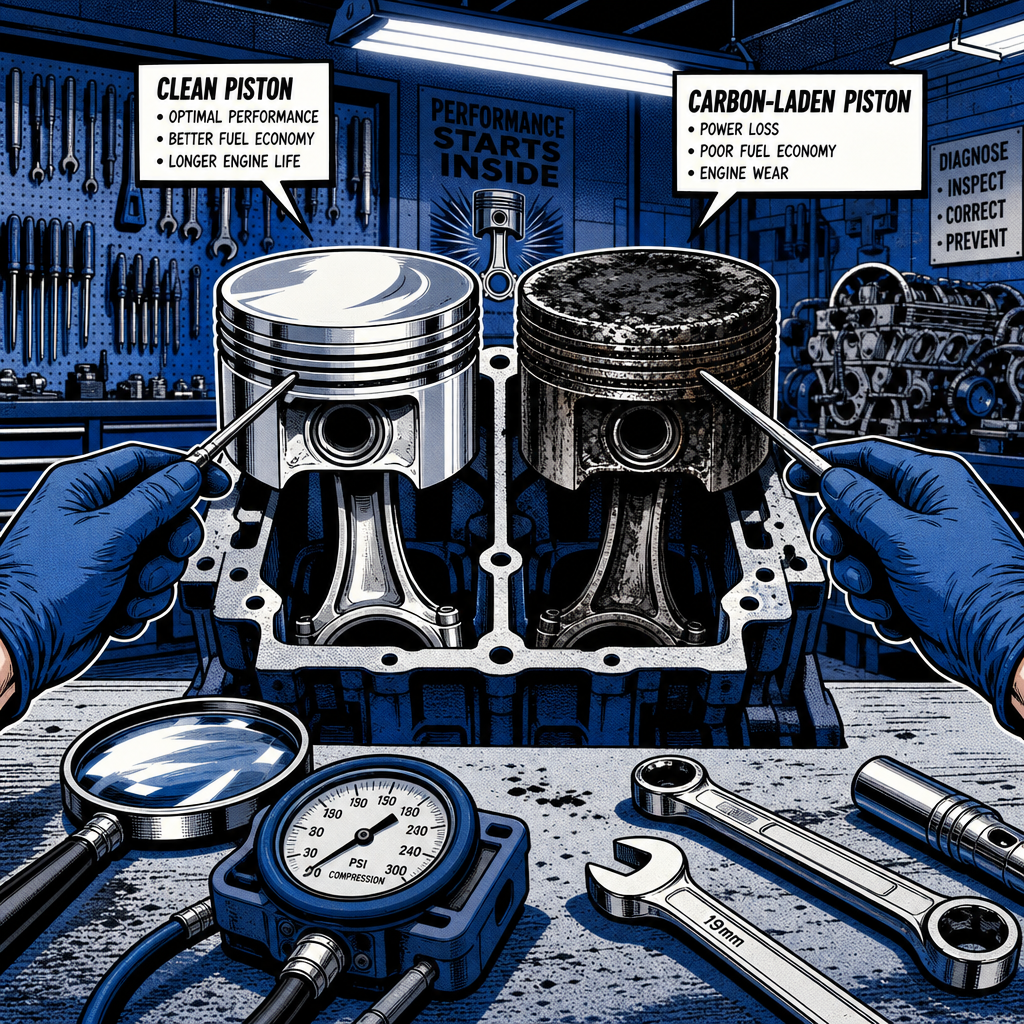
When you’re staring into an open cylinder head and one piston looks factory-fresh while the others are caked in normal carbon buildup, you’ve just confirmed coolant intrusion. That steam-cleaned appearance isn’t a blessing—it’s diagnostic evidence that coolant has been leaking into the combustion chamber, washing away deposits and causing your misfire. Understanding what different piston conditions tell you about head gasket failure separates efficient diagnosis from guesswork, and knowing the critical reassembly steps prevents the job from coming back six months later.
Why One Clean Piston Confirms Head Gasket Failure
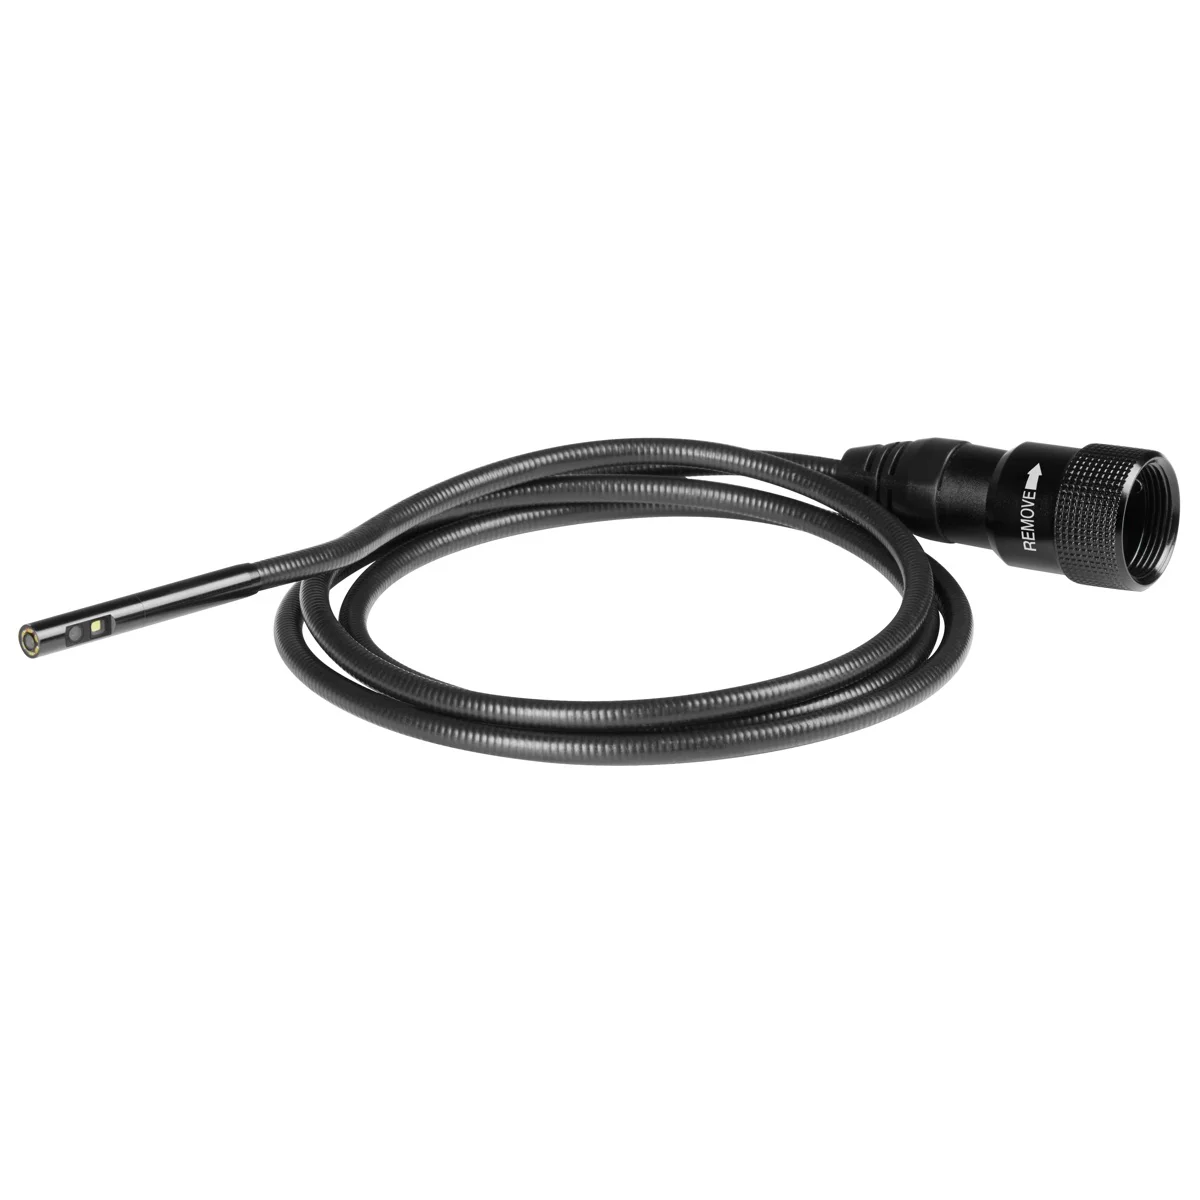
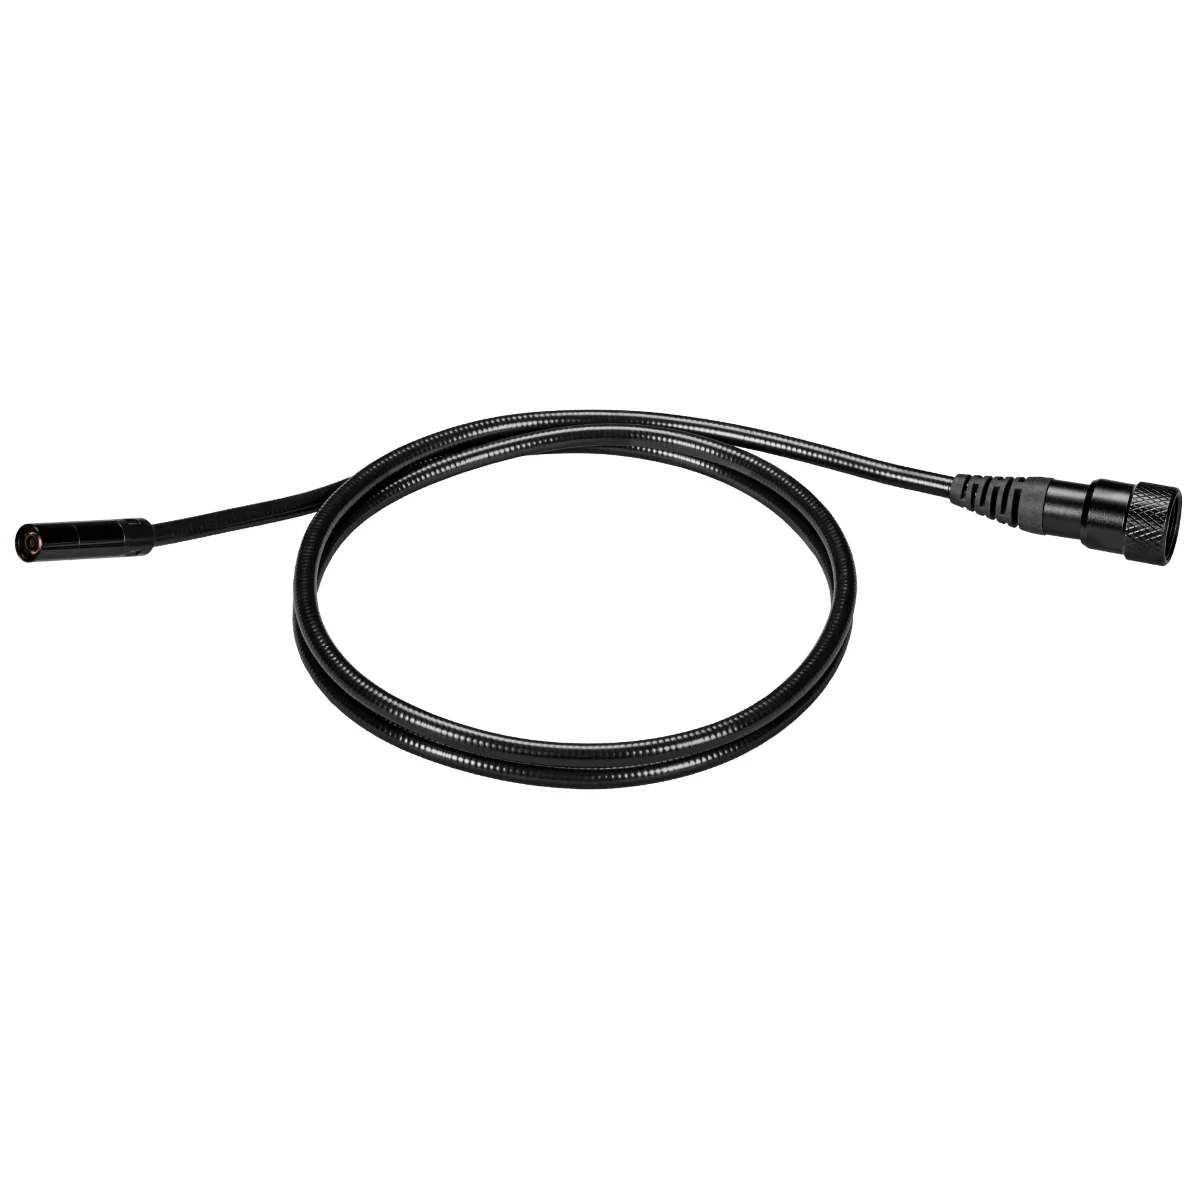
10mm 4 Feet Borescope Camera Cable for M12 Wireless Monitor
Mfg: Milwaukee Electric Tools
Part #: 48-53-3315
The single most revealing diagnostic indicator when inspecting pistons after head removal is the presence of one abnormally clean cylinder among otherwise normal carbon-covered pistons. This isn’t coincidence—it’s the signature of coolant intrusion through a blown head gasket.
When coolant leaks past a failed head gasket into a combustion chamber, it creates a steam-cleaning effect during engine operation. Each combustion cycle vaporizes the coolant, and the resulting steam literally scrubs carbon deposits off the piston crown, cylinder walls, and combustion chamber surfaces. Meanwhile, the adjacent cylinders continue accumulating normal carbon buildup from fuel combustion.
This explains the misfire you diagnosed before tearing down the engine. Coolant in the cylinder disrupts the air-fuel ratio, prevents proper ignition, and in severe cases causes hydrolock conditions that can bend connecting rods. The clean piston isn’t healthy—it’s evidence of ongoing contamination that’s been washing away what should be normal operational deposits.
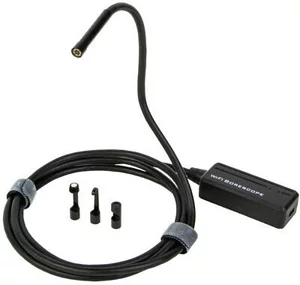
Techs who’ve worked through the Toyota 3.0L head gasket campaigns or similar mass failures recognize this pattern immediately. A borescope inspection showing one squeaky-clean cylinder is bad news, not good. It tells you coolant has been entering that cylinder long enough to remove all carbon deposits, which typically accumulate over thousands of miles of normal operation.
The carbon buildup on your other three pistons is completely normal and expected. Don’t mistake operational deposits for a problem—focus your attention on why one cylinder looks different from its neighbors.
Critical Inspection Points Before Reassembly
Before ordering parts and buttoning everything back up, several inspection steps determine whether you’re looking at a straightforward gasket replacement or a more extensive repair.
First, verify that the steam-cleaned piston hasn’t rotated relative to the other three. Head gasket failures that allow coolant intrusion are often associated with hydrolock events, especially in engines known for this failure mode. When liquid coolant fills a cylinder and the piston tries to compress it during the compression stroke, the hydraulic forces can bend connecting rods or twist the piston on the rod. Check that directional arrows or valve reliefs on all piston crowns are oriented identically. If the affected piston has rotated even slightly, you’re looking at internal engine damage beyond just the head gasket.
Second, inspect the cylinder bores carefully. The photos may show what appears to be mirror-finish surfaces, but that’s often camera flash washing out the image. You need visible crosshatch pattern in the cylinder walls for proper ring sealing and oil control. If the crosshatch has been polished away by wear or the steam-cleaning effect, you’re facing bore wear that may require honing or even oversized pistons and machine work.
Look for scoring or scuffing on the cylinder walls, particularly in the affected cylinder. Coolant contamination in the oil can compromise lubrication, and the resulting friction may have damaged bearing surfaces and cylinder walls. Minor scuffing might clean up with light honing, but deep scores mean the block needs machine shop attention.
Third, measure the cylinder head for warpage. This step is non-negotiable with modern multi-layer steel (MLS) head gaskets. The older composite gaskets would tolerate minor surface irregularities and conform to small amounts of warpage, but MLS gaskets require nearly perfect flatness on both the head and block deck surfaces. Use a precision straightedge and feeler gauges to check the head surface in multiple directions. Most manufacturers specify maximum warpage limits around 0.002-0.003 inches, but check your service manual for exact specifications.
If you find warpage beyond specification, the head needs resurfacing at a machine shop. Yes, this adds cost and time to the job, but cutting corners here guarantees a comeback. You don’t want to do this job twice, especially after investing hours in disassembly and reassembly. Many shops automatically send heads out for resurfacing on any head gasket job involving coolant intrusion, since the overheating that typically precedes gasket failure often warps the head.
Check the block deck surface as well. It’s less common for blocks to warp, but it happens, particularly with severe overheating. If both surfaces aren’t flat within specification, the new gasket won’t seal properly regardless of torque procedure.
The Head Bolt Question: Reuse or Replace
One of the most critical decisions in any head gasket job is whether to reuse the old head bolts or install new ones. The technically correct answer depends on the fastener design, but the practical answer leans heavily toward replacement.
Many modern engines use torque-to-yield (TTY) bolts or studs. These fasteners are designed to stretch during installation to achieve precise clamping force. The installation procedure typically specifies an initial torque value followed by one or more additional angle rotations—for example, torque to 90 ft-lbs, then rotate an additional 90 degrees, then another 90 degrees. This angular tightening stretches the bolt beyond its elastic limit into plastic deformation, creating the exact tension needed for proper head gasket clamping.
The problem with reusing TTY fasteners is that they’ve already been stretched once. Reusing them means you’re working with hardware that’s been permanently deformed, and the second installation may either fail to achieve proper clamping force or, worse, cause the bolt to snap during torque procedure. A snapped head bolt during final torque sequence is one of the worst things that can happen to a tech—it turns a routine job into an extraction nightmare that may require specialized tools, drilling, and potential thread repair.
Check your service manual to determine if your engine uses TTY fasteners. Some manufacturers, like Nissan and Mazda, specify measuring head bolts for stretch and may list them as reusable within certain limits rather than explicitly calling them single-use. Other manufacturers clearly specify replacement on every head removal.
In the real world, dealer techs sometimes reuse head bolts on repeat failures when the same engine comes back multiple times—the Toyota 3.0L head gasket campaign being a prime example. When you’re installing redesigned gaskets on engines that keep failing, and you’re certain the bolts held torque previously, the economics of the situation sometimes override the textbook answer. However, this isn’t recommended practice for independent shops or DIY mechanics. The risk of comeback from reused fasteners isn’t worth the cost savings of new bolts.
Even if your engine uses non-TTY bolts that are technically reusable, inspect them carefully. Look for necking down of the shank, thread damage, or any deformation. Check that threads run smoothly into their holes without binding. If you have any doubt about bolt condition, replace them. Head bolts are cheap insurance against an expensive comeback.
Reassembly Steps for Long-Term Reliability
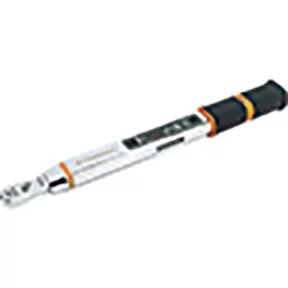
1/4 Dr. 5-25Nm Fixed Head E-Spec Electronic Torque Wrench Kit
Mfg: GearWrench
Part #: 85235
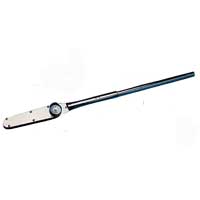
1 Inch Drive Dual Scale Dial Torque Wrench - 0-1000 ft-lbs
Mfg: CDI Torque Products
Part #: 10005LDFN
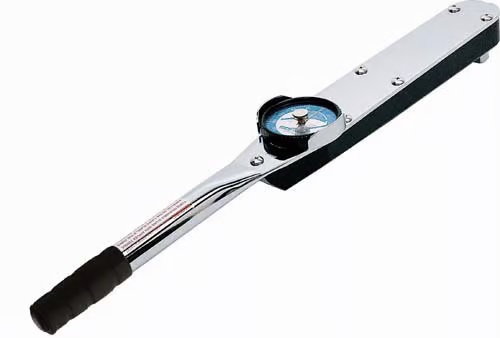
With inspection complete and new parts in hand, proper reassembly procedure makes the difference between a repair that lasts and one that fails prematurely.
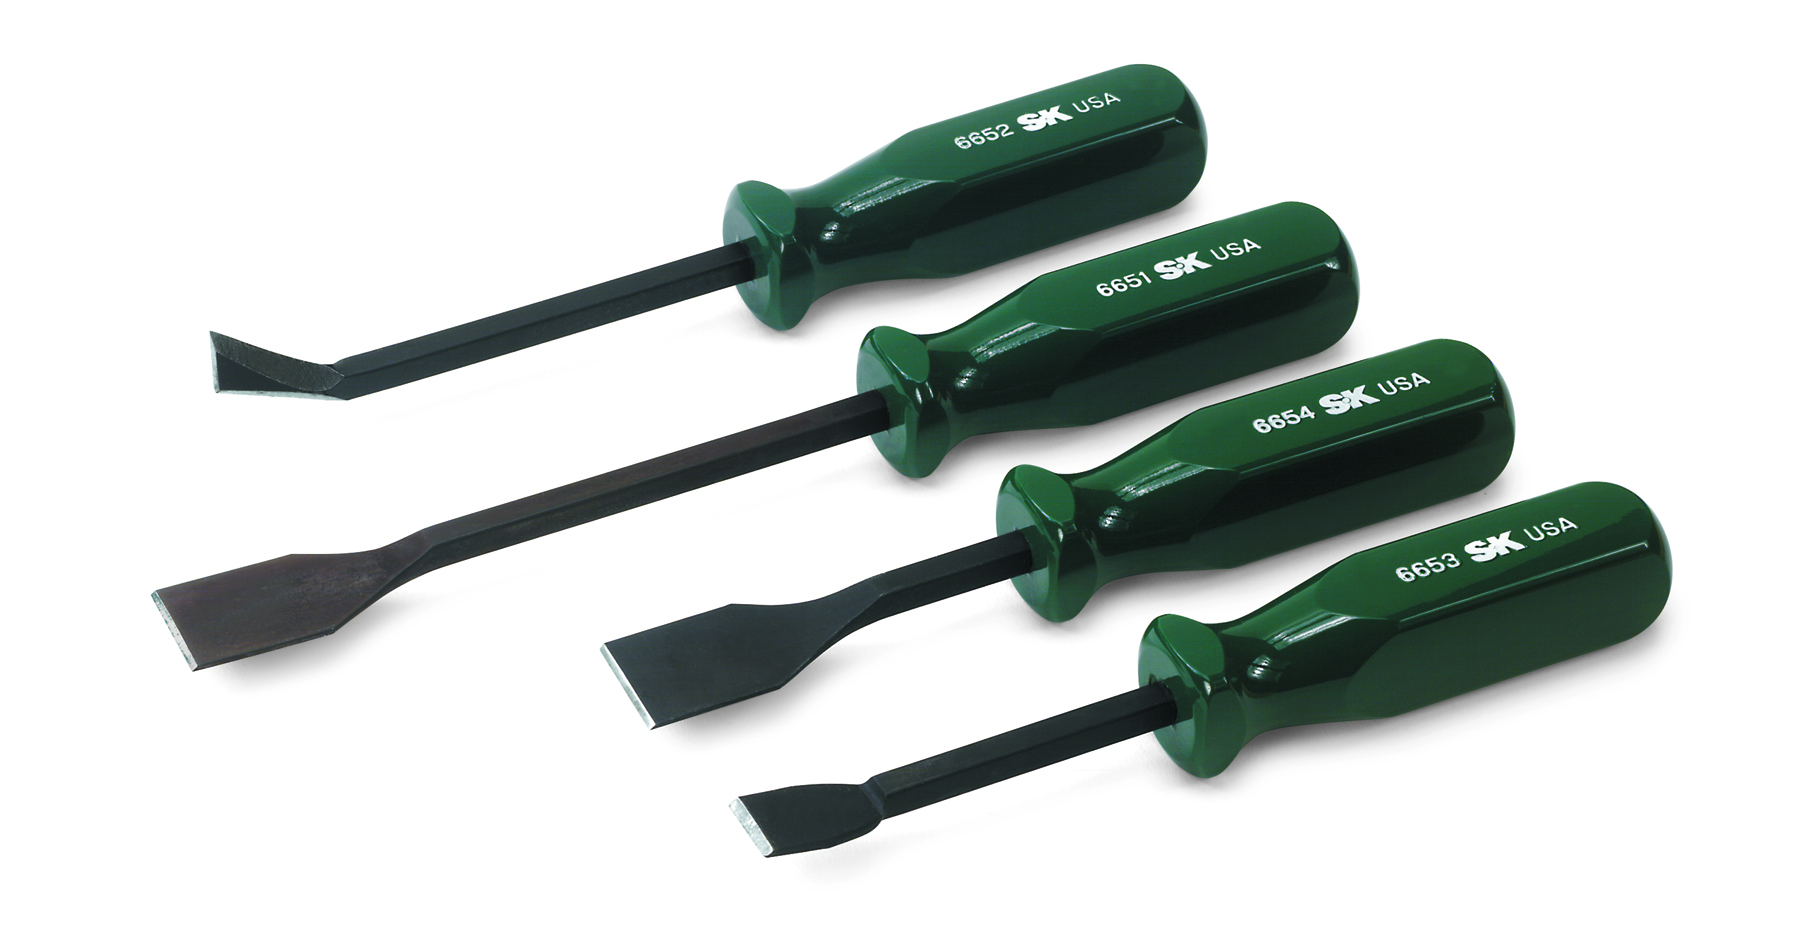
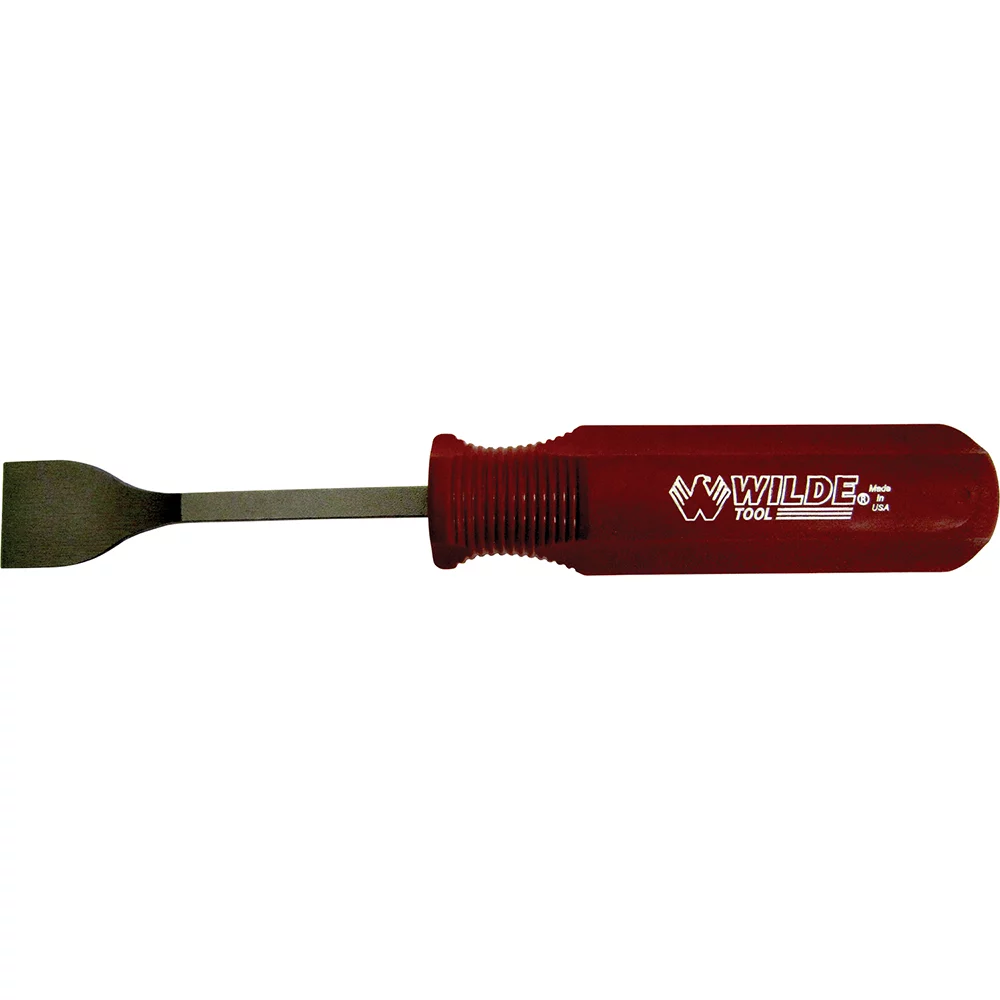
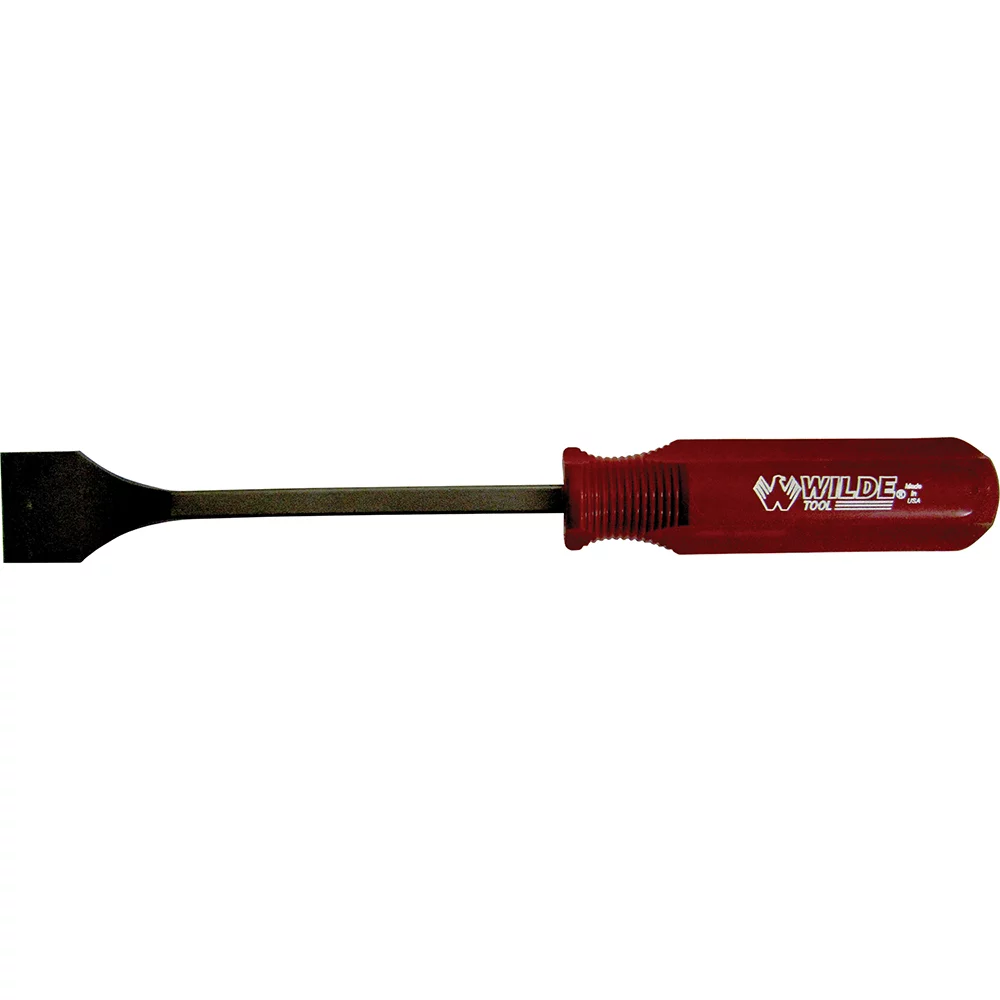
Start with meticulous surface preparation. Both the head and block deck surfaces must be completely clean, with no trace of old gasket material, sealant, or carbon deposits. Use appropriate gasket scrapers—plastic or brass scrapers for aluminum surfaces to avoid gouging. Follow up with solvent and lint-free cloths to remove any oil film. Some techs finish with brake cleaner and allow surfaces to dry completely before gasket installation.
Don’t use any sealant on MLS head gaskets unless explicitly specified by the manufacturer. These gaskets are designed to seal dry, and adding sealant can actually prevent proper seating and cause leaks. Follow the gasket manufacturer’s instructions exactly.
Pay attention to head gasket orientation. Most gaskets have “UP” or “FRONT” markings to ensure correct installation. Installing a gasket upside down or backwards will cause immediate failure.
Clean all head bolt holes in the block thoroughly. Use compressed air to blow out any oil or coolant that may have accumulated in blind holes. If bolt holes extend into water jackets, chase the threads with a tap to ensure they’re clean and apply thread sealant as specified in the service manual to prevent coolant weeping past the bolt threads.
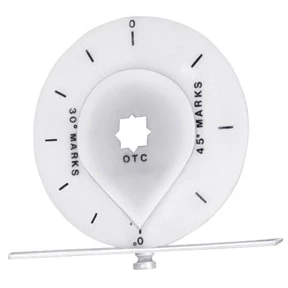
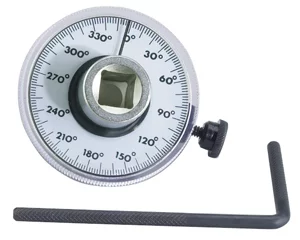
Install head bolts in the sequence specified in your service manual and follow the torque procedure exactly. Most procedures involve multiple stages—an initial torque pass at lower value, then one or more subsequent passes to final specification. If the procedure calls for angle torque, you’ll need an angle gauge or torque wrench with angle measurement capability. Don’t estimate angles by feel; use proper tools.
Torque bolts in the specified pattern, typically working from the center outward in a spiral or cross pattern. This ensures even clamping force distribution across the head gasket. Skipping around randomly can cause gasket distortion and leaks.
If you removed timing components, verify timing marks alignment before buttoning everything up. Double-check valve timing before cranking the engine—an off-by-one-tooth error can cause valve-to-piston contact and catastrophic damage.
Before final reassembly, inspect other related components that may have contributed to the original failure. On engines prone to head gasket problems, check the EGR cooler, which can accumulate deposits and cause hotspots. Some techs soak EGR coolers in professional-strength chemical cleaner—wear respiratory protection if you go this route, as the fumes are serious.
Be aware of vehicle-specific quirks. Some models have transmission assembly dampers with plastic components that wear out and can cause vibration issues that stress gaskets. These are often available only as used parts, so factor replacement difficulty into your repair planning.
Quick Reference Checklist
- Verify steam-cleaned piston hasn’t rotated relative to others—check directional arrows alignment
- Inspect cylinder bores for visible crosshatch pattern and scoring
- Measure head and block deck surfaces for warpage with straightedge and feeler gauges
- Send head for resurfacing if warpage exceeds 0.002-0.003 inches (check manual for spec)
- Replace head bolts, especially if torque-to-yield type
- Clean both sealing surfaces completely—no old gasket material or oil film
- Clean head bolt holes and apply thread sealant if holes go into water jackets
- Install gasket with correct orientation (check UP/FRONT markings)
- Torque bolts in specified sequence and procedure, including angle tightening if required
- Verify valve timing before cranking engine
Preventing Comebacks and Long-Term Success
The difference between a head gasket repair that lasts 100,000 miles and one that fails in six months often comes down to attention to detail in areas that aren’t obvious during the work.
Address the root cause of the original failure. Head gaskets don’t typically fail randomly—something caused it. Common culprits include cooling system problems (stuck thermostat, failed water pump, restricted radiator), engine overheating, or manufacturing defects in certain engine families. If you don’t fix the underlying cause, you’re just buying time until the next failure.
After reassembly, properly bleed the cooling system. Air pockets trapped in the system cause localized hot spots that can lead to gasket failure. Follow the manufacturer’s bleeding procedure, which may involve running the engine with the heater on, parking on an incline, or using specific bleeder valves.
Consider using an updated or improved head gasket design if available. Manufacturers sometimes release revised gaskets that address known failure modes in problematic engines. The redesigned gasket may have different materials, thicker construction, or additional sealing features compared to the original equipment.
On engines with known head gasket issues, some techs recommend ARP head studs as an upgrade from the factory bolts. These aftermarket studs provide more consistent clamping force and are reusable, though they’re significantly more expensive than OEM replacement bolts. This upgrade makes sense for enthusiast vehicles or if you’re doing preventive gasket replacement on a known-problematic engine, but it’s overkill for most standard repairs.
Document your torque values and procedure. Keep notes on which bolts were torqued to what values and the sequence followed. If a problem develops later, this documentation proves the job was done correctly and helps with diagnostic troubleshooting.
Warn the customer about break-in procedure. Some gaskets require a heat cycle or specific break-in period before being subjected to full load. Advise against heavy acceleration or towing for the first few hundred miles after repair.
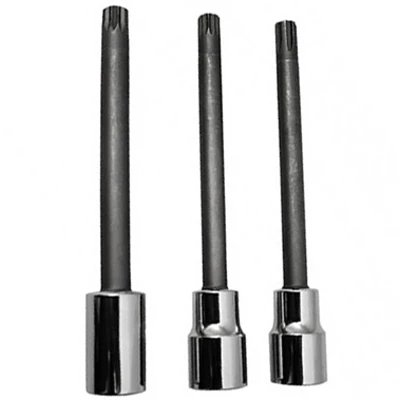
180962 9255 CTA Manufacturing Corp. CTA-9255 CM9255 3-PC VW HEADBOLT WR SET
Mfg: CTA Manufacturing Corp.
Part #: 9255
ID: 180962

Frequently Asked Questions
Why does coolant in the cylinder cause a misfire?
Coolant contamination disrupts the air-fuel ratio, making the mixture too rich and preventing proper combustion. In severe cases, liquid coolant can’t compress during the compression stroke, causing the cylinder to effectively skip firing. The steam produced by vaporizing coolant also displaces combustible mixture, reducing power output from that cylinder.
Can I just hone the cylinders and reuse the pistons?
If cylinder bore wear is within specification and you still have visible crosshatch pattern, yes. However, if the bores are worn beyond spec or the crosshatch is polished away, you’ll need machine work—either honing to restore the crosshatch pattern or boring oversized and installing oversized pistons. The steam-cleaned piston itself is typically fine to reuse if the bore condition is acceptable and the piston hasn’t rotated on the rod.
How do I know if my head bolts are torque-to-yield?
Check your service manual torque procedure. If the procedure includes angle tightening (e.g., “torque to 50 ft-lbs plus 90 degrees”), the bolts are torque-to-yield. The manual may also explicitly state whether bolts are reusable or must be replaced. Some manufacturers provide bolt length specifications—you measure the bolts and replace any that have stretched beyond a certain length.
What’s the difference between MLS gaskets and composite gaskets?
Multi-layer steel (MLS) gaskets consist of multiple thin steel layers with special coatings, providing excellent sealing and durability but requiring very flat, smooth mating surfaces. Composite gaskets use graphite or other materials bonded to a metal core and are more forgiving of minor surface imperfections, but they’re less durable under high cylinder pressures and temperatures. Most modern engines use MLS gaskets.
Do I need to replace the head gasket if I remove the head for other work?
Yes, always replace the head gasket when removing a cylinder head, even if you’re doing the work for another reason like valve service. Head gaskets are designed to crush once during installation to conform to the mating surfaces. Once removed, they won’t seal properly if reinstalled. The cost of a new gasket is trivial compared to the labor involved in removing and installing a cylinder head.
How much warpage is acceptable before resurfacing the head?
Most manufacturers specify maximum warpage between 0.002 and 0.003 inches across the entire head surface, though specifications vary. Check your specific service manual. With MLS gaskets, even minor warpage can cause sealing problems, so many techs automatically resurface heads on any gasket job involving coolant intrusion or overheating, regardless of measured warpage.
Engine Repair Tools for Head Gasket Work
Proper head gasket diagnosis and reassembly require the right equipment on hand. Our Engine Repair Tools selection includes precision instruments and fastening equipment essential for cylinder head inspection, surface preparation, and bolt torque procedures.
- Straightedges, feeler gauges, and bore inspection tools for accurate flatness and bore condition assessment
- Head bolt and stud options, including torque-to-yield fasteners and angle measurement tools
- Gasket scrapers, surface prep equipment, and sealant application tools for clean reassembly
Essential Engine Repair Tools for Diagnosis & Service
Diagnosing head gasket issues and inspecting piston condition requires the right tools in your workshop. Our Engine Repair Tools category features everything you need for accurate diagnosis and successful repairs, from inspection equipment to specialized service tools.
Explore our recommended products to tackle engine diagnostics with confidence:
- Cylinder Compression Testers – Measure compression across all cylinders to identify gasket failure and ring wear patterns
- Borescope Inspection Cameras – Get visual confirmation of piston carbon buildup, valve condition, and combustion chamber cleanliness
- Gasket Scrapers & Seal Removal Tools – Safely remove old gaskets and carbon deposits without damaging cylinder head surfaces

The Toolsource Technical Team blends decades of real-world automotive service experience with up-to-date technical research. Our writers collaborate with professional mechanics, shop owners, and diagnostic specialists to deliver practical, workshop-ready guidance you can trust.


Follow us on social media