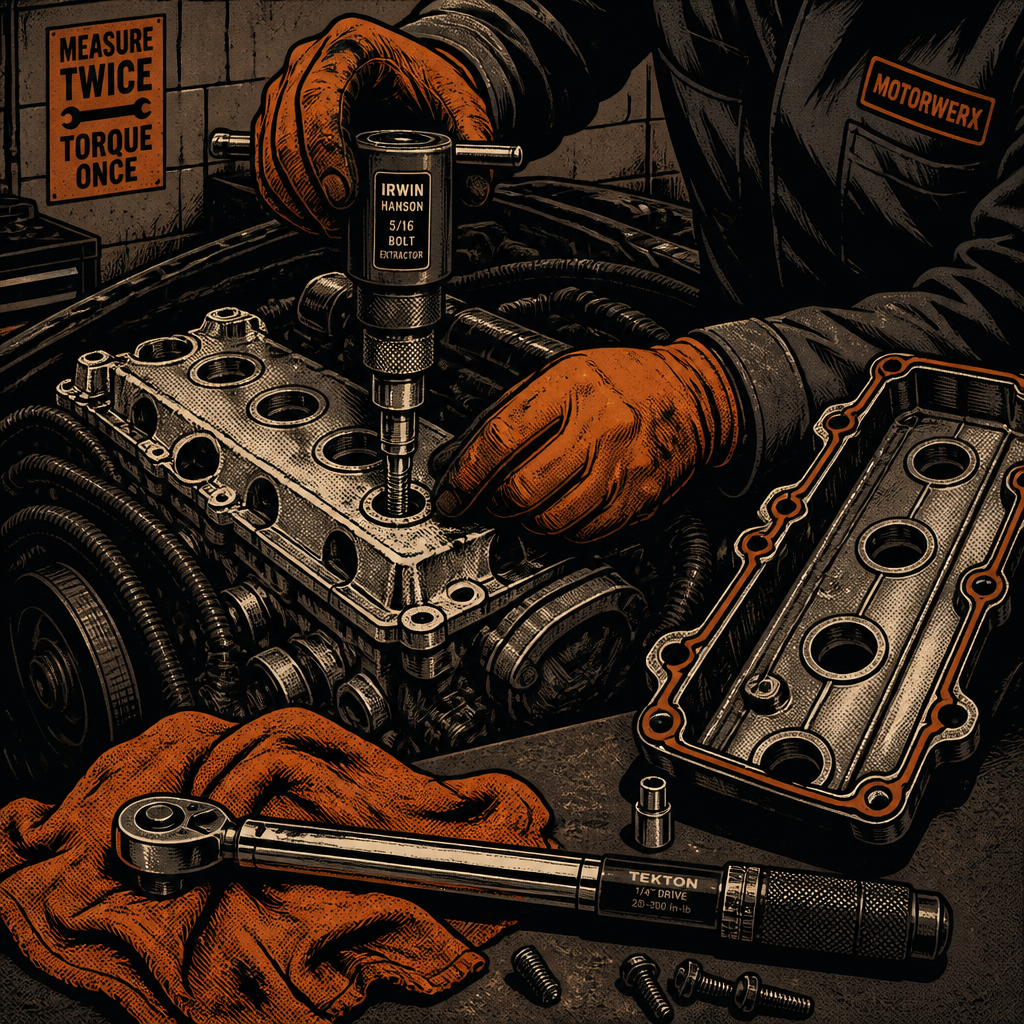
A snapped valve cover bolt is one of those problems that looks worse than it usually is. The valve cover sits under low-to-no pressure — it’s only holding back gravity-fed oil splash from the rockers or camshaft, not a pressurized system — so a single missing or broken fastener rarely causes a catastrophic leak. That said, it’s not something to ignore indefinitely, and how you handle it depends on whether the broken piece is still threaded into the head, how much of the bolt pattern is compromised, and how soon you can get the vehicle into a bay for a proper fix. Below is a practical breakdown of what to check, how to buy yourself time safely, and how to close out the repair correctly.
Assess the Leak Before You Do Anything Else
Start by confirming what you’re actually dealing with. Pull the cover (if it’s already loose) or inspect around the broken bolt location and note:
- Whether the bolt sheared at the head, leaving a stud stuck in the cylinder head threads, or whether it broke off flush or below the surface.
- How much clamping force is lost — one bolt out of a 6-, 8-, or 10-bolt pattern is a minor gap; two adjacent missing bolts is a bigger problem.
- The condition of the gasket in that area — cracked, hardened, or compressed unevenly.
- Whether oil is actively dripping or just seeping/staining.
In most cases with a single broken bolt, the report from techs and DIYers alike is consistent: you’ll see a slow seep or light weeping, not a stream. That’s manageable short-term as long as you’re checking oil level regularly and not driving it for weeks without a fix.
Buying Time With RTV Sealant
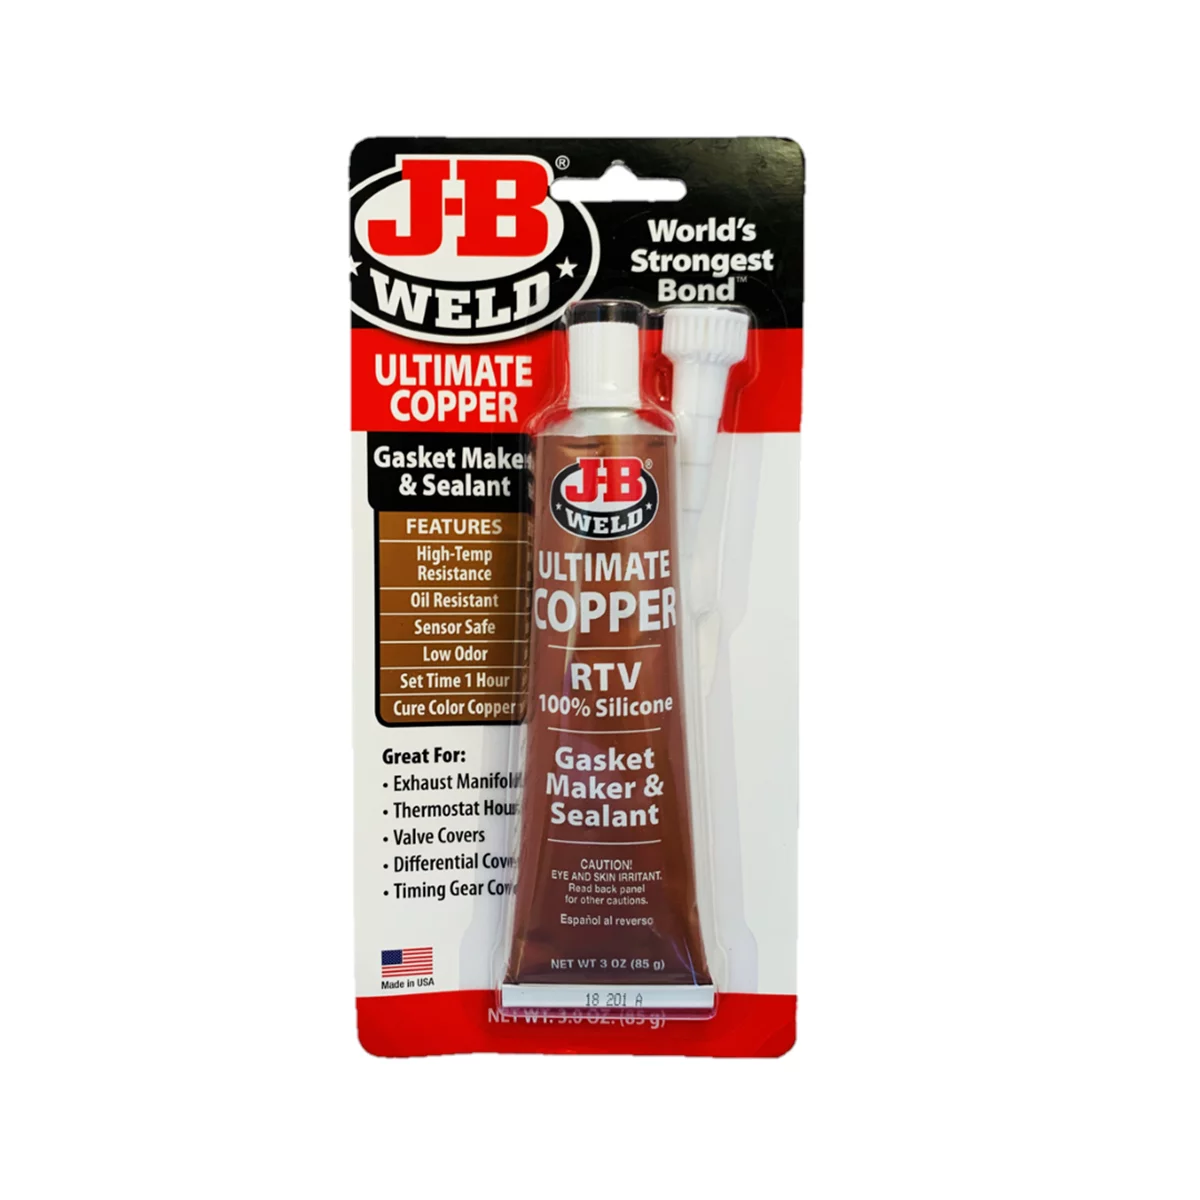
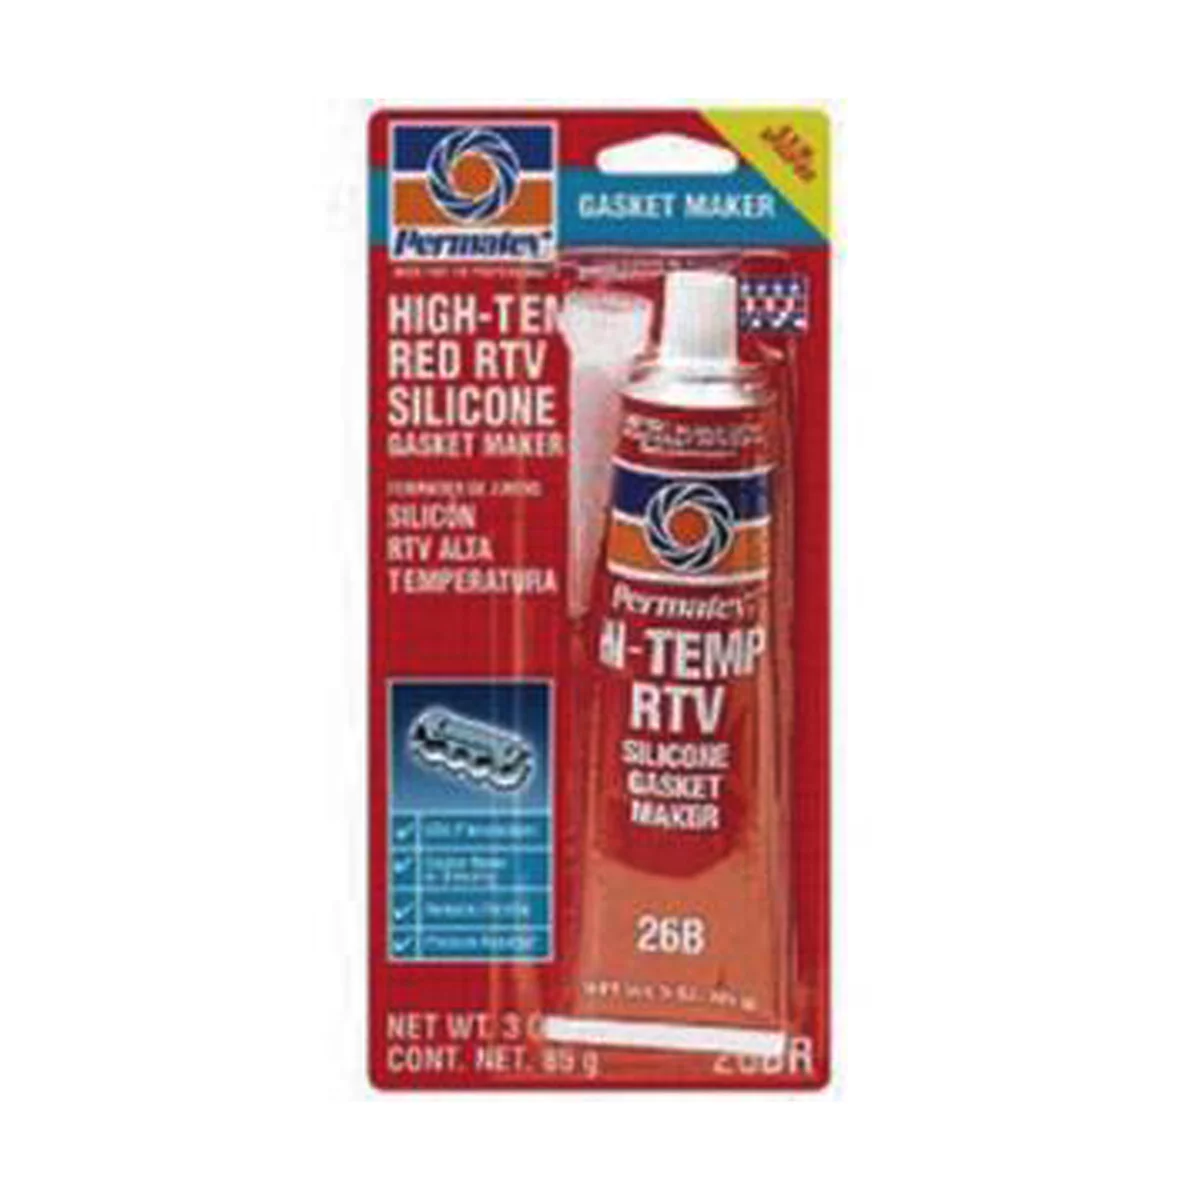
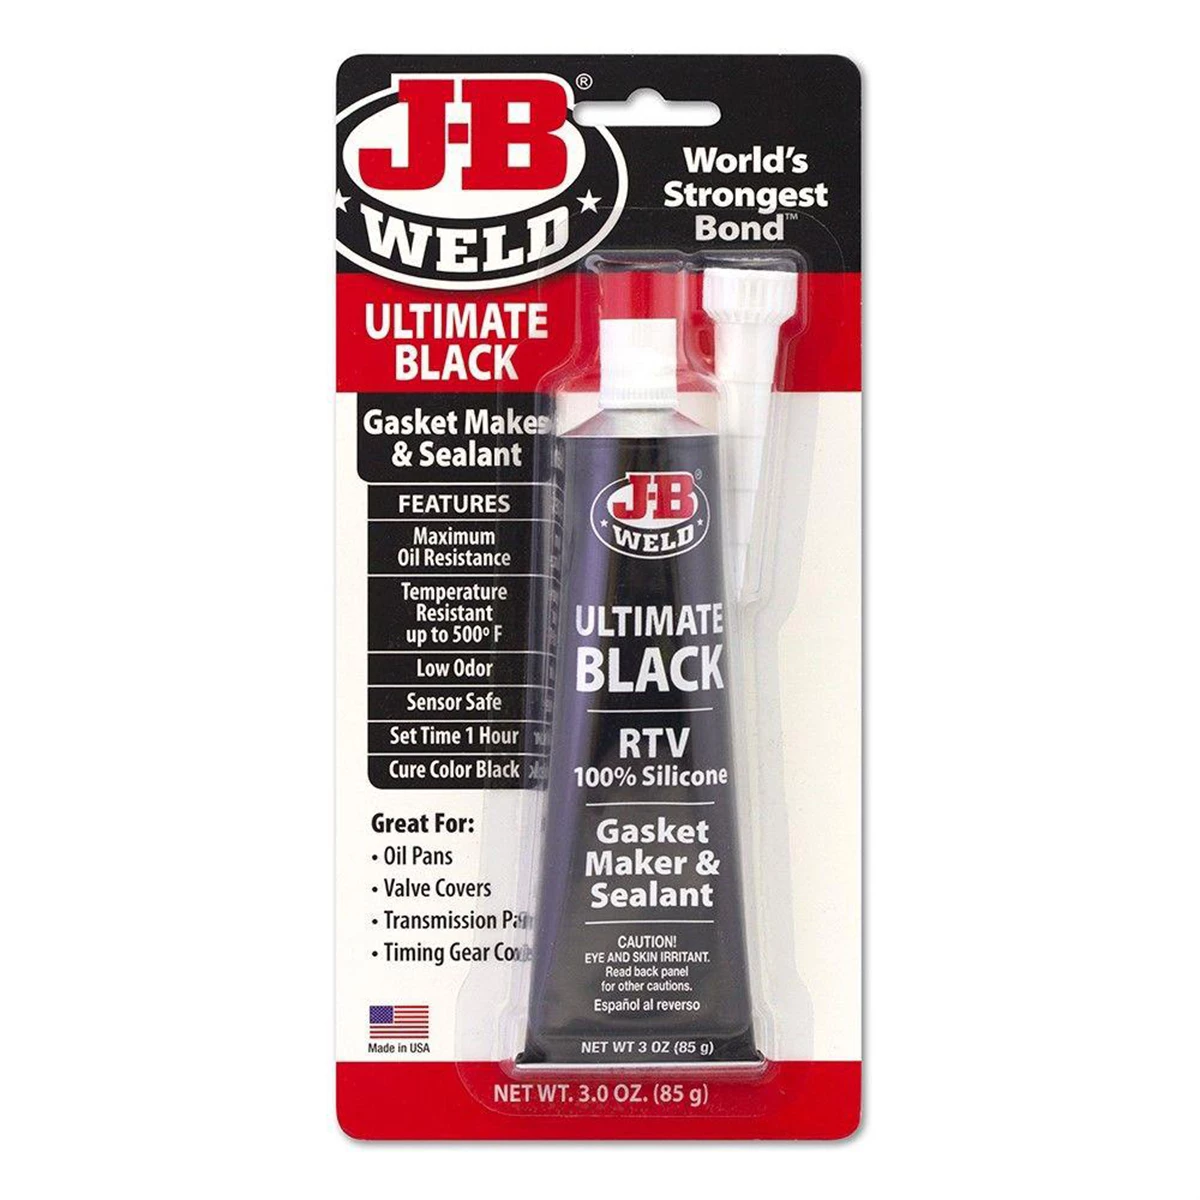
If you can’t fix the bolt immediately — waiting on a part, waiting for shop time, or just need to get through a commute — a bead of RTV (room-temperature-vulcanizing) silicone sealant along the gasket seam near the broken bolt is the standard stopgap. Apply a thin, even bead directly over the seam where the missing clamping force is letting oil escape, and let it cure fully before starting the engine. Curing time matters: uncured RTV won’t seal properly and can actually work its way into the oil galley if applied too heavy or too close to an open passage, so keep the bead modest and stay away from any oil return holes near the cover’s edge.
Key points on the RTV approach:
- Give it a full 24 hours to cure before running the engine, if your schedule allows it. A rushed cure won’t hold up to heat cycling.
- This is a reduction measure, not a permanent seal — it will slow the leak, not necessarily stop it completely.
- Use a high-temp, oil-resistant RTV rated for engine use, not general-purpose silicone caulk.
- Don’t use RTV as a substitute for fixing the actual bolt. It’s a bridge to the real repair, not the repair itself.
===PRODUCT_SEARCH_1===
Extracting the Broken Bolt
Once you’re ready to do the real fix, the broken bolt itself is usually the hardest part. How you approach it depends on how the bolt failed:
- Bolt broke at or above the surface: You may be able to grip the remaining stub with locking pliers, a stud extractor, or by welding a nut onto the exposed end for leverage. Some techs have had luck using the broken-off bolt head itself as a punch — pressing it against the stuck remnant and turning counterclockwise to “catch” and back it out — though this is hit-or-miss and depends on how the threads failed.
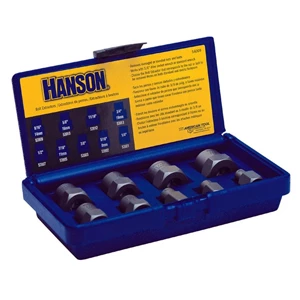
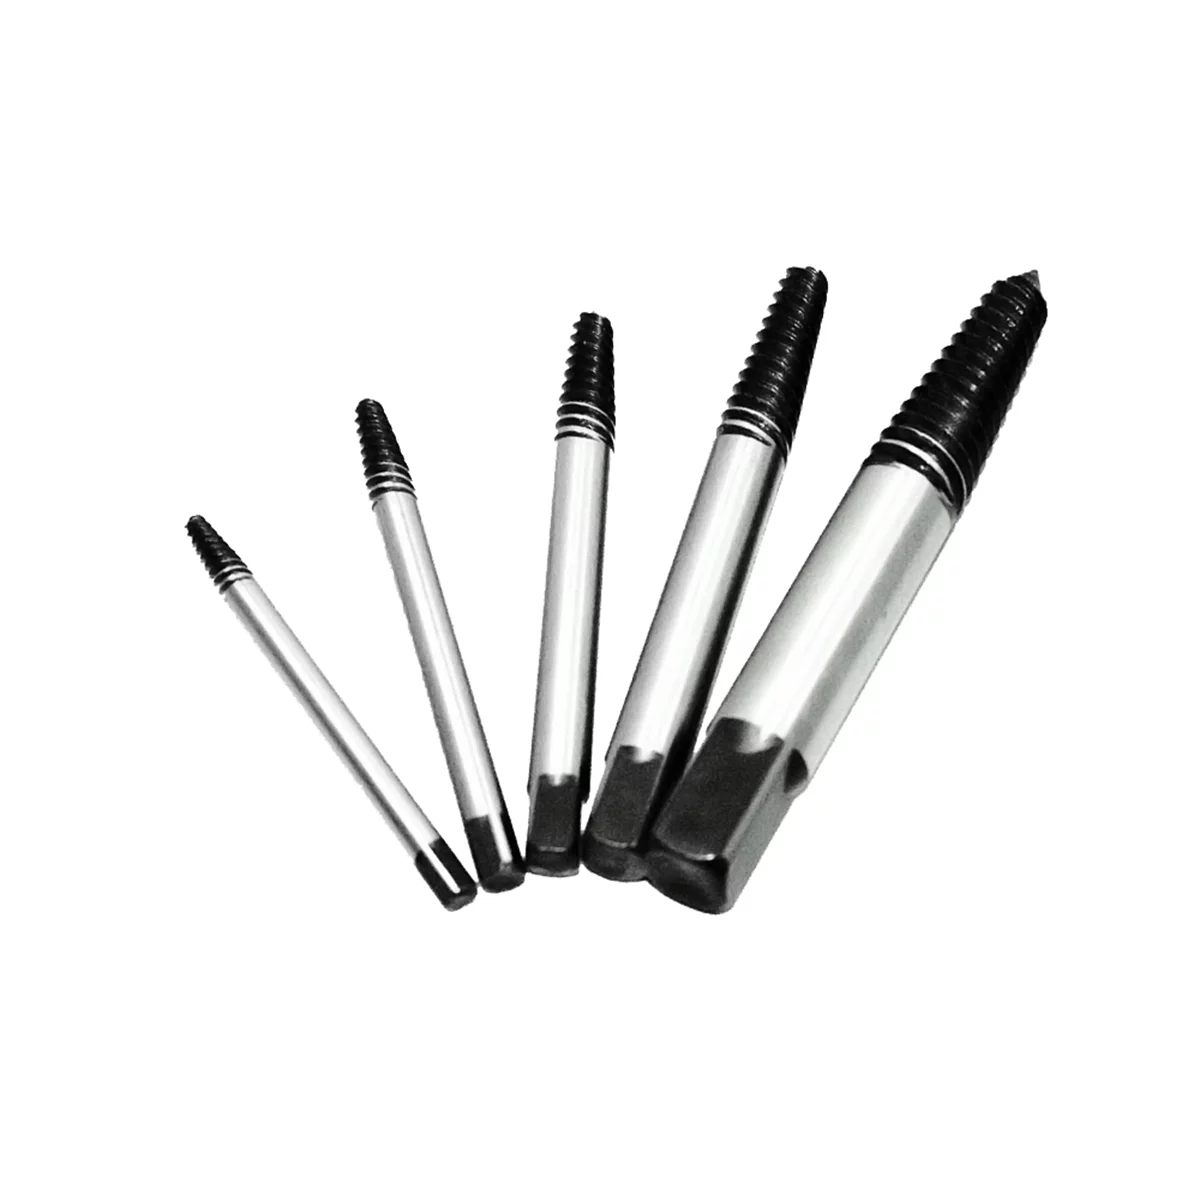
- Bolt broke flush or below the surface: This typically requires center-punching, drilling a pilot hole, and using an extractor (easy-out) or having it removed with a specialty tool. If you’re not confident with a drill press or hand drill staying perfectly centered in a head casting, this is a good point to hand it to a machine shop — a mis-drilled hole in a cylinder head is a far more expensive mistake than the original broken bolt.
- Stripped or damaged threads after extraction: A thread insert (Heli-Coil or similar) restores proper clamping torque without replacing the head.
One field trick worth knowing: if you’re removing the cover while the engine is still warm from driving, have your extraction tools staged and ready beforehand. A warm engine means warm metal, which can make a stubborn bolt easier to break loose — but you want to move quickly and have everything on hand rather than working on a hot engine bay piece by piece. Always cover any open passages in the head before drilling or extracting so metal shavings can’t fall into the valvetrain.
Should You Replace the Gasket Too?
This is where opinions split, but the reasoning is straightforward once you understand what a valve cover gasket actually does. Torquing the bolts to spec compresses the gasket to a specific point that the manufacturer engineered to seal reliably. Heat cycling over time hardens that gasket material, so it loses some of its compression memory. If you pull the cover and re-torque an old, hardened gasket, it may not seal the way it did originally — you can end up trading one small leak around a broken bolt for a leak around the entire cover.
Practical guidance:
- If you’re already removing the cover to extract the bolt, replace the gasket at the same time. The labor is identical whether you reuse the old gasket or install a new one, and gaskets are inexpensive relative to the job.
- If the leak is minor and you’re not planning to pull the cover right now, it’s reasonable to keep driving and monitoring oil level until you’re ready to do the full repair — just don’t remove and reinstall the cover repeatedly with the old gasket in the meantime, since each cycle degrades the seal further.
- Don’t reuse a gasket that shows visible cracking, flattening, or damage near the broken bolt location, even if the rest of it looks fine.
Step-by-Step Repair Procedure
- Confirm the oil level and top off if needed before driving to a repair location.
- Remove the valve cover fully once you’re ready to work — don’t try to extract the bolt with the cover installed unless the break is fully accessible.
- Clean the bolt hole and surrounding gasket surface of old sealant, oil residue, and debris.
- Extract the broken bolt using the method appropriate for how it failed (grip, weld-nut, or drill-and-extract).
- Chase the threads with a tap to clean them, and install a thread insert if the threads are damaged.
- Install a new gasket (recommended) and set the cover in place.
- Replace the broken bolt with an OEM-spec or equivalent bolt — don’t substitute a different grade or length than original.
- Torque all valve cover bolts to spec, in the sequence specified by the manufacturer, working from the center outward or per the factory pattern.
- Run the engine, check for leaks, and recheck oil level after a short drive.
Preventing Repeat Bolt Failures
Valve cover bolts most often break from over-torquing, cross-threading, or corrosion weakening the fastener over years of heat cycling. To avoid a repeat:
- Always use a torque wrench on valve cover bolts — these are low torque specs, and it’s easy to overtighten with an impact driver or by feel.
- Replace corroded or previously-broken bolts with new OEM or OEM-equivalent hardware rather than reusing questionable ones.
- Apply anti-seize on aluminum head threads if specified by the manufacturer, to prevent galling on future removals.
- Inspect gasket condition at every cover removal — don’t wait for a bolt failure to catch a hardening gasket.
===PRODUCT_SEARCH_2===
Quick Reference Checklist
- Check oil level and inspect the leak severity before deciding next steps
- Apply high-temp RTV along the seam only if you need a short-term seal, and let it cure fully
- Identify how the bolt broke (surface vs. flush/below) before choosing an extraction method
- Cover open passages before drilling to keep debris out of the engine
- Replace the gasket any time the cover is already off for the repair
- Torque new bolts to factory spec with a torque wrench, in the correct sequence
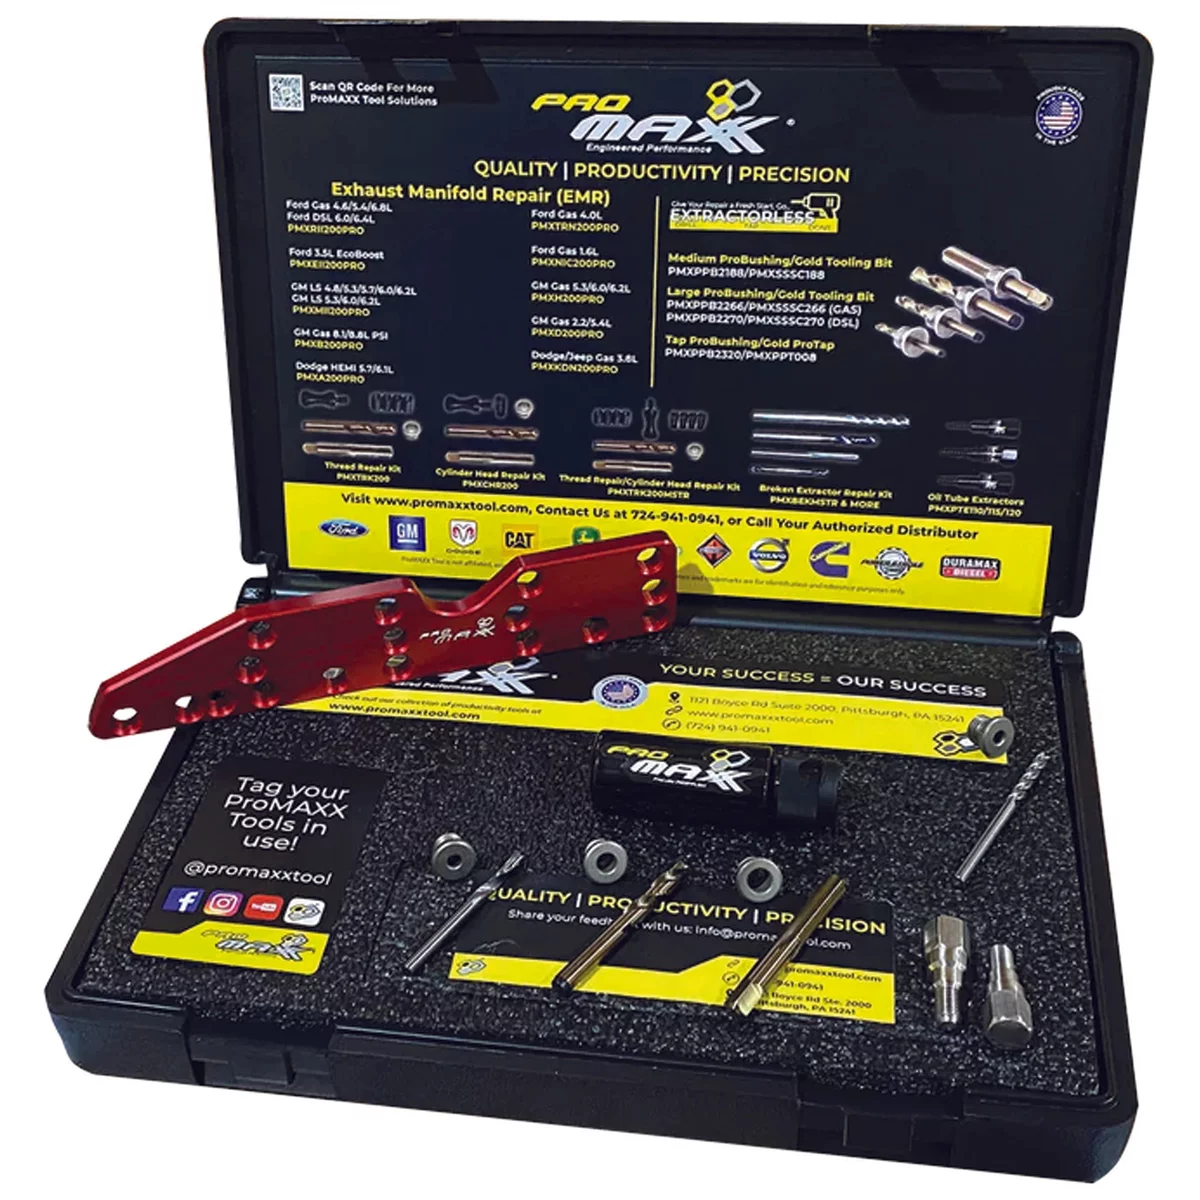
ProMAXX Tool by Milton™ EcoBoost 3.5L ProKit Plus
Mfg: ProMaxx Tool by Milton
Part #: PMXEII200PROP
Frequently Asked Questions
Can I keep driving with a broken valve cover bolt?
Generally yes, in the short term, as long as you monitor oil level regularly. There’s minimal pressure on the valve cover, so the leak is typically a slow seep rather than a rapid loss of oil. It’s not a permanent solution, but it won’t strand you immediately.
Will RTV sealant actually stop the leak?
It usually reduces the leak significantly rather than eliminating it completely. Think of it as damage control until you can properly extract the bolt and reseal the cover, not a final fix.
Do I have to replace the gasket if I only replace the bolt?
Not strictly, if the gasket is in good condition and you’re not otherwise removing the cover. But if you’re already pulling the cover to extract the broken bolt, replace the gasket at the same time — reusing a heat-hardened gasket after re-torquing often leads to a broader leak than the one you started with.
What’s the best way to remove a bolt that broke off flush with the head?
Center-punch it, drill a pilot hole sized for an extractor, and use a proper easy-out or have a shop remove it. This is the highest-risk step in the repair since a slipped drill bit can damage the head threads or casting, so if you’re not confident, this is worth paying a machine shop for.
Is it safe to remove the cover while the engine is still warm?
Warm metal can make a stuck or broken bolt easier to break free, and some techs prefer working on a warm engine for that reason. Just have your tools staged ahead of time and be mindful of hot components — don’t work on a hot engine without proper care around exhaust and other heat sources.
How do I know if I need a thread insert instead of just a new bolt?
If the threads in the cylinder head are stripped, cross-threaded, or damaged during extraction, a new bolt alone won’t hold proper torque. A thread insert (like a Heli-Coil) restores the thread integrity so the new bolt clamps correctly.
Recommended Tools for Valve Cover Repair
Extracting a broken valve cover bolt safely requires the right tools — from easy-outs and stud extractors to thread repair supplies and a reliable torque wrench. Our Engine Repair Tools selection covers the specialized equipment you need to complete this repair correctly.
- Bolt extractors, easy-outs, and stud removal tools for seized or broken fasteners
- Thread repair supplies including taps, Heli-Coils, and thread insert kits
- Torque wrenches and fastening accessories for proper reassembly

The Toolsource Technical Team blends decades of real-world automotive service experience with up-to-date technical research. Our writers collaborate with professional mechanics, shop owners, and diagnostic specialists to deliver practical, workshop-ready guidance you can trust.


Follow us on social media