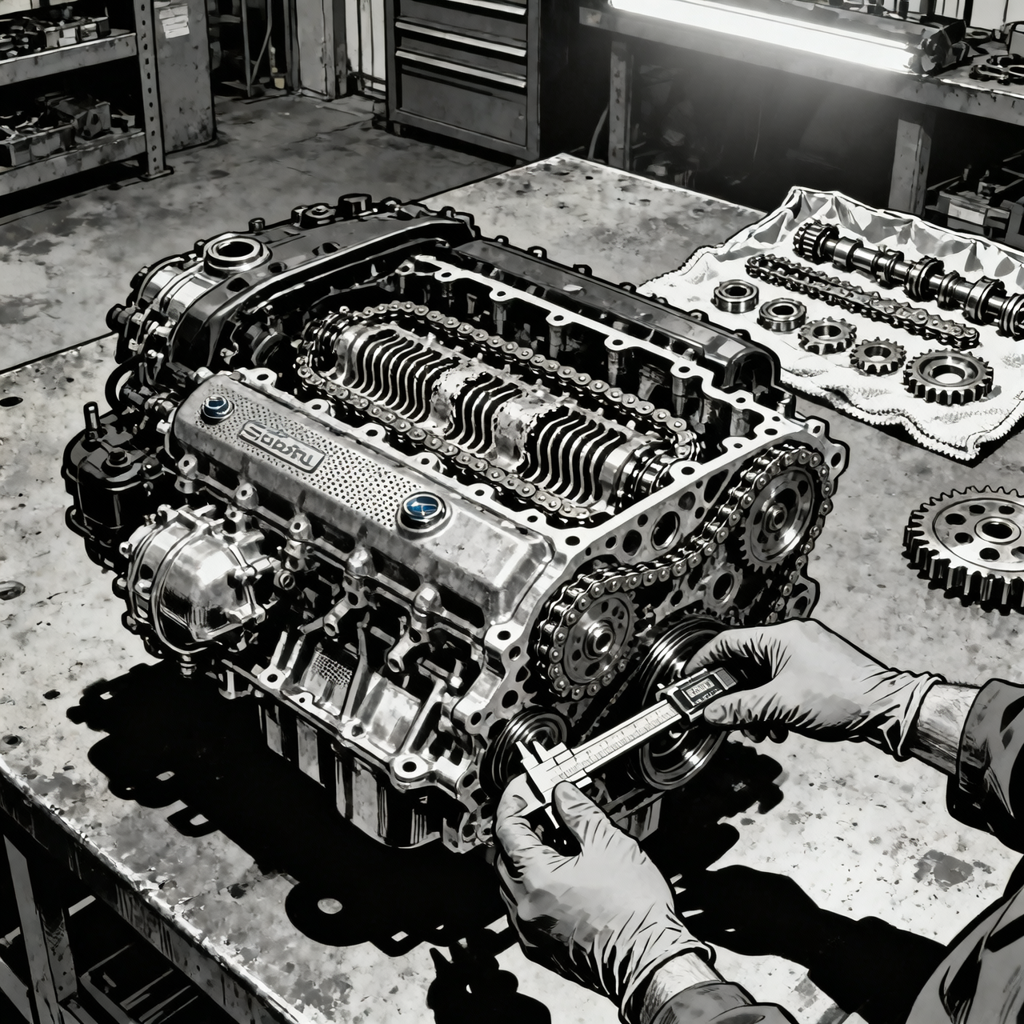
A 2012 Subaru with the 3.6L engine came in for water pump replacement at 52,000 miles. When the tech pulled the timing cover, the chain guides showed wear patterns typically seen past 175,000 miles—deep grooves, thinning plastic, and evidence of excessive chain movement. The vehicle had documented regular maintenance and clean Carfax records, yet the timing components told a different story. For technicians, this case highlights how low-mileage vehicles aren’t immune to timing system failures and why understanding wear patterns matters when you’re already deep in an engine. This guide examines what causes premature timing chain wear, how to properly assess component condition, and the correct replacement procedure when guides and tensioners show damage.
Recognizing Abnormal Timing Chain Wear Patterns
Timing chains in modern engines are designed as 300,000-mile components under normal conditions. Some reach 500,000 miles before replacement becomes necessary. When you see severe wear at 52,000 miles, you’re looking at accelerated degradation caused by operating conditions or component failure, not normal service life.
The guides in this case showed grooves worn through more than half the plastic thickness. On a properly functioning system, you should barely see witness marks from chain contact at this mileage. Deep channels indicate the chain has been moving laterally or slapping against the guides with excessive force. The wear pattern itself provides diagnostic information—uniform deep grooves across multiple guides suggest systemic problems with chain tension rather than isolated component defects.
Chain tensioners showed scoring on the piston surfaces, indicating they were binding and failing to maintain proper tension. When tensioners stick or don’t extend fully, the chain develops slack. Under acceleration and deceleration, that slack translates to violent chain movement and impact loading on the guides. The result is the accelerated wear visible in the removed components.
Pay attention to the overall cleanliness of the components. In this case, the engine internals were relatively clean—not showing the heavy sludge buildup associated with extended oil change intervals or poor maintenance. This rules out neglect as the primary cause and points toward operating conditions or component quality issues. Conversely, if you see heavy varnish, sludge, or oil coking on timing components, extended drain intervals or oil consumption issues are likely contributors to premature wear.
Why Short Trip Cycles Destroy Timing Components
This vehicle averaged approximately 4,000 miles per year over 13 years—about 330 miles monthly. The owner reported driving roughly 500 miles per month since purchase, suggesting the previous owner drove even less. When you see extremely low annual mileage like this, short trip operation becomes the prime suspect for premature component wear.
Short trips prevent engines from reaching full operating temperature. Oil doesn’t heat sufficiently to boil off moisture and fuel contamination. On timing chains, this manifests in several ways. First, cold oil has higher viscosity and doesn’t flow as readily to tensioners and chain interfaces. The tensioner piston relies on oil pressure to extend and maintain tension—inadequate flow means inadequate tension, especially during cold starts when chain slap is already more severe.
Second, repeated cold starts without adequate warm-up cycles allow condensation and combustion byproducts to accumulate in the oil. This acidic contamination degrades the oil’s lubricating properties and can cause corrosion on chain pins and tensioner mechanisms. The scoring visible on the tensioner pistons is consistent with this type of damage.
Third, engines that idle extensively or run only for short periods accumulate operating hours without accumulating miles. A vehicle driven 500 miles monthly in 5-mile trips might accumulate as many engine hours as one driven 2,000 miles in longer highway trips. The wear is disproportionate to odometer readings. This explains why timing components can look like they have 200,000 hard miles when the odometer shows only 52,000.
Police vehicles, delivery trucks making frequent stops, and cars used for very short commutes all exhibit this pattern. If you encounter premature timing wear on a low-mileage vehicle, review the service history for clues about driving patterns. Frequent oil changes at low mileage intervals (every 3-6 months rather than 5,000-7,500 miles) often indicate short trip operation.
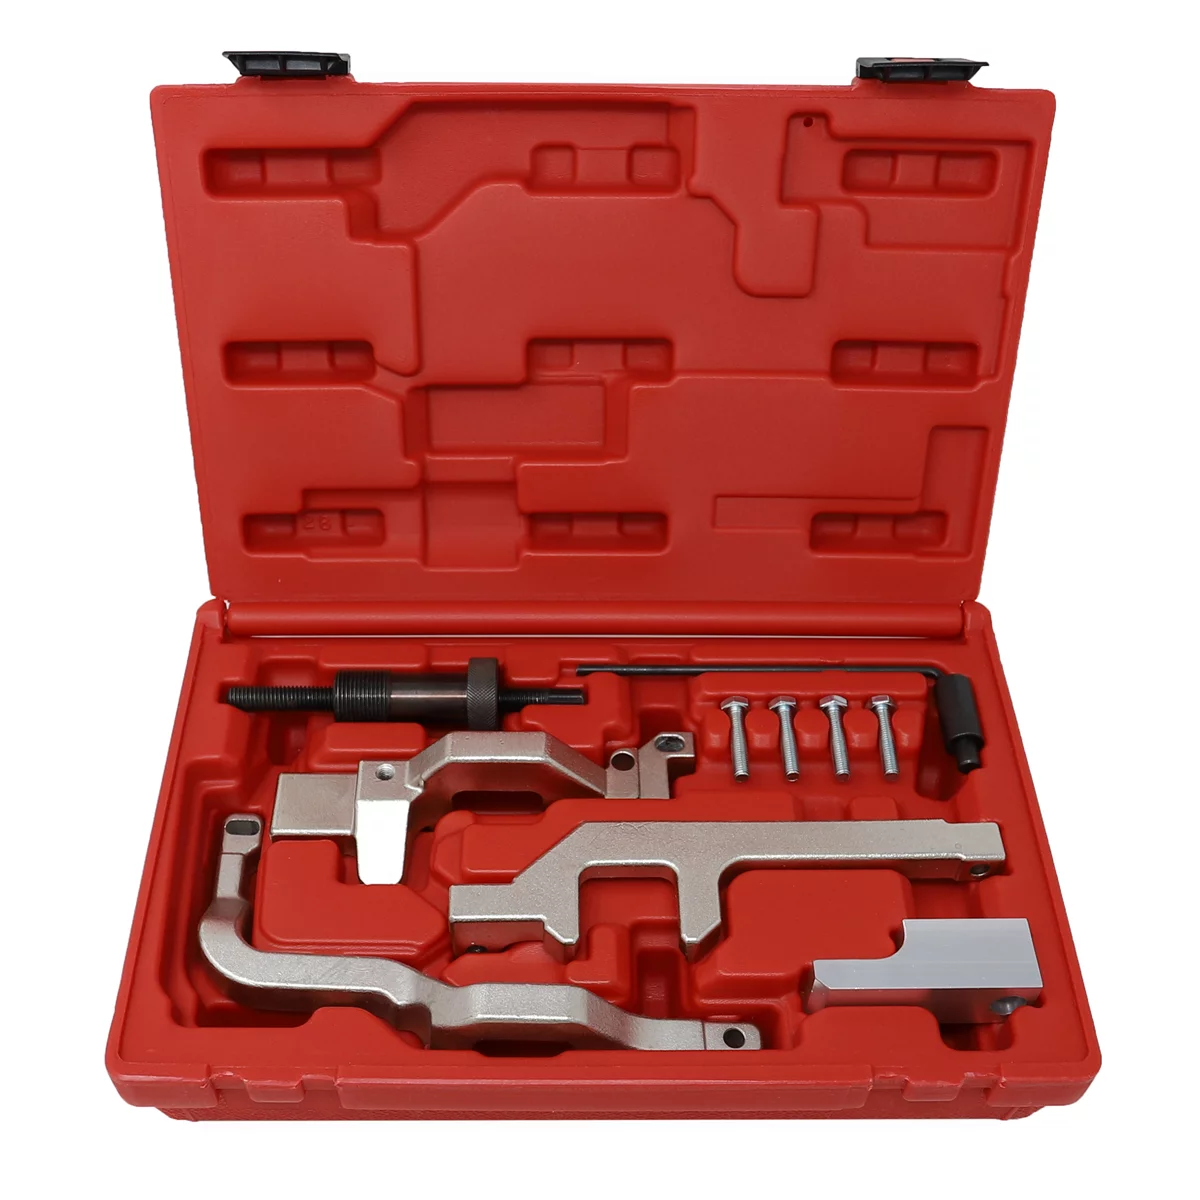
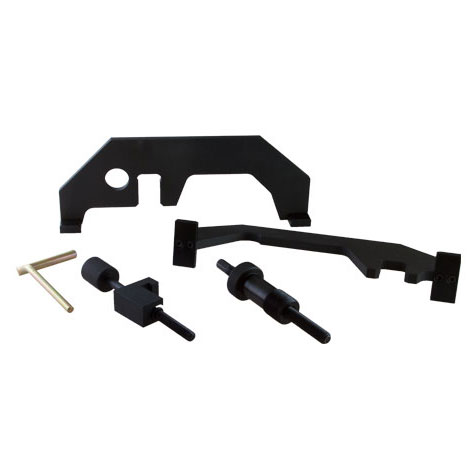
BMW/MINI Timing Chain Tool Kit - N12, N14 & N16
Mfg: CTA Manufacturing Corp.
Part #: 3770
Camshaft Locking Tool Kit VW/Audi 2.5L, 3.2L 4.2L BSN FSi
Mfg: Baum Tools
Part #: BT40070KIT
Timing Chain Wedge and Handle 303-636 & 303-637
Mfg: OTC Tools and Equipment
Part #: 303-1175
Assessing Component Condition When You’re Already Inside
Once you’ve removed the timing cover for any reason—water pump replacement, oil leak repair, or suspected timing problems—the labor cost to access the components is already incurred. The decision to replace timing parts becomes about parts cost versus risk of premature failure, not about avoiding a second teardown.
Start with the chain guides. New guides have smooth, unmarked surfaces. Light witness marks—shallow polished areas where the chain contacts the guide—are normal and don’t indicate replacement is necessary. When you see defined grooves cutting into the plastic, measure the remaining material thickness. Compare it to a new part if possible. If more than 30-40% of the original thickness is worn away, replacement is warranted. If you can see light through the guide material at the wear points, it’s well past replacement threshold.
Check the guide material itself for brittleness. Plastic timing components age over time and can become brittle even without visible wear. Gently flex the guide—if it feels stiff or shows surface cracking, the plastic has degraded and should be replaced regardless of wear patterns. Temperature cycling and oil contamination both accelerate plastic aging.
For tensioners, remove them completely and test their operation. The piston should extend smoothly under light pressure and retract when released. If it sticks, binds, or shows scoring on the piston surface, replace it. Tensioners are high-wear components even under ideal conditions because they’re constantly cycling to maintain chain tension. On a 52,000-mile engine with documented timing problems, fresh tensioners are cheap insurance.
Inspect the timing chain itself. Lay it on a flat surface and check for tight spots or stiff links. The chain should flex smoothly along its entire length. Measure chain stretch using the manufacturer’s procedure—typically you’ll measure between specific links and compare to specifications. Even if the chain appears visually acceptable, excessive stretch indicates wear on the pins and rollers. A stretched chain will quickly damage new guides, so don’t install new guides with a worn chain.
Examine the sprockets. Teeth should have square edges without hooking, sharp points, or visible wear patterns. A worn sprocket will accelerate chain wear and should be replaced with the timing set. Check the cam phasers if equipped—binding or sludged phasers can cause timing chain problems by creating sudden load changes during operation.
Complete Timing Chain Replacement Procedure
If you’ve determined replacement is necessary, commit to doing the job completely. Replacing only the guides while leaving worn tensioners or a stretched chain invites comebacks. The labor to access the components is identical whether you replace everything or just the guides—the parts cost difference is minimal compared to doing the job twice.
Order a complete timing chain kit from OEM or quality aftermarket sources. Avoid economy Chinese kits—the parts cost difference is $200-300, but failure rates are significantly higher. A stretched or broken aftermarket chain means you’re doing the job again at no charge, which quickly eliminates any profit from using cheap parts. Stick with OEM, Cloyes, or other reputable manufacturers for timing components.
Before disassembly, photograph or diagram the timing marks. Even if you’re replacing everything, having a reference prevents errors during reassembly. Rotate the engine to TDM on cylinder one and verify all timing marks align before loosening any chain or sprocket bolts. If the marks don’t align correctly, the engine may have jumped time, which requires additional diagnosis before proceeding.
Remove the old chain and components systematically. Inspect the oil pump drive and main chain while you have access—if the guides are worn, check whether the primary chain shows similar wear. Some engines use the timing chain to drive the oil pump; verify that drive mechanism is intact and properly timed.
Clean all mating surfaces thoroughly before installing new components. Remove old gasket material, sealant residue, and any plastic fragments from the worn guides. Check the timing cover for damage—cracked covers or damaged mounting bosses can cause oil leaks or misalignment of the chain system. Replace the cover if it’s damaged.
Install new guides first, torquing mounting bolts to specification. Install the crankshaft sprocket, then route the new chain over the crank sprocket and up to the cam sprockets, maintaining proper timing mark alignment throughout. Some engines require special tools to hold the cams in position during chain installation—consult the service manual for your specific engine.
Install new tensioners in the compressed position, then release them once the chain is fully installed and timing marks are verified. Double-check timing mark alignment before reinstalling the timing cover. Rotate the engine by hand through two complete revolutions and verify the marks return to the correct position. If timing is off, stop and diagnose the problem before proceeding—incorrect valve timing can cause catastrophic engine damage on interference engines.
Use new gaskets and proper sealant on the timing cover. Overtightening cover bolts can warp the cover and cause leaks; undertightening allows oil seepage. Follow torque specifications exactly. If the engine uses a front main seal, replace it during reassembly—it’s cheap insurance against oil leaks after you’ve invested this much labor.
Preventing Premature Timing Chain Wear
For customers whose vehicles see primarily short trip operation, recommend modified maintenance schedules. Switch to time-based oil change intervals rather than mileage-based. A car driven 3,000 miles annually in short trips needs oil changes every 4-6 months regardless of miles covered. The oil degrades from contamination and time, not just from mileage.
Recommend against extended oil change intervals on vehicles with timing chains. Manufacturers specify 7,500 or 10,000-mile intervals partly to meet emissions and fuel economy targets, not because it’s optimal for engine longevity. Oil breaks down, accumulates contaminants, and loses its additive package over time. For timing chains that depend on oil pressure for tensioner operation and oil film for lubrication, fresh oil is cheap insurance. A 5,000-mile or 6-month interval—whichever comes first—provides better protection for timing components.
Verify customers are using the correct oil viscosity. The oil specified by the manufacturer is engineered to provide proper flow to timing tensioners and other oil-pressure-dependent components. Running heavier oil than specified can starve tensioners of oil, especially during cold starts. This is particularly critical on engines with variable valve timing, which relies on precise oil pressure control.
Some technicians recommend avoiding 0W-20 oils in favor of 5W-30 for improved wear protection. While this may provide marginal benefits in specific applications, verify compatibility with the engine design first. Variable valve timing systems are engineered around specific oil viscosities—running thicker oil can cause fault codes, poor performance, or component damage if the system can’t regulate oil pressure correctly.
Educate customers about warm-up procedures. Starting a car and immediately driving short distances is harder on timing components than allowing 30-60 seconds for oil pressure to build before driving. While modern engines don’t require extended warm-up, a brief idle period ensures the tensioners are fully pressurized before subjecting the engine to load.
For vehicles that will see continued short-trip operation, consider proactive timing chain inspection at 100,000 miles even if no symptoms are present. This is especially relevant for engines known to have timing chain issues (certain Nissan, Subaru, and Ford EcoBoost engines, among others). Catching wear early prevents catastrophic failure and allows you to schedule the work at the customer’s convenience rather than dealing with an emergency breakdown.
Quick Timing Chain Inspection Checklist
- Check guides for grooves: Measure remaining material thickness; replace if worn more than 30-40%
- Test tensioners: Piston should move smoothly without binding or sticking
- Inspect chain for stretch: Measure between specified links per manufacturer procedure
- Look for stiff links: Chain should flex smoothly along entire length without tight spots
- Examine sprocket teeth: Teeth should be square-edged without hooking or sharp wear patterns
- Verify oil cleanliness: Heavy sludge or varnish indicates inadequate maintenance
- Check for plastic fragments: Presence in oil pan indicates advanced guide wear
- Document operating conditions: Low annual mileage suggests short-trip operation and premature wear risk

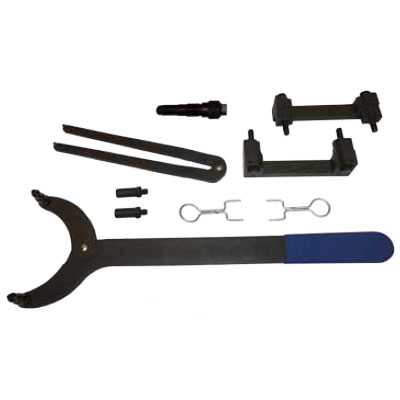
BMW Engine Timing Tool Set N62, N62TU, N73
Mfg: Assenmacher Specialty Tools
Part #: BMW6208

Frequently Asked Questions
Should I replace timing components if I’m already doing a water pump on a high-mileage engine?
Yes, if the engine has over 150,000 miles or if you observe any visible wear on guides or tensioners during disassembly. The labor to access timing components is the same whether you replace them now or later. Replacing worn parts during scheduled water pump service is far more cost-effective than paying for teardown twice when timing components fail 20,000 miles later.
How much does timing chain replacement add to a water pump job?
Parts for a complete timing chain kit run $800-1,500 depending on the engine and parts quality. Labor is minimal beyond the water pump replacement because the engine is already disassembled. Expect 2-3 additional hours for component installation and timing verification. Total additional cost typically ranges $1,200-2,000, which is far less than a standalone timing chain job that requires full teardown.
Can I replace just the guides and reuse the chain and tensioners?
Not recommended. Worn tensioners caused the guide damage in the first place—reusing them means the new guides will wear prematurely. A stretched chain will quickly damage new guides. If the guides are worn enough to warrant replacement, the chain and tensioners have been subjected to the same conditions and should be replaced as a complete system.
What causes timing chain failure at low mileage?
Short trip operation is the most common cause for premature wear at low mileage. Vehicles that never reach full operating temperature, accumulate engine hours through idling, or experience frequent cold starts without adequate warm-up develop timing chain problems disproportionate to odometer readings. Inadequate oil change intervals, use of incorrect oil viscosity, or engine oil consumption issues can also accelerate wear regardless of mileage.
Are aftermarket timing chains as good as OEM?
Quality varies significantly by manufacturer. Reputable brands like Cloyes, Melling, and Iwis produce timing components that meet or exceed OEM specifications. Budget Chinese kits have much higher failure rates and should be avoided despite the lower cost. For timing chains, the risk of comebacks from part failure far outweighs the $200-300 saved by using economy components. Stick with OEM or known-quality aftermarket brands.
How often should timing chains be replaced as preventive maintenance?
Most manufacturers consider timing chains lifetime components, meaning no scheduled replacement interval exists. In practice, proactive replacement at 150,000-200,000 miles is good insurance on engines known for timing chain problems. For vehicles subjected to severe service—frequent short trips, trailer towing, or extended oil change intervals—consider inspection at 100,000 miles and replacement at 150,000 miles to prevent unexpected failure.
Recommended Tools for Timing Chain Work
Timing chain replacement requires precision alignment and proper torque control. Our Engine Repair Tools selection includes the specialized equipment you’ll need to access timing components safely, verify alignment, and install replacements correctly.
- Timing chain tensioner testers and removal tools
- Gasket scrapers and surface preparation equipment
- Torque wrenches and precision measuring instruments
The Toolsource Technical Team blends decades of real-world automotive service experience with up-to-date technical research. Our writers collaborate with professional mechanics, shop owners, and diagnostic specialists to deliver practical, workshop-ready guidance you can trust.

Follow us on social media