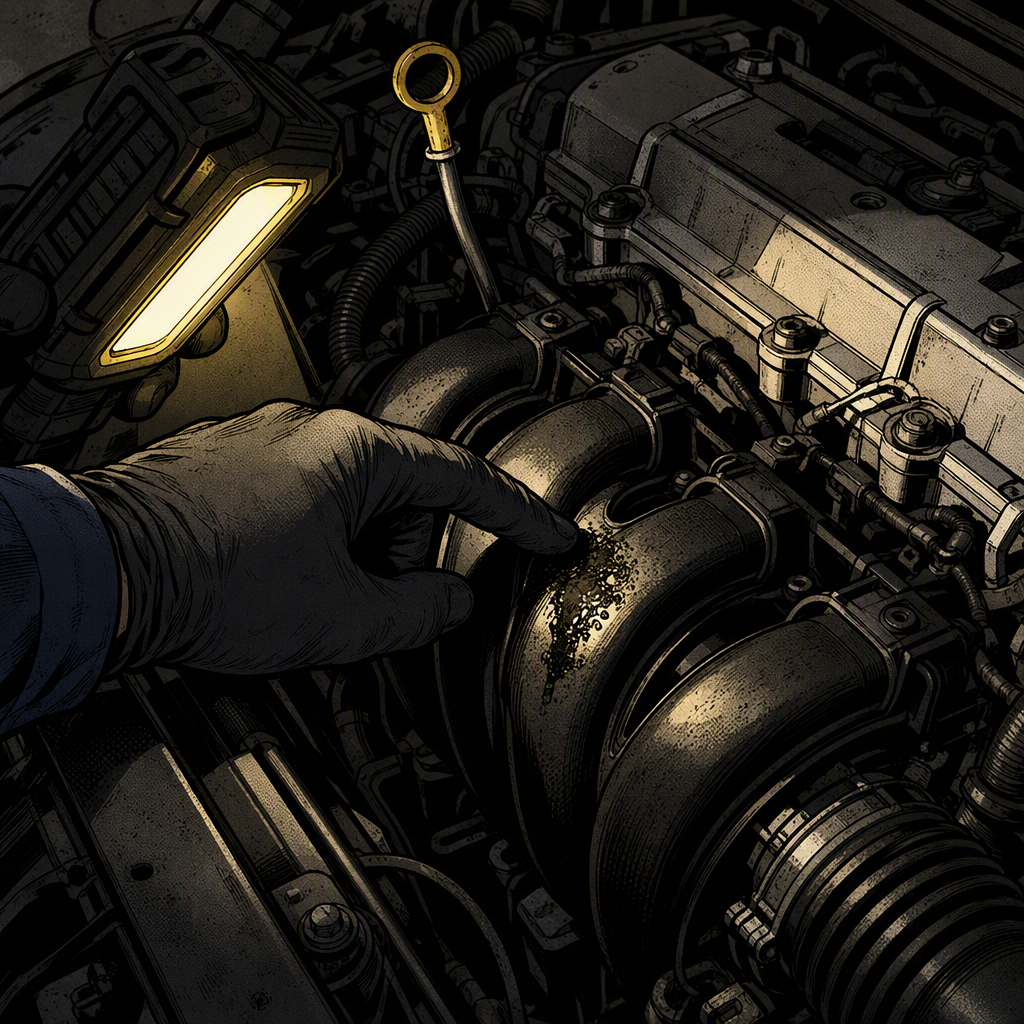
Every technician has had a customer walk in pointing at a suspiciously clean patch under the hood, convinced it’s a sign of something sinister. More often than not, it’s nothing more than a wiped-off oil drip near the dipstick tube — but knowing how to confirm that quickly, instead of guessing, is what separates a five-minute inspection from an hour of unnecessary digging. This guide walks through how to systematically read engine bay residue patterns, tell intake components from exhaust components at a glance, and know when a clean spot is actually worth chasing.
Why Oil Shows Up Where It Shouldn’t
Pulling a dipstick is one of the most repeated hand motions in vehicle maintenance, and it’s also one of the messiest if you’re not careful. As the dipstick comes out, residual oil clinging to the tube and the stick itself tends to fling or drip downward and outward in a fairly consistent arc — almost always landing on whatever component sits just below and to the side of the dipstick tube. On transverse-mounted four-cylinder engines, that’s frequently a plastic intake manifold runner or a nearby bracket.
This is worth explaining to customers directly: a single localized drip spot, especially one that’s been wiped rather than left to bake on, is consistent with routine oil checks, not a leak. The tell is texture and boundary. A wiped spot has soft, blended edges and a slightly duller sheen where a rag dragged through the residue. An active leak has a wet, glossy, expanding stain with sharper edges near the source and often a matching drip trail below it.
Left-hand-drive vehicles with the dipstick mounted on the passenger side of the engine tend to show this pattern on the same side every time, because most people pull the stick with the same hand and same motion. If you’re diagnosing a used car with unknown service history, that consistent drip location is actually a small piece of environmental evidence — it tells you someone has been checking the oil regularly, which is a mildly reassuring sign for a pre-purchase inspection.
Telling Intake From Exhaust at a Glance
A surprising number of shop calls and forum posts start with someone misidentifying a plastic intake manifold as an exhaust component, or vice versa, which sends the whole diagnosis in the wrong direction. Before you evaluate any residue or discoloration, confirm exactly what part you’re looking at.
- Material and finish: Most modern intake manifolds on gasoline engines are molded plastic or composite, often black or dark gray with a slightly textured or glossy finish. Exhaust manifolds are cast metal or steel tubing, usually silver, dark gray, or rust-toned, and frequently show heat discoloration (blue, brown, or straw tints) near the head.
- Location relative to the throttle body: Trace the throttle body — the intake manifold is what feeds air from it into the cylinder head. If a metal or plastic runner connects directly to the throttle body assembly, it’s intake, not exhaust.
- Heat signs: Discoloration on an exhaust manifold or its heat shield usually signals heat cycling or an exhaust leak, not spilled fluid. Discoloration on an intake component is far more likely to be oil, coolant overspray, or road grime.
- Proximity to the dipstick tube: If the clean or stained spot sits directly below or beside where the dipstick handle rests when inserted, that’s a strong clue you’re looking at an intake-side component, not exhaust.
Getting this identification right in the first 30 seconds of inspection prevents chasing an exhaust leak diagnosis when the real cause is a dipstick drip, or vice versa.
[PRODUCT_SEARCH: automotive inspection mirror and flashlight kit]
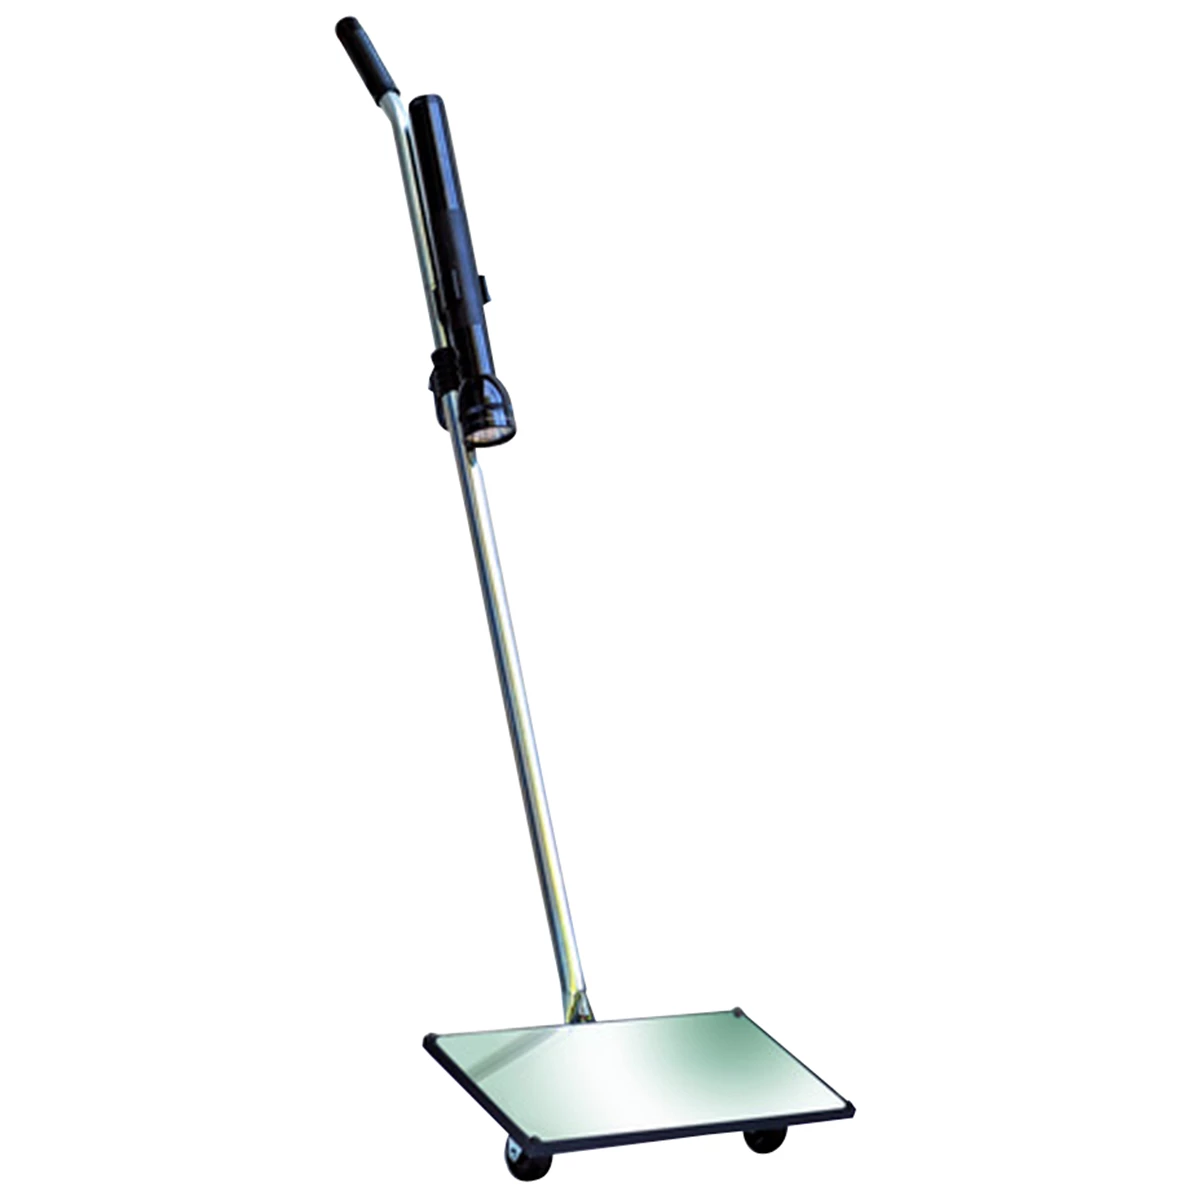
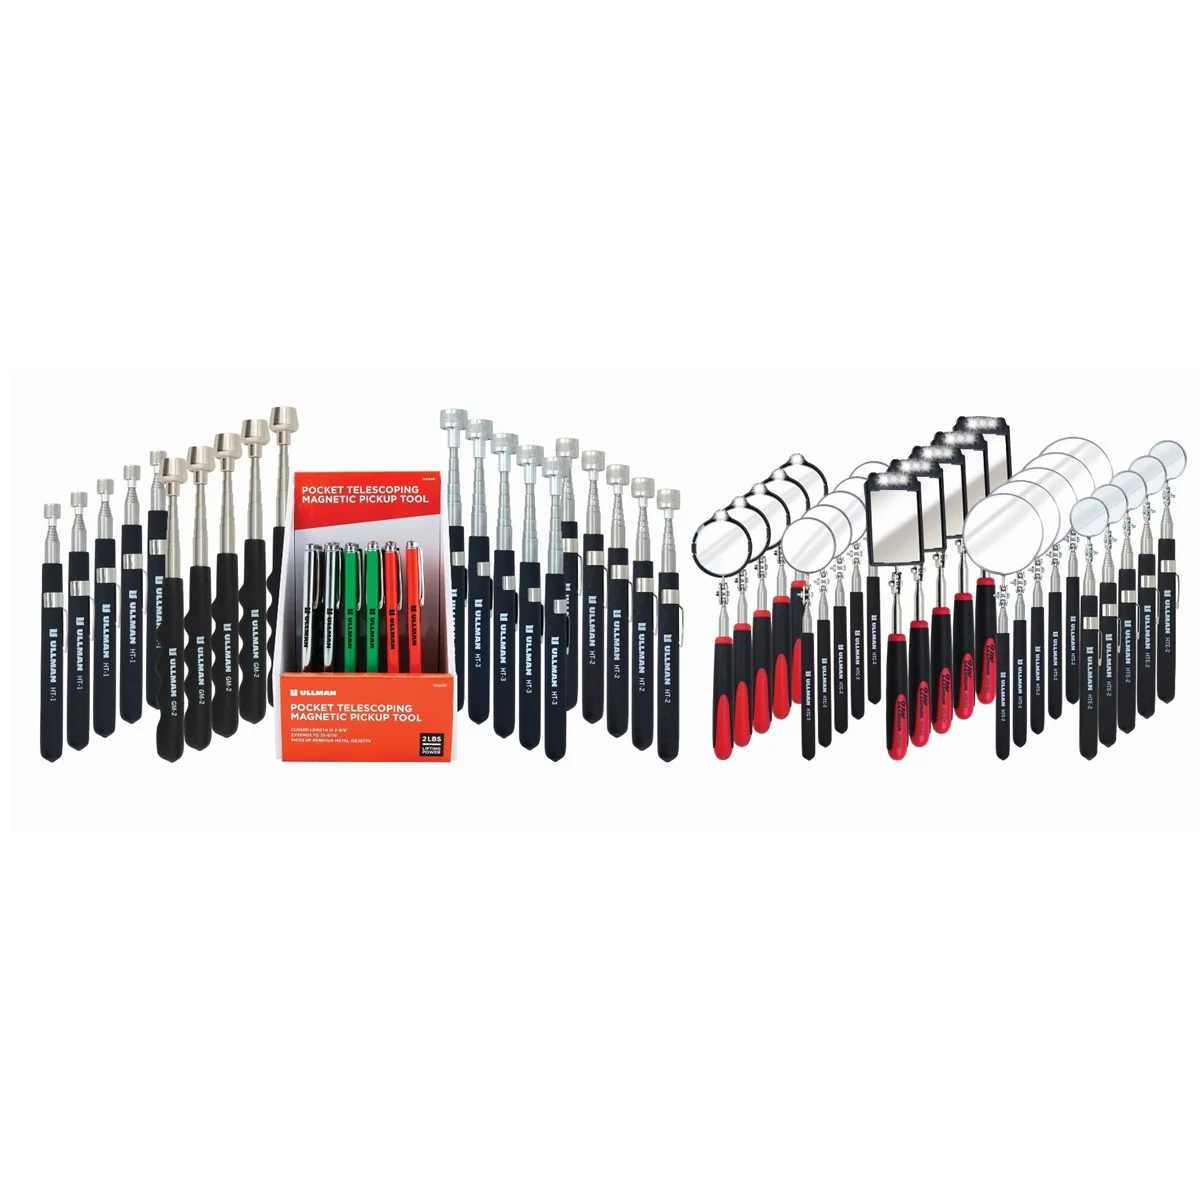

VT Fiber Optic Inspection Scope w/ Light - 5.8mm x 72 In
Mfg: Visual Optics
Part #: VT72-6FLED
Reading Engine Bay Grime as a Diagnostic Tool
Uneven dust and grime buildup across an engine bay isn’t random — it’s shaped by airflow, heat, and physical shielding, and reading that pattern correctly saves diagnostic time. A component sitting just behind or beneath a coolant reservoir, washer fluid tank, or other bay-mounted part will often stay noticeably cleaner than its neighbors simply because it’s partially shielded from road spray and airborne dust. That’s a completely benign explanation and one worth ruling out before assuming a component was recently touched or cleaned.
Compare the suspect area to surrounding surfaces under work light, not just daylight or a phone flash, which can wash out subtle sheen differences. Run a gloved finger across the spot: a wiped-clean area typically feels smooth and slightly oily to the touch even after the visible residue is gone, while a genuinely clean, shielded area feels dry and matches the texture of surrounding painted or molded surfaces. A true leak site will usually feel tacky and show a faint film that transfers to the glove.
If the vehicle has recently had an oil change, dipstick check, or general service, cross-reference the work order. A quick-lube or shop tech wiping up a drip during a routine top-off is common practice and shouldn’t be treated as a red flag on its own.
Known Oil-Consuming Engines and Frequent Dipstick Checks
Certain engine families are notorious for oil consumption between changes, which means their dipsticks get pulled far more often than average — and that translates directly into more visible residue near the tube. The Toyota/Corolla-family 1ZZ-FE inline-four, common through the mid-2000s, is a well-known example; owners of these vehicles frequently check oil level every few hundred miles due to consumption from piston ring and PCV-related wear, even on otherwise healthy, high-mileage engines running past 300,000 miles.
When you’re inspecting a vehicle with a known oil-consumption history, expect and account for more frequent dipstick-area residue as a baseline, not an anomaly. It’s worth flagging to the owner as a maintenance pattern rather than a fault, while still checking oil level trends over time to catch any acceleration in consumption that would indicate worsening ring wear or a failing PCV valve.
When a Clean or Oily Spot Actually Warrants Concern
Most single-spot residue findings are harmless, but a few patterns should push you into a real leak investigation:
- Spreading or fresh-looking stains that reappear within days of cleaning, rather than a static, dried patch.
- Multiple wet points along one seam or gasket line instead of one isolated wipe mark — this points to a valve cover, oil pan, or manifold gasket leak rather than a dipstick drip.
- Burning oil smell under load, especially combined with visible residue near an exhaust manifold or heat shield, which suggests oil is contacting a hot surface and warrants immediate attention.
- Discoloration with a metallic or gritty texture rather than a smooth oily film, which can indicate coolant residue, power steering fluid, or a mix of fluids rather than simple engine oil.
Use a UV dye trace or a straightforward pressure-wash-and-recheck method if you’re unsure whether a stain is active: clean the entire area thoroughly, run the engine through a full heat cycle or short drive, then reinspect. A genuine leak will show fresh wetness; a one-time drip won’t reappear.
Quick Engine Bay Residue Checklist
- Confirm the component: intake (plastic, connects to throttle body) or exhaust (metal, heat-discolored)
- Check proximity to the dipstick tube and typical drip arc
- Feel the spot — smooth and dry (shielded/clean) vs. tacky film (leak)
- Compare to surrounding grime for shielding effects from nearby components
- Clean thoroughly, run a heat cycle, and recheck for fresh wetness
- Cross-check service history for recent oil checks or top-offs
- Flag known oil-consuming engine families as a baseline, not a fault
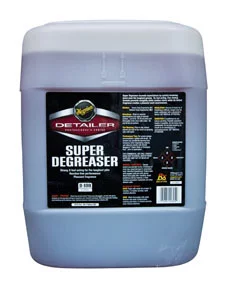
[PRODUCT_SEARCH: automotive engine degreaser and detailing supplies]

32 Oz. Empty Spray Bottle for Engine Kote - Sprayer Sold Separat
Mfg: Meguiars
Part #: D9943
Frequently Asked Questions
Why does oil always seem to drip in the same spot near the dipstick?
The dipstick tube sits in a fixed position, and most people withdraw it with the same hand and motion every time, so residual oil clinging to the stick tends to fling or drip onto the same nearby component consistently.
How can I tell if a clean spot in the engine bay is from a wipe-down or a real problem?
Wiped spots have soft, blended edges and a dry-to-slightly-oily feel with no fresh wetness after a heat cycle. Active leaks show glossy, expanding stains with a tacky film that reappears after cleaning.
Is it normal for one intake runner to look cleaner than the others?
Yes, if it sits behind or beneath another component like a coolant reservoir, it can be shielded from road dust and grime, making it look cleaner by comparison without any cleaning having occurred.
Should I be worried if my dipstick has visible oil residue every time I check it?
Some residue is normal, but if consumption is increasing between checks, especially on engines already known for oil consumption, monitor levels closely and consider a compression or PCV system check.
What’s the fastest way to distinguish an intake manifold from an exhaust manifold?
Trace the part back to the throttle body — anything feeding air from the throttle body into the engine is intake. Exhaust manifolds are cast metal, attach at the cylinder head on the opposite side, and often show heat discoloration.
Can shop techs safely ignore a small wiped oil spot during an inspection?
Generally yes, once you’ve confirmed it matches a dipstick drip pattern, feels dry, and doesn’t return after cleaning and a drive cycle. Document it in the inspection notes so the customer isn’t alarmed by something benign.
Recommended Inspection Tools
Accurate diagnosis of engine bay issues depends on good visibility, proper tactile testing, and systematic re-inspection. The Measurement Tools and Inspection category carries the equipment you need for this work.
- Inspection mirrors and work lights for clear engine bay visibility
- Degreasers and detailing supplies for pre-inspection cleaning
- Pressure gauges and diagnostic meters for follow-up verification

The Toolsource Technical Team blends decades of real-world automotive service experience with up-to-date technical research. Our writers collaborate with professional mechanics, shop owners, and diagnostic specialists to deliver practical, workshop-ready guidance you can trust.


Follow us on social media