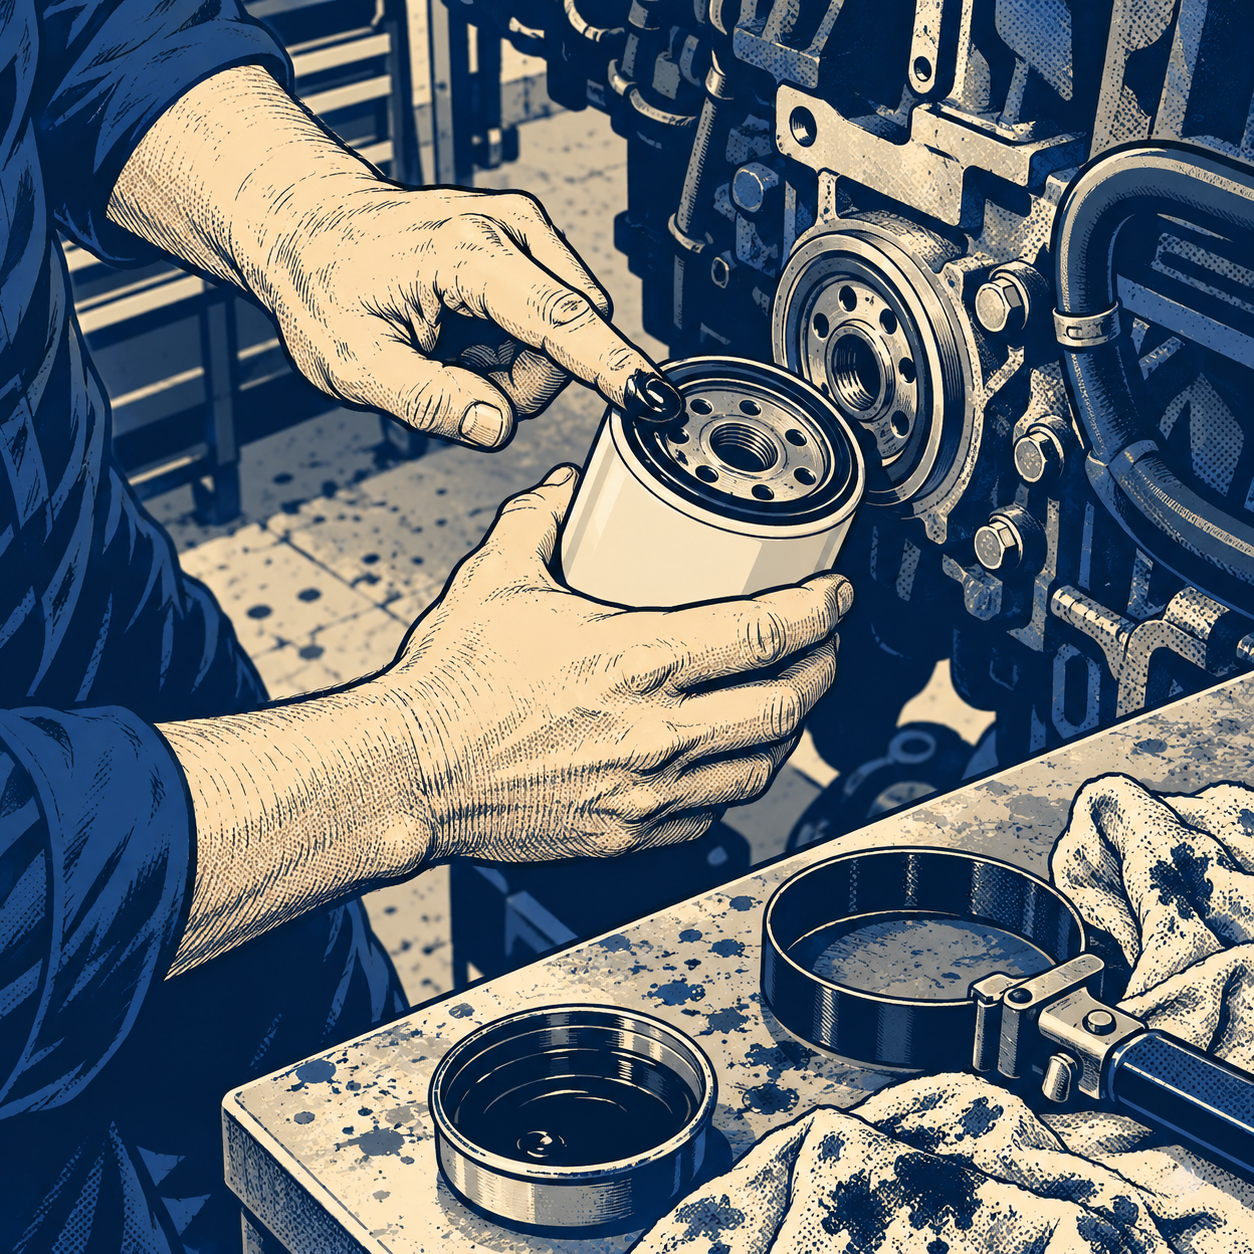
Ask any shop tech with real mileage under their belt and you’ll hear the same thing: a correctly installed oil filter should never need a screwdriver through the housing, a die grinder, or a 3-foot cheater bar to come off. When filters turn into a mangled mess of punctured steel and stripped threads, it’s almost never the filter’s fault — it’s what happened during the last install. Here’s what’s actually going on, and how to deal with it when you’re staring at a filter that won’t budge.
Why Oil Filters Get Stuck in the First Place
Spin-on oil filters are designed to seal and release with hand pressure plus a quarter turn. When they seize to the point of needing serious tools, it’s usually one of these:
- Over-tightening. Quick-lube shops and impact-wrench users are the most common offenders. Filters only need to be snug — about 3/4 to 1 full turn past the point the gasket first contacts the mounting surface, per most filter manufacturers. An impact gun blows well past that.
- Dry or damaged gasket. A rubber gasket installed without lubrication can stick, roll, or bond to the mounting surface, especially after heat cycles.
- Paint or coating in the threads. Engine paint applied with the filter still on the block can effectively glue the filter to the housing.
- Corrosion and heat cycling. A filter left on for multiple oil change intervals (common on neglected vehicles) can fuse to the mount from rust and baked-on residue.
- Backwards rotation. It sounds basic, but more than a few “stuck filter” posts turn out to be someone turning the filter clockwise instead of counterclockwise. Confirm orientation before you escalate to bigger tools.
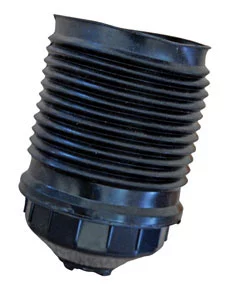
The Install Habit That Prevents This Entirely
Prevention happens at the previous oil change, not the current one. Before threading on a new filter:
- Wipe the mounting surface clean of old gasket material and residual oil.
- Dip a finger in fresh oil and run a thin bead around the new filter’s rubber gasket. This keeps the gasket seated properly and keeps it from bonding to the mount over the service interval.
- Thread the filter on by hand until the gasket just contacts the surface, then tighten per the filter’s instructions — typically 3/4 to 1 turn, by hand or with a wrench used gently. No impact tools, no “give it everything you’ve got.”
- If you can’t turn it the final bit by hand, you don’t need a bigger tool — you need to stop and check that it’s threading straight, not cross-threaded.
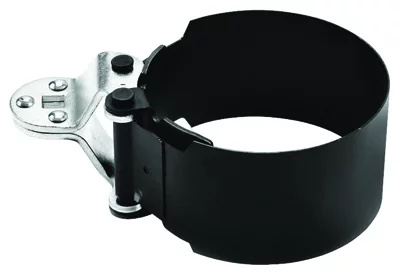
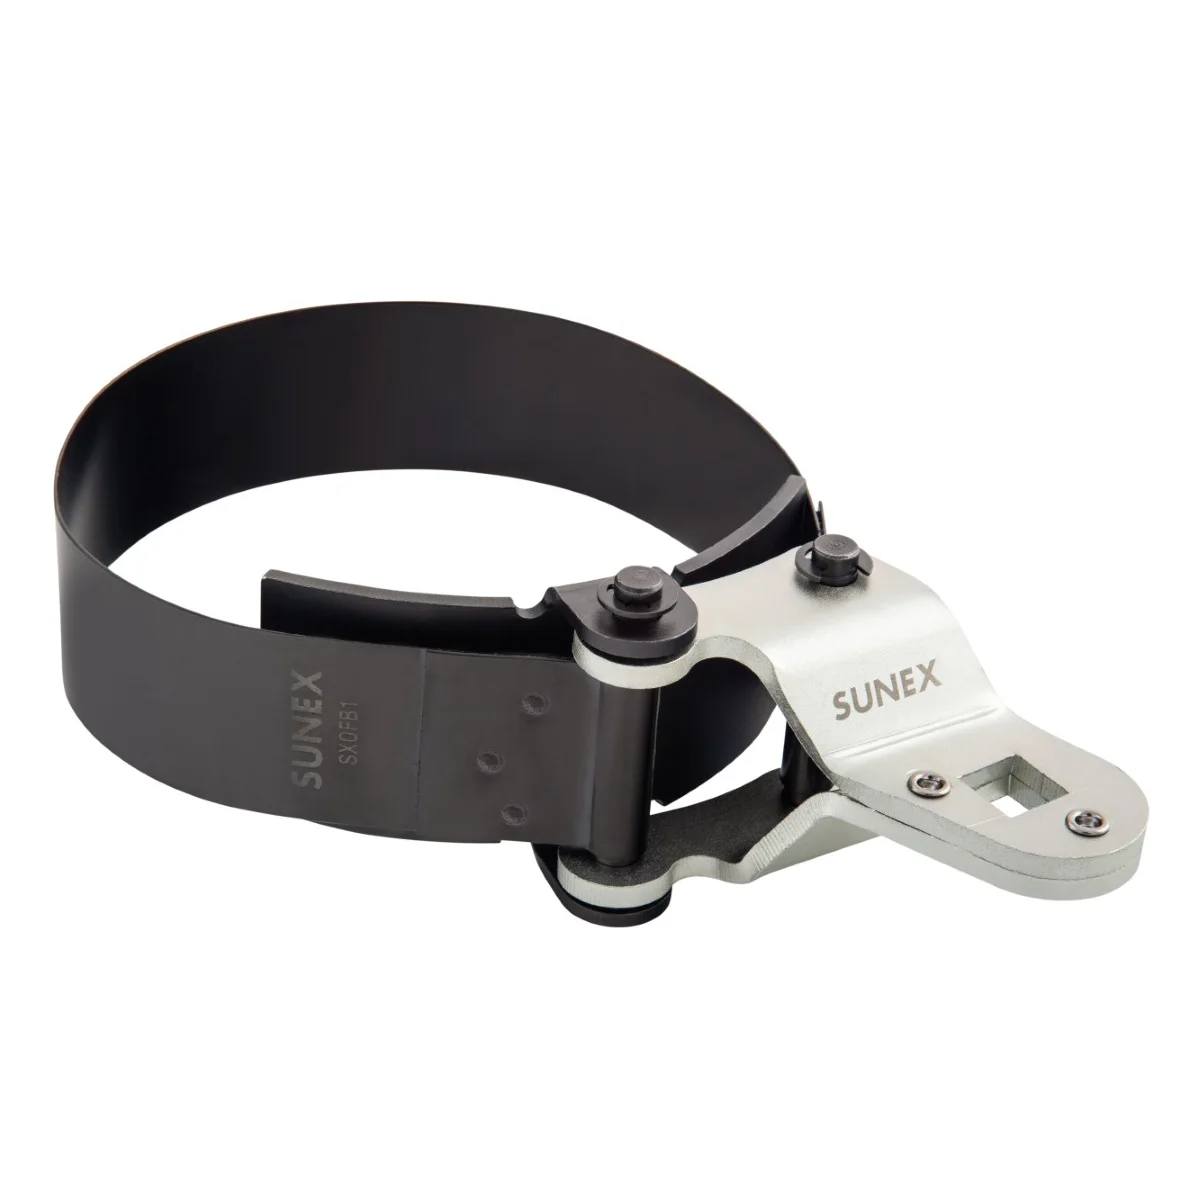
A properly installed filter should come off with a standard strap wrench or even bare hands at the next service. If you’re regularly fighting filters, the install technique — not the filter brand — is the variable to fix.
Shop the Right Tools for Oil Changes
Proper installation starts with having the right equipment. Our Automotive Oil Change Tools selection includes everything you need for controlled, damage-free filter changes.
- Strap wrenches and filter sockets for controlled removal
- Oil drain pans and catch containers
- Gasket scrapers and prep tools for clean mounting surfaces

The Toolsource Technical Team blends decades of real-world automotive service experience with up-to-date technical research. Our writers collaborate with professional mechanics, shop owners, and diagnostic specialists to deliver practical, workshop-ready guidance you can trust.


Follow us on social media