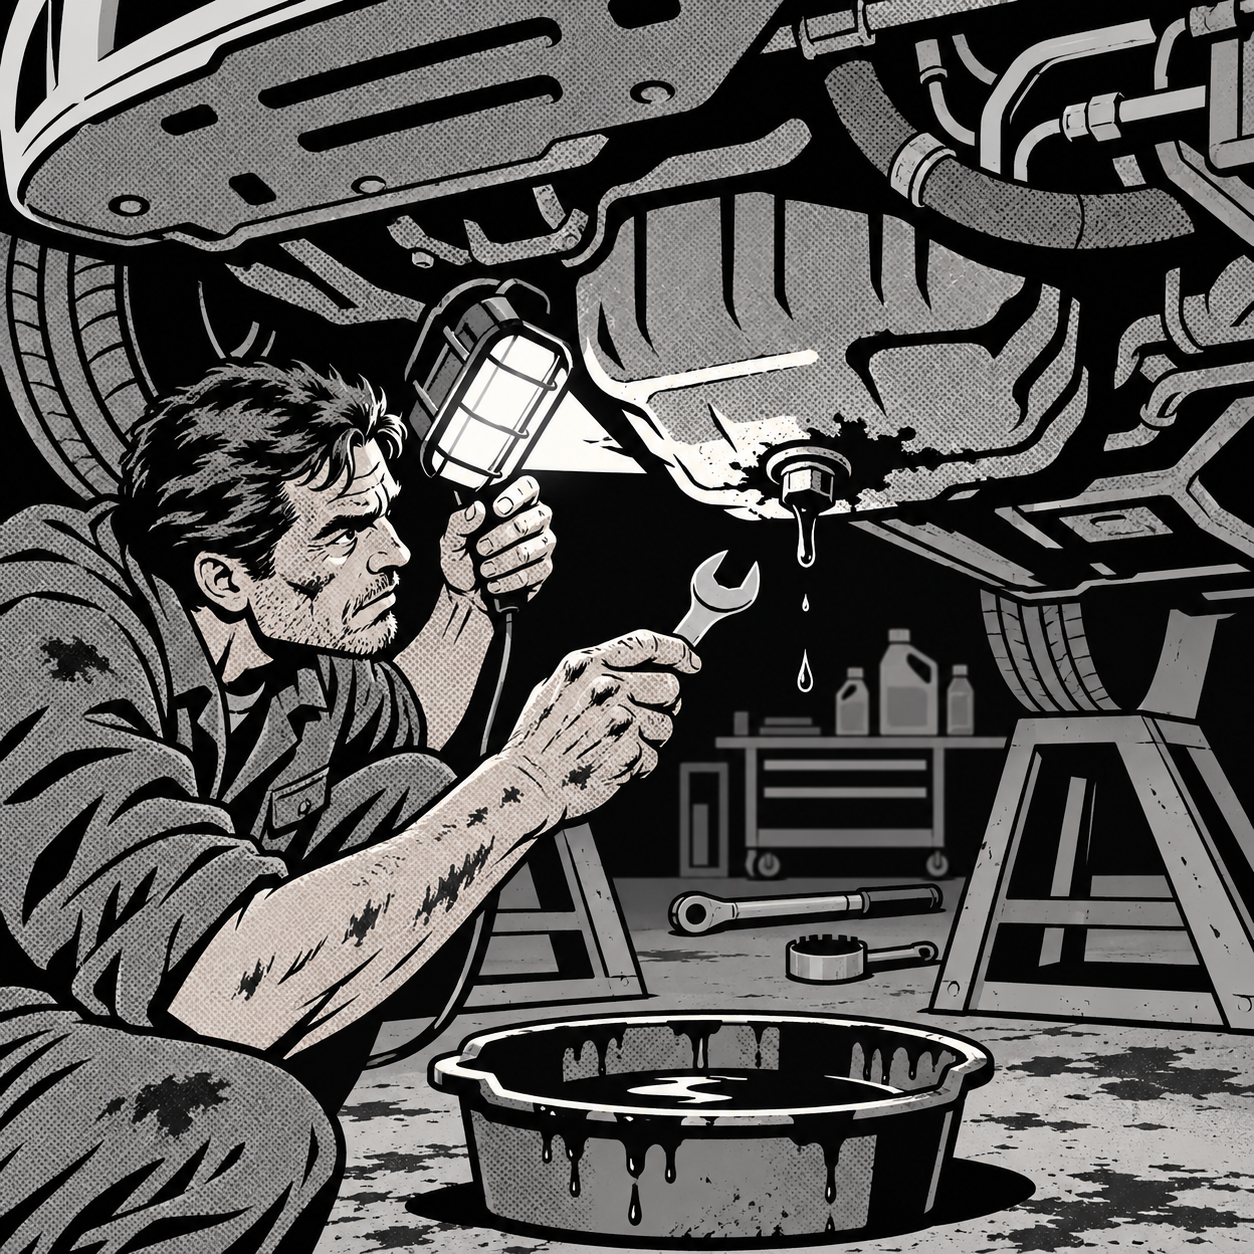
An oil change is supposed to be the simplest service your car gets, but it’s also one of the most commonly botched jobs at high-volume quick-lube chains. Overfilled crankcases, loose drain plugs, missing crush washers, and wrong-viscosity oil are all routine complaints, and the common thread in most of them is that nobody checked the work before the car left the bay. If you’ve just picked up your car from a service and something feels off — a burning smell, oil spots on the driveway, a dipstick reading that doesn’t match what it should — here’s how to confirm what actually happened and what to do next.
Why Quick-Lube Oil Changes Go Wrong
Most oil change mistakes trace back to a short list of repeatable errors, not exotic failures. Understanding which one you’re dealing with tells you how urgent the problem is.
- Overfill. This happens when a tech grabs the wrong oil capacity spec, doesn’t account for a filter that holds extra volume, or simply loses track while running multiple vehicles at once. An extra quart isn’t usually catastrophic by itself, but it raises crankcase pressure and can push oil past gaskets and seals that were already marginal.
- Underfill or no refill at all. Less common but more dangerous — a tech drains the old oil, gets distracted, and the car leaves without new oil ever going in. This is why some technicians recommend always confirming the dipstick reads correctly before you drive off, every single time.
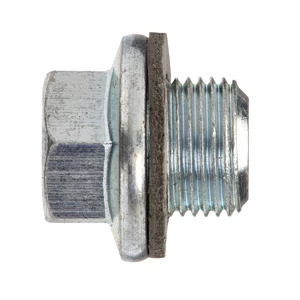
- Drain plug not torqued to spec. A plug that’s cross-threaded, stripped, or just snugged by hand instead of torqued will work loose over miles of driving and dump oil fast.
- Missing or reused crush washer. The crush washer on the drain plug is a one-time-use gasket. Reusing an old, flattened washer — or skipping it — is a direct path to a drain-plug leak.
- Oil filter seated wrong. A filter that’s cross-threaded or installed dry (no oil on the gasket) will leak from the base, sometimes slowly, sometimes all at once under pressure.
High staff turnover at quick-lube chains means these errors show up more often at some locations than others. A shop that’s had the same crew for years and treats every car like it’s the owner’s only vehicle is the exception, not the rule — and even good shops have an off day.
How to Catch a Problem Before You Leave the Lot
The fastest way to avoid a 1,000-mile surprise is to check the work on-site, while the tech is still standing there. This takes less than two minutes and should be standard practice after every service, not just oil changes.
- Ask to see the dipstick. A shop that does this unprompted is a good sign. If they don’t offer, ask. The level should sit between the two marks, close to the top but not past it, with the engine off and on level ground, ideally after letting it sit a few minutes for oil to drain back into the pan.
- Look underneath before you drive away. A quick glance at the ground where the car was parked and a look up at the skid plate area can catch an obvious drip before you’ve gone anywhere.
- Check the receipt against the dipstick. If the paperwork lists a capacity that doesn’t match what you’re seeing on the stick, say something immediately — it’s far easier to fix in the bay than after you’ve driven home.
- Watch for a “do not fill” request being honored. If you supply your own oil or specify a washer fluid type, confirm it was actually used before you pay.
If anything looks off at this stage, it costs you nothing to ask them to recheck it right there. A reputable shop will not push back on this request.
PRODUCT_SEARCH_PLACEHOLDER_1


Diagnosing a Leak After the Fact
If you’ve already left and notice oil spots, a burning smell, or a dash warning light, don’t guess — trace the leak before deciding what it means.
- Get the car on ramps or a lift and remove the skid plate if the vehicle has one. You cannot reliably diagnose an oil leak by looking at a dirty, oil-coated pan from underneath without pulling the cover — oil runs downhill and collects far from its actual source.
- Check the drain plug first. Look for wetness right at the plug threads versus oil that’s simply run down from higher up. A loose or cross-threaded plug will show active seepage right at the bolt head.
- Check the oil filter base next. A dry gasket or cross-threaded filter leaks at the filter housing, not the pan.
- Rule out overfill-related leaks. If the level was significantly over the full mark, oil can be pushed out through the valve cover gasket, the front or rear main seal, or other weak points — especially on an older engine where those seals were already near the end of their service life. An overfill that’s only modestly over full (a partial quart) is unlikely to cause this on its own, but double the normal fill volume is a different story.
- Note any performance symptoms. A significantly overfilled engine can lose power because the crankshaft is churning through oil instead of air, so a sluggish feel right after the service is a real data point, not just paranoia.
Document everything with photos and timestamps as you go. If this turns into a warranty or reimbursement conversation, a dated photo of the dipstick and the leak location is worth more than a verbal description.
What to Do If the Shop Got It Wrong
Take the car back to the same shop and explain specifically what you found — the overfill amount, the leak location, or the mismatch between the receipt and the dipstick. Don’t drive it further than necessary to get there, but a few miles back to the shop that did the work won’t make an existing problem meaningfully worse.
- Ask them to correct the fill level and clean up any spilled oil, including underneath the car and on the body if it splashed during the drive.
- Request they identify and fix the actual leak source rather than just topping off fluid and sending you on your way.
- Ask about compensation for a car wash or driveway cleanup if oil got on the paint or pavement.
- Escalate to corporate if the location is dismissive. If a tech insists an obviously overfilled level is “normal,” push back and ask for a second opinion or a corporate-dispatched technician. Don’t accept “it’s fine” when the dipstick clearly shows otherwise.
- Keep your documentation in case you need it for a claim related to engine damage down the line.
How the shop responds tells you whether to keep going back. A shop that apologizes, fixes it promptly, and treats the mistake like the serious issue it is has earned another chance. A shop that argues, minimizes, or blames you has told you what kind of service to expect next time.
When to Just Do It Yourself
A standard oil and filter change is one of the more approachable DIY jobs on a modern car, and doing it yourself removes the guesswork entirely — you know exactly what oil went in, how much, and whether the plug and filter were torqued correctly. The job generally requires jack stands or ramps, a drain pan, a filter wrench sized for your vehicle, a torque wrench, the correct oil and filter, and a new crush washer if your vehicle uses one. Following the factory torque spec on the drain plug matters more than people assume — overtightening strips the pan threads, and undertightening is how plugs back out on the highway.
If you’re mechanically inclined and have even basic tools, it’s a reasonable place to start building confidence with DIY maintenance, and most vehicle-specific procedures are well documented online. If you don’t have the space, tools, or time, a reputable independent mechanic — not necessarily a chain quick-lube — is usually a safer bet than a high-turnover franchise location.
PRODUCT_SEARCH_PLACEHOLDER_2
Post-Service Checklist
- Check the dipstick before leaving the lot — level should sit between the marks, not above the top mark
- Compare the receipt’s listed oil capacity to what the dipstick actually shows
- Glance underneath the car for drips before driving away
- Check oil level again around 100 miles after any service, especially a first visit to a new shop
- If you find a leak, trace it at the drain plug and filter base before assuming the worst
- Photograph and date any problems before returning the vehicle for a fix
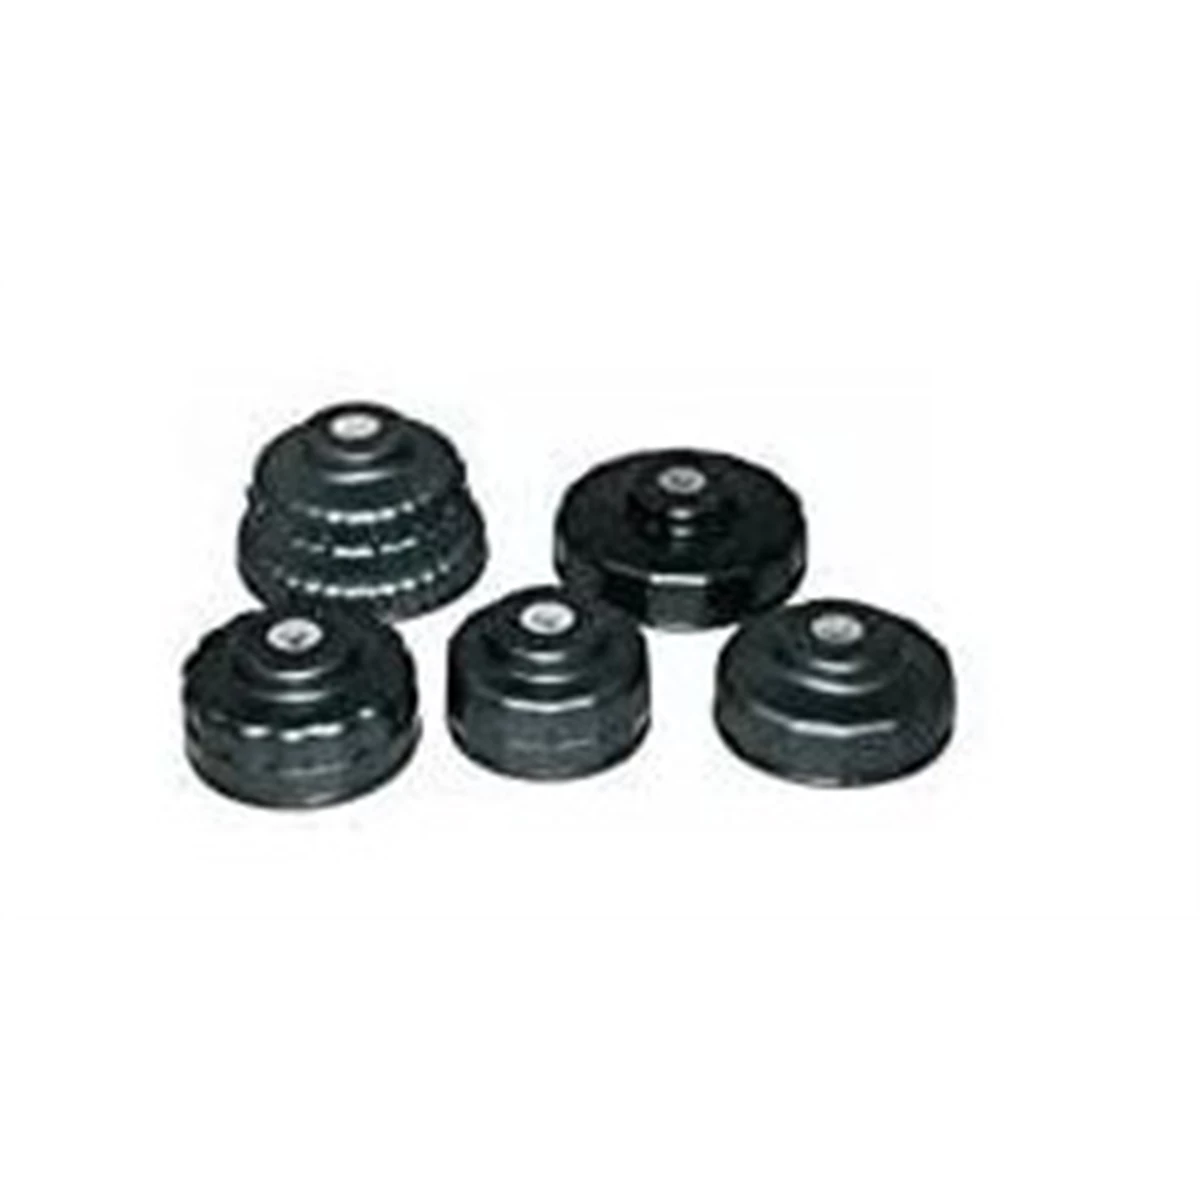


17 Pc 3/8" Drive Cap Master Oil Filter Wrench Kit
Mfg: K Tool International
Part #: KTI73635
FAQs
How much overfill is actually dangerous?
A partial quart over the full mark is usually not an immediate threat on most vehicles, though it should still be corrected. Overfills that approach double the normal capacity are a different situation and warrant inspecting for leaks and power loss right away.
Where do oil leaks after a service usually come from?
The drain plug and oil filter base are the most common sources by far — usually from a missing or reused crush washer, an under-torqued plug, or a filter installed without oil on the gasket. Valve cover and crankshaft seals can also start leaking if they were already marginal and got pushed over the edge by an overfill.
Can an overfilled engine cause lasting damage?
It can, mainly through aeration of the oil (foaming, which reduces lubrication) and through excess crankcase pressure forcing oil past seals and gaskets. A quick correction with no other symptoms is unlikely to cause lasting harm; an overfill left unaddressed for thousands of miles is a bigger risk.
Should I let the same shop fix their own mistake?
In most cases, yes — give them the chance to correct it and see how they handle it. If they’re defensive, argue that an obviously wrong level is “normal,” or refuse to investigate a leak, that’s a signal to find another shop for future service.
Is it safe to drive a few miles with an overfilled or leaking engine to get it fixed?
Generally yes, for a short, direct trip back to the shop, assuming there’s no major warning light, burning smell, or loss of power. If you notice any of those symptoms, have it towed or inspected before driving further.
What’s the easiest way to avoid this problem going forward?
Watch the dipstick get checked at the end of every service, keep your own receipt record of oil type and capacity, and check the level yourself within the first week or so after any oil change — whether you did it or a shop did.
Shop for Oil Change Tools
Doing the work yourself or verifying a shop’s work starts with having proper equipment. Our Automotive Oil Change Tools selection includes everything from torque wrenches to crush washers.
- Torque wrenches for correct drain-plug fastening
- Drain pans and filter wrenches for your vehicle
- Crush washers and gaskets for proper sealing

The Toolsource Technical Team blends decades of real-world automotive service experience with up-to-date technical research. Our writers collaborate with professional mechanics, shop owners, and diagnostic specialists to deliver practical, workshop-ready guidance you can trust.


Follow us on social media