When inspecting suspension components, one of the most common questions technicians face is whether a shock absorber with visible oil residue needs replacement. The answer isn’t always straightforward. Modern OEM warranty policies have created clear distinctions between normal seepage or “misting” and actual leaking that warrants replacement. Understanding these differences is essential for accurate diagnosis, managing customer expectations, and avoiding denied warranty claims. This guide breaks down the technical criteria, inspection procedures, and industry standards that define when a shock has crossed the line from normal operation to failure.
Understanding Shock Absorber Seepage and Misting
Shock absorbers and struts operate with a piston rod that passes through a seal, moving in and out thousands of times during normal driving. By design, these seals cannot be 100% impermeable. A thin film of hydraulic fluid on the rod actually serves a functional purpose—it provides lubrication to the seal and rod, reducing friction and extending component life.
What manufacturers call “misting” occurs when shock fluid evaporates from the rod under heated conditions during operation. The evaporated fluid then condenses and forms a light coating on the shock body. This is a normal thermal process and doesn’t indicate seal failure. You’ll typically see this as a light, relatively uniform film that extends a few inches down from the dust boot.
Seepage represents a step beyond misting but still falls within acceptable parameters for most OEMs. This appears as slightly more visible oil accumulation, often collecting at the bottom edge of the dust boot or running down the shock body in a thin layer. The key distinction is that seepage doesn’t drip—it remains as surface residue that you can wipe off with a rag.
The critical point for diagnosis is this: if hydraulic fluid isn’t actively dripping from the shock assembly, most manufacturers classify it as non-warrantable seepage rather than a leak. This standard has become nearly universal across OEMs including Stellantis (Chrysler/Dodge/Jeep/Ram), Volkswagen, and others. Some manufacturers have even released technical service bulletins explicitly defining these conditions to reduce warranty claim denials.
OEM Warranty Standards and Documentation
Chrysler’s official position states: “This image shows normal misting of a strut or shock. The reasons misting occurs is usually from evaporation of shock fluid from the rod under heated conditions. The evaporated fluid condenses and forms a mist on the shock body. Some misting accumulation is normal and does not degrade ride performance.” Similar language appears in Volkswagen TSBs and other manufacturer documentation.
The warranty threshold across most brands follows a consistent standard: if oil is not actively dripping off the component, it’s not considered a leak. This applies not only to shocks but also to engine seepage, transmission pans, and other fluid-containing components. The policy reflects both engineering reality—perfect seals don’t exist on moving components—and cost management.
For technicians, this means documenting conditions carefully. Take clear photos showing the extent of fluid accumulation. Note whether residue is uniform or concentrated. Check if fluid has migrated to surrounding components or if it’s isolated to the shock body. Wipe the area clean and recheck after a test drive to establish whether it’s static residue or active seepage.
When submitting warranty claims, be prepared for denials on anything that doesn’t show active dripping. Arguing that a customer is “pissed” about seepage won’t override OEM policy. Instead, focus on functional testing—bounce tests, ride quality complaints, and performance degradation that can be objectively demonstrated.
Proper Inspection Procedures
Start with a visual inspection with the vehicle on a lift. Look at all four shocks or struts systematically. Normal misting appears as a light, sometimes barely visible film. It may show slight discoloration but won’t have heavy buildup or dark staining. The fluid level typically extends only 2-4 inches below the dust boot on a shock that’s functioning normally.
Check the dust boot itself. On shocks with external reservoirs or remote reservoirs, examine the reservoir body and connecting lines. Oil accumulation under the dust boot is common and doesn’t necessarily indicate failure—the boot is designed to trap some fluid and prevent dirt intrusion at the seal.
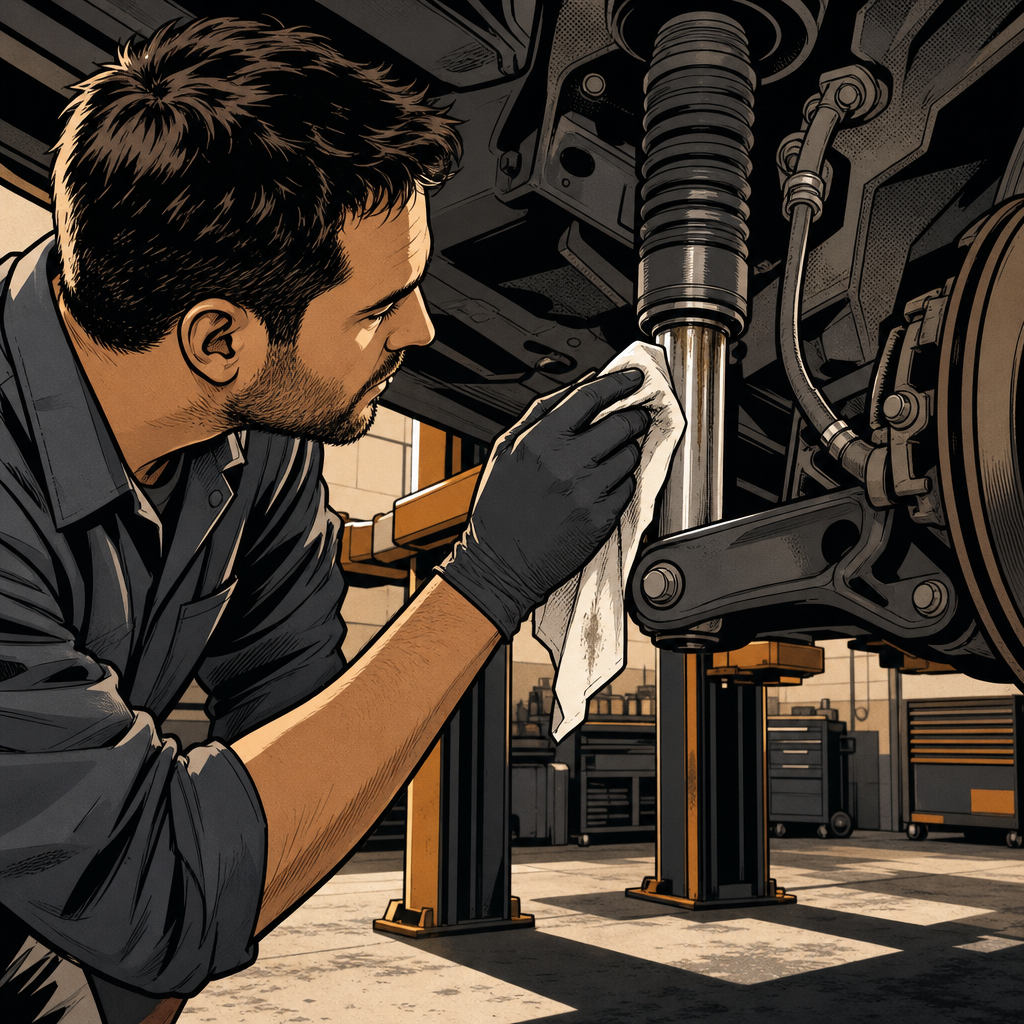
Perform a wipe-down test. Clean the shock body completely with brake cleaner and a rag. Drive the vehicle 20-30 miles including highway speeds and rough roads to generate heat and full suspension travel. Reinspect the shock. If you see fresh fluid reappearing at the same rate, document it. If the shock remains dry or shows only minimal film, the original residue was likely old seepage or overspray.
Pay attention to surrounding components. Genuine shock seepage appears only on the shock body, starting from the seal area. If you see similar residue on control arms, the inner fender, or the tire itself, consider other sources. Tire shine overspray is frequently mistaken for shock fluid, especially on rear suspensions where detailers spray wheel wells. The location pattern differs—overspray appears randomly on multiple surfaces, while shock fluid runs vertically from the seal.
Functional testing provides the clearest evidence of shock failure. Perform bounce tests at each corner. A functional shock should stop bouncing within one and a half cycles after releasing downward pressure. Excessive bouncing, floating, or uncontrolled body motion indicates damping loss, which may correlate with fluid loss even if external leaking isn’t dramatic.
When Seepage Becomes a Leak
The transition from acceptable seepage to warrantable leak happens when fluid becomes active. Look for these indicators: fluid dripping from the shock body onto the ground or chassis components below; fresh fluid appearing continuously even after repeated cleaning; heavy buildup with thick, dark residue indicating prolonged fluid loss; and oil saturation extending more than one-third down the shock body from the seal area.
Functional symptoms often appear before visual evidence becomes dramatic. Customers may report excessive bouncing, nose dive during braking, or rear squat during acceleration. The vehicle may feel floaty or unstable at highway speeds. On rough roads, you might hear clunking or bottoming out that indicates the shock has lost damping capacity.
Document everything for warranty claims. Photograph the shock from multiple angles with good lighting. Include a reference object for scale. Video can be powerful—show fluid actively dripping or pooling. Record bounce test results. Note mileage and service history. If the vehicle has been through harsh conditions (off-road use, heavy hauling, extreme temperatures), document that as well since it may affect warranty coverage.
Some vehicle platforms have known issues. Jeep Wrangler JL models, for example, commonly show misting or actual leaking on all four shocks before 30,000 miles, with some leaking straight from the factory. If you’re seeing patterns across multiple units of the same model and year, check for TSBs or warranty extensions that may override standard policies.
Customer Communication and Expectations
Managing customer expectations is critical when dealing with shock seepage. Many vehicle owners discover minor seepage during DIY inspections or after visiting quick-lube shops that point out every potential issue. They arrive at your shop expecting warranty replacement, only to learn that OEM policy doesn’t support it.
Explain the technical reality clearly. Show them the manufacturer documentation if needed. Help them understand that a thin film of oil is actually normal and that the shock is still functioning as designed. If they’re concerned, offer to clean and monitor the condition at their next service interval.
When seepage is more pronounced but still non-warrantable, give them options. The shock may continue functioning acceptably for months or years. Alternatively, if they want immediate replacement for peace of mind, they can pay for aftermarket shocks that may offer better long-term performance than OEM replacements anyway. Frame it as their choice based on acceptable risk and budget.
Don’t oversell unnecessary work, but don’t underplay legitimate concerns either. If a shock shows heavy seepage and the customer drives in demanding conditions—towing, off-road, long highway commutes with loaded vehicles—replacement may be justified even if warranty won’t cover it. Use your judgment based on the total picture.
For customers who have modified their vehicles with lift kits, oversized tires, or heavy accessories, explain that OEM shocks may be inadequate regardless of seepage. This creates an opportunity to discuss upgraded suspension components that better match their usage.
Diagnostic Checklist for Shock Absorber Fluid Issues
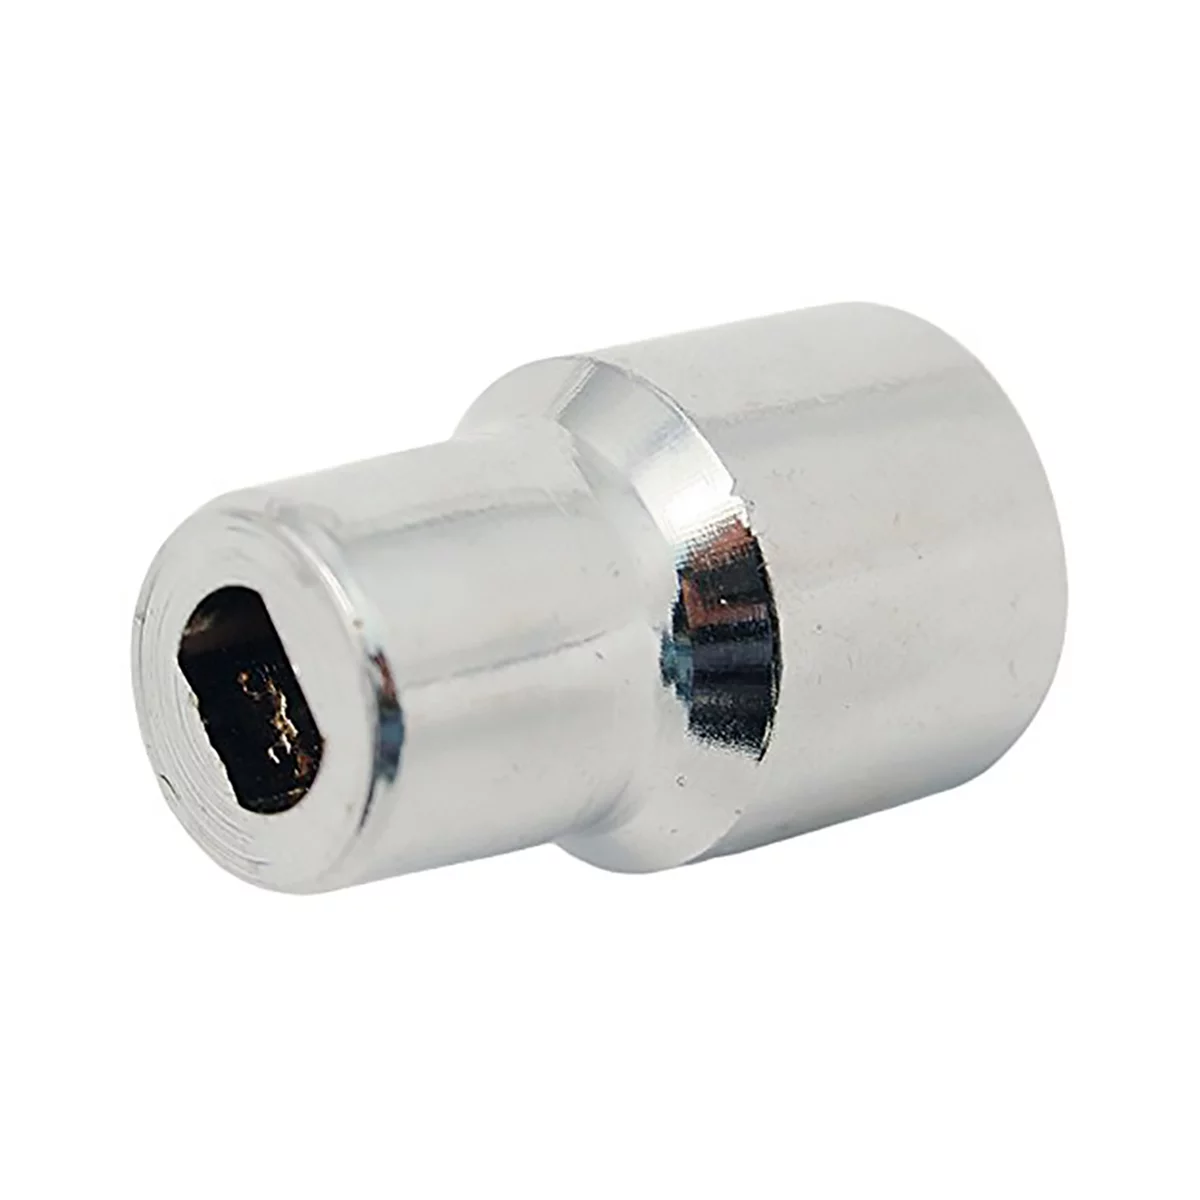
GM Shock Absorber Socket A430 - Compatible Tool for Repairs
Mfg: CTA Manufacturing Corp.
Part #: A430
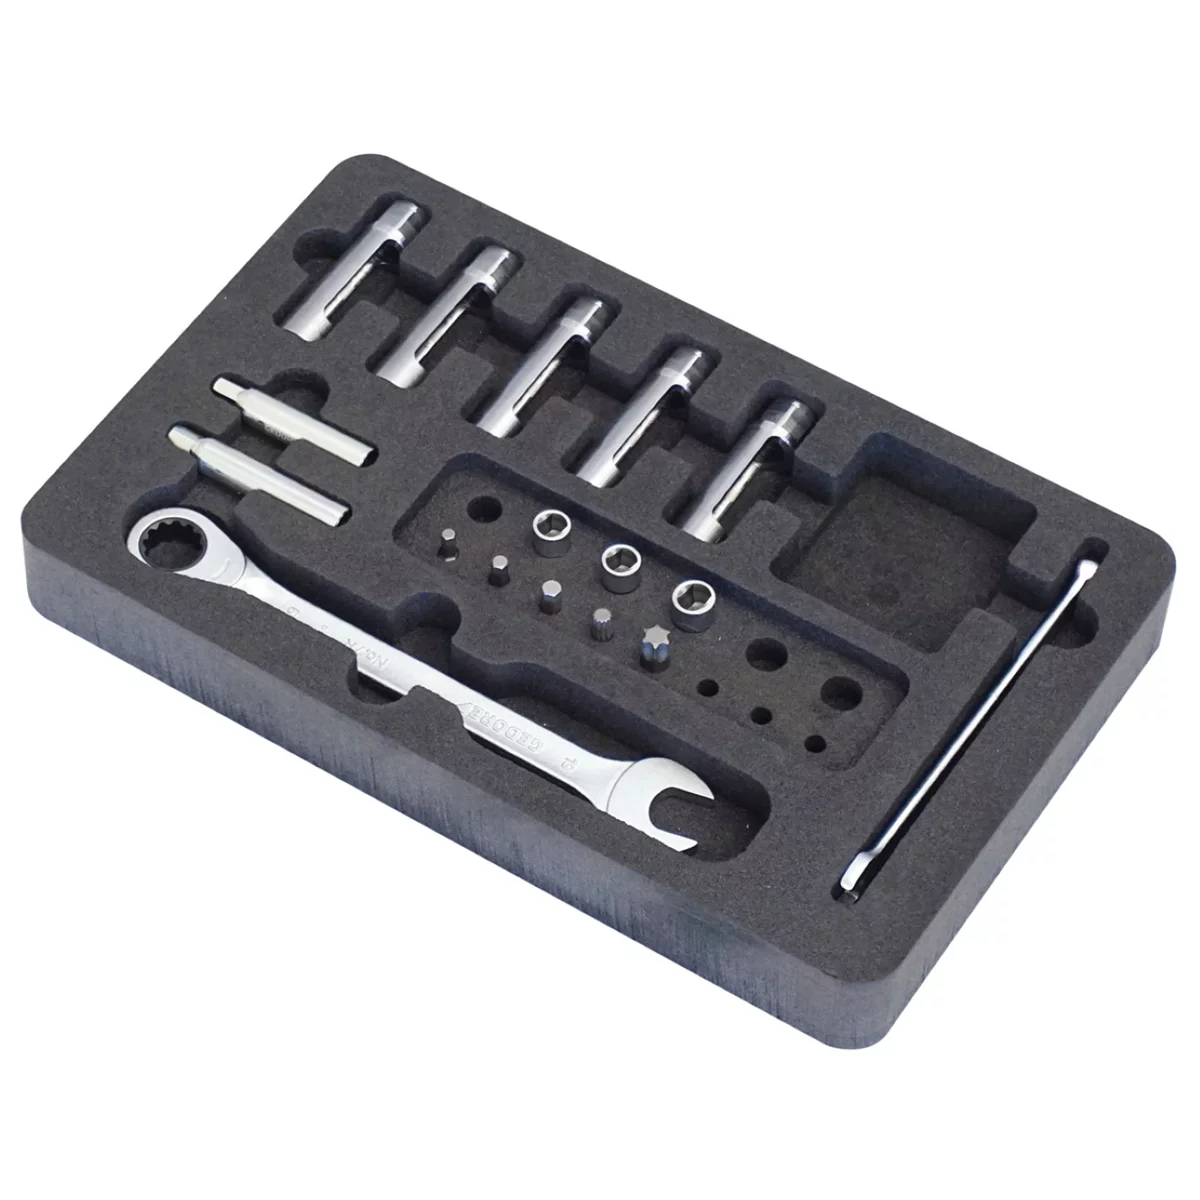
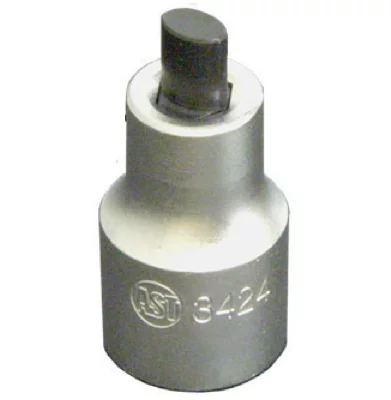
VW/Audi Shock Absorber Spreader Tool - Assenmacher 3424
Mfg: Assenmacher Specialty Tools
Part #: 3424
- Inspect all four shocks/struts on a lift with adequate lighting
- Examine dust boots and seal areas for fluid accumulation
- Check for dripping fluid or pooling on components below
- Look for overspray patterns that might indicate tire shine contamination
- Wipe shock bodies clean and perform test drive (20-30 miles)
- Reinspect for fresh fluid appearance after test drive
- Perform bounce test at all four corners
- Document findings with photos from multiple angles
- Review service history and check for relevant TSBs
- Compare condition to OEM warranty criteria before submitting claims
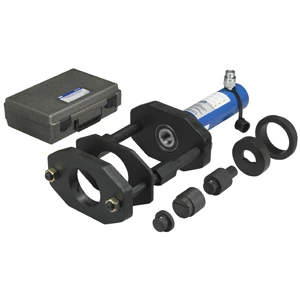
Hendrickson Suspension Bushing Tool Kit
Mfg: OTC Tools and Equipment
Part #: 4246
ID: 238806
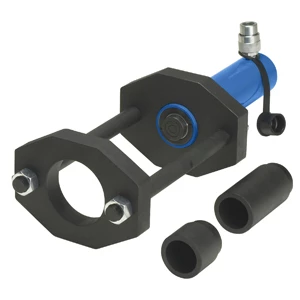
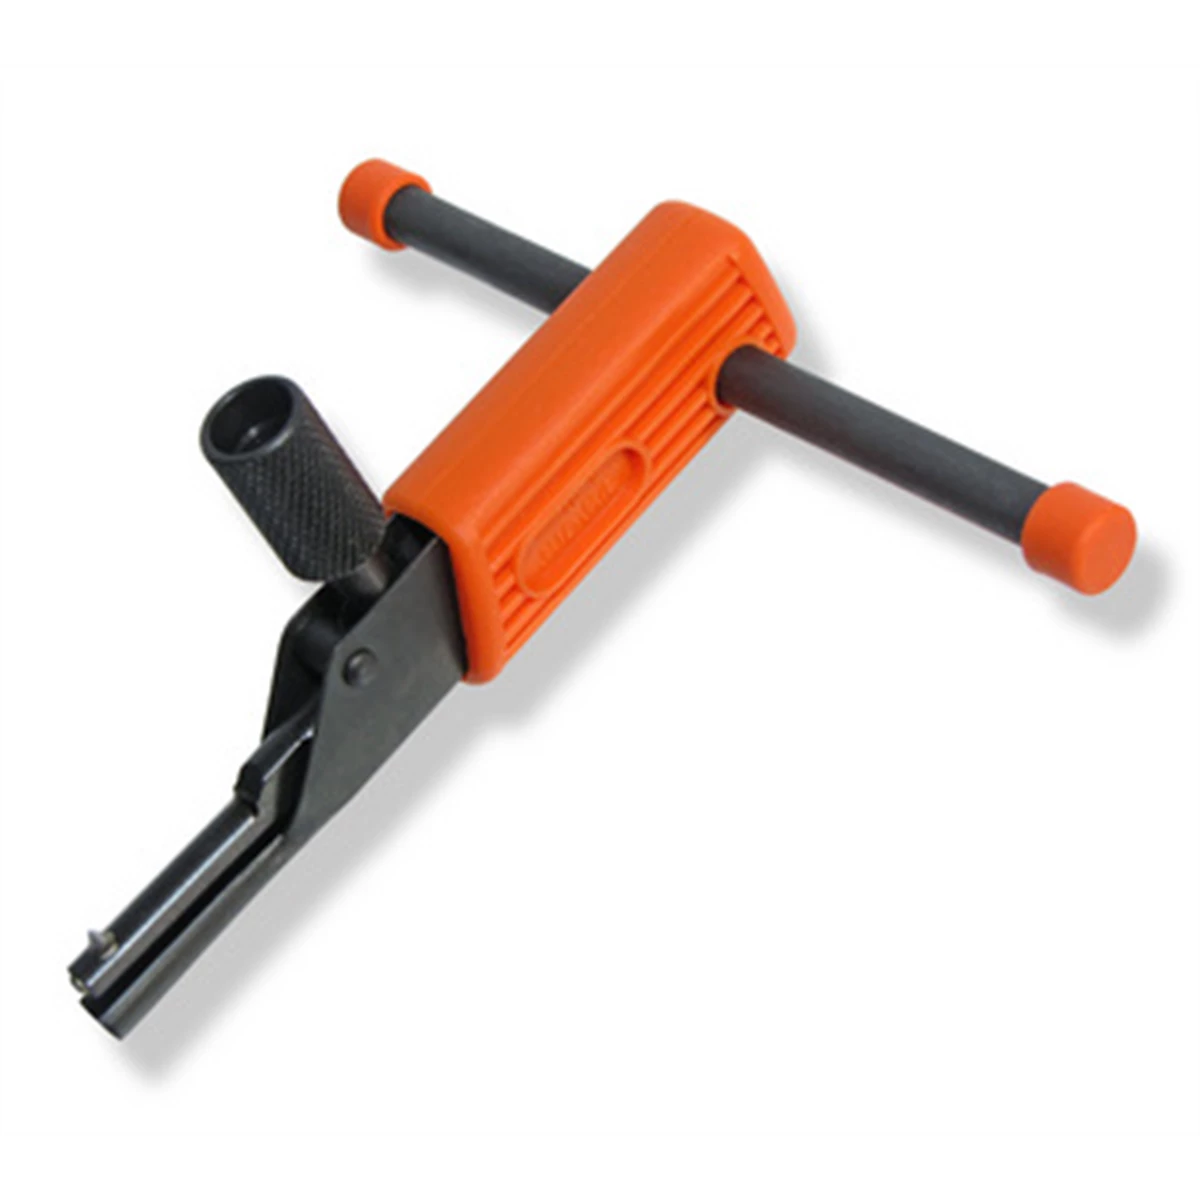
Universal Internal Thread Repair Tool – 8-11mm 5/1six and seven sixteen inch for Automotive and Industrial Use
Mfg: NES Thread Repair
Part #: NES 21
ID: 111317
Frequently Asked Questions
Is it normal for shock absorbers to have oil on them?
Yes, a light film of hydraulic fluid on the shock rod and upper body is normal. The rod passes through a seal that cannot be 100% leak-proof, and a thin layer of fluid actually lubricates the seal and rod. This is called misting or seepage and doesn’t affect performance or require replacement.
How do I tell the difference between seepage and a leak?
Seepage appears as a light to moderate film or coating on the shock body that doesn’t drip. A leak involves fluid actively dripping from the shock, pooling on components below, or creating heavy, dark buildup that extends more than one-third down the shock body. If you can wipe it clean and it doesn’t quickly reappear, it’s likely seepage.
Will warranty cover a shock that’s seeping but not dripping?
Generally no. Most OEM warranty policies require active dripping to approve replacement. Seepage and misting are considered normal operating conditions across nearly all manufacturers including Stellantis, Volkswagen, and others. This is documented in official service bulletins and warranty guidelines.
How long will a shock last if it’s seeping?
Shocks can continue functioning acceptably for years with minor seepage. The key is whether damping performance has degraded. If bounce tests show normal response and the vehicle rides well, seepage alone doesn’t indicate imminent failure. Monitor the condition at regular service intervals and replace when functional symptoms appear.
Could the oil on my shock be something other than shock fluid?
Yes. Tire shine overspray is frequently mistaken for shock fluid, especially on rear suspensions. Overspray appears randomly on multiple surfaces including control arms and inner fenders, while shock fluid runs vertically from the seal area down the shock body. Engine oil, transmission fluid, or power steering fluid can also contaminate suspension components on some vehicles.
What are the signs that a shock has actually failed?
Failed shocks produce excessive bouncing after hitting bumps (more than one and a half cycles), floating or instability at highway speeds, nose dive during braking, rear squat during acceleration, uneven tire wear, and clunking sounds over rough roads. Heavy fluid dripping, thick dark residue covering much of the shock body, and visible oil saturation are visual indicators of failure.
Suspension Inspection Tools
GM Shock Absorber Socket A430 - Compatible Tool for Repairs
Mfg: CTA Manufacturing Corp.
Part #: A430


Accurate shock absorber diagnosis requires the right equipment and procedures. Our Tire Tools, Wheels & Suspension category includes the lifts, diagnostic equipment, and cleaning supplies you need for thorough shock and strut inspection.
- Hydraulic jacks and jack stands for safe vehicle lifting
- Brake cleaner and shop rags for wipe-down testing
- Specialized suspension diagnostic tools for bounce testing and alignment checks
Essential Shock Absorber Tools & Products
Whether you’re diagnosing seepage issues or performing a complete shock replacement, having the right tools and products on hand makes all the difference. Our Uncategorized category features a curated selection of diagnostic equipment and replacement parts to support your technician toolkit.
- Shock Absorber Testing Equipment – Precision tools for evaluating shock performance and identifying leakage points
- Replacement Shock Components – OEM and aftermarket shocks, seals, and gaskets for common vehicle makes
- Suspension Diagnostic Kits – Comprehensive tools to assess suspension system health alongside shock absorber condition

The Toolsource Technical Team blends decades of real-world automotive service experience with up-to-date technical research. Our writers collaborate with professional mechanics, shop owners, and diagnostic specialists to deliver practical, workshop-ready guidance you can trust.


Follow us on social media