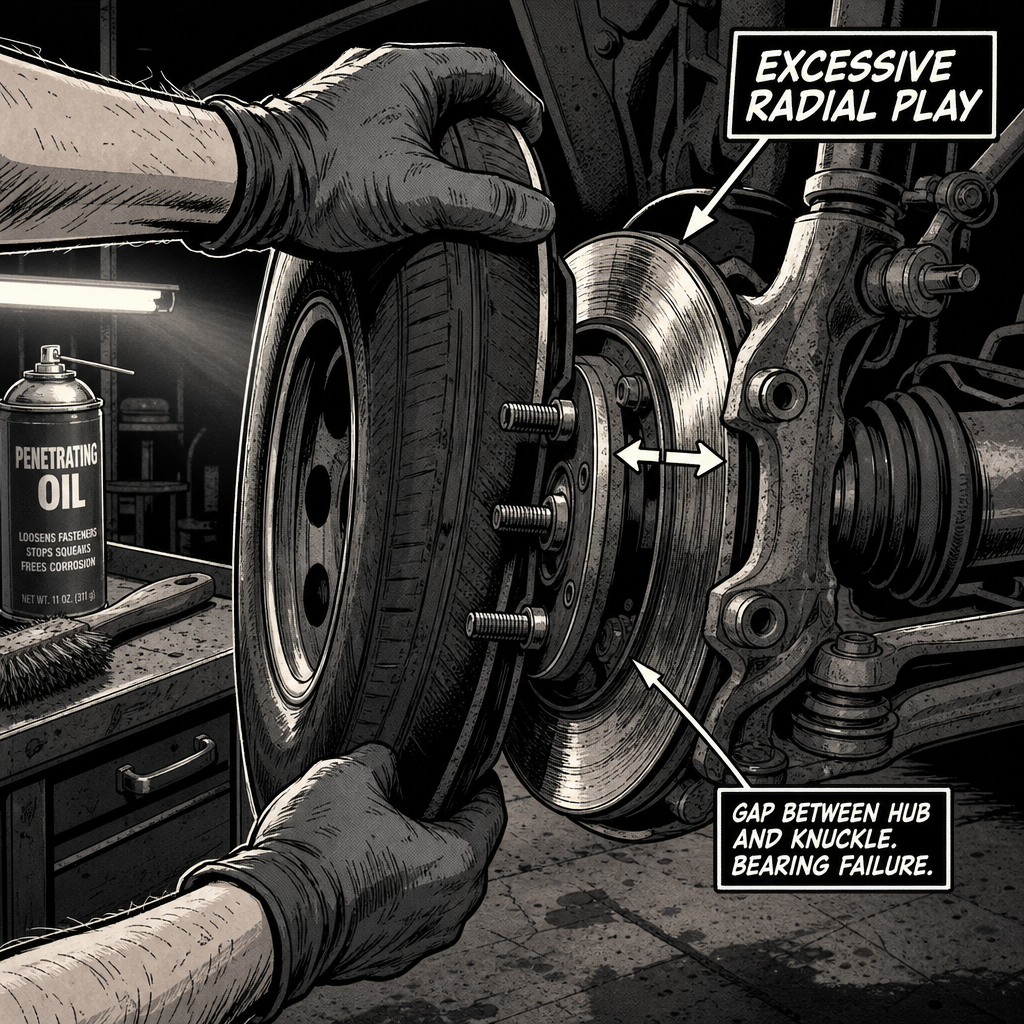
When a wheel bearing fails completely, the symptoms are unmistakable—excessive wheel play, visible rotor movement, and often exposed tire cords from abnormal wear patterns. By the time a bearing reaches catastrophic failure, the vehicle has typically been broadcasting warning signs for weeks or months. Understanding the progression of bearing failure, recognizing the point of no return, and executing proper replacement procedures are essential skills for any technician dealing with suspension and brake work. This guide addresses the diagnostic approach, safety considerations, and replacement strategy for severely failed wheel bearings, with particular attention to vehicles that have been driven well past the initial warning signs.
Recognizing Catastrophic Wheel Bearing Failure
A wheel bearing in catastrophic failure presents distinctly different symptoms than early-stage bearing wear. While a failing bearing typically announces itself with a humming or growling noise that increases with speed, a completely destroyed bearing exhibits visible mechanical failure. The primary diagnostic indicator is excessive radial play in the wheel assembly—when you grasp the tire at 12 and 6 o’clock positions and rock it, a failed bearing will show pronounced movement. More critically, you’ll observe the brake rotor moving independently relative to the hub, indicating the bearing has disintegrated to the point where it no longer maintains proper wheel alignment.
Visual inspection often reveals additional damage. Tire wear patterns become irregular, frequently showing cord exposure on the inner or outer edge as the wheel’s ability to track properly deteriorates. The wheel studs may show stress indicators, with one or more studs potentially missing or damaged. In severe cases, the entire hub assembly exhibits heat discoloration from excessive friction and metal-on-metal contact. The brake rotor itself may show grooves, warping, or uneven wear from operating at improper angles relative to the brake pads.
The acoustic signature of a completely failed bearing differs from early failure. Rather than the characteristic highway-speed hum, technicians report a loud howling or grinding that becomes unbearable above 30 mph. This noise represents the final stage before mechanical separation, when bearing races have fragmented and rollers or balls have escaped their designed paths. Any vehicle presenting with these symptoms requires immediate intervention—it should not be driven to the shop but rather towed to prevent wheel separation during transit.
Safety Risks and Collateral Damage Assessment
A failed wheel bearing represents a genuine safety hazard, not merely a maintenance item. The primary risk is wheel separation, which can occur in two ways: either the bearing disintegrates completely, allowing the wheel to separate at the spindle or knuckle, or the wheel studs fail from the abnormal loading forces created by the excessive play. Either failure mode results in immediate loss of vehicle control and creates a road hazard for other drivers. This is particularly dangerous at highway speeds or during emergency maneuvers when lateral forces are highest.
Beyond the immediate safety concern, catastrophic bearing failure creates cascading damage to surrounding components. Brake pads wear unevenly and accelerate their degradation—technicians frequently find the inner pad worn to the backing plate while the outer pad retains substantial material. The caliper mounting hardware experiences unusual stress, potentially damaging mounting brackets or slide pins. The wheel studs endure abnormal loading, often resulting in stretched or fractured studs that require replacement even if they haven’t completely failed. The hub mounting surface may also sustain damage, particularly on vehicles where the bearing is pressed into the knuckle rather than supplied as an integrated hub assembly.
The brake rotor typically requires replacement alongside the bearing. The excessive play allows the rotor to contact the pads at varying angles, creating grooves, warping from uneven heat distribution, and thickness variations that make the rotor unsuitable for continued service. Attempting to reuse a rotor that has experienced this type of damage inevitably results in brake pulsation, uneven pad wear, and premature pad replacement. When estimating repair costs for customers, technicians should assume that rotors, pads, and at minimum one wheel stud will need replacement in addition to the bearing assembly itself.

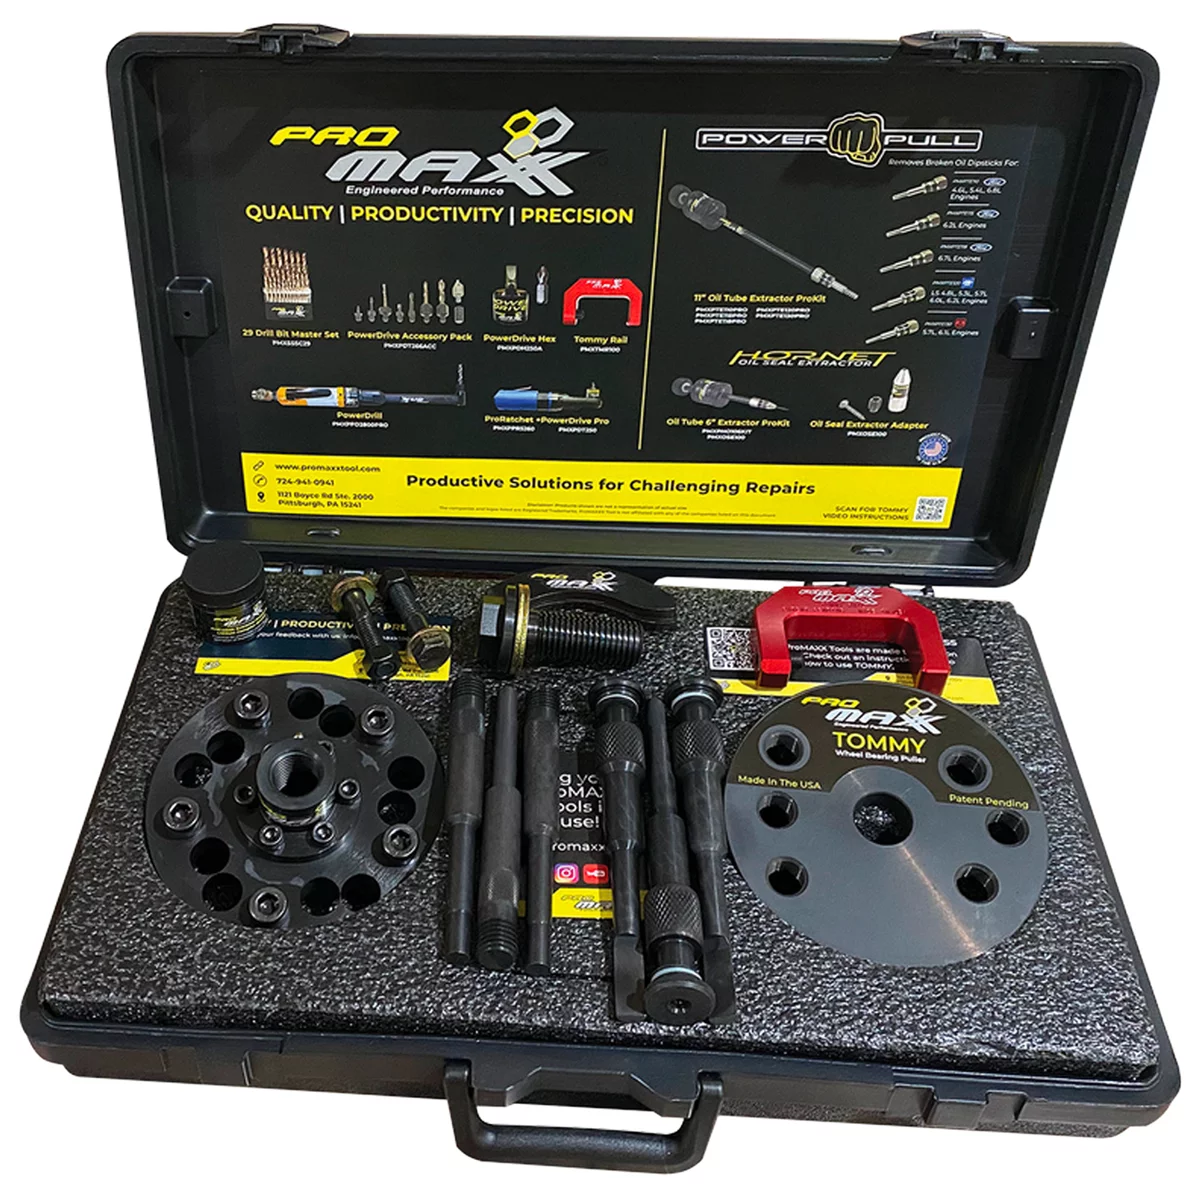
Tommy Ford/Subaru Combo Wheel Bearing Hub Puller ProKit Plus With Rail Accessory
Mfg: ProMaxx Tool by Milton
Part #: TOM450PROP
ID: 387456
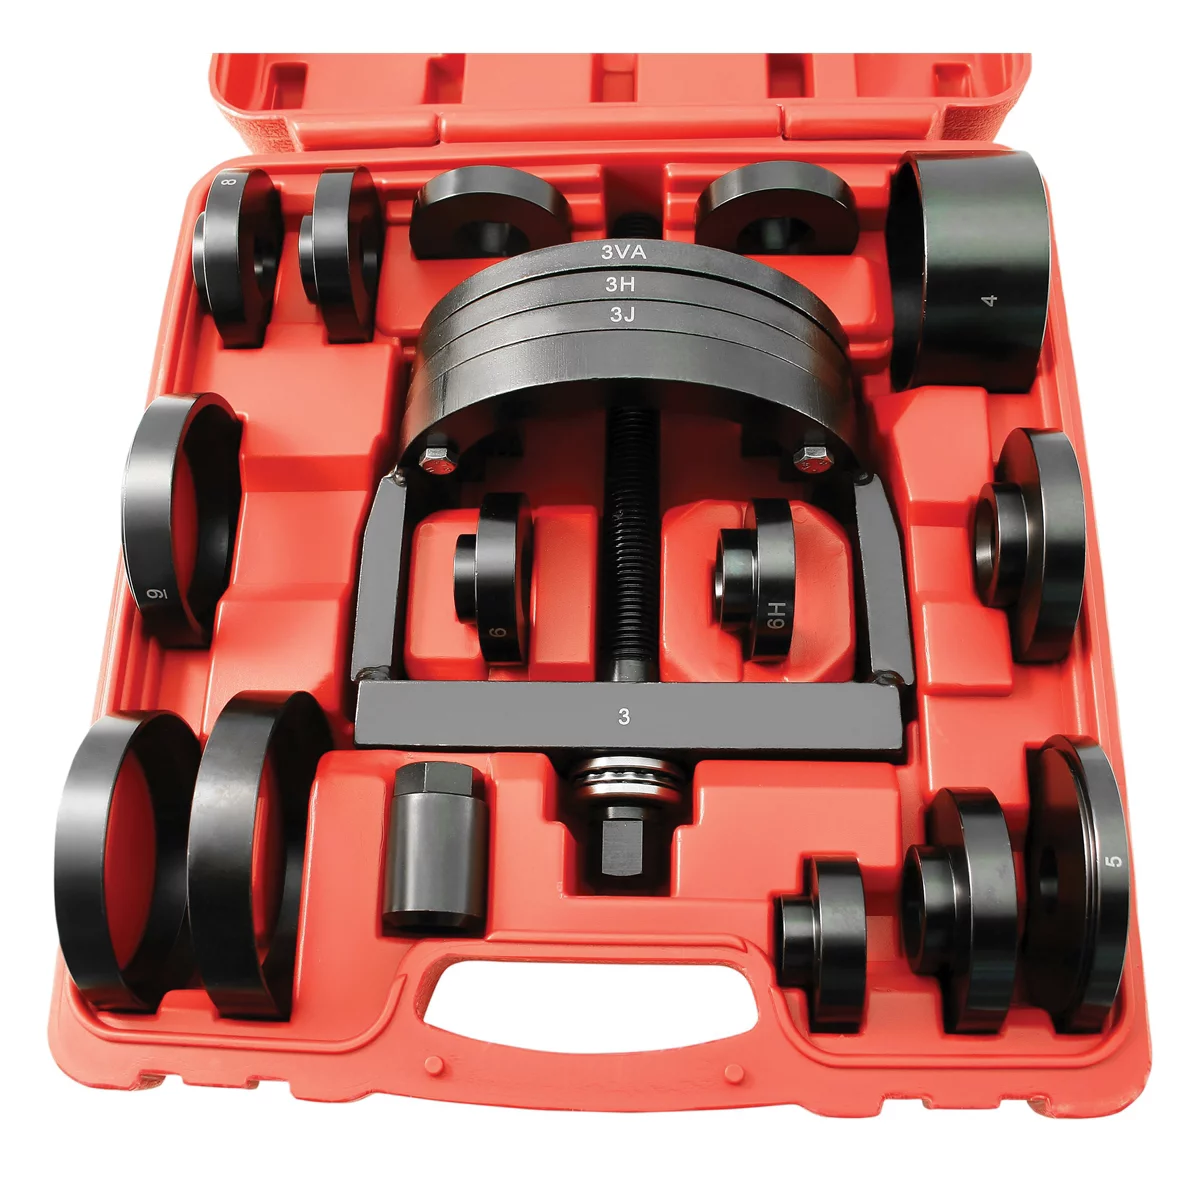
Hub Assembly vs. Bearing Replacement Strategy
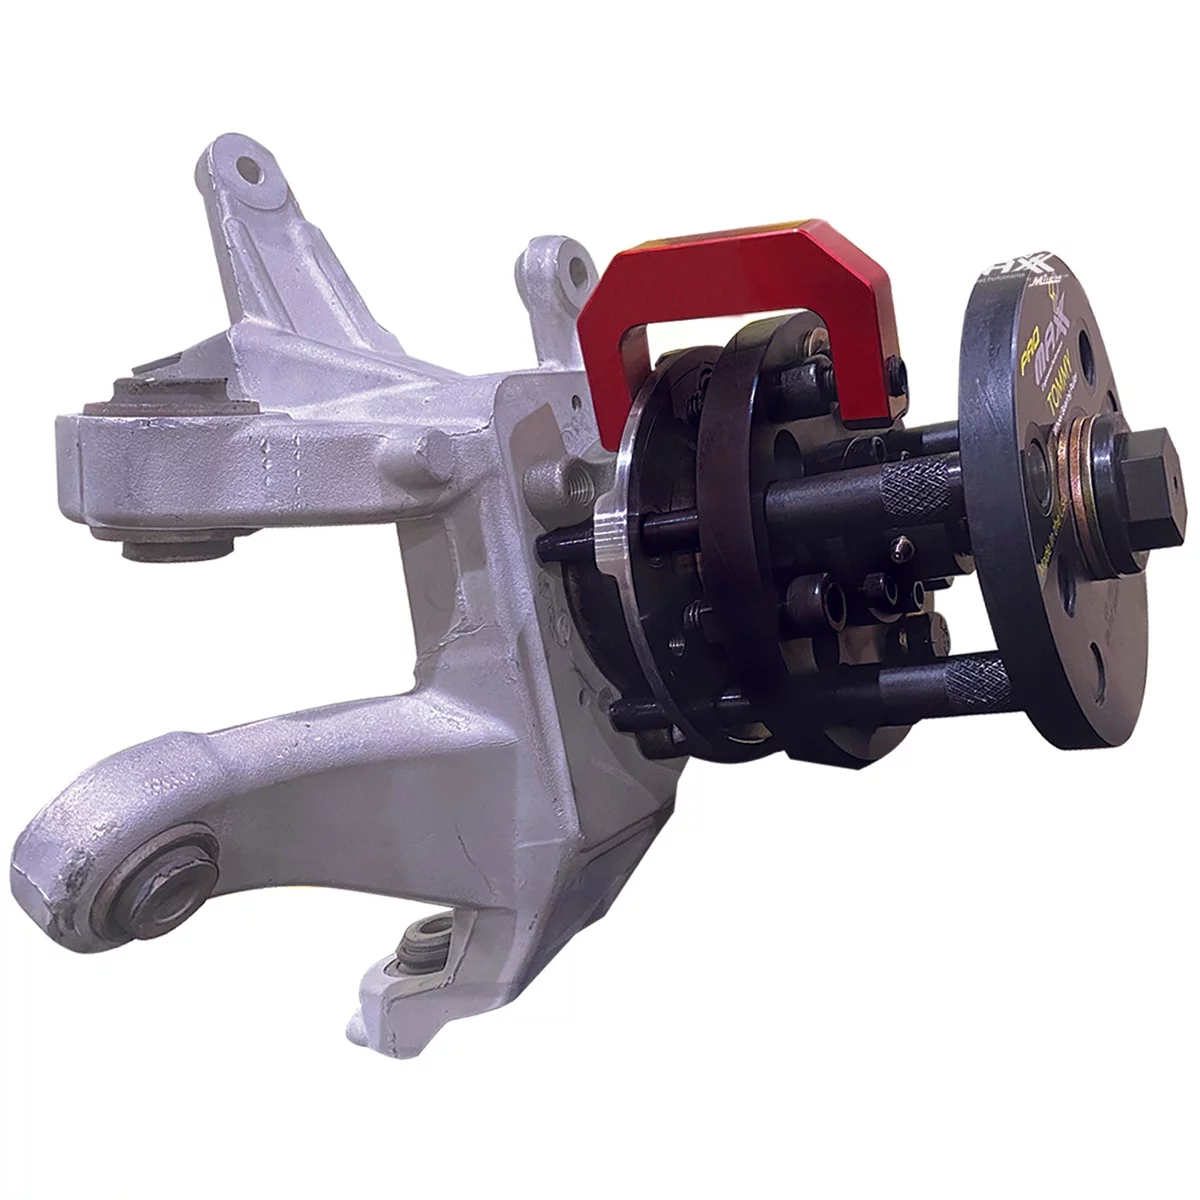
PROMAXX Tommy - Wheel Bearing Hub Puller Removal Kits: Ford
Mfg: ProMaxx Tool by Milton
Part #: TOM400PRO
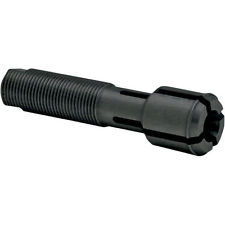
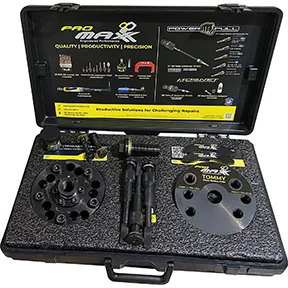
PROMAXX Tommy - Wheel Bearing Hub Puller Removal Kits: Ford Or S
Mfg: ProMaxx Tool by Milton
Part #: TOM410PRO
Modern vehicles predominantly use two bearing configurations: serviceable bearings that press into the steering knuckle, and integrated hub bearing assemblies where the bearing, hub, and mounting flange come as a single unit. For catastrophically failed bearings, the hub assembly replacement approach offers significant advantages. When a bearing has failed to the extent that the rotor moves independently of the hub, the bearing races have typically damaged the hub bore or the bearing mounting surfaces. Attempting to press a new bearing into a compromised hub or knuckle frequently results in premature failure of the replacement bearing.
The hub assembly replacement procedure involves removing the wheel, brake caliper, and caliper mounting bracket, then extracting the rotor. The hub assembly typically bolts to the back of the steering knuckle with three to five bolts accessible from behind the knuckle. This approach eliminates the need for a hydraulic press, bearing race drivers, and the risk of damaging the knuckle during bearing extraction. For technicians working in rust-belt environments, the hub assembly method often proves faster despite the higher parts cost, as seized bearing races can consume hours of labor when extraction becomes difficult.
Situations still exist where bearing-only replacement makes sense. On newer vehicles with low mileage where the bearing has failed prematurely due to seal failure or contamination, and where the hub shows no damage, pressing a new bearing may be appropriate. However, when confronting a bearing that has been failing for an extended period—evidenced by extensive play, collateral damage, and obvious neglect—the hub assembly replacement eliminates variables and reduces comeback risk. The labor time saved by avoiding bearing extraction and installation typically offsets a significant portion of the increased parts cost, particularly when factoring in the likelihood of knuckle damage during serviceable bearing removal.
Step-by-Step Hub Assembly Replacement Procedure
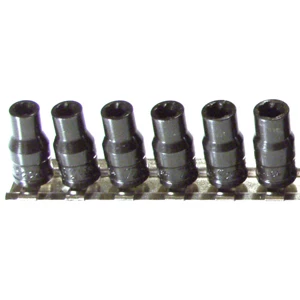
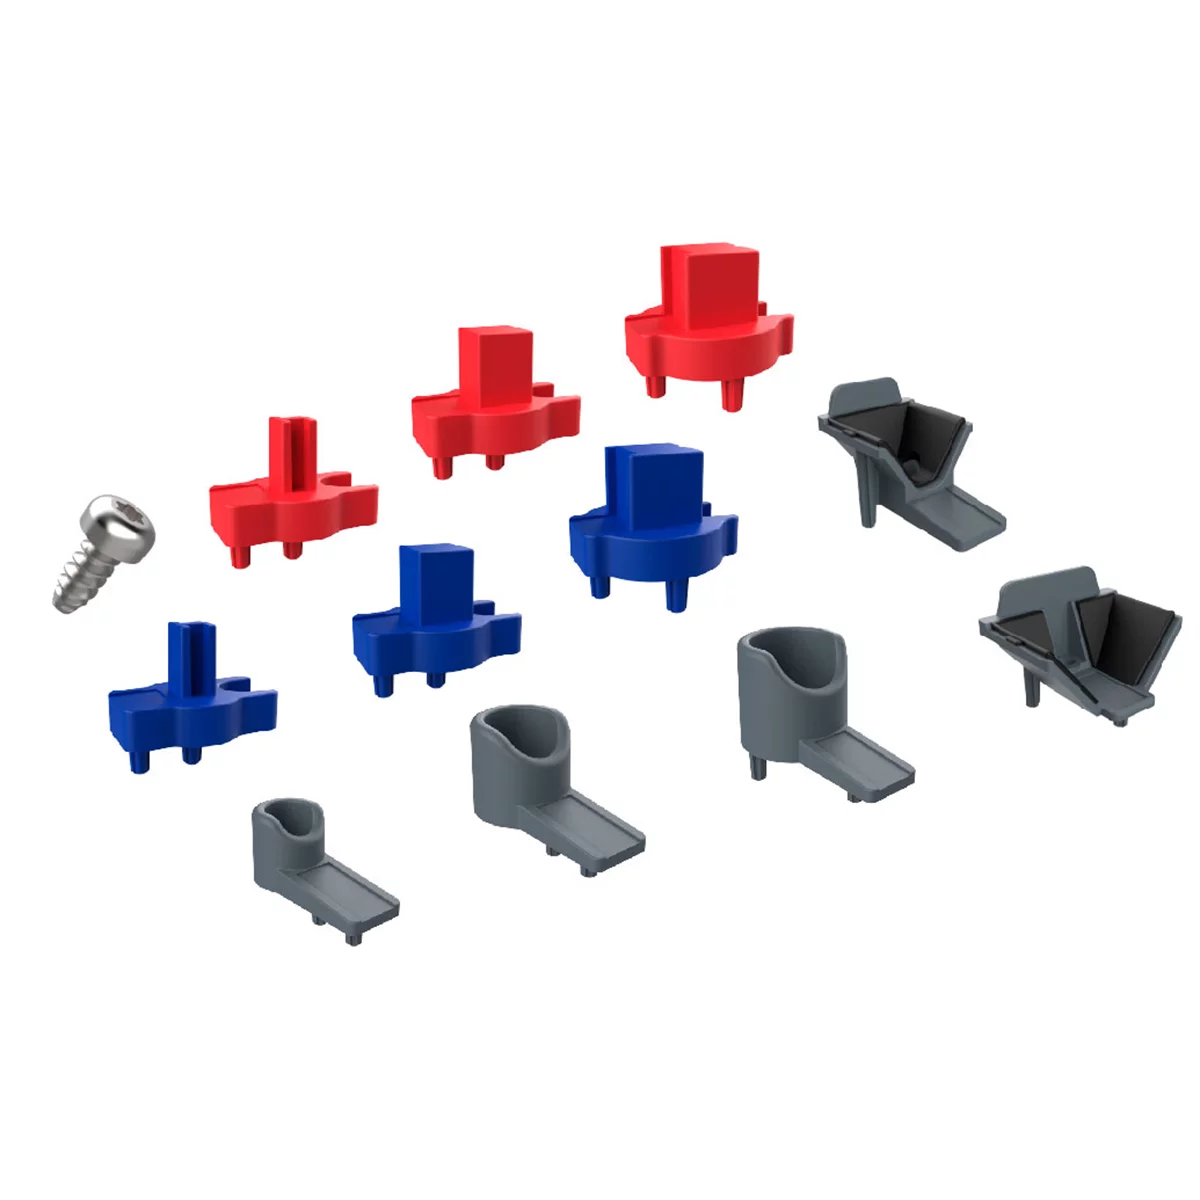
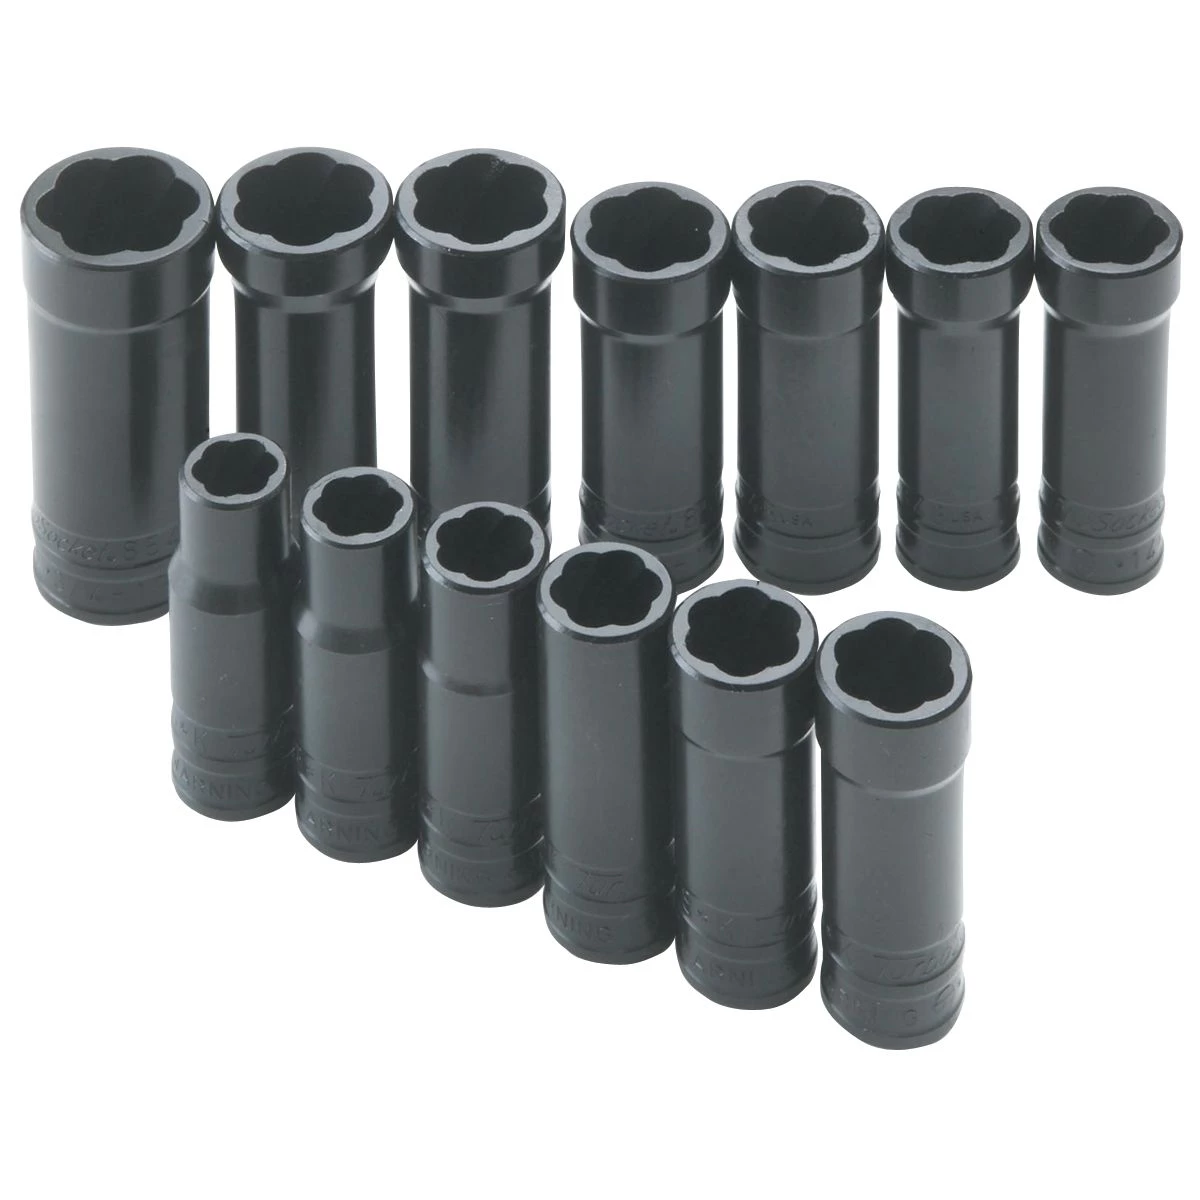
3/8 In Dr Fractional / Metric Deep TurboSocketr Set - 13-Pc
Mfg: SK Hand Tool
Part #: 833
Begin with the vehicle safely supported on jack stands with the wheel removed. Never rely solely on a floor jack for this type of work, as the wheel’s condition may create instability. Inspect the wheel studs; if any are missing or show elongated holes in the wheel, order replacement studs before beginning disassembly. Remove the brake caliper by extracting the mounting bolts—support the caliper with a wire or bungee cord rather than allowing it to hang by the brake hose, which can damage the hose internally.
Remove the caliper mounting bracket, which typically uses larger bolts than the caliper itself and may require significant force to break free. With the bracket removed, the rotor should slide free from the hub—if it doesn’t, it may be retained by small set screws or simply corroded in place. Tap the rotor with a brass drift if necessary, working around the circumference to break the corrosion bond. Once the rotor is clear, you’ll have access to the hub mounting bolts on the back side of the knuckle.
The hub assembly mounting bolts frequently require penetrating oil and heat to remove, particularly in rust-prone regions. Apply penetrating oil and allow it to soak while you’re removing the caliper and rotor. Access varies by vehicle design—some require removing the wheel speed sensor, and some configurations necessitate disconnecting the outer tie rod end or removing the entire knuckle assembly. Consult vehicle-specific procedures before beginning to avoid surprises midway through the job.
Once the old hub assembly is extracted, thoroughly clean the knuckle mounting surface with a wire brush and inspect for damage. Apply a thin coat of anti-seize compound to the mounting surface—this prevents corrosion bonding and facilitates future service. Install the new hub assembly, ensuring it seats completely flush against the knuckle before tightening mounting bolts. Torque the hub mounting bolts to specification using a torque wrench; this is not a location for estimation, as improper torque can lead to premature bearing failure.
Reinstall the rotor, ensuring the rotor mounting surface on the new hub is clean and free from burrs or debris. Install the caliper bracket and torque those bolts to specification—these bolts carry significant loads and absolutely require proper torque. Reinstall the caliper, then mount the wheel. Before lowering the vehicle, manually rotate the wheel to confirm the brakes aren’t dragging and that rotation is smooth without binding or roughness. After lowering to the ground, perform a final wheel nut torque check and test drive at low speed in a safe area to verify proper repair before returning the vehicle to the customer.
Quick Reference Checklist for Failed Wheel Bearing Jobs
- Verify excessive wheel play with hands-on inspection before disassembly
- Check for missing or damaged wheel studs; order replacements before starting
- Plan for rotor and brake pad replacement—assume they’re damaged
- Apply penetrating oil to hub mounting bolts before removing caliper
- Support brake caliper independently; never hang by brake hose
- Clean hub mounting surface thoroughly and apply anti-seize
- Torque all fasteners to specification—hub bolts, caliper bracket bolts, wheel nuts
- Test drive before customer delivery to verify repair quality
Why Wheel Bearings Reach Catastrophic Failure
The progression from early bearing noise to complete mechanical failure typically spans weeks or months, raising the question of how vehicles reach this state. The answer lies in deferred maintenance and the tendency to normalize abnormal sounds. A wheel bearing begins its failure when the seal fails, allowing moisture and contaminants into the bearing assembly. This accelerates wear on the races and rolling elements, producing the characteristic humming noise. At this stage, the bearing still maintains adequate preload and the wheel exhibits minimal play.
As wear progresses, the noise intensifies and may transition to a growling sound, particularly during cornering when lateral loads shift to the affected bearing. Many vehicle owners become accustomed to this noise and delay repair, particularly if cost is a concern. The bearing continues to deteriorate, developing pitting on the races and eventually fragmenting the rolling elements. Once fragmentation begins, deterioration accelerates rapidly—metal particles contaminate the remaining lubricant, acting as an abrasive compound that accelerates wear on all bearing surfaces.
The final stage occurs when enough material has worn away that the bearing can no longer maintain the wheel’s position relative to the spindle. This is when visible play develops and the brake rotor begins moving independently. At this point, repair is no longer optional—the vehicle is unsafe to operate. For European vehicles like BMWs, which rely heavily on scheduled maintenance intervals that include thorough inspections, skipping these services dramatically increases the likelihood of reaching catastrophic failure. These vehicles are engineered with the assumption that potential issues will be caught during routine service, making them particularly vulnerable to deferred maintenance.
Frequently Asked Questions
Can I drive a car with a failed wheel bearing to the repair shop?
If the bearing exhibits severe play visible when rocking the wheel by hand, or if the brake rotor moves independently from the hub, the vehicle should be towed rather than driven. The risk of wheel separation during transit is genuine, and the potential for causing an accident far exceeds the cost of a tow truck. If the bearing is noisy but the wheel shows no visible play, driving short distances at low speeds to reach a repair facility is generally acceptable, though not ideal.
Why do I need to replace the brake rotor when changing a wheel bearing?
When a bearing fails to the point of allowing excessive wheel movement, the brake rotor operates at varying angles relative to the brake pads. This creates uneven wear patterns, grooves, and warping that make the rotor unsuitable for continued use. Attempting to reuse a damaged rotor results in brake pulsation, reduced braking effectiveness, and accelerated pad wear. The additional cost of a new rotor is minor compared to the labor already invested in the repair.
Should I replace both front wheel bearings if only one has failed?
Unlike brake pads, wheel bearings don’t require replacement in pairs. Bearings fail due to seal failure and contamination, not normal wear patterns like friction materials. Replacing both sides when only one has failed doubles parts cost without meaningful benefit. However, if the vehicle has high mileage and you’re hearing noise from the opposite side, addressing both during the same service visit saves on duplicate labor charges.
Is it worth attempting to replace just the bearing instead of the hub assembly?
When a bearing has failed catastrophically with visible play and collateral damage, the hub assembly replacement is the more reliable approach. The bearing races have likely damaged the hub bore or knuckle mounting surfaces, creating an installation that won’t achieve proper preload and will likely fail prematurely. Hub assembly replacement eliminates these variables and typically saves labor time despite higher parts cost. Reserve bearing-only replacement for early failures on newer vehicles where no hub damage has occurred.
How long does a wheel bearing replacement typically take?
Hub assembly replacement on a straightforward application typically requires 1.5 to 2.5 hours per side, including brake component removal and reinstallation. Variables include rust conditions, bolt accessibility, and whether additional components like tie rod ends or ball joints require disconnection for access. Pressed bearing replacement in the knuckle adds time, particularly in rust-belt conditions where extraction can be difficult. Factor in additional time if wheel studs require replacement or if the knuckle has sustained damage requiring additional repair or replacement.
What causes wheel bearings to fail prematurely?
The most common cause is seal failure, allowing water and contaminants to enter the bearing assembly. This occurs from driving through deep water, pressure washing wheel wells, or simple age-related seal degradation. Impact damage from potholes or curb strikes can also damage bearing races or compromise seals. Improper installation—incorrect torque on axle nuts or hub mounting bolts—creates abnormal preload that accelerates wear. Finally, deferred maintenance allows small issues to progress into major failures, as evidenced by vehicles that reach the catastrophic failure stage discussed in this guide.
Recommended Tools for Wheel Bearing Work


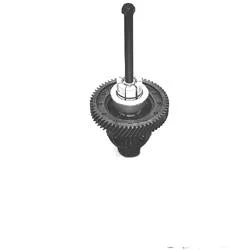
Replacing a failed wheel bearing requires proper equipment to ensure safe, efficient service. Our Tire Tools, Wheels & Suspension category stocks the specialized tools and components you’ll need for bearing diagnostics and replacement.
- Jack stands, floor jacks, and lifting equipment for safe vehicle support
- Bearing and hub assembly removal tools, including pullers and installation fixtures
- Torque wrenches and precision fastening tools for specification-critical bolts
Essential Wheel Bearing Tools & Parts
Successfully diagnosing and replacing a failed wheel bearing requires the right tools and quality parts. Browse our complete selection of automotive diagnostic equipment and replacement components to ensure a professional-grade repair.
- Wheel bearing pullers and removal tools – Specialized equipment designed for safe and efficient bearing extraction
- Bearing presses and installation kits – Professional-grade tools for precise bearing installation and alignment
- OEM and aftermarket replacement bearings – Quality bearing assemblies for all vehicle makes and models

The Toolsource Technical Team blends decades of real-world automotive service experience with up-to-date technical research. Our writers collaborate with professional mechanics, shop owners, and diagnostic specialists to deliver practical, workshop-ready guidance you can trust.


Follow us on social media