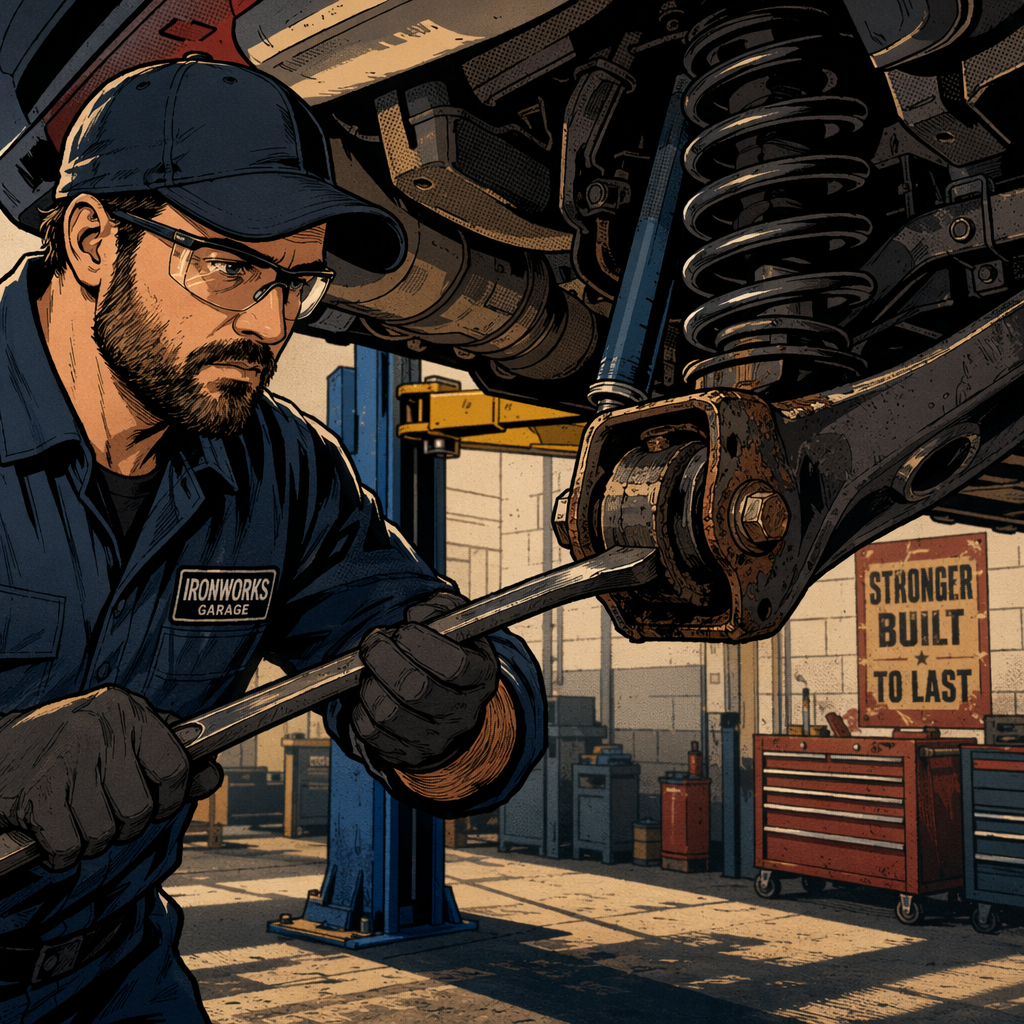
When a vehicle presents with extreme negative camber at the rear wheel, tire rubbing evidence, and suspicious whirring noises, you’re likely looking at a catastrophic suspension failure rather than a single component issue. The diagnostic challenge intensifies when years of deferred maintenance and rust belt conditions have compromised multiple suspension components simultaneously. This guide walks through the systematic diagnosis of complex rear suspension failures, with particular attention to the interplay between wheel bearing collapse, control arm degradation, and rust-related structural damage that characterizes vehicles with long maintenance neglect histories.
Initial Visual Assessment and Safety Protocol
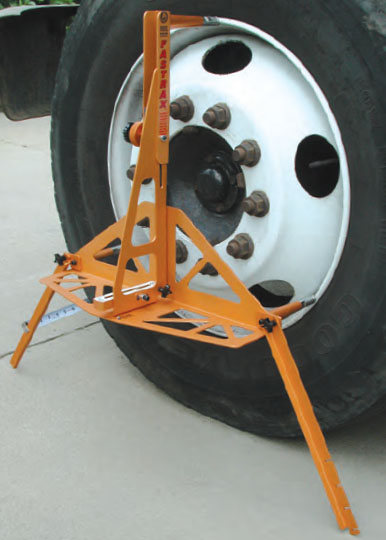
FasTrax(TM) Camber/Caster Gauge (21 to 26 In)
Mfg: Specialty Products Company
Part #: 91040
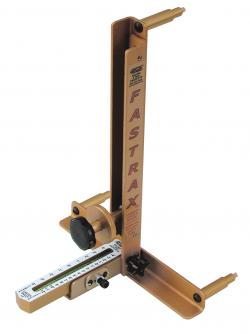
FASTRAX(TM) Caster / Camber Gauge (13 - 18 In)
Mfg: Specialty Products Company
Part #: 91000
Before touching any tools, conduct a thorough visual inspection with the vehicle on level ground. Document the wheel position relative to the fender—excessive negative camber (top of the wheel tilting inward) indicates either upper mounting point failure or lower control arm displacement. Check for black residue on the wheel’s inner face and sidewall darkening, which signals sustained tire-to-suspension contact. This rubbing pattern typically produces the characteristic whirring noise that varies with vehicle speed.
Establish clear safety boundaries immediately. A vehicle displaying these symptoms is not roadworthy under any circumstances. The combination of compromised structural mounting points, potential wheel bearing seizure, and tire sidewall damage creates multiple failure modes. If the customer drove the vehicle to your shop, emphasize that further operation risks complete wheel detachment, tire blowout, or loss of vehicle control. Document the condition thoroughly with photos showing the camber angle, tire wear patterns, and any visible component displacement before lifting.
Examine the coil spring orientation as a diagnostic indicator. Compare the affected side to the opposite wheel—the spring should sit vertically in its seats. If the spring on the damaged side angles outward toward the wheel, the lower control arm has shifted from its normal position, either through bushing failure, mounting point collapse, or arm separation. This spring displacement often accompanies lower control arm bushing erosion, particularly where the arm connects to the subframe at the vehicle centerline.
Wheel Bearing Diagnosis and Failure Patterns
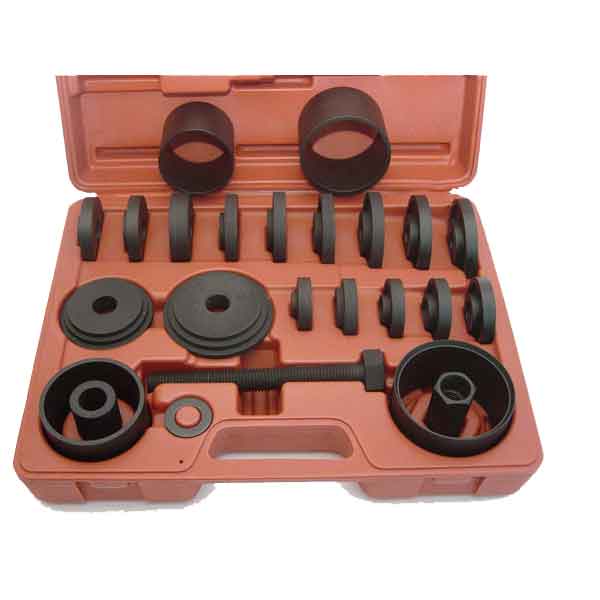
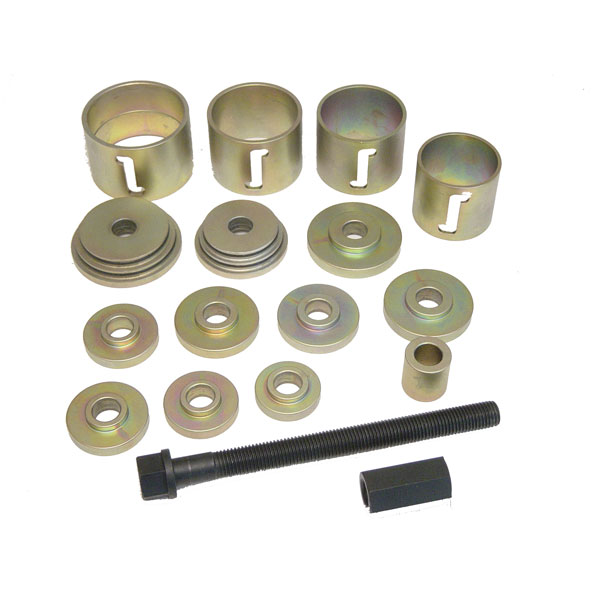
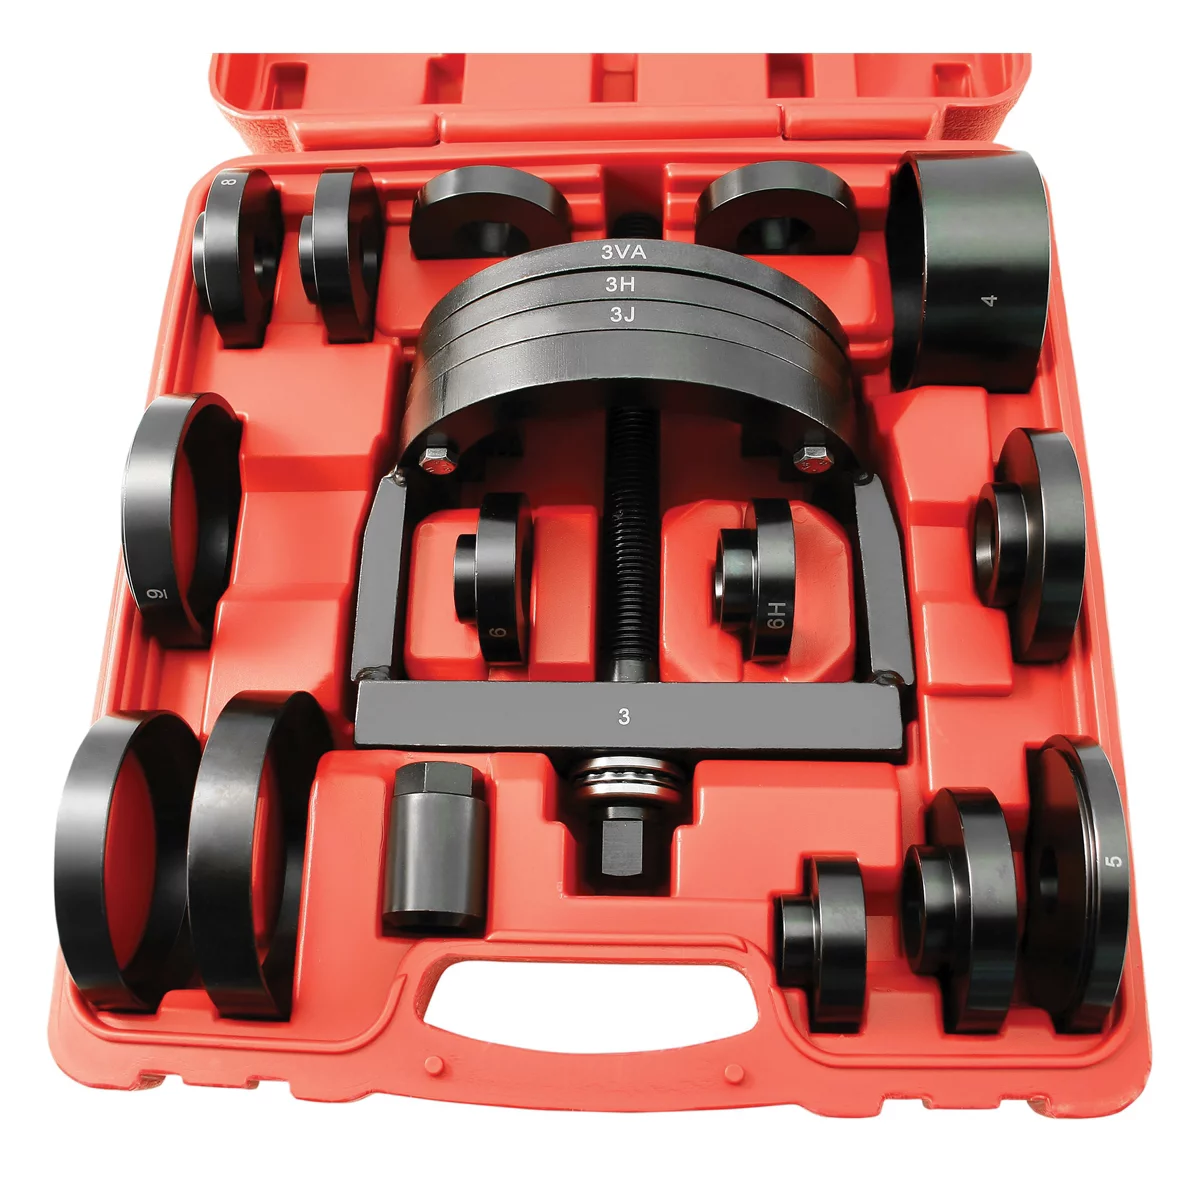
Wheel Bearing Removal & Installing Kit for BMW/Mercedes/Volvo/VW
Mfg: Baum Tools
Part #: B90K
Catastrophic wheel bearing failure rarely occurs without warning, though drivers frequently ignore the progressive symptoms until mechanical intervention becomes unavoidable. The classic diagnostic test requires lifting the affected wheel off the ground and checking for play in multiple directions. Grasp the tire at twelve and six o’clock positions and attempt to rock it vertically, then repeat at three and nine o’clock for horizontal play. Excessive movement in any direction confirms bearing failure, though severely damaged bearings sometimes “jam” and show less play than expected despite complete internal destruction.
Pay attention to noise characteristics reported by the operator. Wheel bearing noise typically changes with cornering—quieter during left turns and louder during right turns when the left rear bearing is failing, as weight transfer loads and unloads the damaged bearing. This directional sensitivity distinguishes bearing noise from tire noise or differential issues. While the wheel is elevated, spin it by hand and listen for grinding, clicking, or rough rotation. A healthy bearing produces minimal resistance and smooth, quiet rotation.
Understand that the visual evidence often tells the complete story before mechanical testing. The extreme negative camber visible in severe cases indicates the bearing has failed so completely that the hub assembly has shifted position, allowing the wheel to tilt. The dark band on the tire sidewall shows where rubber has been ground away by contact with the shock absorber or upper control arm—a clear sign the wheel has moved significantly out of its intended position. When bearings reach this failure stage, the hub assembly requires complete replacement, and surrounding components need inspection for secondary damage from the abnormal forces and contact.
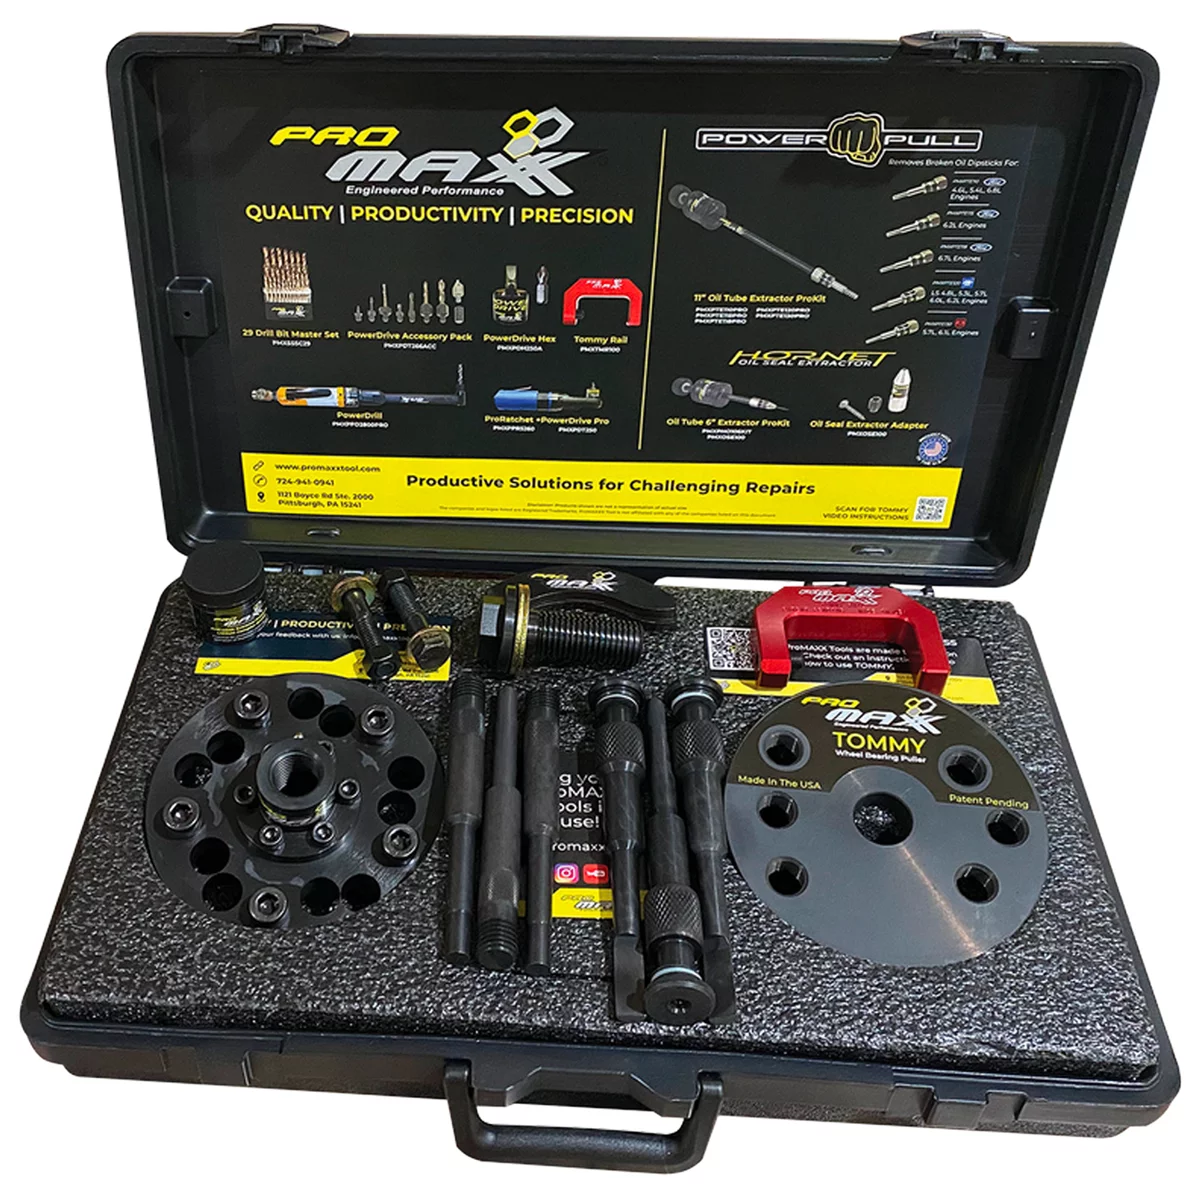
Tommy Ford/Subaru Combo Wheel Bearing Hub Puller ProKit Plus With Rail Accessory
Mfg: ProMaxx Tool by Milton
Part #: TOM450PROP
ID: 387456
Control Arm and Bushing Inspection
With the vehicle safely supported on jack stands, trace the lower control arm from the wheel hub mounting point toward the vehicle centerline. The most common failure point is the inboard bushing where the control arm connects to the subframe or rear cradle. Years of exposure to road salt and repeated stress cycles cause rubber bushings to crack, deteriorate, and eventually separate completely. When this bushing fails, the lower control arm pivots outward, pulling the bottom of the wheel away from the vehicle and creating the negative camber observed from outside.
Inspect the upper control arm mounting points with equal attention. On unibody vehicles, the upper strut mount bolts through the body structure, and rust can compromise these attachment points. Look for elongated bolt holes, cracked metal around the mounting area, or complete separation where the strut tower has rusted through. This failure mode is particularly common on Ford Escape models and similar crossover platforms where the strut mount area is prone to rust perforation. If you find a bolt hole with nothing in it or stripped threads in the mounting location, the structural repair required may exceed the vehicle’s value.
Check the rear trailing arm or lateral link rod ends for wear and damage. These components maintain lateral wheel position and prevent unwanted movement under cornering and braking loads. Failed rod end bushings or ball joints (where applicable) allow the wheel assembly to shift position, contributing to the misalignment and abnormal tire wear. Use a pry bar to test for movement at each pivot point—any looseness indicates wear requiring replacement. On rust belt vehicles, seized bolts and corroded fasteners make this inspection challenging, but thorough documentation of all compromised components is essential for accurate repair estimation.
Rust Assessment and Structural Integrity
The level of corrosion visible on suspension components tells you immediately whether you’re dealing with a straightforward repair or a vehicle approaching end-of-service life. Surface rust on steel components is normal and expected, particularly on vehicles operated in environments where road salt and chemical deicers are used. However, when you observe scale rust, pitting, or metal deterioration that has reduced component cross-section, structural integrity is compromised.
Examine the subframe or rear cradle carefully for rust-through conditions. This structure carries all suspension loads and must maintain its strength and geometry for safe operation. Look underneath for perforation, especially at stress points near control arm mounts and spring seats. Tap suspected areas with a small hammer—solid metal rings clearly, while rust-weakened sections produce a dull thud or may actually crack under light impact. If the subframe shows significant deterioration, welding repairs may not provide adequate strength restoration, and replacement becomes necessary.
Consider the economics of rust belt repairs when providing estimates. A decade of deferred maintenance on a vehicle operated in harsh winter conditions typically means every suspension component has reached or exceeded its service life simultaneously. While the customer may have come in for “a wheel bearing,” the complete repair list often includes control arms, bushings, sway bar links, shock absorbers, springs, and potentially the hub assembly—plus addressing any structural rust issues. Factor in the likelihood of seized fasteners requiring cutting and the additional labor time for dealing with corroded hardware when pricing these jobs.
Diagnostic Checklist for Complete Assessment
- Measure and document camber angle variation between left and right rear wheels
- Inspect tire inner sidewall for rubbing marks and measure remaining tread depth
- Perform wheel bearing play test at twelve-six and three-nine o’clock positions
- Check lower control arm inboard bushing condition and mounting point integrity
- Examine upper strut mount for rust perforation, elongated holes, or separation
- Test trailing arm and lateral link rod ends for play and bushing deterioration
- Assess subframe structural condition including rust-through and mounting point integrity
- Verify spring seating position and compare angles between affected and unaffected sides
- Document all corroded fasteners and estimate penetrating fluid soak time needed
- Test drive restriction: Vehicle tagged as non-operational until repairs completed
Repair Strategy and Customer Communication
When presenting findings to the customer, be direct about safety implications and realistic about repair costs versus vehicle value. A catastrophic suspension failure of this nature on an older vehicle with extensive rust damage typically requires $2,000-$4,000 in parts and labor for complete repair—and that assumes no unexpected complications from seized fasteners or additional structural damage discovered during disassembly. For many vehicles in this condition, that repair cost approaches or exceeds the vehicle’s market value.
Provide a tiered estimate when possible: minimum repairs to restore basic safety and function, recommended repairs to address all identified issues, and ideal repairs including preventive replacement of components showing wear but not yet failed. This approach gives the customer decision-making information while protecting you from liability. Document clearly which components are safety-critical and which are advisable but not immediately necessary. However, be cautious about partial repairs on heavily corroded vehicles—replacing a wheel bearing while ignoring failed control arm bushings may result in repeated comebacks or subsequent failures.
Set realistic expectations about repair timeline and potential complications. Rust belt suspension work takes longer than book time suggests, and you’ll likely encounter seized fasteners requiring heat, cutting, or drilling out. Penetrating fluid applied 24 hours before work begins helps, but plan for fastener replacement and potential thread repair. Warn customers that additional damage may become apparent only after disassembly—corroded brake lines, damaged ABS sensors, or compromised mounting threads are common discoveries. Building contingency time and budget into the initial estimate prevents difficult conversations later.

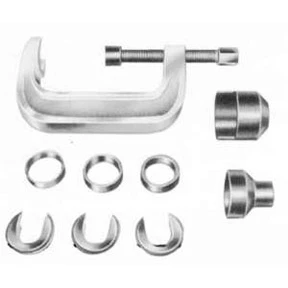
Lower Control Arm Bushings Remover/Installer
Mfg: Mopar Essential Tools
Part #: 8836
ID: 114063
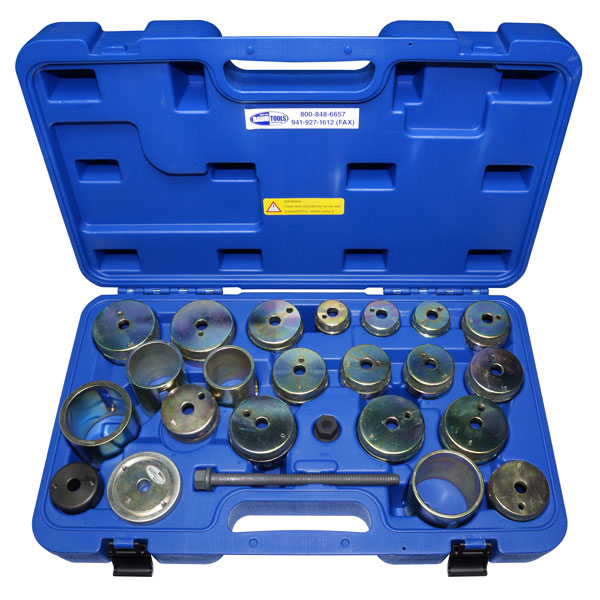
Mercedes Front Lower Control Arm Bushing Kit PLUS
Mfg: Baum Tools
Part #: B220-0643PLUS
ID: 133080
Frequently Asked Questions
Can I drive the vehicle home if the wheel bearing is making noise but still seems tight?
No. When visual inspection shows extreme negative camber, tire rubbing evidence, or spring displacement, the suspension has already suffered structural failure. The bearing may feel “tight” because it has seized rather than because it’s secure. Driving risks complete wheel detachment, tire blowout, or loss of control. Arrange for towing rather than operating the vehicle.
How can I tell if the problem is the wheel bearing or the control arm?
You’re often dealing with both. Compare the coil spring angles between sides—if the affected spring tilts toward the wheel, the lower control arm has shifted position, indicating bushing or mounting failure. Then test the wheel bearing for play with the wheel off the ground. Catastrophic failures frequently involve multiple failed components rather than a single root cause.
Is it worth fixing extensive suspension damage on a high-mileage vehicle?
Compare total repair cost to vehicle value and expected remaining service life. When repair estimates reach 75-100% of vehicle value on a car showing extensive deferred maintenance and rust damage, replacement often makes more financial sense than repair. Consider that fixing the suspension doesn’t address other aging systems likely to fail soon.
Why does rust make suspension repairs so much more expensive?
Corroded fasteners require additional labor for removal using heat, penetrating oil, or cutting tools. Seized bolts often break during removal, requiring drilling and thread repair. Weakened mounting points may need reinforcement or replacement. What should be a four-hour job can easily double in time when fighting rust, and parts costs increase when fasteners and hardware need replacement.
How long does a wheel bearing typically last before failing?
Modern sealed wheel bearings often last 100,000-150,000 miles under normal conditions, but bearing life decreases significantly with exposure to water, salt, and impact damage. Bearings don’t fail suddenly—they produce progressively louder noise over weeks or months. Catastrophic failure occurs when operators ignore warning signs until the bearing literally comes apart, allowing wheel displacement.
What’s the black residue on the wheel and tire?
That’s rubber ground off the tire sidewall by contact with suspension components. When the wheel moves out of position due to bearing or control arm failure, the tire rubs against the shock absorber, upper control arm, or inner fender. The dark band on the sidewall and black dust on the wheel face show where this contact occurred and indicate the wheel has been operating in a severely misaligned position.
Suspension and Wheel Bearing Tools
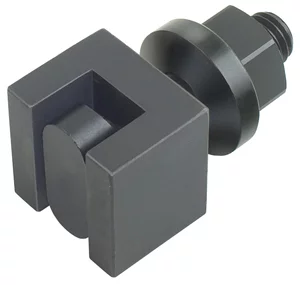
GM Upper Control Arm Knock-Out Tool - Supercedes OTC7491B
Mfg: OTC Tools and Equipment
Part #: 7491C
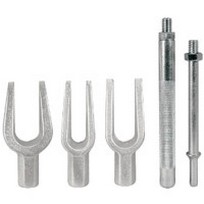
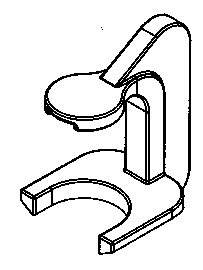
Diagnosing rear suspension failures requires the right tools for bearing inspection, control arm assessment, and structural evaluation. Our Tire Tools, Wheels & Suspension category stocks the specialized equipment needed for thorough suspension diagnostics and repair.
- Bearing play testers and wheel removal tools for precise diagnosis
- Control arm and bushing inspection equipment for detailed component assessment
- Suspension alignment and measurement tools for documenting camber and component positioning
Essential Suspension Repair Tools
Diagnosing rear suspension issues requires the right diagnostic equipment and specialized tools. Browse our complete selection of suspension repair and diagnostic products to tackle wheel bearing and control arm problems with confidence.
Popular products for suspension work:
- Wheel Bearing Removal & Installation Tools – Specialized pullers and presses for safe bearing replacement
- Control Arm Removal Tools – Professional-grade separators and ball joint tools
- Suspension Diagnostic Equipment – Alignment gauges and inspection tools for precise diagnostics

The Toolsource Technical Team blends decades of real-world automotive service experience with up-to-date technical research. Our writers collaborate with professional mechanics, shop owners, and diagnostic specialists to deliver practical, workshop-ready guidance you can trust.


Follow us on social media