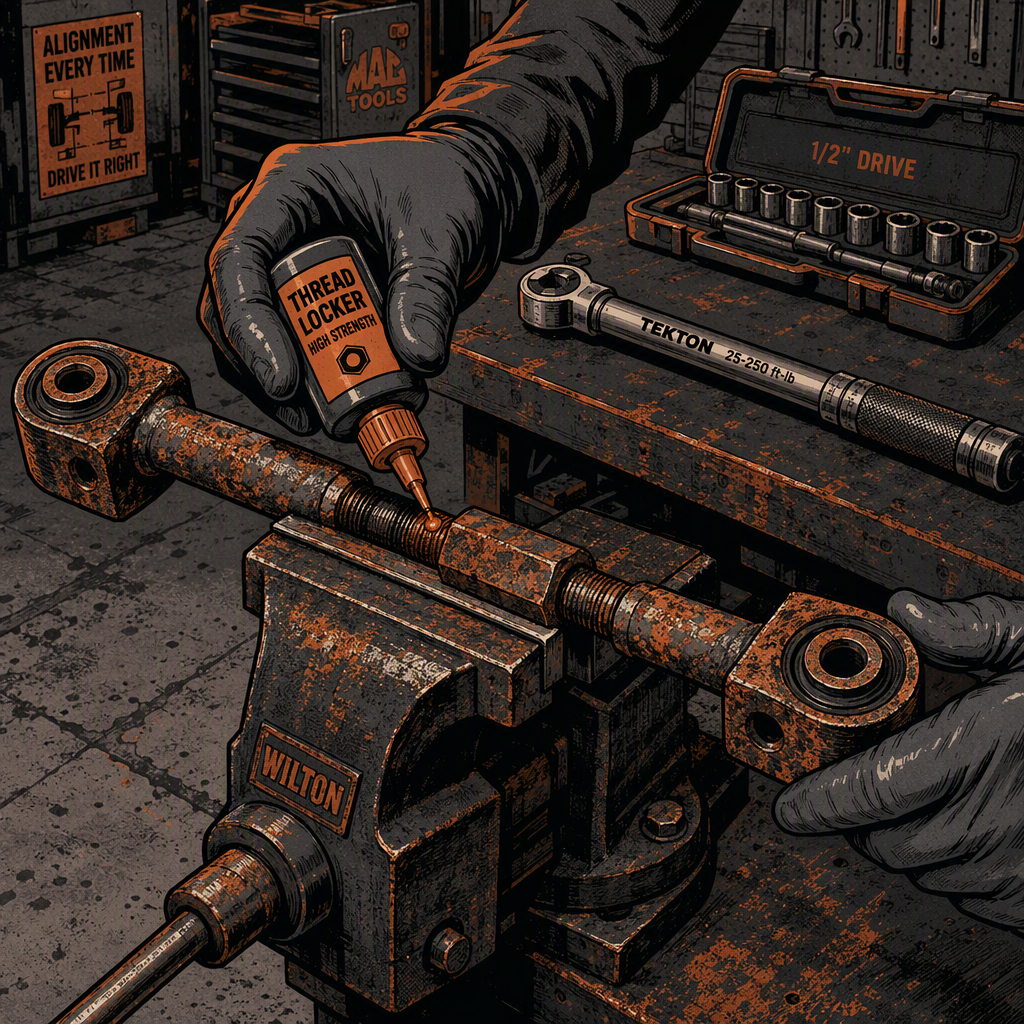
Corrosion-driven suspension recalls put technicians in an awkward spot: the factory fix isn’t always the best long-term repair, and the aftermarket replacement isn’t always a drop-in match for what the dealer installed. Rear toe adjustment arms are a good example — a simple turnbuckle-style link that road salt can seize, weaken, or separate over time. This guide walks through what actually fails, how to evaluate OEM versus aftermarket replacement arms, when a damaged boot is a real problem versus a non-issue, and how to close the job out with a proper rear toe alignment.
What the Corrosion Recall Actually Addresses
The rear toe (or camber) adjustment arm is a threaded turnbuckle assembly: two end pieces with ball joints or bushings, connected by a center adjusting sleeve and secured with locking jam nuts. It’s designed to be lengthened or shortened to dial in rear toe during an alignment. The failure mode behind most of these recalls isn’t a design flaw in the geometry — it’s that road salt and moisture get into the threaded interface between the center sleeve and the end pieces, causing corrosion. Over time that corrosion can either seize the adjuster (making future alignments impossible without cutting the arm off) or, in worse cases, weaken the threaded engagement to the point where the arm can separate under load, especially if it was previously over-adjusted or under-torqued at a dealer visit.
The factory recall remedy on many of these campaigns wasn’t a redesigned arm — it was the same basic turnbuckle hardware, but the dealer applied epoxy to the threads after final adjustment to permanently lock the sleeve in place and prevent moisture intrusion at the threads. That’s an important distinction: the “recall part” and a standard aftermarket replacement arm are mechanically the same design. The dealer fix just adds a corrosion-proofing step during installation.
OEM Recall Arm vs. Aftermarket Replacement
For a customer who’s already outside the recall’s mileage/year window, or who’s replacing a arm that failed independently of the recall, an aftermarket arm (RockAuto, Moog, and similar suppliers all carry these) is a legitimate option in most climates. The part is functionally identical to the pre-recall OE design — same locking nuts, same center adjustment sleeve. The main consideration is environment:
- In low-salt, low-humidity regions, a standard aftermarket arm with no special treatment will typically outlast the vehicle’s other suspension components.
- In heavy rust-belt states, the same corrosion mechanism that triggered the recall will eventually affect a replacement arm too — unless you take a corrosion-prevention step at install.
That’s why many techs who’ve dealt with these recalls recommend applying a thread-locking compound to the adjuster threads during installation, even on a brand-new arm. It doesn’t perfectly replicate the epoxy the dealer uses, but it seals the thread interface against moisture intrusion and reduces the odds you’re fighting a seized adjuster the next time this vehicle is up on the rack for an alignment.
[PRODUCT_SEARCH: rear toe adjustment arm]
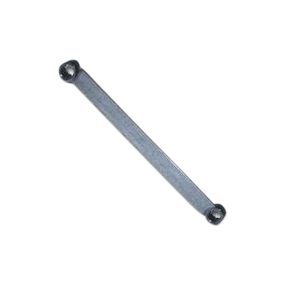
BMW Rear Toe Adjuster Wrench for 5, X5 & 7
Mfg: Schley Products, Inc
Part #: 63100
ID: 114454
Boot Damage: When to Replace vs. Reuse
A common complication during R&R of these arms — or of the knuckle/hub components they connect to — is damaging the rubber boot on the ball joint while separating it. This happens most often when a boot is pried, twisted, or pinched during removal rather than pressed off cleanly. Before condemning the part, do a real inspection rather than a reflex replacement:
- Check for tears versus surface scuffing. A boot that lost some grease during removal but shows no open tear, crack, or puncture is very likely fine to reinstall. Grease loss alone isn’t a failure condition if the seal is intact.
- Look for a full-thickness split. A boot that’s torn through — not just creased or dented — will let in moisture and dirt, which accelerates joint wear and eventually causes clicking or clunking over bumps. That’s a replace, not a reuse.
- Repack and reassess if borderline. If the boot looks intact but you’re not fully confident, repack the joint with appropriate grease, reseat the boot fully in its groove, and put the vehicle back into service. Advise the customer to flag any new noise over bumps or during turns — that’s the signal to bring it back in for the joint itself, not just the boot.
- High-mileage vehicles change the math. On a vehicle already well past 150,000–200,000 miles, replacing a boot on a joint that’s otherwise quiet and tight is often not worth the labor or cost to the customer. You’re not trying to make the part last forever — you’re trying to get another reasonable service interval out of it.
One more thing worth confirming with customers who are nervous about warning labels: a “DO NOT REMOVE” sticker on these arms typically refers to the sticker itself (often a torque spec or recall documentation tag), not an instruction that the arm can never be removed or serviced. Don’t let that label stop a necessary repair.
Installation and Torque Practices
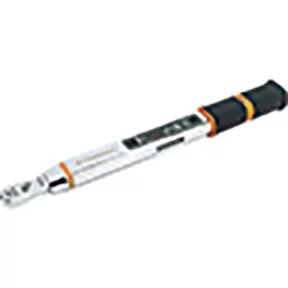
1/4 Dr. 5-25Nm Fixed Head E-Spec Electronic Torque Wrench Kit
Mfg: GearWrench
Part #: 85235
1 Inch Drive Dual Scale Dial Torque Wrench - 0-1000 ft-lbs
Mfg: CDI Torque Products
Part #: 10005LDFN
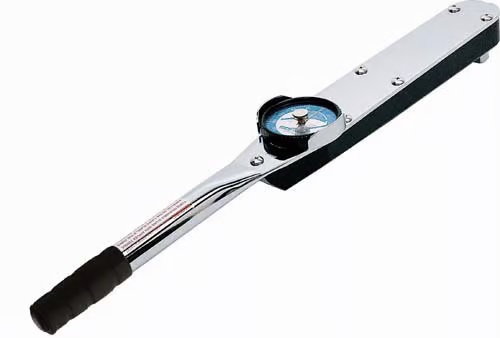
Whether you’re installing an OEM recall arm or an aftermarket equivalent, the install steps that actually prevent comebacks are straightforward:
- Thread locker on the adjuster. Apply a medium-strength threadlocker to the center sleeve threads before final adjustment, particularly in corrosion-prone climates. This isn’t a substitute for the dealer’s epoxy process, but it meaningfully slows moisture intrusion.
- Torque the jam nuts to spec — don’t just snug them. Under-torqued jam nuts are a major contributor to arms working loose or shifting out of adjustment after the vehicle leaves the shop. Follow the OEM torque spec, not a “feel.”
- Don’t force a seized adjuster. If the old arm’s adjuster is corroded and won’t turn freely, don’t crank on it with a breaker bar hoping it frees up — you risk twisting the sleeve or rounding the flats. Cut it off and replace the whole arm rather than fighting a partial failure.
- Inspect the mating bushings and hardware. Corrosion at the adjuster is often a sign of general moisture exposure in that corner of the suspension — check the subframe bushings, sway bar end links, and other small hardware nearby while you’re in there.
Rear Toe Alignment Is Not Optional
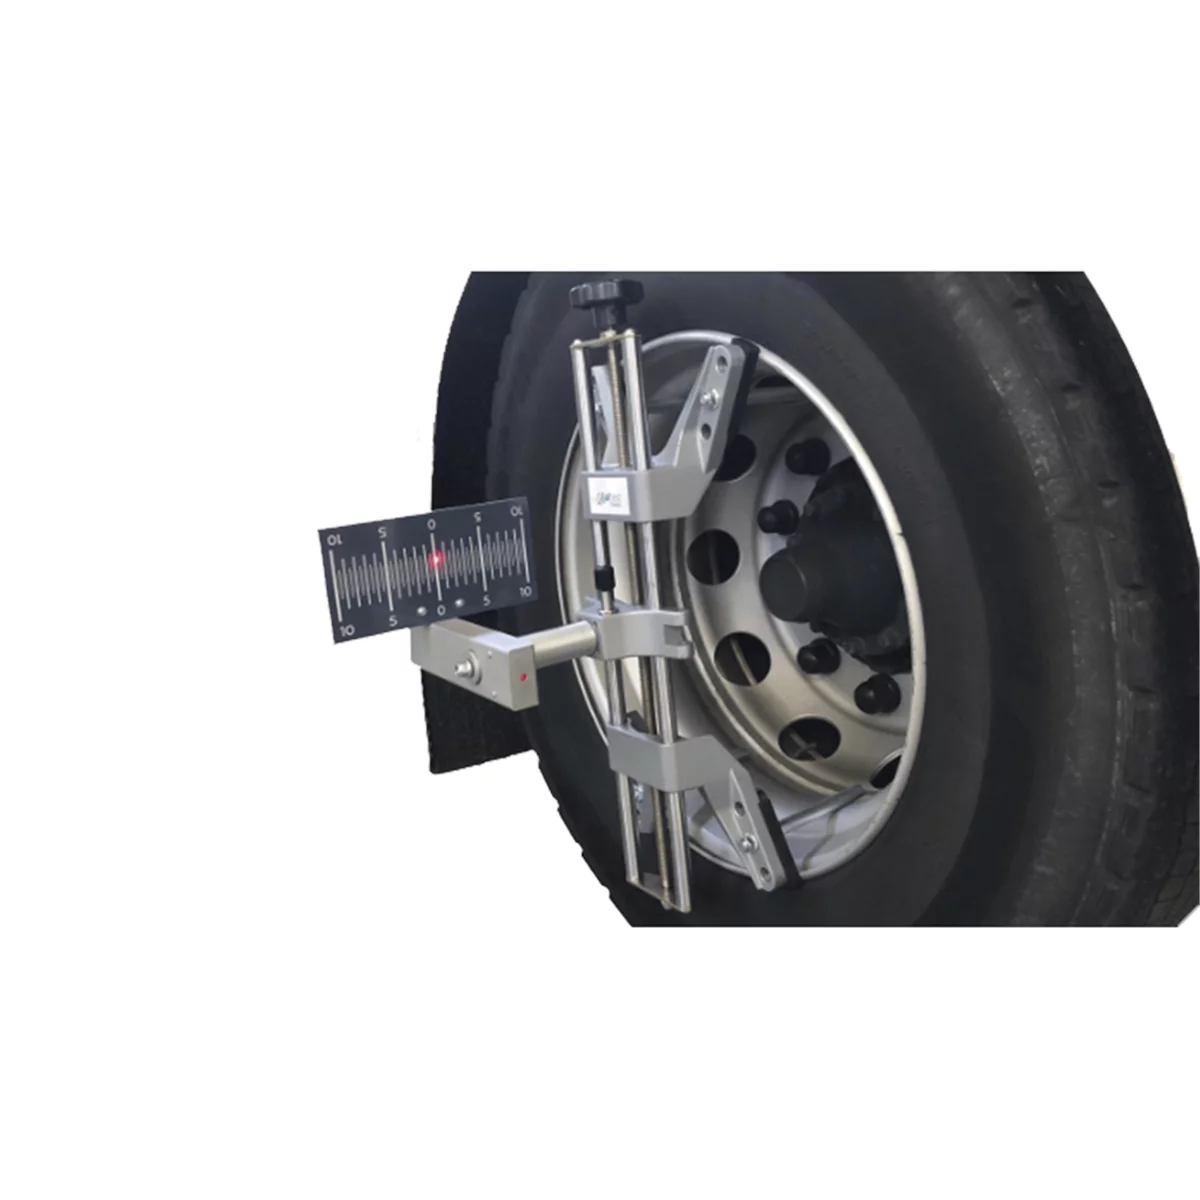
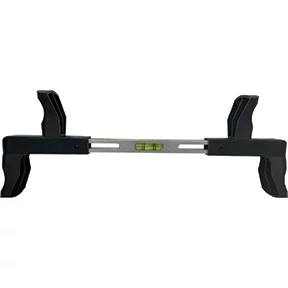

Any time a toe adjustment arm is replaced — recall part or aftermarket — the rear toe setting is disturbed and must be re-set on an alignment rack. This isn’t a “check and clear” situation; the new arm ships at an arbitrary length and has to be adjusted to spec, then the jam nuts torqued down with the arm held at the correct length. Sending the vehicle out without a full four-wheel alignment will produce uneven tire wear and can affect handling stability, especially on vehicles where the rear toe link also has a secondary effect on rear camber geometry. Build the alignment into the estimate up front — customers are far more receptive to that line item when they understand it’s required, not optional, after this specific repair.
Quick Reference Checklist
- Confirm whether the vehicle is in a recall window before quoting aftermarket parts
- Inspect the boot for full-thickness tears before condemning it — grease loss alone isn’t failure
- Apply thread locker to the adjuster sleeve threads, especially in rust-belt climates
- Torque jam nuts to OEM spec after adjustment, not just hand-tight
- Never force a seized adjuster — cut and replace instead
- Schedule a rear four-wheel alignment as a mandatory follow-up, not an option
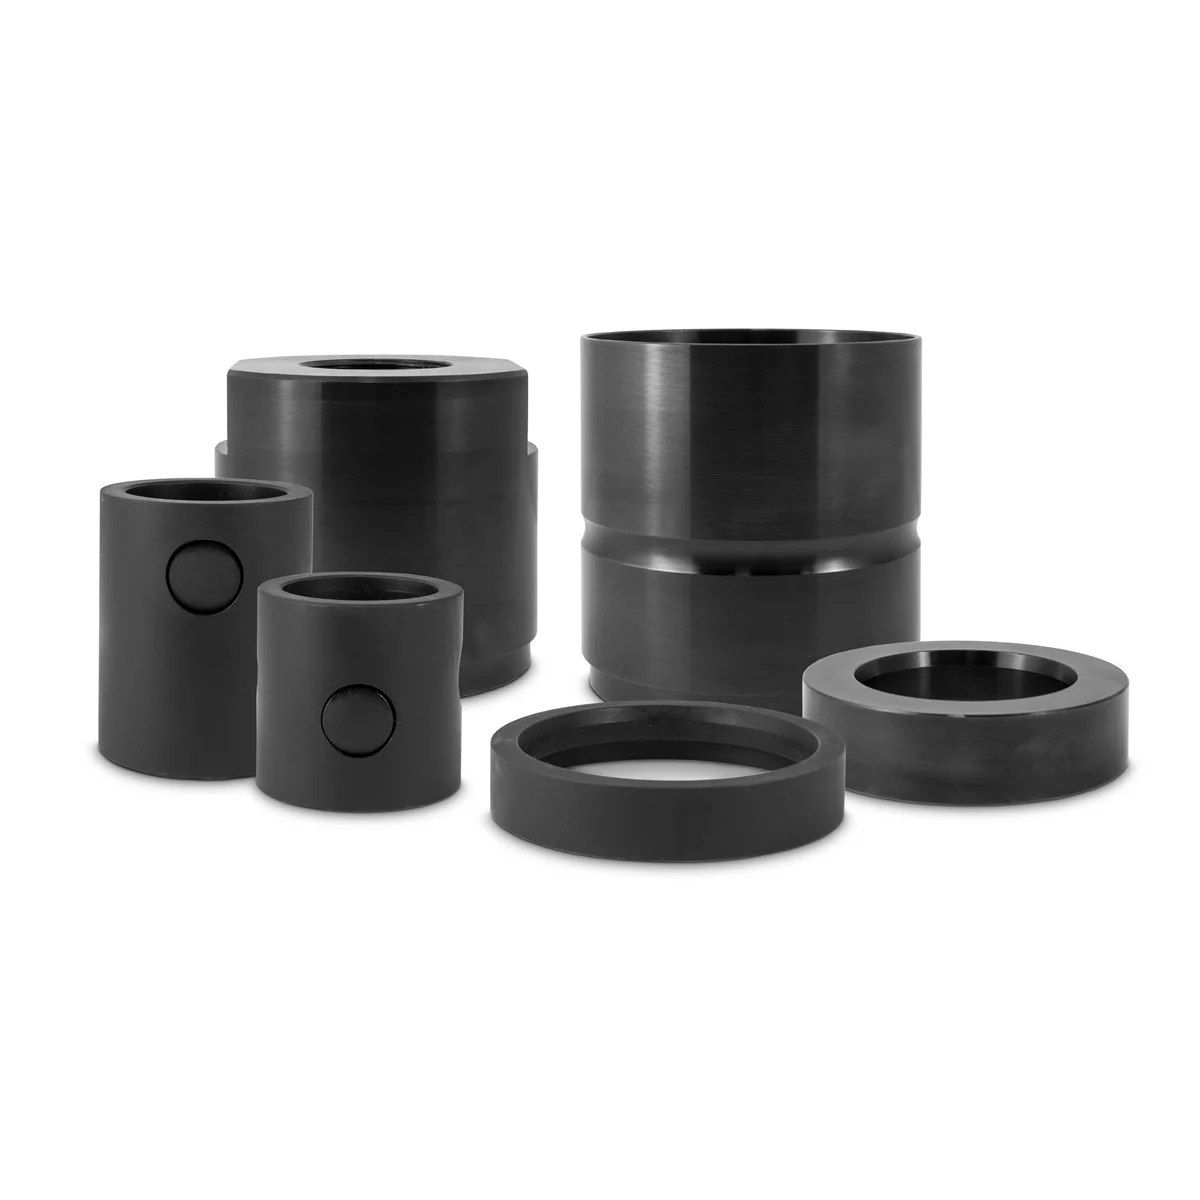
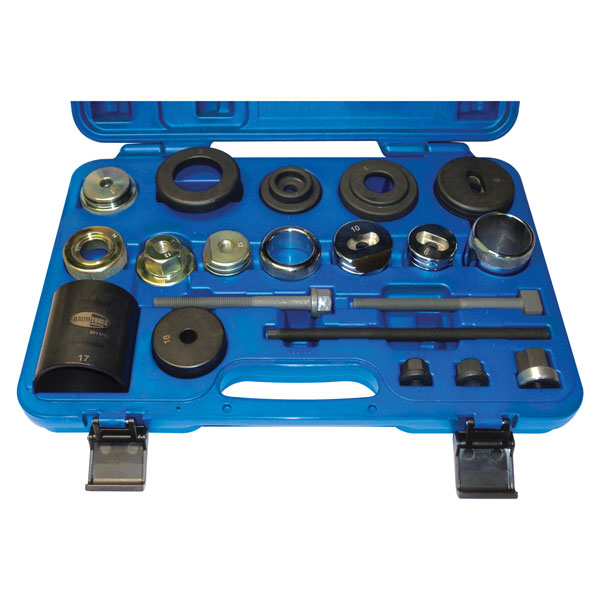
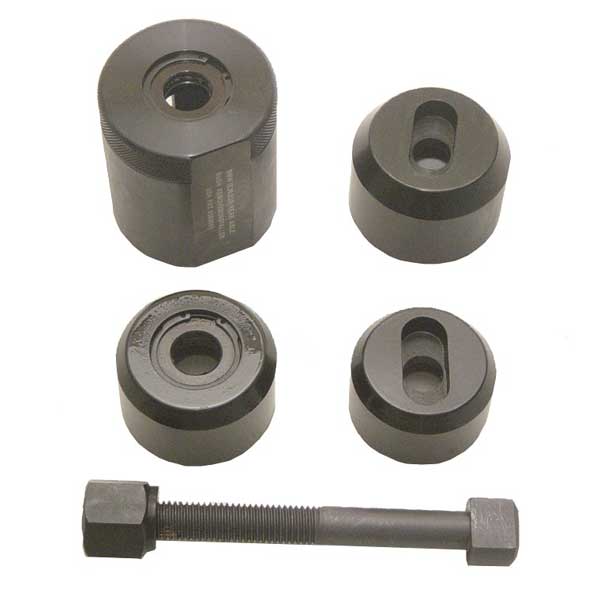
[PRODUCT_SEARCH: rear suspension alignment tools]
Frequently Asked Questions
Is an aftermarket rear toe adjustment arm as reliable as the dealer recall part?
Mechanically, yes — most aftermarket arms use the same turnbuckle design as the pre-recall OE part. The dealer recall fix adds an epoxy step to lock and seal the threads, which aftermarket parts don’t include by default. In low-corrosion climates this difference rarely matters; in heavy rust-belt regions, applying thread locker at install closes most of that gap.
Do I need to replace the boot if it just lost grease during removal?
Not necessarily. If the boot is intact with no visible tear or puncture, repacking it with grease and reseating it is generally sufficient. Replace it only if there’s a through-tear or if the customer later reports new noise over bumps.
Does the “DO NOT REMOVE” warning mean the arm shouldn’t be serviced?
No. That warning is attached to a label or sticker on the part — typically documenting a torque spec or recall status — not a prohibition on ever removing the arm for service.
Is an alignment required after replacing a rear toe adjustment arm?
Yes, always. The arm sets rear toe by length, and a replacement arm isn’t pre-adjusted to the vehicle’s spec. Skipping the alignment will result in uneven tire wear and can affect handling.
What’s the risk of not replacing a corroded arm that hasn’t failed yet?
A seized adjuster will eventually prevent future alignments without cutting the arm off, and in more severe corrosion cases the threaded connection can weaken enough to separate under load. If the vehicle is in a heavy-salt region and the arm shows surface corrosion at the adjuster, proactive replacement is reasonable even without an active recall.
Should I use a thread locker or an epoxy on aftermarket replacement arms?
A medium-strength threadlocker on the adjuster threads is a practical shop-level equivalent that most techs use. It won’t fully replicate the dealer’s epoxy process, but it meaningfully reduces moisture intrusion at the threaded joint in corrosion-prone climates.
Replacement Parts & Tools for Suspension Work
Replacing a corroded rear toe adjustment arm requires the right parts and installation practices. Browse our Tire Tools, Wheels & Suspension selection for OEM and aftermarket arms, alignment equipment, and the fasteners needed to complete the job.
- Aftermarket and OEM rear toe adjustment arm replacements
- Alignment tools and suspension diagnostic equipment
- Thread-lockers and fasteners for proper installation
Explore our comprehensive selection of automotive tools and supplies to support your suspension repair and maintenance work. From precision measurement instruments to specialized suspension tools, our Uncategorized category offers the equipment technicians trust for professional-grade results.
- Suspension alignment gauges and camber/toe measurement tools for accurate post-replacement verification
- Corrosion inhibitors and penetrating oils to protect new suspension components from premature degradation
- Specialized suspension arm removal and installation sockets designed for confined engine bay work

The Toolsource Technical Team blends decades of real-world automotive service experience with up-to-date technical research. Our writers collaborate with professional mechanics, shop owners, and diagnostic specialists to deliver practical, workshop-ready guidance you can trust.


Follow us on social media