When you’re struggling to bolt a new leaf spring onto your trailer and the shackle won’t line up, you’re likely dealing with the wrong spring length—not an installation technique problem. This is one of the most common and frustrating mistakes in trailer maintenance, and it’s critical to catch it before you force parts together or start cutting and welding. Understanding how to properly measure for replacement springs and recognize sizing errors will save you return trips to the parts store, prevent damage to suspension components, and keep your trailer safe on the road.
Understanding Trailer Leaf Spring Geometry and Shackle Position
Before you even think about measuring or ordering springs, you need to understand how trailer leaf springs are supposed to sit when properly sized. Unlike automotive bow-and-arrow analogies that get tossed around online, trailer leaf springs work in a very specific way that doesn’t change regardless of the application—whether you’re working on a utility trailer, horse trailer, or heavy equipment hauler.
When the trailer axle is lifted off the ground with no weight on the springs, the rear shackle tabs should be nearly vertical—or very slightly angled backward. This is the critical diagnostic indicator. If your new spring is installed and the shackle is already at a severe angle or fully extended horizontally when there’s no load on the axle, you have the wrong spring. Period.
Here’s why this matters: as the spring compresses under load, it actually gets longer. The rear shackle is designed to pivot and accommodate this length change. If the shackle is already maxed out at full extension with no weight on it, the spring has nowhere to go when you load the trailer. The shackle bars will bottom out against the frame or spring eye, leading to rapid wear and catastrophic failure—often within the first thousand miles of use.
The physics are straightforward. The front spring eye is fixed to the front hanger. As weight loads the axle, the spring flattens and lengthens. The rear shackle pivots to allow this movement. If you start with the shackle already horizontal, compression will jam the hardware together. This isn’t a matter of installation technique or using different tools—it’s simple geometry, and the wrong spring length cannot be compensated for with clever wrenching.
How to Measure for Correct Trailer Spring Length
25' STUD Tape Measure w/ EXO360 Blade Technology
Mfg: Milwaukee Electric Tools
Part #: 48-22-9925
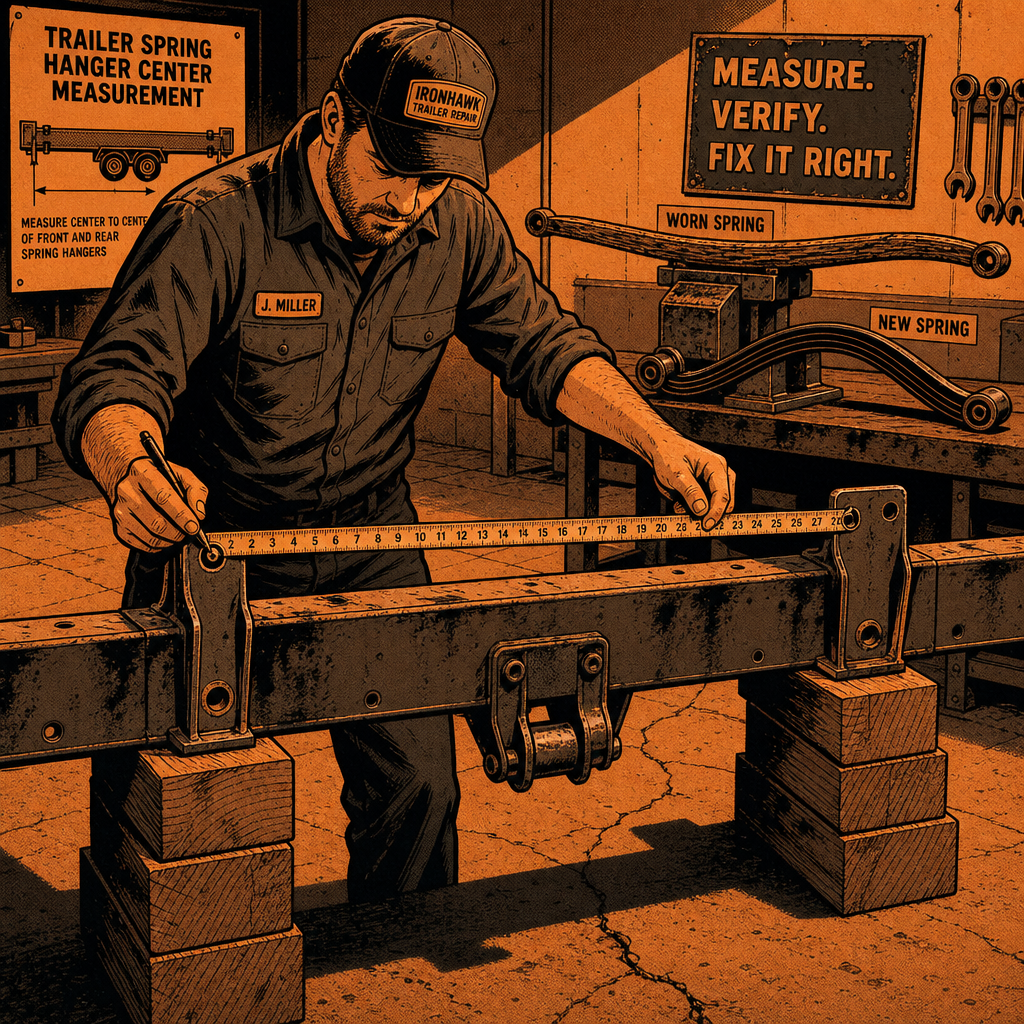
The most reliable method for determining correct spring size is measuring the hanger spacing—the center-to-center distance between your front and rear spring hangers on the trailer frame. This measurement is fixed by your trailer’s construction and doesn’t change even when springs sag or break.
To measure hanger spacing correctly, locate the center of the bolt hole in your front spring hanger and the center of the bolt hole in your rear spring hanger. Measure the distance between these two points in inches. This is your hanger spacing, and it’s the key specification you need.
Once you have hanger spacing, you can work backward to determine the correct spring length. Spring manufacturers publish charts that correlate hanger spacing to proper spring eye-to-eye length. As a general reference point, a common utility trailer setup with approximately 25-26 inches of hanger spacing typically uses a 21.5-inch eye-to-eye spring, though you must verify this against manufacturer specifications for your specific application.
If you’re replacing broken springs, measuring the old spring can work—but only if you do it correctly and account for wear. Broken springs have often sagged over years of use. A spring that has sagged will measure longer than it did when new because the arch has flattened out. If you measure a worn-out spring and order a replacement based on that measurement, you’ll likely end up with a spring that’s too long, which is exactly the problem many techs encounter.
The safest approach is to ignore the old spring measurement entirely and rely on hanger spacing. If you must measure the old spring, understand that you’re getting an approximation that may be stretched beyond original spec. Expect to order a spring that’s shorter than your worn measurement indicates.
No products found for “trailer leaf spring measuring tools”
Quick Spring Sizing Checklist
- Measure center-to-center distance between front and rear spring hanger bolt holes
- Consult manufacturer spring charts to match hanger spacing to correct spring eye-to-eye length
- Verify spring capacity rating matches your trailer’s axle weight rating
- Check that spring width and number of leaves match original equipment specs
- Confirm shackle length is appropriate for the spring (standard shackles are typically suitable unless you’re compensating for frame modifications)
- Before final installation, lift both sides of the axle to relieve all load and verify shackles hang nearly vertical
===PRODUCT-SEARCH-1===
Common Mistakes When Ordering Replacement Springs
The single biggest mistake is trusting that online parts catalogs or auto parts store listings are correct for your specific trailer. Even major retailers get this wrong. Their systems may list a part number that doesn’t actually fit your application, or warehouse staff may pull the wrong box. This isn’t about blaming the parts supplier—it’s about understanding that trailer specifications vary widely, and you need to verify measurements independently.
Another rookie error is ordering springs without personally measuring hanger spacing. Relying on a previous owner’s word, a faded label on the trailer tongue, or an assumption that “all 5×8 trailers use the same springs” will get you the wrong parts. Even trailers from the same manufacturer and model year can have variations depending on axle ratings and factory options.
Some techs try to compensate for wrong-length springs by using different shackle lengths. This does not work. Longer or shorter shackles do not fix a spring that’s the wrong eye-to-eye length for your hanger spacing. The shackle mounting points on the frame and spring are fixed, and changing shackle length just relocates where the problem occurs—it doesn’t eliminate the geometry mismatch.
There’s also a persistent myth that you can force a too-long spring into place by using a bottle jack between the spring and frame to compress it enough to get the bolts started. Do not do this. Even if you manage to get the hardware together, you’re pre-loading the suspension in a way that will cause immediate failure under road conditions. The spring needs to be able to move through its full range of travel, and if it’s jammed into place at installation, it has nowhere to go when weight is added.
What to Do If You Already Have the Wrong Springs
If you’ve already purchased springs and discovered they don’t fit, the correct solution is to return them and order the right size. This is not the time for creative workarounds. Springs are a safety-critical component, and improvising with wrong-size parts puts you and everyone else on the road at risk.
Before you return parts, double-check your hanger measurement. Measure twice, order once. Verify against manufacturer spec sheets or consult with a trailer parts specialist who can cross-reference your hanger spacing to the correct spring part number. Many trailer spring suppliers have technical support lines specifically for this purpose.
If returning the springs is genuinely not an option—for example, if they were custom-ordered non-returnable parts—your only proper recourse is to modify the trailer frame to relocate the rear spring hanger. This is not a backyard hacksaw job. It requires cutting off the existing hanger, repositioning it to match the new spring’s eye-to-eye length, and welding it back to the frame with full-penetration welds that meet trailer frame structural standards. Unless you’re a certified welder with trailer fabrication experience, this work should be done by a professional trailer shop. The cost will almost certainly exceed what you’d spend just returning the wrong springs and ordering correct ones.
Some online advice suggests re-arching springs or adding helper springs to compensate for length issues. This is misguided. Re-arching changes the spring’s load capacity and ride height, not its eye-to-eye length under load. Helper springs add capacity but don’t shorten the main spring. Neither approach fixes a geometry problem caused by wrong spring length.
Proper Installation Technique for Correct-Size Springs

1/4 Dr. 5-25Nm Fixed Head E-Spec Electronic Torque Wrench Kit
Mfg: GearWrench
Part #: 85235
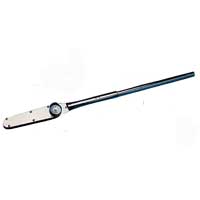
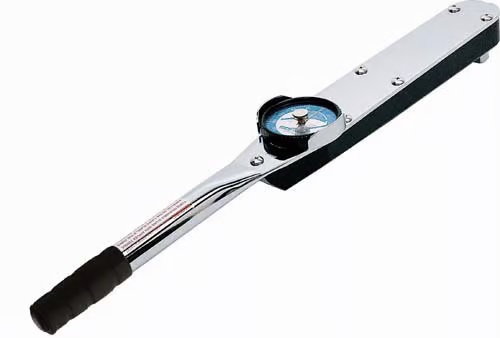
1 Inch Drive Dual Scale Dial Torque Wrench - 0-1000 ft-lbs
Mfg: CDI Torque Products
Part #: 10005LDFN
Once you have the correctly sized springs, installation should be straightforward, but there are still techniques that make the job easier and ensure proper function.
Always lift both sides of the axle when installing or checking springs. If you only lift one side, the axle will twist and bind, making it difficult to align bolt holes even with correct-size parts. Use jack stands on both sides to support the trailer frame and allow the entire axle to hang free and relax.
Install the front eye bolt first, torquing it to spec while the spring is unloaded. Then install the rear shackle. With no weight on the axle, visually confirm that the shackle hangs nearly vertical. If it’s already angled significantly, stop and recheck your measurements.
Do not fully torque suspension fasteners until the trailer is back on the ground with normal weight on the axle. Leaf spring bushings and shackle bushings are designed to handle rotational movement, but if you torque them while the suspension is at full droop, you’ll pre-load the bushings and cause premature wear. Snug the bolts enough to hold everything in place, lower the trailer, and then torque to final spec.
After installation and before you load the trailer or take it on the road, do a final visual check. With the trailer sitting normally, the shackles should be close to vertical or angled slightly forward. There should be visible clearance between the shackle and the spring eye—if they’re touching or binding, you still have a problem.
===PRODUCT-SEARCH-2===
Frequently Asked Questions
Why won’t my new leaf spring bolt into place even though it’s the same brand as the old one?
Brand matching doesn’t guarantee correct fitment. The spring is likely too long for your hanger spacing. Measure center-to-center distance between your spring hangers and compare it to the manufacturer’s specification chart for that spring model. If the shackle isn’t nearly vertical with no weight on the axle, the spring is wrong regardless of brand.
Can I use longer shackles to make a too-long spring fit?
No. Changing shackle length does not compensate for incorrect spring eye-to-eye length. The mounting points on your frame and the spring geometry are fixed. Longer shackles will just move the problem to a different point in the suspension travel and can actually make the situation more dangerous by allowing excessive axle movement.
My old spring measured 24 inches but the new 24-inch spring doesn’t fit—why?
Your old spring likely sagged over time. As leaf springs age and lose their arch, they effectively get longer because the curve flattens out. Measuring a worn spring gives you an inaccurate reference. Always measure hanger spacing and use manufacturer charts to determine correct spring length rather than measuring old worn parts.
Can I cut and re-weld the spring hangers to fit the new springs?
Technically yes, but this is a structural modification to the trailer frame that requires proper welding certification and knowledge of trailer engineering. The cost and risk usually far exceed simply returning wrong springs and ordering correct ones. If you’re not a professional welder experienced in trailer fabrication, don’t attempt this.
How much does spring length change when it’s compressed under load?
A typical trailer leaf spring can increase in eye-to-eye length by one to three inches when compressed under full load compared to its unloaded state. This is why the rear shackle must start nearly vertical—to allow room for this extension. If the shackle starts horizontal, there’s no room for the spring to lengthen, causing binding and failure.
What happens if I drive with springs that are too long?
The shackles will bottom out against the spring eyes or frame under load, causing the shackle bars to bend or break. You’ll also experience poor ride quality, potential loss of trailer control, and possible damage to the axle mounts. In severe cases, a broken shackle can cause the spring to separate from the frame entirely, leading to axle collapse and loss of the trailer.
Recommended Tools for Spring Installation
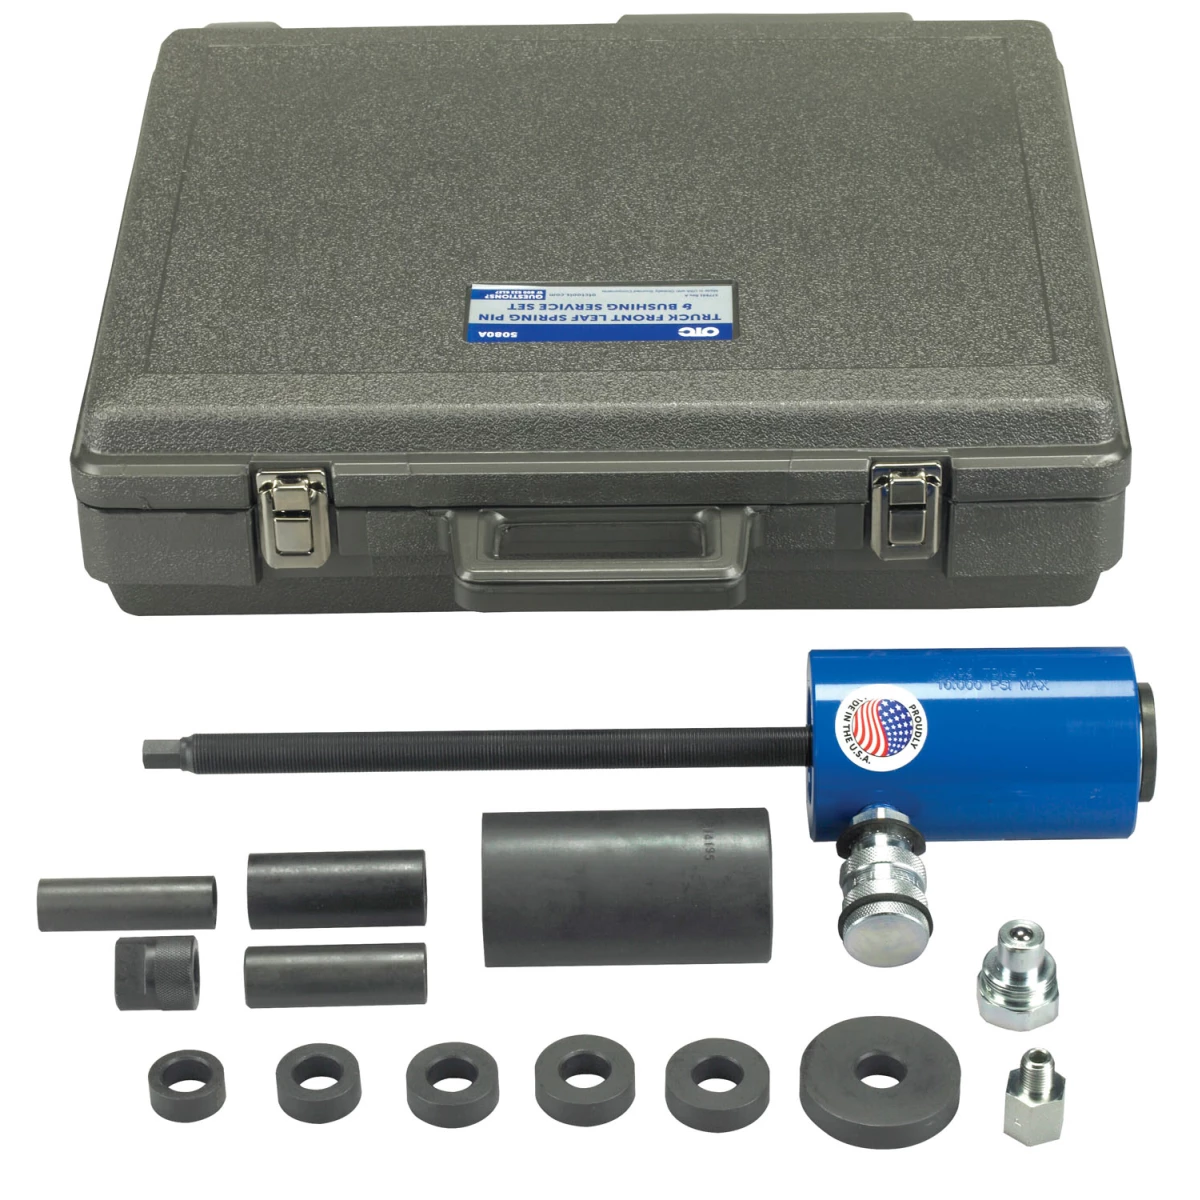
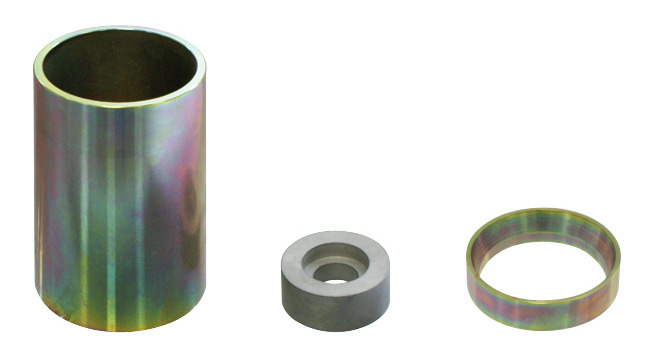
TRUCK FRONT LEAF SPRING AND BUSHING SERVICE SET
Mfg: OTC Tools and Equipment
Part #: 5080A
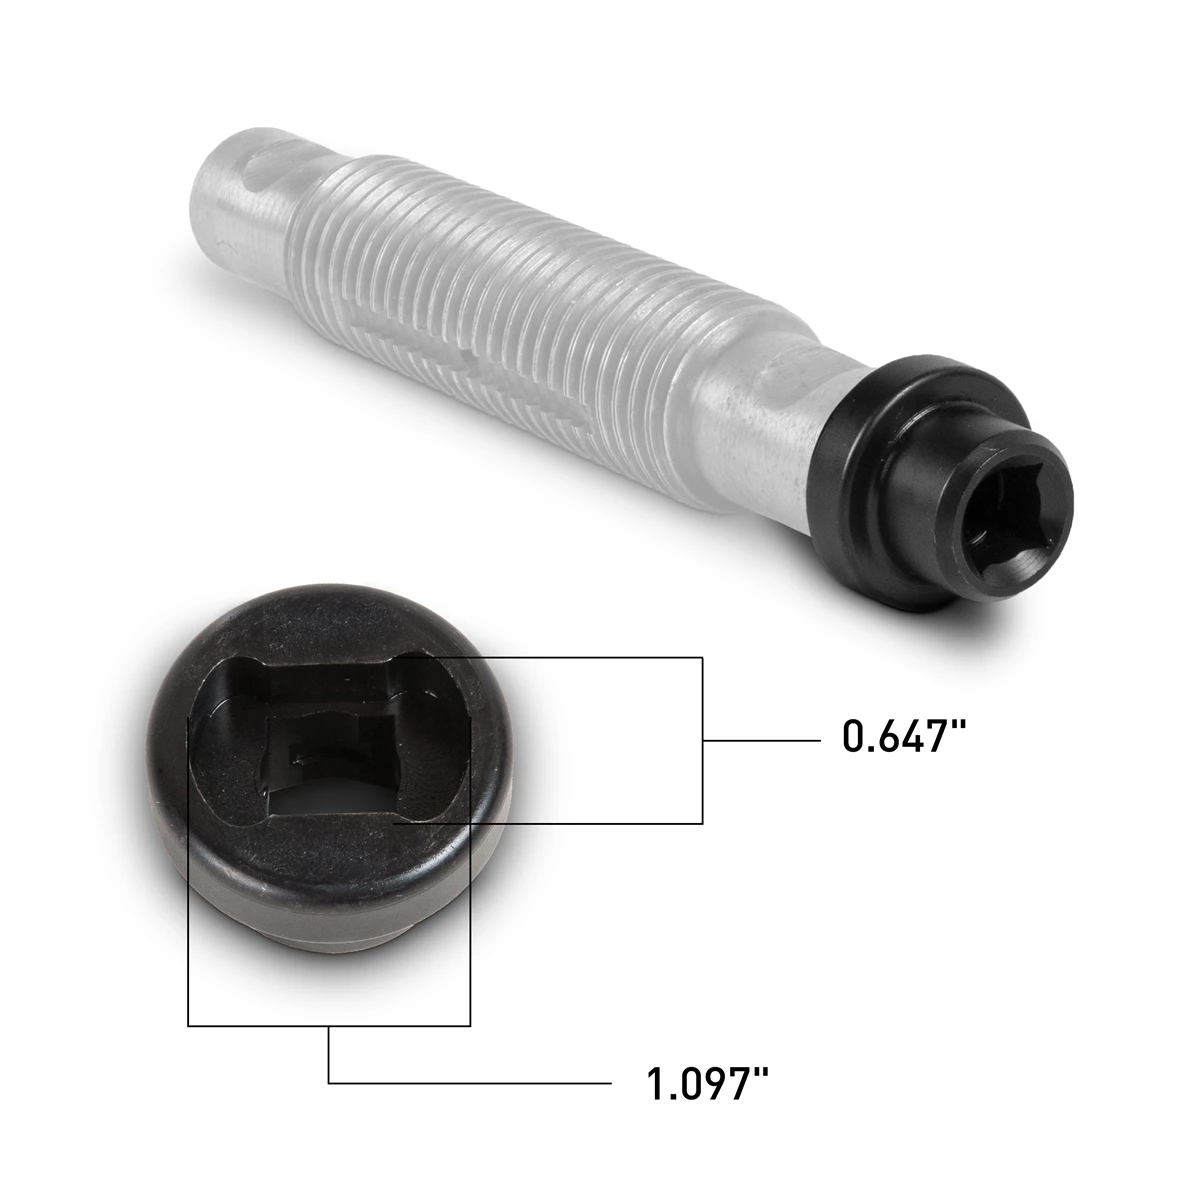
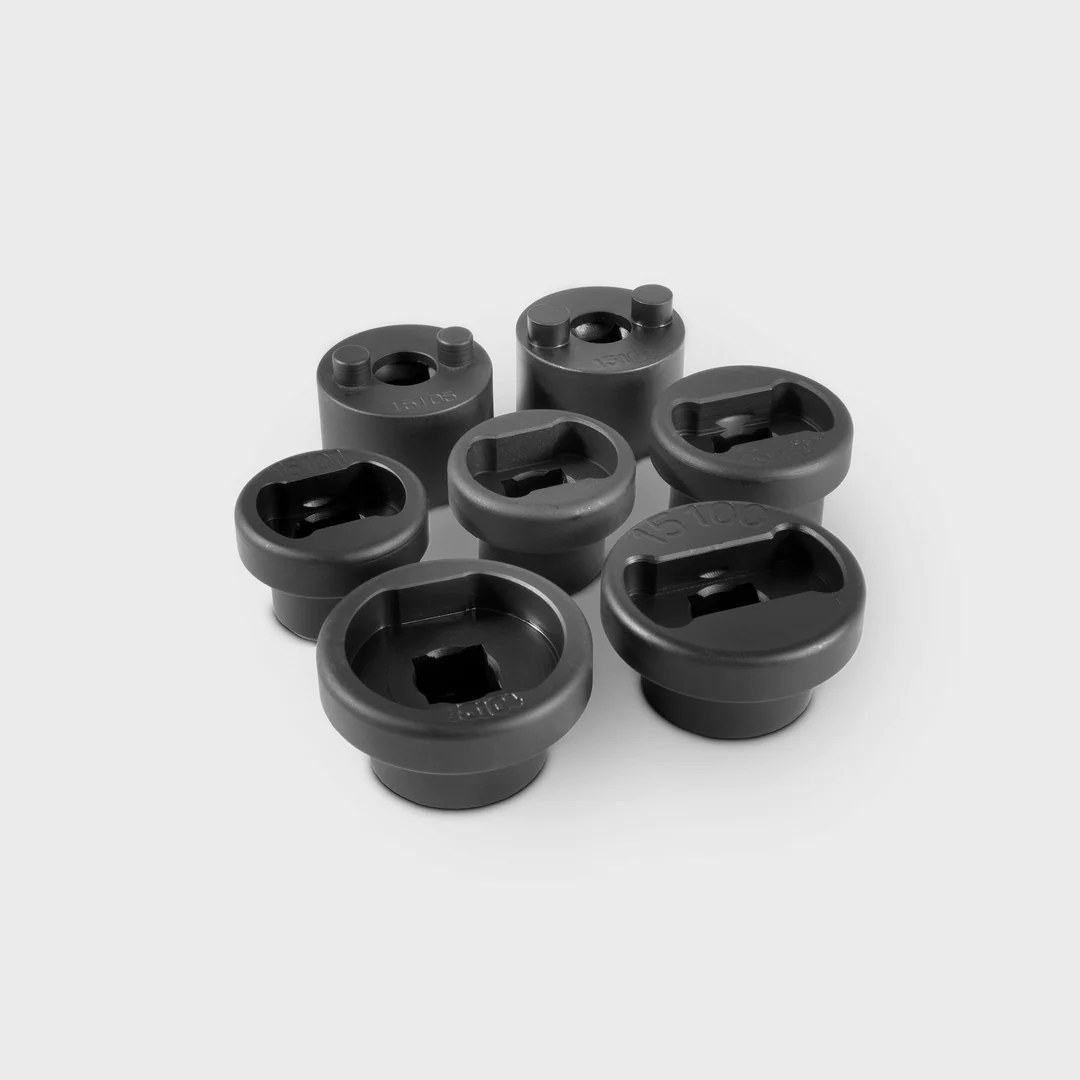
Properly installing or measuring trailer leaf springs requires the right equipment and hardware. Browse our Tire Tools, Wheels & Suspension category to find the jacks, jack stands, torque wrenches, and suspension components you need for accurate measurement and safe installation.
- Hydraulic jacks and jack stands for lifting both sides of the axle evenly
- Torque wrenches to spec for suspension fasteners
- Measuring tools and calipers for hanger spacing verification
Related Products for Trailer Maintenance
Once you’ve identified and fixed your trailer leaf springs, having the right tools on hand makes all the difference. Browse our complete selection of trailer maintenance and repair products to keep your setup in top condition year-round.

The Toolsource Technical Team blends decades of real-world automotive service experience with up-to-date technical research. Our writers collaborate with professional mechanics, shop owners, and diagnostic specialists to deliver practical, workshop-ready guidance you can trust.


Follow us on social media