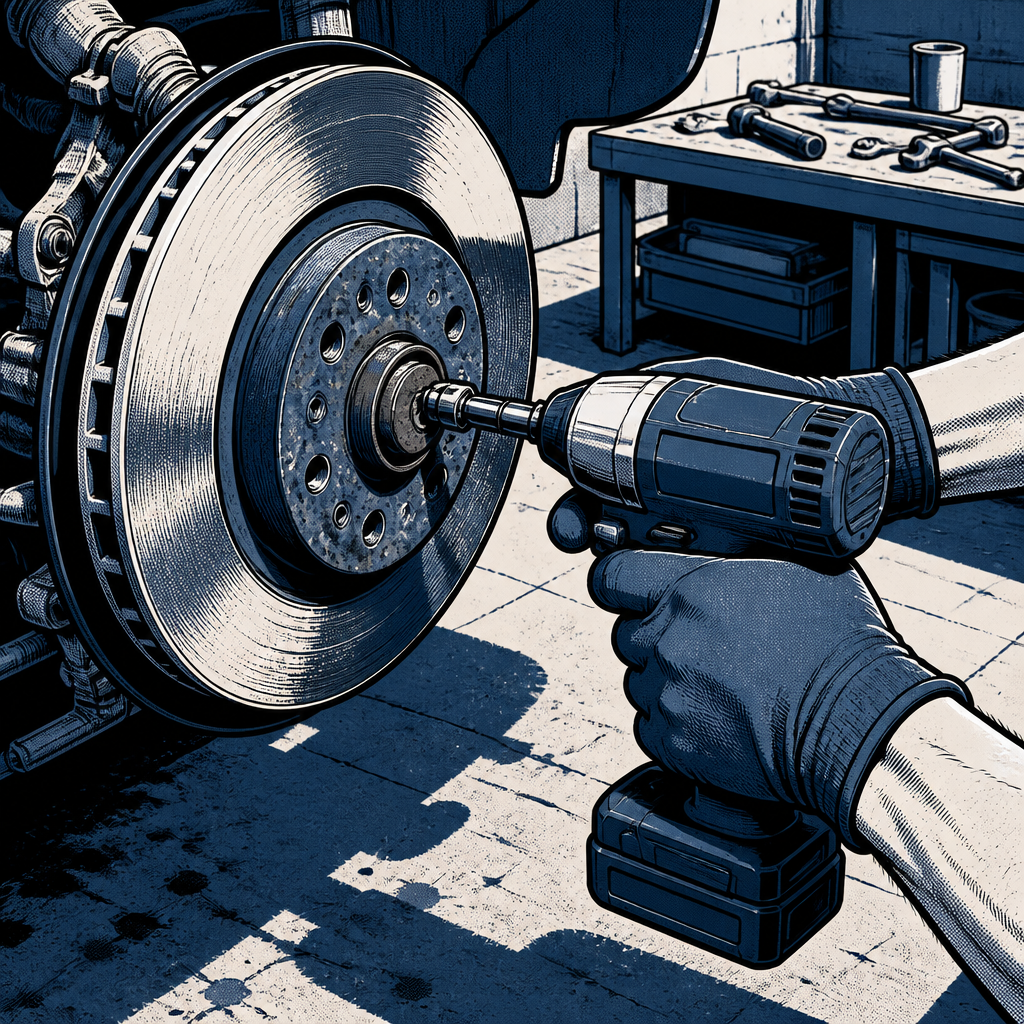
Every technician has stood over a rotor with a rounded-out retaining screw and a shrinking amount of patience. These small Torx or Phillips screws hold the rotor to the hub flange during manufacturing and shipping, and they have a well-earned reputation for rusting solid, camming out, or shearing off at the worst possible time. The good news is that the fix is almost always in your toolbox already, and there’s a clear order of operations that saves time over guessing. This guide walks through the methods techs actually use, from the five-second win to the guaranteed-but-slower fallback.
Why These Screws Seize in the First Place
Rotor retaining screws are a low-torque, low-grade fastener installed once on an assembly line and then largely forgotten. Once a vehicle sees a few seasons of road salt, water intrusion, and brake heat cycling, the screw threads corrode into the hub and the screw head can gall inside the driver recess. Add in an impact gun on the assembly line that wasn’t exactly gentle, and you often get a fastener that’s both rusted in place and already slightly rounded before you ever touch it.
It helps to know their actual job: they hold the rotor flush against the hub so it doesn’t rattle or shift during shipping and initial installation. Once the wheel is torqued onto the hub, the wheel itself clamps the rotor in place just as securely. That fact matters for every method below, because it means you have more leeway to be aggressive with removal than you would with a structural fastener.
Start With the Fast, Non-Destructive Options
Before reaching for a drill, run through the quick methods first — they cost you almost nothing in time and often work outright.
- Impact driver (powered): A 1/4-inch impact driver with the correct Torx or Phillips bit, seated firmly and squarely, clears a surprising number of these screws in under five seconds. If it’s not moving almost immediately, stop before you round it out further.
- Manual (hand-hammer) impact driver: This is the tool many techs reach for first, even ahead of a powered driver. Seat the bit, apply downward pressure, and strike it once firmly with a hammer while it’s set to loosen. The combination of axial shock and rotational force breaks corrosion loose without camming out the head.
- Penetrant first: A shot of PB Blaster, WD-40, or a dedicated rust penetrant given 5-10 minutes to soak before you touch a driver improves your odds substantially and costs you nothing but a little dwell time.
If the screw head is already rounded and won’t accept a bit cleanly, skip straight to the drilling section below rather than continuing to chew up the recess.
===PRODUCT_SEARCH_1===

Heat and Manual Techniques for Stubborn Screws
When the fast options don’t move it, heat and mechanical persuasion are your next line of attack, especially on screws that have visibly rusted into the hub.
- Heat cycling: A propane or MAP-gas torch applied directly to the screw head until it’s a dull red will expand the metal and break the rust bond in the threads. Let it cool slightly, then hit it with a manual impact driver or a size-up bit hammered into the recess.
- Center punch method: Strike a divot near the outer edge of the screw head with a center punch, then angle a second strike into that divot at roughly 45 degrees in the loosening direction. The angled strike acts like a mini chisel and can spin the screw out directly without ever drilling.
- Chisel or air hammer: A narrow cold chisel tapped at an angle against the edge of the screw head, turning counterclockwise, works well on screws with some head profile left. An air hammer with a pointed or chisel bit does the same job in a couple of seconds if you have one on the cart.
- Cut a slot: If you have a die grinder handy, cutting a fresh slot across the screw head lets you back it out with a flat-blade screwdriver or hand impact, bypassing a stripped Torx or Phillips recess entirely.
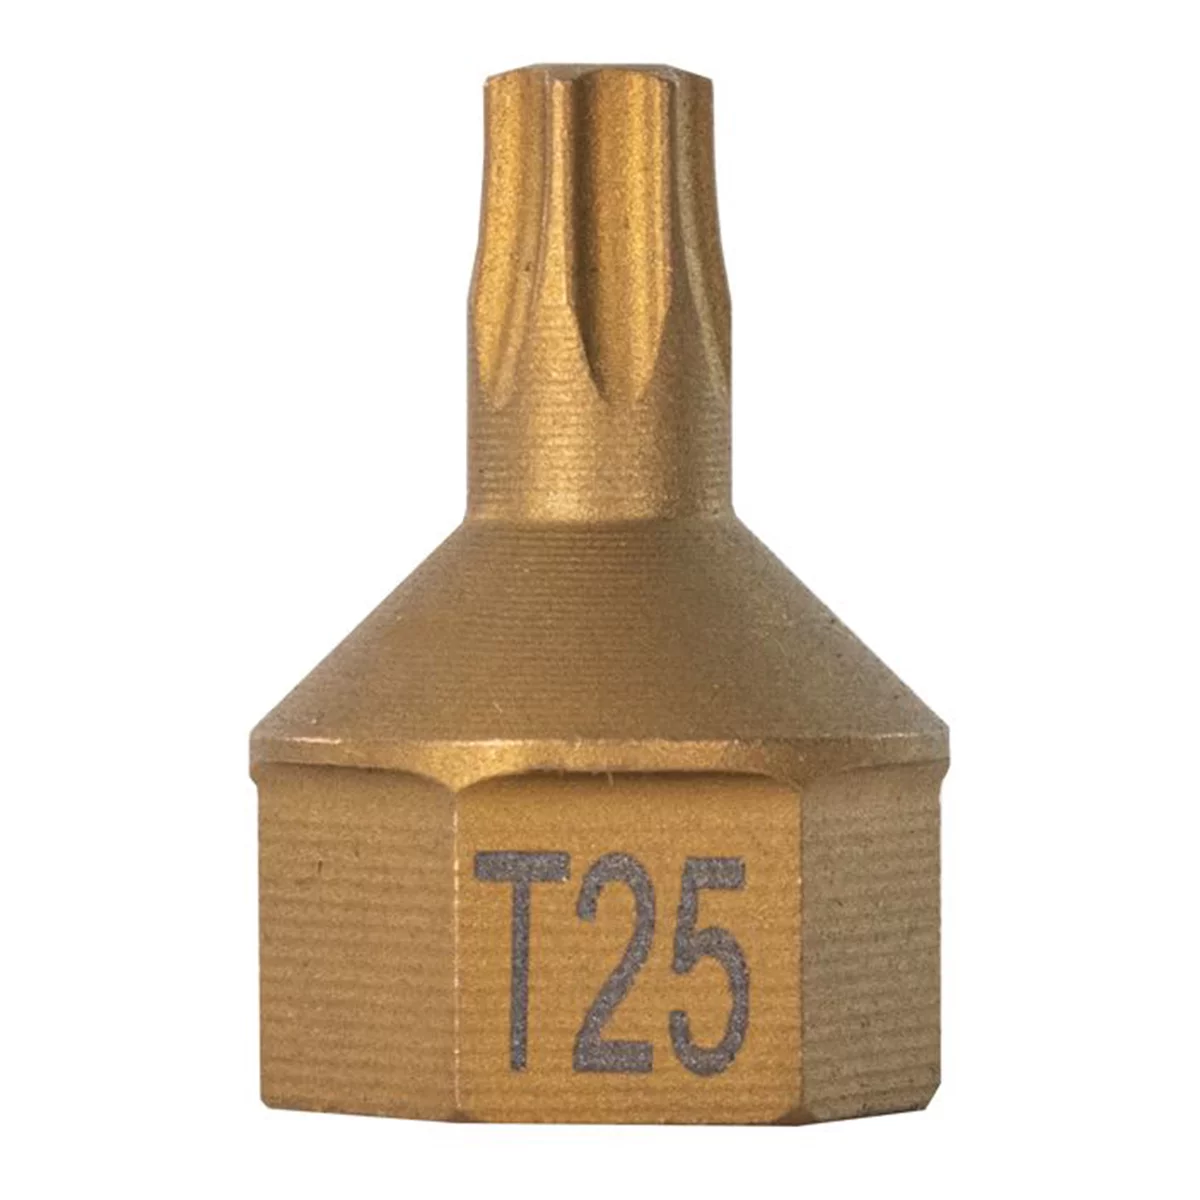
- Oversized bit: Hammering the next size up Torx or Allen bit into an already-rounded recess can bite deep enough into the metal to get purchase where the correct-size bit now just spins.
Any one of these should free the majority of seized screws. If a screw shears off flush or the head is too far gone for any of the above, move on to drilling.
Drilling It Out: The Reliable Fallback
Drilling is not a last resort born of frustration — it’s a standard, accepted removal method for these screws, and plenty of techs go straight to it rather than fighting a corroded fastener. Since the screw isn’t a structural or safety-critical part once the wheel is installed, drilling it out and leaving the hole empty is a legitimate outcome.
- Center-punch the screw head to keep the drill bit from wandering.
- Use a bit sized to the screw head — commonly 3/16″ to 3/8″ depending on the screw — and drill straight down through the head only, not deep into the hub flange.
- A squirt of penetrating oil on the bit reduces heat and binding.
- Once the head separates, the rotor lifts free. The remaining shank usually backs out easily with vice grips or pliers since it’s no longer under any clamping load.
- A left-hand (reverse) drill bit is worth having on hand — it cuts normally but its reverse flute direction frequently backs the screw straight out as it bites in, sparing you the extraction step entirely.
Keep drill speed moderate and let the bit do the work; forcing it increases the chance of snapping a bit off in the hole, which is a genuinely bad day.
Extracting a Broken or Deeply Seized Shank
Occasionally the head shears cleanly and the shank stays put in the hub, or the whole screw snaps below the rotor surface. For that situation:
- EZ-out / screw extractor: Drill a small pilot hole into the exposed shank, then thread in an EZ-out and back it out counterclockwise. This works best when there’s enough shank exposed to get the extractor started true.
- Vice grips on exposed shank: If enough of the screw protrudes after the rotor is off, clamp it and turn — no specialty tool needed.
- Re-drill and go oversize: If the shank is stuck fast in the threaded hole and you don’t plan to reinstall a screw, drilling the hole slightly larger removes the threat of interference entirely without affecting rotor or hub function.
Avoid excessive heat directly on the hub bearing area during any of this — localized heat on the screw head is fine, but you don’t want to transfer significant heat into a sealed wheel bearing.
Do You Actually Need to Replace the Screw?
In most cases, no. These screws serve an assembly-line and shipping purpose, not a functional one after the vehicle is back on the road. Once the wheel is torqued to spec, it clamps the rotor to the hub with far more force than the retaining screw ever provided. Many techs stop replacing them altogether after the first few extractions, since they know they’ll likely fight the same corrosion again next time the rotor comes off. The main reason to reinstall one is cosmetic, or to keep the rotor from shifting slightly during a future tire rotation before the wheel goes back on — not structural necessity.
Quick Checklist: Order of Operations
- Apply penetrating oil and let it soak 5-10 minutes
- Try a powered impact driver with the correct bit
- Try a manual impact driver, striking firmly while turning
- Add heat if it’s still not moving, then retry impact
- Try a center punch, chisel, or slotted screwdriver on a rounded head
- Drill the head off as a reliable fallback — replacement is optional
- Extract a broken shank with an EZ-out or vice grips once exposed
===PRODUCT_SEARCH_2===
Frequently Asked Questions
Do I need to replace rotor retaining screws after removing them?
No. They hold the rotor in place during assembly and shipping only. Once the wheel is torqued on, it provides all the clamping force needed, so leaving the hole empty is standard practice.
What size drill bit do I need for a typical rotor retaining screw?
Most factory screws drill out cleanly with a bit between 3/16″ and 3/8″, matched to the screw head diameter. Center-punch first so the bit doesn’t wander off the head.
Will drilling damage the hub or wheel bearing?
Not if you drill only through the screw head and stop once it separates from the shank. You’re not drilling into the hub itself, just removing the head so the rotor releases.
What’s the fastest method that doesn’t require power tools?
A manual (hand-hammer) impact driver with the correct bit, struck once firmly while set to loosen, clears most seized screws in a single hit without needing a torch or drill.
The screw head is already rounded out — what now?
Skip further attempts with a driver bit. Cut a slot with a die grinder for a flat-blade screwdriver, use a center punch to spin it loose, or go straight to drilling the head off.
Is it safe to use heat on these screws near the wheel bearing?
Heating the screw head itself to break rust bond is fine and common. Avoid prolonged, high heat that transfers into the hub area, since that can affect a sealed bearing or ABS tone ring.
Brake System Components
Once you’ve freed that stubborn rotor, sourcing quality replacement rotors and fasteners is straightforward. Our Brake System selection includes rotors, hardware, and components for professional brake service across all vehicle platforms.
- OEM and aftermarket brake rotors
- Rotor retaining screws and fasteners
- Brake pads, hardware, and service supplies

The Toolsource Technical Team blends decades of real-world automotive service experience with up-to-date technical research. Our writers collaborate with professional mechanics, shop owners, and diagnostic specialists to deliver practical, workshop-ready guidance you can trust.


Follow us on social media