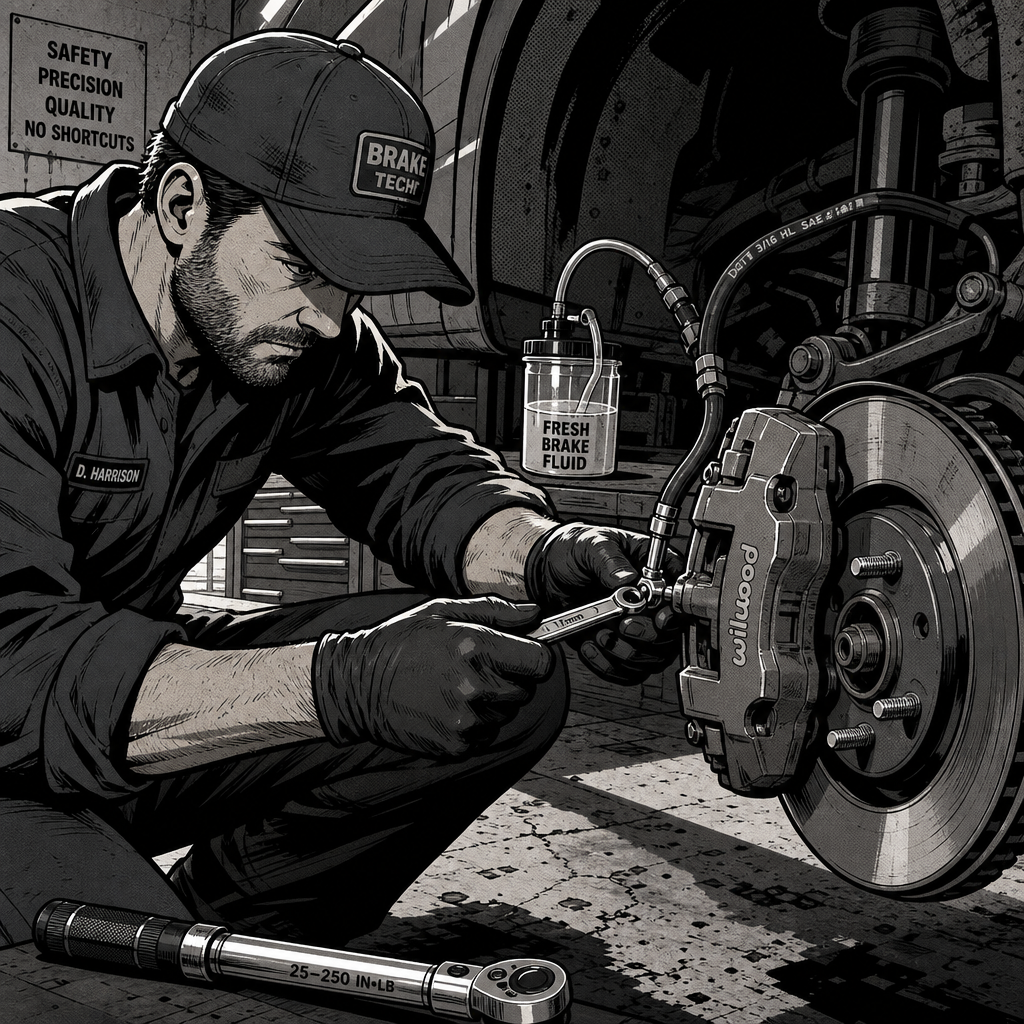
If you’ve just replaced brake hoses and discovered fluid seeping at the threaded connections, you’re facing one of the most critical safety issues a vehicle can have. A leaking brake hydraulic system won’t just give you a spongy pedal—it’s actively drawing air into the lines and compromising your stopping power with every pump of the pedal. Before you can address that soft brake feel, you need to eliminate every drop of seepage at the fittings. This guide covers the systematic approach to diagnosing fitting leaks, understanding flare compatibility, executing the correct bleeding sequence, and handling the ABS complications that plague modern brake systems.
Why Brake Fittings Leak After Installation
Brake line fittings leak for several distinct reasons, and identifying the root cause before you simply crank down harder on the wrench will save you from damaged threads or cracked flares. The most common culprit is cross-threading during installation. When you’re working underneath a vehicle with limited visibility and awkward angles, it’s easy to catch the first thread at a slight angle. Even hand-threading the fitting on completely doesn’t guarantee you started it correctly—you can force several turns of a cross-threaded connection before it binds up.
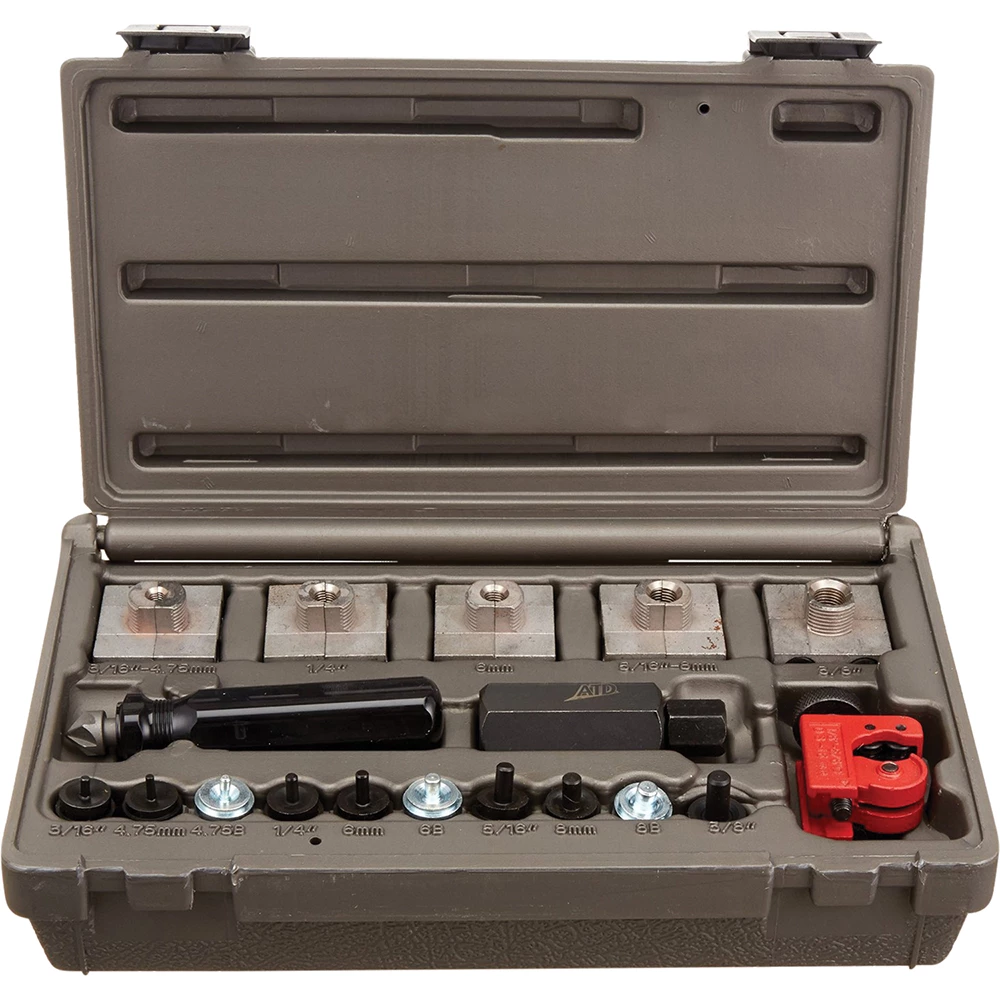
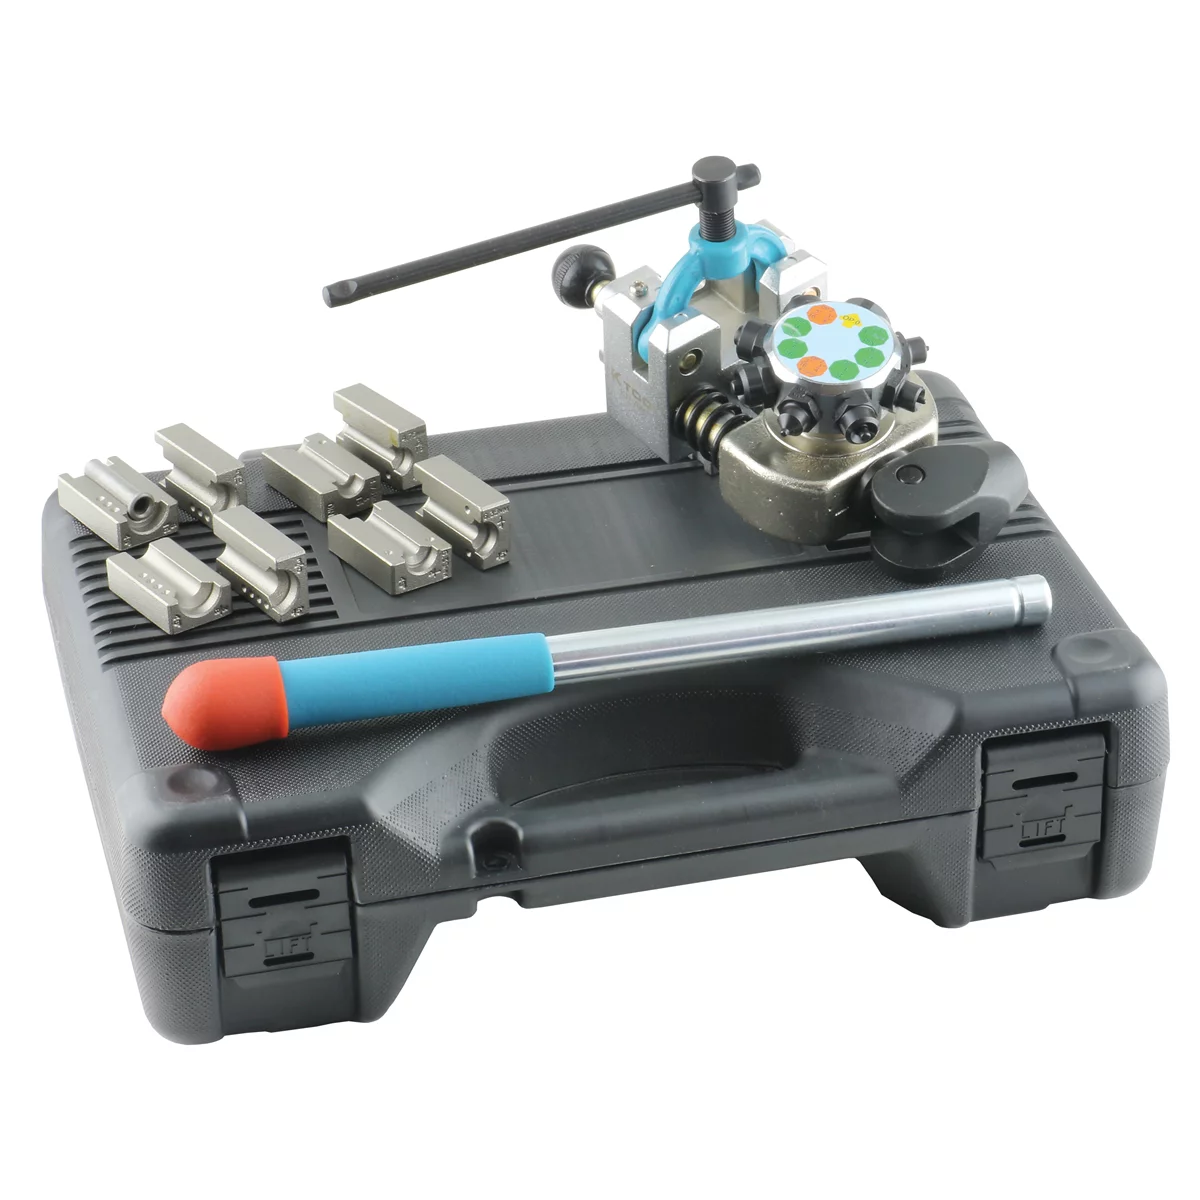
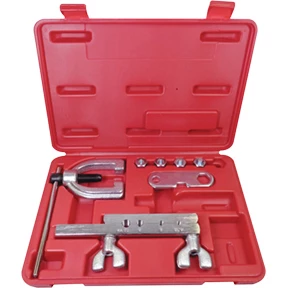
The second frequent issue is flare mismatch. Brake lines use either a double flare (also called an inverted flare or SAE flare) with a 45-degree angle, or an ISO flare (also called a bubble flare) with a different seating geometry. If your replacement hoses came with ISO fittings but your hard lines have double flares, the metal-to-metal seal will be compromised no matter how much torque you apply. Visually inspect both the line end and the fitting seat—a double flare creates a mushroom-shaped end that folds back on itself, while an ISO flare looks like a rounded bubble.
Debris or corrosion on the flare surface is the third issue. Even a microscopic piece of rust or dirt between the flare and the seat will create a leak path. The hard lines on your vehicle have likely been in place for years, and the flare surface may have surface rust or pitting. Similarly, if you’ve made a new flare on a hard line, any burrs or imperfections in the flare tool’s anvil will transfer to the finished flare.
Finally, insufficient torque is surprisingly common. Brake line fittings require specific torque values—typically between 10 and 18 ft-lbs depending on the fitting size—and hand-tight plus a quarter turn often isn’t enough. Conversely, over-torquing will distort the flare or crack the fitting. Always consult your service manual for the exact specification for your vehicle’s fitting size.
Inspecting and Repairing Leaking Fittings
Start your diagnosis by thoroughly cleaning all fluid residue from the suspected fitting with brake cleaner and a clean rag. Brake fluid is hygroscopic and will continue to seep along threads and down the hose, making it difficult to pinpoint the exact source. Once clean, have a helper gently press the brake pedal while you observe the fitting with a flashlight. Fresh fluid should appear immediately at the leak point.
If the leak is at the connection between the flexible hose and the hard line, remove the fitting completely. Inspect the flare on the hard line first. Look for cracks radiating from the center, uneven surfaces, or a flare that appears collapsed or distorted. Any of these conditions requires you to cut back the line and create a new flare with a proper flaring tool. Inspect the threads on both the hard line and the hose fitting for damage—if you see shiny spots on only one side of the threads or deformed thread peaks, you’ve cross-threaded the connection.
Check the hose fitting seat for debris and damage. The conical seat inside the fitting must be smooth and free of scratches. If the fitting came with a crush washer or seal, verify it’s present and not damaged. When reassembling, thread the fitting on by hand for at least three full turns before using a wrench. If you meet resistance before three turns, back it off and restart—you’re likely cross-threaded.
For leaks at the caliper end, the same inspection principles apply. Additionally, verify that the copper crush washers (banjo bolt washers) are new. These washers are designed to deform once and create a seal; reusing old washers is a guaranteed leak. Most brake hose kits include new washers, but if yours didn’t, they’re inexpensive and critical. Install one washer on each side of the banjo fitting.
Correct Brake Bleeding Sequence
Once your fittings are verified leak-free, you can begin the bleeding process. The traditional bleeding sequence starts at the wheel farthest from the master cylinder and works toward the closest. For most North American vehicles, this sequence is: passenger rear, driver rear, passenger front, driver front. This pattern ensures you’re pushing fresh fluid through the longest sections of line first, purging the maximum amount of air with each wheel.
However, this traditional sequence doesn’t apply universally to modern vehicles with ABS. Anti-lock brake systems split the hydraulic circuit in ways that don’t follow simple distance rules. The ABS hydraulic control unit contains valves, accumulators, and sometimes pumps that create complex fluid paths. Some manufacturers specify bleeding sequences that seem counterintuitive—starting at a front wheel or alternating between diagonal corners—because they’re designed around how fluid routes through the ABS module.
Always consult your vehicle’s service manual for the manufacturer-specified sequence. For example, certain Honda models from the mid-2000s specify starting at the driver front wheel, then passenger front, passenger rear, and finally driver rear—nearly the opposite of the traditional pattern. Following the wrong sequence on these vehicles can trap air in the ABS unit where manual bleeding can’t dislodge it.
When bleeding each wheel, use a clear tube attached to the bleeder valve and submerged in a container of fresh brake fluid. This prevents air from being sucked back into the system through the bleeder threads. Have your helper maintain steady pressure on the pedal—not rapid pumping, which can introduce air—while you open the bleeder for 2-3 seconds, then close it before the helper releases the pedal. Repeat until you see a solid stream of bubble-free fluid.
Bench Bleeding the Master Cylinder
If your brake lines were completely disconnected or the master cylinder reservoir ran dry during your hose replacement, you likely have air trapped in the master cylinder itself. Air in the master cylinder creates a spongy pedal that’s nearly impossible to eliminate through wheel bleeding alone because the air compresses with each pedal stroke rather than being pushed down the lines.
Bench bleeding solves this by removing air from the master cylinder before it’s installed in the vehicle. If your master cylinder is already installed and you suspect air is trapped inside, you’ll need to remove it to bench bleed it properly. The process requires a bench bleeding kit (available at any auto parts store) or fabricated tubes that route fluid from the outlet ports back into the reservoir.
Secure the master cylinder in a vise with soft jaws, keeping it level. Fill the reservoir with fresh brake fluid from a sealed container—never reuse old fluid. Install the bleeding tubes so they loop from each outlet port back into the reservoir, with the tube ends submerged in fluid. Using a smooth rod or large screwdriver, slowly press the master cylinder piston through its full stroke, then allow it to return. You’ll see bubbles emerge from the tube ends into the reservoir.
Continue this process, refilling the reservoir as needed, until no bubbles emerge for 10 consecutive strokes. This typically takes 20-40 strokes depending on how much air was trapped. Once complete, remove the bleeding tubes while holding pressure on the piston to prevent air from entering, then plug the ports temporarily. Install the master cylinder on the vehicle and connect the brake lines before releasing the plugs. This ensures you’ve started with an air-free master cylinder, giving your wheel bleeding process a fighting chance.
ABS Module Bleeding Challenges
Modern ABS hydraulic control units are the nemesis of DIY brake bleeding. These modules contain valves that remain closed during normal operation, isolating sections of the brake circuit. When your brake lines are disconnected or the system runs dry, air can migrate into these isolated chambers. No amount of traditional pedal bleeding will purge air from behind closed ABS valves.
The correct solution is a scan tool with bi-directional controls that can command the ABS module into a bleed mode. This mode cycles the ABS valves open and activates internal pumps, pushing trapped air out into the main brake lines where conventional bleeding can evacuate it. Professional-grade scan tools from Autel, Snap-on, or manufacturer-specific tools have this capability. Some advanced DIY scan tools in the $300-500 range also include ABS bleeding functions.
If you don’t have access to a scan tool, there’s a field-expedient method that sometimes works: the controlled ABS activation technique. Find a safe, empty gravel lot or low-traffic dirt road. Accelerate to about 20-25 mph and perform a hard, straight-line stop to deliberately trigger the ABS. The ABS activation cycles the valves and may push trapped air into the main lines. Repeat this process 5-10 times, then immediately return to the shop and bleed all four wheels in the proper sequence. This method isn’t guaranteed—it works because you’re forcing the ABS to do what the scan tool would command—but it’s free and worth attempting before paying a shop for scan tool access.
After ABS activation attempts, your pedal should improve if air is being purged. If you’ve performed this process multiple times with proper wheel bleeding afterward and the pedal remains spongy, you likely need professional scan tool assistance or have a different problem such as a failing master cylinder or incorrect caliper installation.
Caliper Installation and Master Cylinder Sizing
Two installation factors can create a perpetually soft pedal even with perfect bleeding: reversed calipers and mismatched master cylinder bore size. Brake calipers are side-specific because the bleeder valve must be positioned at the highest point of the caliper body. If you’ve installed the driver-side caliper on the passenger side, the bleeder is now at the bottom, making it impossible to purge air from the top of the caliper.
Verify your calipers are on the correct sides by confirming the bleeder valve is at the top when the caliper is mounted. If you’ve swapped sides, you’ll need to remove them, switch positions, and re-bleed. This is particularly common when installing remanufactured calipers that come as a matched pair—it’s easy to grab the wrong one when working under the vehicle.
The second issue arises when upgrading to larger calipers without upgrading the master cylinder. Larger calipers have larger pistons with greater fluid volume requirements. Your master cylinder has a fixed bore size that displaces a specific volume of fluid per inch of piston travel. When you install calipers with 20% more piston volume, you need 20% more pedal travel to achieve the same piston movement at the wheels. The result is a lower, softer pedal that feels under-bled even when the system is perfectly bled and leak-free.
Calculating the correct master cylinder bore size requires knowing the total caliper piston area and desired pedal ratio, but a rule of thumb is that upgrading caliper piston diameter by more than 10% usually requires a corresponding master cylinder upgrade. If you’ve installed significantly larger calipers and your pedal travel has increased dramatically despite perfect bleeding, you’re experiencing a hydraulic mismatch that bleeding can’t fix.
Pre-Bleeding Checklist
Before you begin bleeding your brake system, verify each of these conditions to ensure success:
- All brake line fittings are torqued to specification with no visible seepage after cleaning
- Brake fluid reservoir is filled with fresh DOT-appropriate fluid from a sealed container
- Calipers are installed on correct sides with bleeder valves at the top position
- All bleeder valves turn freely and aren’t stripped or rounded
- You have clear tubing, a catch container, and at least one full bottle of fresh brake fluid
- Helper is available for pedal operation, or you have a pressure bleeder or vacuum bleeder
- Vehicle’s specific bleeding sequence is confirmed from service manual
- Master cylinder has been bench bled if it was replaced or ran dry

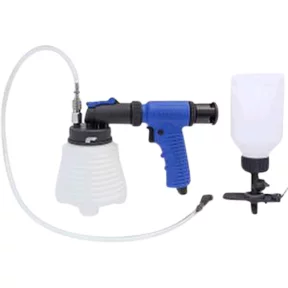
800ml Vacuum Brake Bleeding Kit - Easy Auto Fluid Tool
Mfg: Private Brand Tools
Part #: 70854
Frequently Asked Questions
How tight should brake line fittings be?
Brake line fittings require specific torque values, typically 10-18 ft-lbs depending on fitting size. Consult your service manual for exact specifications. Hand-tight plus 1/4 to 1/2 turn is often insufficient. Use a flare nut wrench and torque wrench to achieve proper clamping force without over-torquing, which can crack the flare.
Can I bleed brakes without a helper?
Yes, using a pressure bleeder that attaches to the master cylinder reservoir or a vacuum bleeder that pulls fluid through the bleeder valve. One-person methods include the “pump and hold” technique where you pump the pedal, hold pressure, crack the bleeder, close it before releasing the pedal, and repeat. However, two-person bleeding with steady pedal pressure is most reliable.
How do I know if air is trapped in my ABS module?
If your pedal remains spongy after properly bleeding all four wheels multiple times, and you’ve verified no leaks exist, air is likely trapped in the ABS hydraulic unit. This is especially probable if the reservoir ran dry or lines were disconnected. The pedal may feel better after pumping but returns to being soft after sitting overnight.
Why does my pedal go to the floor after bleeding?
A pedal that travels to the floor after bleeding indicates either a significant leak you haven’t found, air still in the system (often in the master cylinder or ABS unit), a failing master cylinder with internal leakage past the piston seals, or grossly incorrect master cylinder sizing for your caliper setup.
Can I reuse brake fluid that leaked out during hose replacement?
Never reuse brake fluid. It absorbs moisture from the air within minutes of exposure, lowering its boiling point and introducing water into your hydraulic system. Water causes internal corrosion and creates steam under hard braking, leading to brake fade. Always use fresh fluid from a sealed container.
What’s the difference between DOT 3, DOT 4, and DOT 5.1 brake fluid?
DOT 3, 4, and 5.1 are all glycol-based fluids that are compatible and differ primarily in boiling point. DOT 4 has a higher boiling point than DOT 3, and DOT 5.1 is higher still. Use the fluid specified in your owner’s manual—typically DOT 3 for older vehicles and DOT 4 for newer ones. Never use DOT 5 (silicone-based) in a system designed for glycol fluids, as they are not compatible.
Brake System Tools & Supplies
Proper fittings, fluid, and bleeding equipment are essential for eliminating leaks and achieving a firm pedal. Our Brake System category stocks everything you need for leak-free installations and complete bleeding cycles.
- Flaring tools, wrenches, and torque-specific fittings for correct installation
- Fresh brake fluid in DOT 3, 4, and 5.1 specifications
- Bleeding kits, clear tubing, and specialty tools for master cylinder and ABS service

The Toolsource Technical Team blends decades of real-world automotive service experience with up-to-date technical research. Our writers collaborate with professional mechanics, shop owners, and diagnostic specialists to deliver practical, workshop-ready guidance you can trust.


Follow us on social media