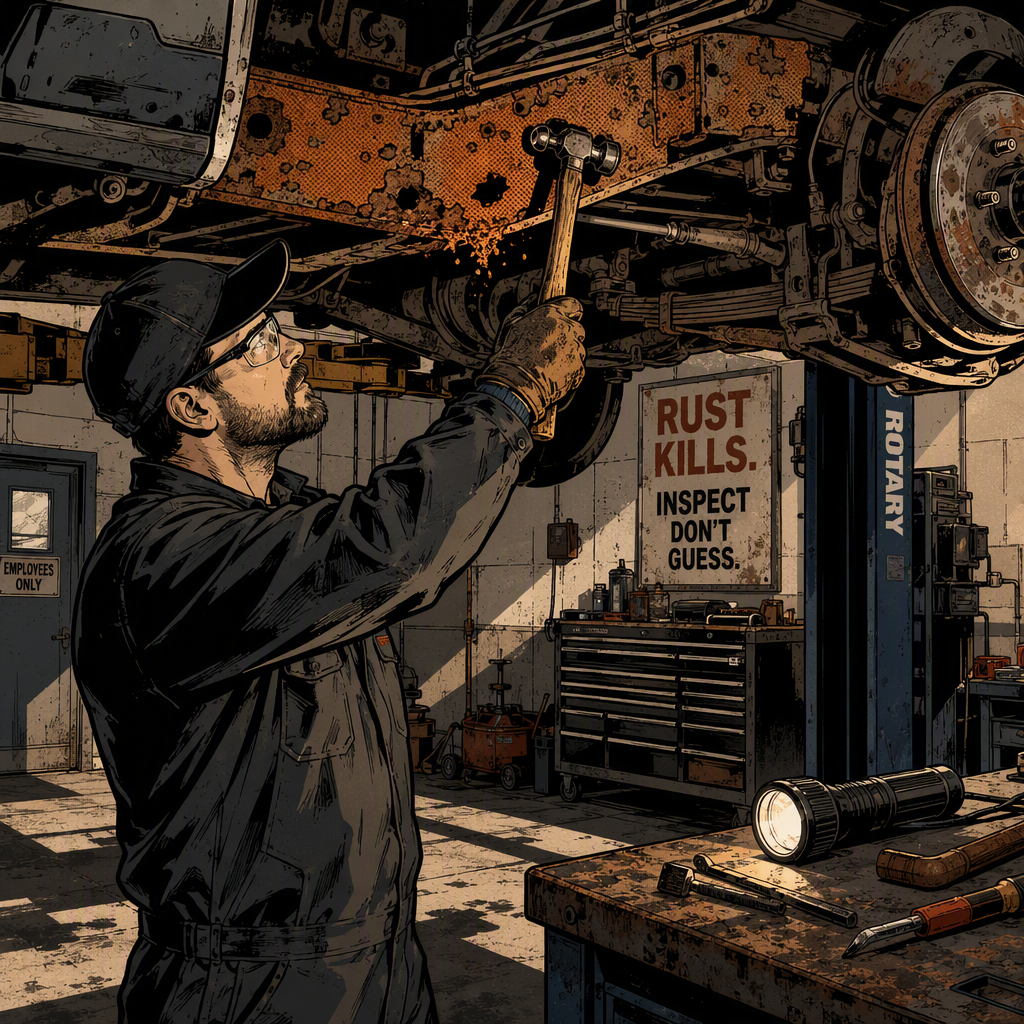
Every shop in the salt belt has seen it: a vehicle rolls in for something routine — an oil change, a noise complaint — and the second it goes up on the lift, the underside looks like it was pulled off the bottom of a lake. Photos of trucks like this circulate constantly online, usually with a punch line attached, but underneath the jokes is a real diagnostic problem technicians deal with every week: how do you quickly and accurately tell a customer whether their rust is cosmetic, repairable, or a sign the vehicle has reached the end of its safe service life? Getting this wrong in either direction costs you — either you turn away a fixable car, or you put a wrench on something that shouldn’t be driven off the lift. This post walks through a practical inspection sequence for rust-belt vehicles, what separates surface corrosion from structural failure, and how to have the “is this worth fixing” conversation with confidence.
Surface Rust vs. Structural Rust: The First Call You Have to Make
Not all rust is created equal, and the distinction matters more than anything else in the inspection. Surface rust is flaking, orange oxidation on the outer layer of metal — ugly, but it hasn’t eaten into the load-bearing thickness of the part. Structural (or “scale”) rust is different: the metal has delaminated into layers, flakes off in sheets when tapped, or has visible perforation. When rust has progressed to holes you can push a screwdriver through, or when boxed frame rails have ballooned or crumbled at the seams, you’re no longer looking at a cosmetic issue — you’re looking at compromised structural integrity.
The quickest field test is the hammer-and-pick method: tap suspect areas with a small ball-peen hammer or rust pick. Solid metal rings and resists. Compromised metal sounds dull, flexes, or crumbles outright. Do this systematically along frame rails, crossmembers, control arm mounts, and rear axle housings — don’t just eyeball it, because heavy surface scale can visually hide how thin the metal underneath actually is.
Frame and Suspension: Where to Focus First
The frame rails, especially the boxed sections and crossmembers, take priority because they carry the vehicle’s structural loads and anchor the suspension. Pay close attention to:
- Frame rail seams and the underside of boxed sections, where road spray and salt collect and drain poorly.
- Control arm and subframe mounting points — rust here changes suspension geometry and can shear under load.
- Spring perches and shock mounts, which see constant flex and are common failure points once rust sets in.
- Body mounts, particularly on body-on-frame trucks and SUVs, where rusted-through mounts let the body shift on the frame.
Also inspect steering components — tie rods, drag links, and steering box mounts — since rust-seized or thinned steering linkage is a direct safety hazard, not just a maintenance annoyance. A pry bar and a flashlight go a long way here: push and pull on suspension arms and mounts rather than just looking at them, because rust can look intact while structurally you can move a mount that should be rigid.
Check the Driveline and Fluid Lines Before You Quote Anything
Rust doesn’t stop at the frame. Rear differential housings, especially on trucks without a removable diff cover, can corrode to the point of leaking or cracking — and a cracked axle housing is a parts-availability nightmare on older or discontinued models. Brake lines and fuel lines are just as critical: steel lines rust from the outside in and can pinhole or fail completely, often invisibly until pressurized. Flex a brake line gently by hand (never with pliers) and look for scaling, blistering, or a chalky white-orange crust — any of those is a replace-now situation, not a “keep an eye on it” one.
Exhaust hangers, heat shields, and fuel tank straps are lower-consequence but still worth flagging, since a collapsed exhaust hanger or a rusted strap can turn into a drivability or fire-risk complaint down the road.
Doing the Repair-vs-Replace Math Honestly
Once you’ve catalogued what’s actually failed, the conversation with the customer comes down to economics. Structural rust repair — cutting out and replacing sections of frame, patching a differential housing, replacing multiple suspension components and their rusted-in hardware — adds up fast in both parts and labor, especially once every bolt turns into a “cut it off and re-thread it” job. On an older, high-mileage vehicle where the drivetrain itself may also be near end-of-life, it’s worth running the numbers against the vehicle’s actual market value before committing shop time.
A rough framework that holds up across most shops:
- Surface rust only, frame and suspension solid on the tap test: clean, treat, and undercoat. Low cost, worth doing.
- Isolated structural rust (one bad control arm mount, one rotted line): repairable if the rest of the vehicle checks out and the owner wants to keep it.
- Multiple structural failure points (frame, diff, lines, mounts all compromised): total parts and labor cost frequently exceeds the vehicle’s value, and there’s a real safety argument for recommending retirement rather than repair.
Be direct with customers when you’re in that third category. A frame that flexes, a diff housing that’s already weeping fluid through rust, and brake lines you can crumble with a thumbnail are not a “let’s patch it and see” situation — that’s a liability conversation, and it’s better to have it plainly than to sign off on something that fails on the road.
Preventing the Next Rust Job
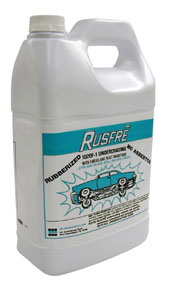
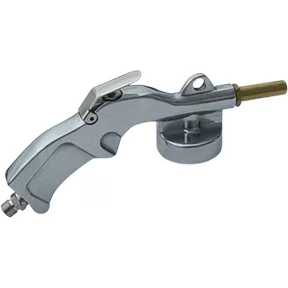
For every vehicle that’s salvageable, or for newer vehicles coming from salt-belt regions, prevention is the cheapest repair you’ll ever perform. Annual or twice-yearly undercoating with a penetrating oil-based rust inhibitor gets into seams and overlapping panels that spray-on coatings can’t reach, and it needs to be reapplied — it’s not a one-time treatment. For customers who want a harder, more permanent barrier, a rubberized undercoating works well on already-clean metal but should never be applied over active rust, since it traps moisture against the metal and accelerates corrosion underneath.
Recommend customers rinse the undercarriage after winter driving, especially wheel wells and frame rails, and treat any fresh chips or scratches in factory coatings before they become rust starters. For fleet or shop vehicles you maintain long-term, keeping a standing rust-prevention schedule is far cheaper than frame repair down the line.
Quick Rust Inspection Checklist
- Tap-test frame rails, crossmembers, and suspension mounts with a pick or hammer — listen and feel for dull/soft spots, not just visual scale.
- Pry and flex suspension and body mounts by hand to check for hidden movement under rust.
- Inspect brake and fuel lines for scaling or blistering; flex gently, never with pliers.
- Check the differential housing and axle tubes for cracks, weeping fluid, or thin spots.
- Verify body mounts and exhaust hangers are still load-bearing, not just present.
- Document findings with photos before quoting — rust conversations go better with evidence.
- Weigh total repair cost against vehicle market value before recommending structural work.

Frequently Asked Questions
How can I tell if frame rust is structural without cutting into it?
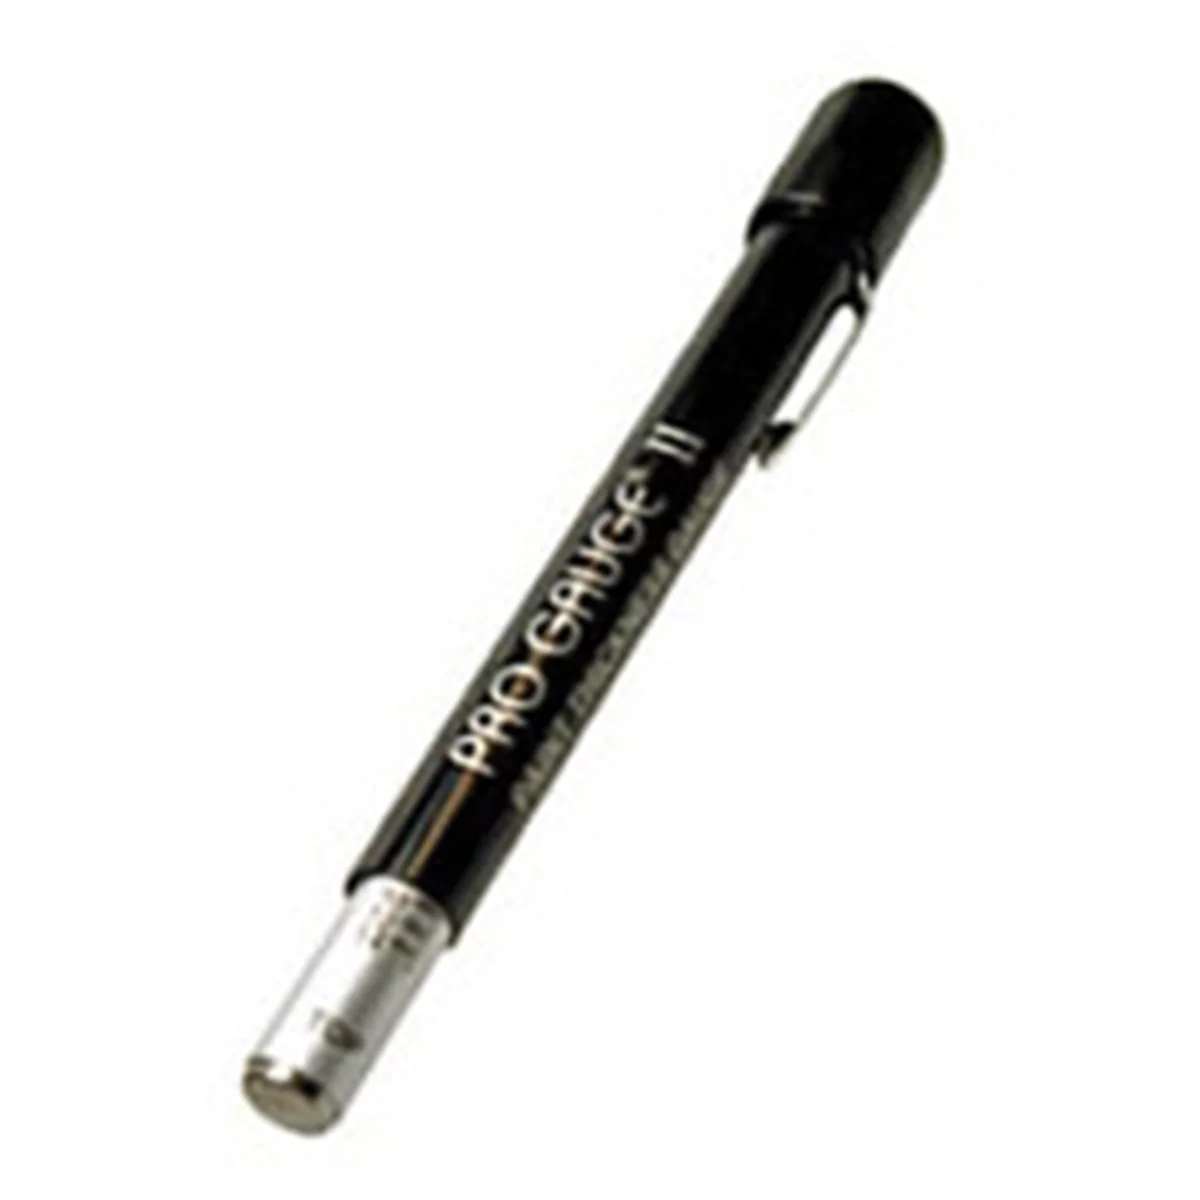
The tap test is the fastest non-destructive method — solid metal rings, compromised metal sounds dull or flexes. Follow up with a pick to check if surface scale gives way to soft metal underneath. For borderline cases, ultrasonic thickness gauges give you an objective reading against factory spec.
Is it ever safe to drive a vehicle with visible frame rust?
It depends entirely on location and severity. Cosmetic surface rust on non-load-bearing areas is generally fine. Rust affecting boxed frame sections, suspension mounts, or steering components is a safety issue and the vehicle shouldn’t be driven until inspected and repaired or condemned.
Can rust-converter products actually stop corrosion, or just hide it?
Rust converters chemically transform surface oxidation into a stable, paintable compound, which does slow further corrosion on surface rust. They don’t restore lost metal thickness and won’t fix structural rust — they’re a maintenance tool, not a repair for compromised components.
Why do some regions see so much worse rust than others?
Road salt use, humidity, and freeze-thaw cycles are the main drivers. Heavily salted roads in northern climates accelerate corrosion far beyond what dry or non-salted regions see, which is why the same model and year can be in dramatically different condition depending on where it spent its life.
Is it worth replacing a rusted differential housing on an older truck?
Only if you can source a clean used or aftermarket housing and the rest of the vehicle justifies the investment. On older or less common models, housing availability can be the deciding factor — if clean units are scarce, factor that scarcity and cost into the repair-vs-replace decision early.
What’s the best time of year to apply undercoating?
Late fall, before winter salt season starts, and ideally after a thorough undercarriage wash to remove the previous season’s grime. A second application mid-winter on heavily driven vehicles adds extra protection through the worst months.
Measurement Tools for Rust Inspection
Accurate rust assessment requires the right equipment. Our measurement tools and inspection equipment help technicians measure remaining metal thickness, access tight spaces, and document damage before making repair decisions.
- Ultrasonic thickness gauges for non-destructive metal measurement
- Inspection mirrors and LED lights for undercarriage visibility
- Precision calipers and measurement devices for structural evaluation

The Toolsource Technical Team blends decades of real-world automotive service experience with up-to-date technical research. Our writers collaborate with professional mechanics, shop owners, and diagnostic specialists to deliver practical, workshop-ready guidance you can trust.


Follow us on social media