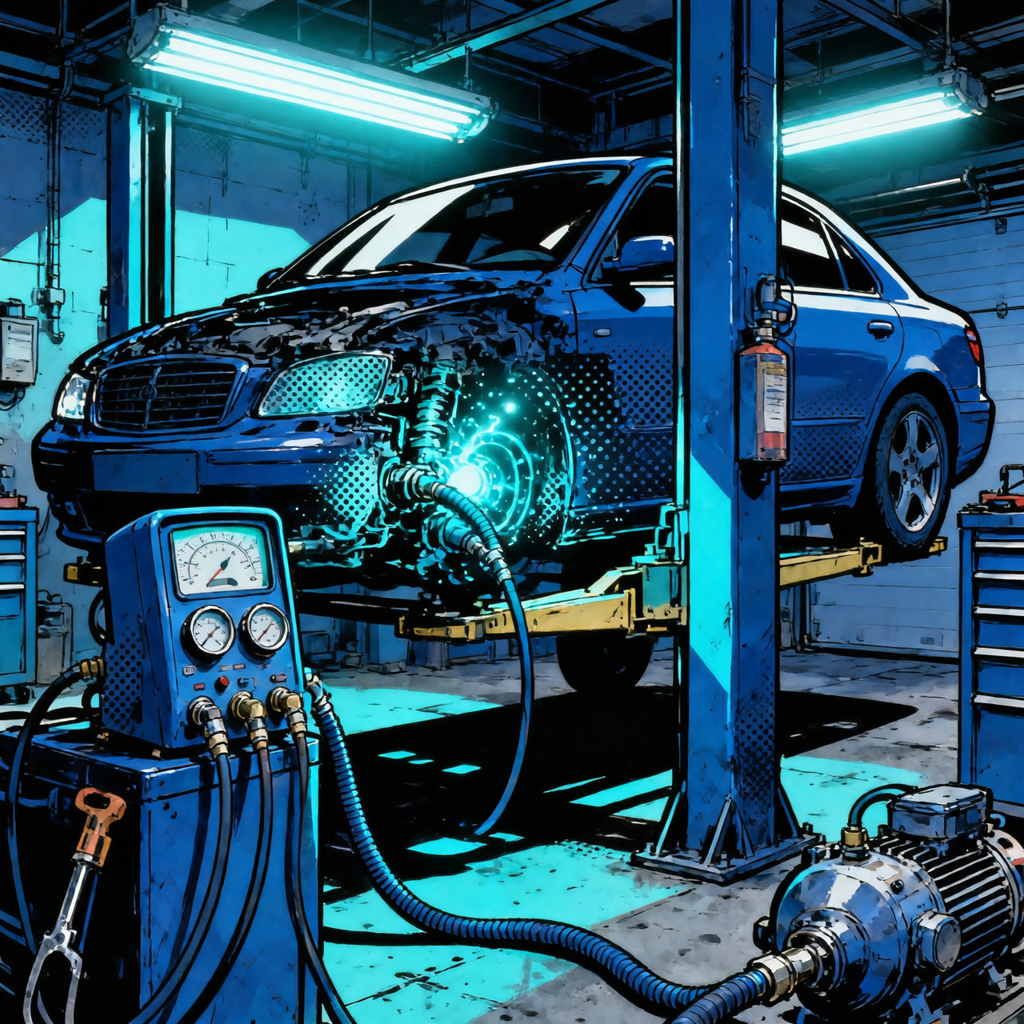
When your car’s AC stops blowing cold air, a leak is usually the culprit. Finding and fixing leaks before recharging saves money, prevents legal trouble with environmental regulations, and ensures repairs stick. This guide covers detection methods, repair costs, and whether to DIY or hire professionals.
AC Leak Detection Methods
UV Dye Testing with Black Light Inspection
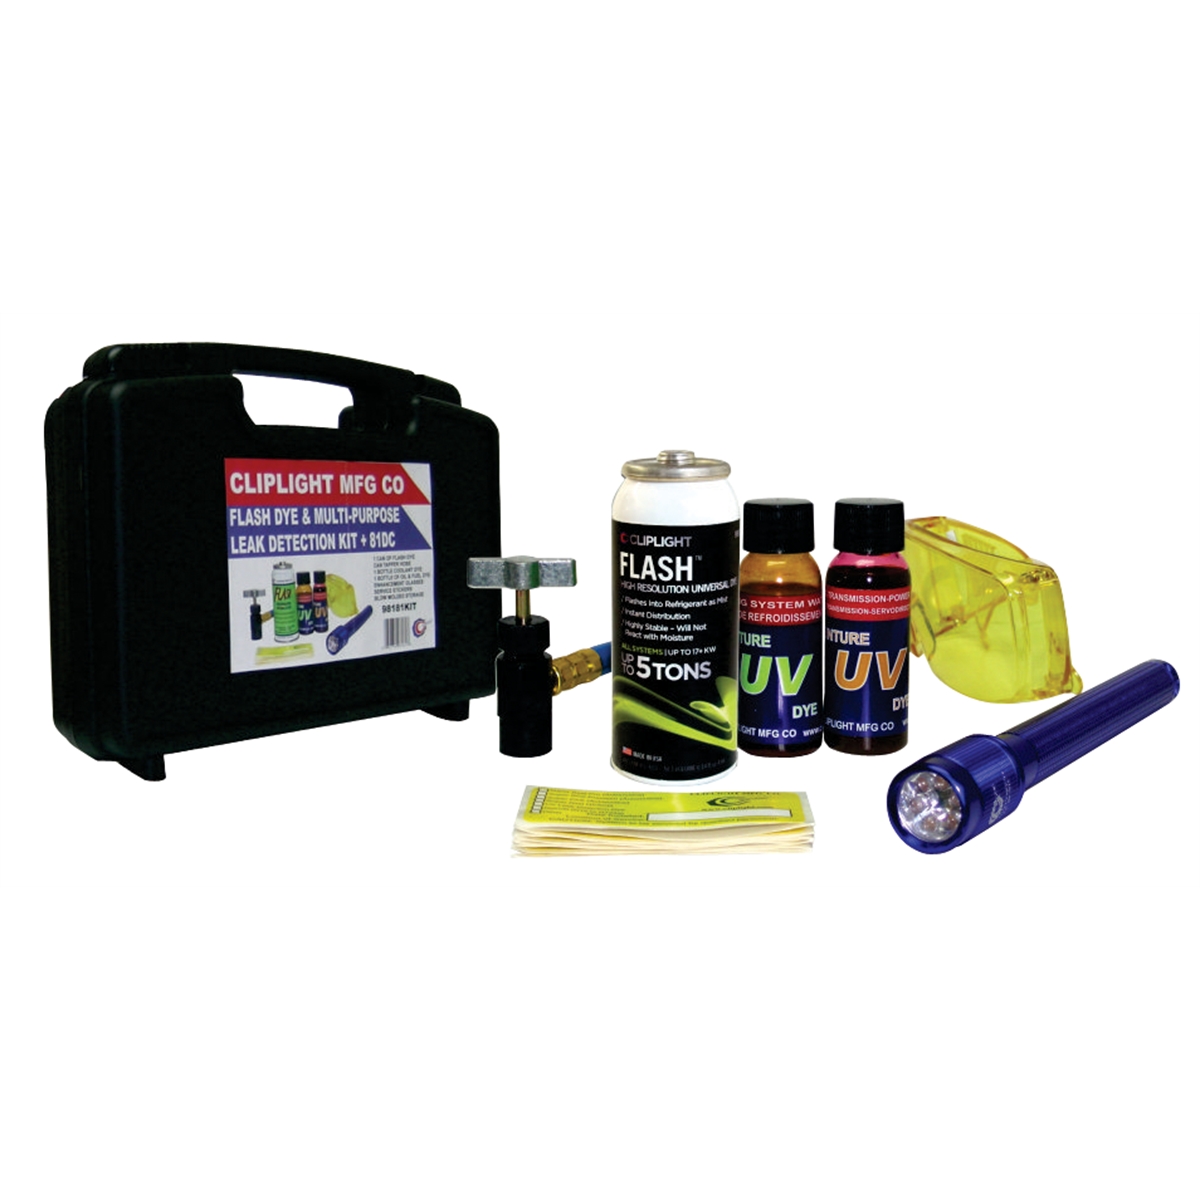
UV dye injection is the most reliable detection method. Inject fluorescent dye into the AC system, run the compressor for 15-30 minutes, then inspect with a UV black light in darkness. The dye glows bright yellow-green at leak points. A professional UV dye kit ($40-80) includes dye, injection equipment, UV glasses, and a black light. The dye shows condenser leaks as bright streaks, evaporator leaks as residue at the drain tube, and compressor seal leaks as rings around shaft seals. Small leaks require several days of driving before dye accumulates enough to show, so inspect thoroughly: condenser front and sides, compressor shaft seal, hose connections, evaporator drain tube, accumulator/receiver-drier welds, and expansion valve area.
Electronic Sniffer Tools
Electronic refrigerant detectors find leaks in hidden locations like evaporators behind dashboards. They detect R-134a and R-1234yf at concentrations as low as 0.1 oz per year. Professional sniffers cost $200-600 with heated-diode sensors being more sensitive than corona-discharge models. Move the probe 1-2 inches per second around all connections and seals. Check the evaporator drain tube since refrigerant sinks. Always double-check sniffer alerts for false positives in tight spaces. The EPA’s Mobile Vehicle Air Conditioning guidance requires approved leak detection before refrigerant top-off.
Visual Inspection and Pressure Testing
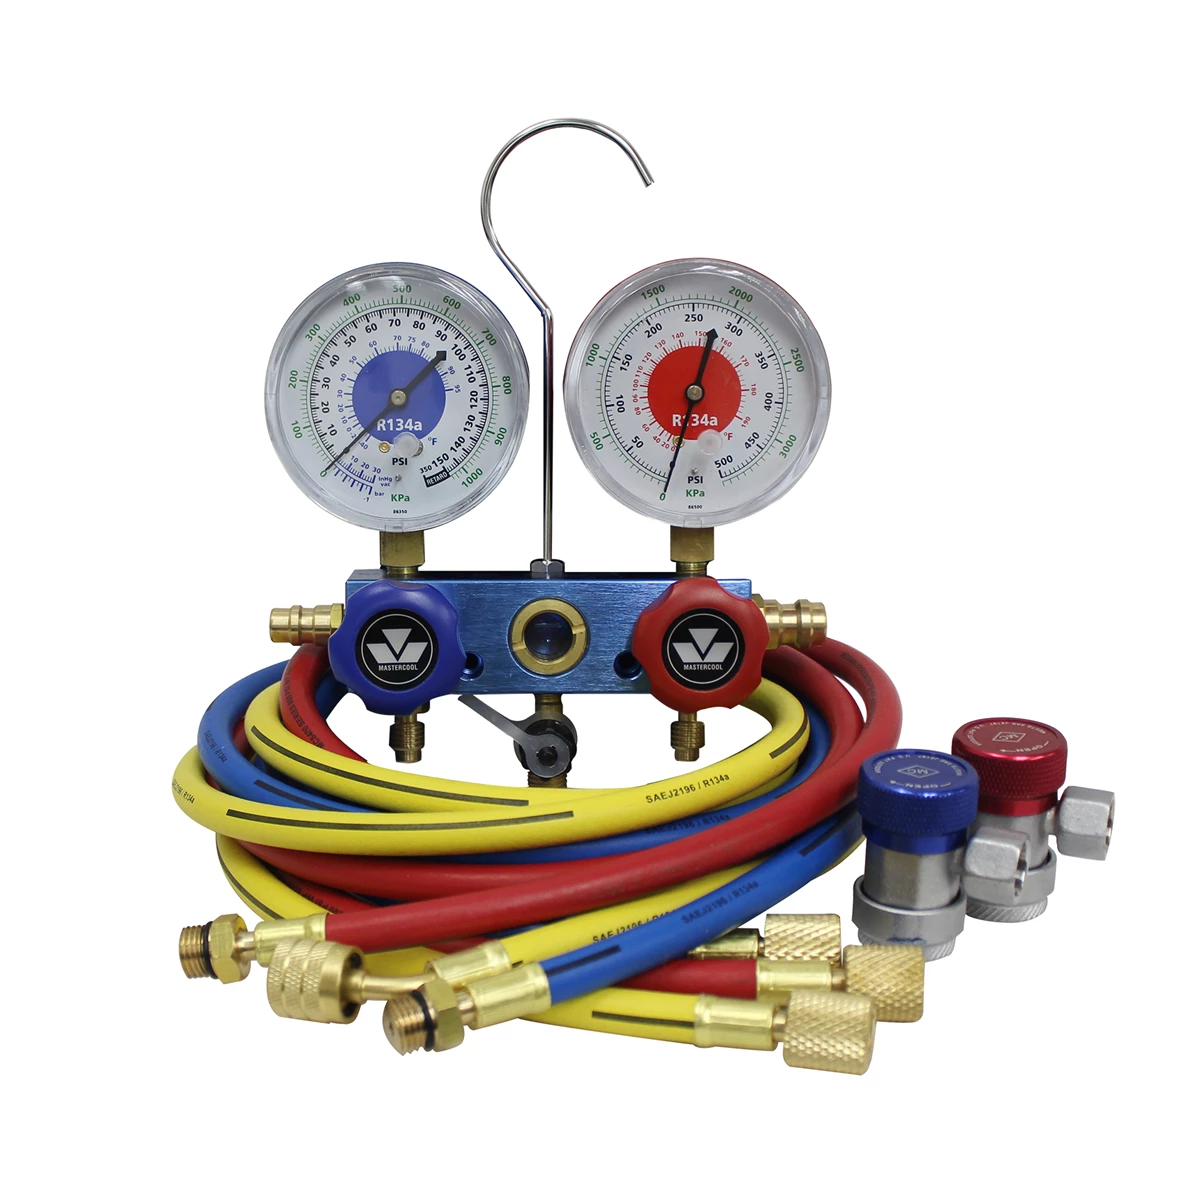
Visual inspection catches obvious damage first. Look for oil buildup (AC systems leak PAG or POE oil), bent condenser fins, corroded hose fittings, and dents on aluminum parts. A properly sealed system holds pressure steady for 24-48 hours. Shops use nitrogen pressure testing at 150-200 psi—pressure drop exceeding 10 psi in 30 minutes indicates a significant leak. You can test at home with manifold gauges: at 70°F, R-134a systems should show 70-75 psi when fully charged. Never pressure test with refrigerant in the system—always recover it first for legal compliance.
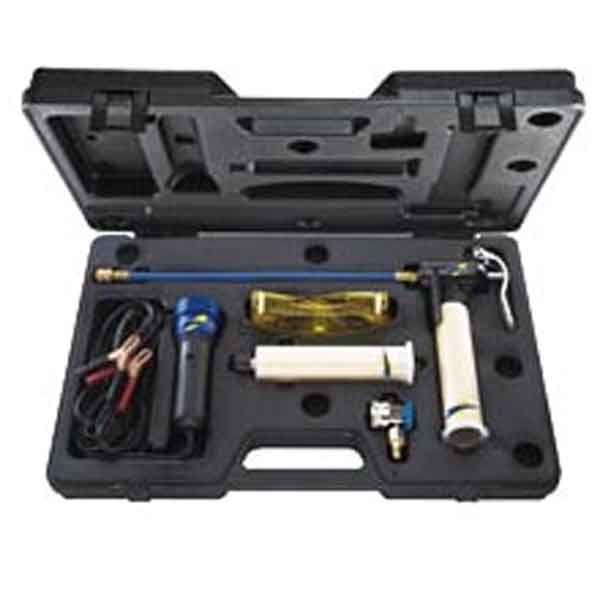
Viper Eyes UV Automotive A/C Leak Detection Kit
Mfg: Viper - Clore Automotive
Part #: 414600
Common AC Failure Points and Repair Costs
Condenser Leaks
The condenser sits in front of the radiator where it takes hits from road debris and salt corrosion. Aluminum tubes develop leaks at joints, and fins get damaged by rocks. Replacement costs $400-800 total (OEM parts $150-400, aftermarket $80-200, labor 2-3 hours). Some vehicles require bumper or grille removal, adding 1-2 hours. Visible damage, oil on fins, and fast refrigerant loss indicate condenser failure.
Evaporator and Expansion Valve Issues
Evaporator leaks are most expensive to fix because the part sits behind the dashboard—6-12 hours labor makes repairs $800-1,500 total ($200-400 parts, $600-1,100 labor). Signs include sweet smell from vents, oily residue at the drain tube, weak cooling, and sniffer alerts near floor vents. Honda Civics (2006-2011), certain Acura TLs, and some Subarus are known for evaporator problems. Expansion valve leaks are rarer but equally annoying to reach since valves sit at evaporator inlets. Frost on one AC hose and unpredictable cooling indicate failure. Swapping the expansion valve during evaporator service adds $50-150 in parts with minimal extra labor.
Compressor Seal Failures
Compressor shaft seals wear from normal use, bad lubrication, or disuse. Oil pooled around the clutch indicates seal failure. Replacement costs $500-900 (parts $200-500, labor 2-4 hours). Shops typically replace the whole compressor rather than just the seal since internal damage usually accompanies seal failure. Metal debris from a failed compressor requires system cleanup: replace the accumulator/receiver-drier, expansion valve, and flush everything ($300-600 additional cost). Early leak repair costs far less than waiting for compressor failure.
DIY Leak Detection vs Professional Diagnosis
Equipment Needed for Home AC Testing
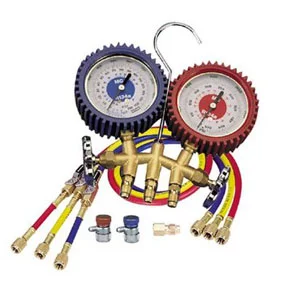
Proper DIY leak detection requires AC manifold gauges ($50-120), UV dye kit with black light ($40-80), safety gear ($20), and optionally an electronic sniffer ($200-300). You’ll also want refrigerant, a vacuum pump ($100-200), and a refrigerant scale ($80-150). Full DIY setup costs $500-800. If fixing only one vehicle, professional diagnostics ($100-150) costs less than buying gear. ChrisFix’s YouTube channel has step-by-step DIY AC repair videos.
Why Mechanics Struggle to Find Leaks
Intermittent leaks appear only under specific conditions (extreme heat, maximum cooling, certain engine speeds) and might not show during shop tests. Evaporator leaks are invisible without removing interior panels. Shops often don’t allow enough time for dye to accumulate—small leaks need several days of driving. Generic repair shops lack AC-specific knowledge that specialists have. Busy shops rush diagnostics instead of spending 1-2 hours on thorough testing.
When Professional Help Is Mandatory
Federal EPA Section 609 regulations require certified technicians to recover and dispose of refrigerant—dumping it is illegal with fines up to $44,539 per violation. Professional vacuum pumps reach the deep vacuum (29.9 inches Hg) needed to remove moisture before recharging. DIY pumps typically can’t achieve deep vacuum or run long enough (30-45 minutes minimum). Contaminated systems from failed compressors require professional component replacement, flushing, and testing. Evaporator replacement demands professional work—pulling dashboards requires vehicle-specific knowledge and 6-12 hours of labor.
Repair Costs and Options
Component Replacement Pricing
| Repair Type | Parts Cost | Labor Hours | Total Cost |
|---|---|---|---|
| Condenser Replacement | $80-400 | 2-3 hrs | $400-800 |
| Evaporator Replacement | $200-400 | 6-12 hrs | $800-1,500 |
| Compressor Replacement | $200-500 | 2-4 hrs | $500-900 |
| Hose/Fitting Repair | $30-150 | 1-2 hrs | $200-400 |
Every repair includes refrigerant recovery ($50-75), vacuum pulling, leak testing, and refilling. R-134a costs $15-25 per pound; R-1234yf costs $70-100 per pound. Most cars need 1.5-3.0 pounds. Replacing the accumulator/receiver-drier ($80-150 parts, 1-2 hours labor) accompanies major repairs since opening the AC exposes desiccant to air, destroying its moisture-absorption ability.
Why AC Sealant Products Cause More Damage
Over-the-counter sealants create severe contamination. Sealant jams expansion valves, clogs condensers, and coats evaporator interiors. When extreme cold freezes the sealant, it completely blocks refrigerant flow. Shops refuse contaminated vehicles because sealant ruins recovery machines and pollutes recycling equipment. Cleanup requires replacing compressor, condenser, evaporator, lines, and fittings—$2,000-3,000. No technician recommends sealant products. Fix the leak properly instead.
Refrigerant Recovery and Legal Compliance
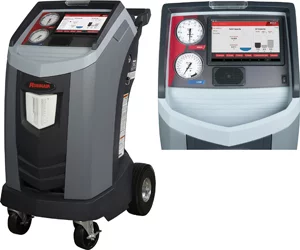
Federal Clean Air Act law requires refrigerant recovery before AC service. EPA Section 609 mandates technician certification and approved equipment. Certified recovery machines separate refrigerant from oil and junk for recycling—equipment costs $1,500-4,000, making DIY impractical. Shops charge $50-75 for recovery. Proper evacuation sucks out air and moisture for 30-45 minutes at 29.9 inches Hg—moisture creates acids that corrode aluminum parts. Always charge by weight per the AC label specification: overfill stresses the compressor; underfill starves the evaporator.
Repair vs Replace: Making the Right Decision
Age and Value Considerations
Use the 50% rule: if repair costs exceed 50% of vehicle value, reconsider. A $1,200 evaporator replacement on a $3,000 car is questionable unless the rest of the vehicle is excellent. Consider total cost of ownership—new cars cost thousands more than AC repair. Check warranty documents for AC coverage extensions; some Honda and Acura models have extended coverage.
Climate Impact on Repair Urgency
In hot climates like Phoenix and Houston, AC is essential—interior temperatures hit 150°F in minutes, creating heat exhaustion danger. In cool climates, delaying AC repair is safe. AC also removes humidity to prevent windshield fogging during rain, which is a safety issue beyond comfort.
Long-Term Maintenance to Prevent Leaks
Run AC for 10-15 minutes monthly, year-round, keeping refrigerant and oil circulating and preventing seal drying. Test performance annually—vent air should reach 38-42°F at idle when outside is 70-80°F. Gradually warming air indicates a slow leak. Protect the condenser by checking fins monthly for trash, rock damage, and corrosion. Rinse gently with water; never pressure wash. Some owners install condenser guards (wire mesh) to block rocks, though they slightly reduce airflow.
AC Leak Repair Checklist
- ☐ Confirm leak with pressure testing—pressure should hold 24-48 hours
- ☐ Inject UV dye and run system 15-30 minutes
- ☐ Inspect all components with UV black light in darkness
- ☐ Use electronic sniffer at evaporator drain, compressor seal, and connections
- ☐ Look for visible damage, oil buildup, and corrosion
- ☐ Get written quotes from 2-3 shops showing parts, labor, and totals
- ☐ Verify refrigerant recovery before system opening
- ☐ Confirm accumulator/receiver-drier replacement
- ☐ Verify proper evacuation (30+ minutes) and weight-based charging
- ☐ Test system—vent air should hit 38-42°F at idle
- ☐ Get warranty on parts and labor (minimum 12 months/12,000 miles)
Frequently Asked Questions
How much does AC leak repair cost?
Repair costs range $200-1,500 depending on the leaking component and accessibility. Hose or fitting repairs cost $200-400; condenser replacement costs $400-800; evaporator work costs $800-1,500 due to dashboard disassembly. All repairs include refrigerant recovery, vacuum pulling, system testing, and recharging. Contaminated systems with dead compressors exceed $1,200. Always get multiple estimates.
Can I temporarily seal or tape an AC leak?
No. AC systems run at 150-350 psi—tape, epoxy, and sealant can’t handle that pressure. Store-bought sealants clog expansion valves and coat component interiors. Shops won’t touch sealant-contaminated cars. Fixing contamination requires complete system replacement ($2,000+). Fix it properly the first time.
Why can’t mechanics find my AC leak despite multiple attempts?
Leaks appearing only under specific heat or cooling conditions won’t show during shop tests. Evaporator leaks hide behind dashboards. Insufficient dye circulation time before inspection causes misses. General repair shops lack AC-specific expertise and diagnostic time. Try AC-specialist shops with proper equipment and thorough testing protocols.
Is it worth fixing AC in an older vehicle?
AC repair makes sense if cost is less than 50% of vehicle value and the rest runs well. A $600 condenser repair on a $5,000 car is reasonable; a $1,200 evaporator repair on a $2,500 car needing other work isn’t. Climate and total repair cost versus replacement determine value.
Is it safe to drive without AC instead of repairing?
Driving without AC is mechanically safe but creates real problems. Interior temperatures exceed 150°F in 15-20 minutes in hot climates, risking heat exhaustion for kids, seniors, and pets. Loss of dehumidification causes windshield fogging during rain, creating driving hazards. Cool climate owners can delay repairs. Keep running the leaking system and you risk compressor damage and moisture-caused rust.
Can I recharge my AC myself without fixing the leak?
Recharging a leaking system wastes money and violates EPA refrigerant rules. Refrigerant escapes again within days or weeks. Moisture seeps through the leak creating acids that eat aluminum parts. Real AC service fixes leaks first. Honest techs always repair before recharging.
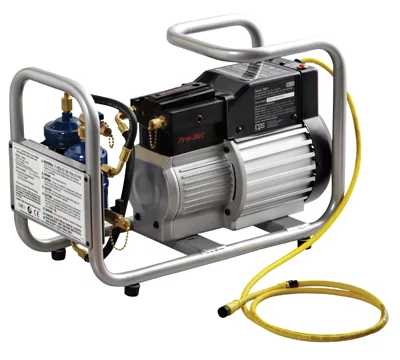
CPS TRA21 Portable HVAC Refrigerant Recovery Machine
Mfg: CPS Products
Part #: TRA21
For the tools in this guide, browse A/C Leak Detectors at Tool Source.

The Toolsource Technical Team blends decades of real-world automotive service experience with up-to-date technical research. Our writers collaborate with professional mechanics, shop owners, and diagnostic specialists to deliver practical, workshop-ready guidance you can trust.


Follow us on social media