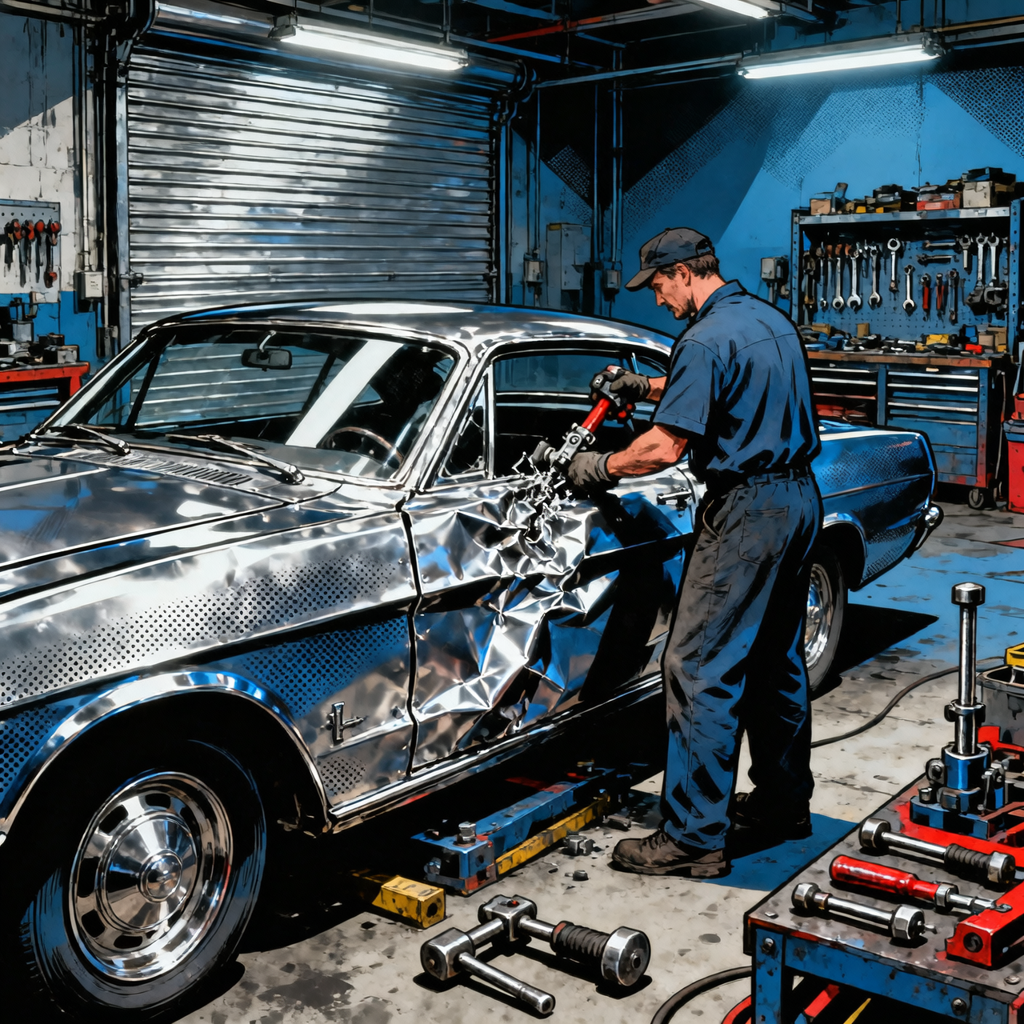
Every few months, a video circulates showing someone sculpting a damaged quarter panel with bricks, plaster, spray foam, or inches of body filler. It’s entertaining. It’s also unsafe, excessively heavy, and short-lived. If you want a repair that drives right, lasts, and won’t create liability, stick to OEM-aligned methods: diagnose the damage accurately, repair metal where feasible, replace or section the skin when required, apply limited filler, and seal it against corrosion before refinishing.
Why Masonry, Spray Foam, and Thick Filler Don’t Belong on Vehicles
- Structural mismatch: Masonry and foam aren’t engineered for automotive vibration, thermal cycling, or impact loads. They crack, separate, or pulverize under service conditions.
- Weight and balance: Bricks, mortar, and cement add significant unsprung and sprung mass, altering handling, braking, and fuel economy. Even a few extra pounds at the extremities affect dynamics.
- Moisture and corrosion: Porous materials trap water and salt, accelerating rust. Foam expands and can distort panels while locking in moisture.
- Adhesion and thermal expansion: Non-automotive materials expand/contract at rates that don’t match steel or aluminum, creating shear at interfaces and early bond failure.
- Impact behavior: Improvised fillers shatter and become projectiles. They also mask rust or cut edges that can injure in a subsequent collision.
- Liability and compliance: Non-approved methods can violate repair standards and insurance agreements. Many OEMs require specific joining methods and corrosion protection for quarter panels.
- Body filler limits: Polyester filler is for contouring, not bridging holes or replacing substrate. Typical professional practice keeps total filler thickness under about 1/8 in (3 mm), with an absolute localized maximum near 1/4 in (6 mm) when unavoidable. Skim coats, not sculpture.
- Wet sanding bare filler: Avoid. Water wicks into pinholes and sanding scratches, leading to blistering and corrosion later. Dry sand filler; only wet sand after sealing/priming per your paint system.
Diagnose Damage and Select the Right Strategy
Not all quarter panel hits are equal. Build your plan around inspection, measurement, and OEM information—not what looks easiest.
- Initial triage and safety:
- Disconnect the battery (protects modules, reduces accidental airbag deployment risk).
- De-trim the area: tail lamp, wheel arch liner, exterior moldings, rear bumper cover corner, fuel filler components, trunk trim, and any adjacent sensors.
- Inspect wiring, parking sensors, radar modules, and harness clips for damage.
- Measure and map damage:
- Check gaps and datum: decklid-to-quarter, door-to-quarter, bumper-to-quarter, fuel door fit.
- Use tram gauges, 3D measuring, or fixture systems to verify structure. Look for wheelhouse, rear body panel, trunk floor, and C-pillar displacement.
- Classify the hit:
- Cosmetic skin-only (no flange or wheelhouse movement): candidate for pull/metal finish or skin replacement.
- Skin plus flange distortion: may require sectioning/replacement and flange straightening.
- Structural involvement (wheelhouse, rear rail, pillar): follow OEM structural procedures; likely requires dedicated measuring and welding equipment.
- Choose the path:
- Metal repair and minimal filler: Small-to-moderate dents with accessible backside and sound substrate.
- Quarter skin replacement: Severe buckling, torn metal, kinked body lines, or extensive perforation.
- Sectioning per OEM: If approved cut locations exist; do not invent section lines.
- Panel bonding vs welding: Use OEM-approved methods/materials. Many allow panel bonding adhesives for outer skins (non-structural), with mechanical fastening or welds at specific points.
- Document and estimate: Photos, measurements, and a written plan protect you and clarify scope for the customer or insurer.
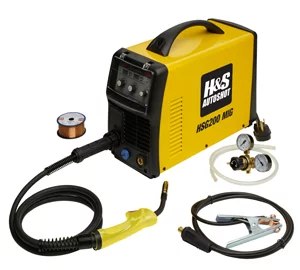
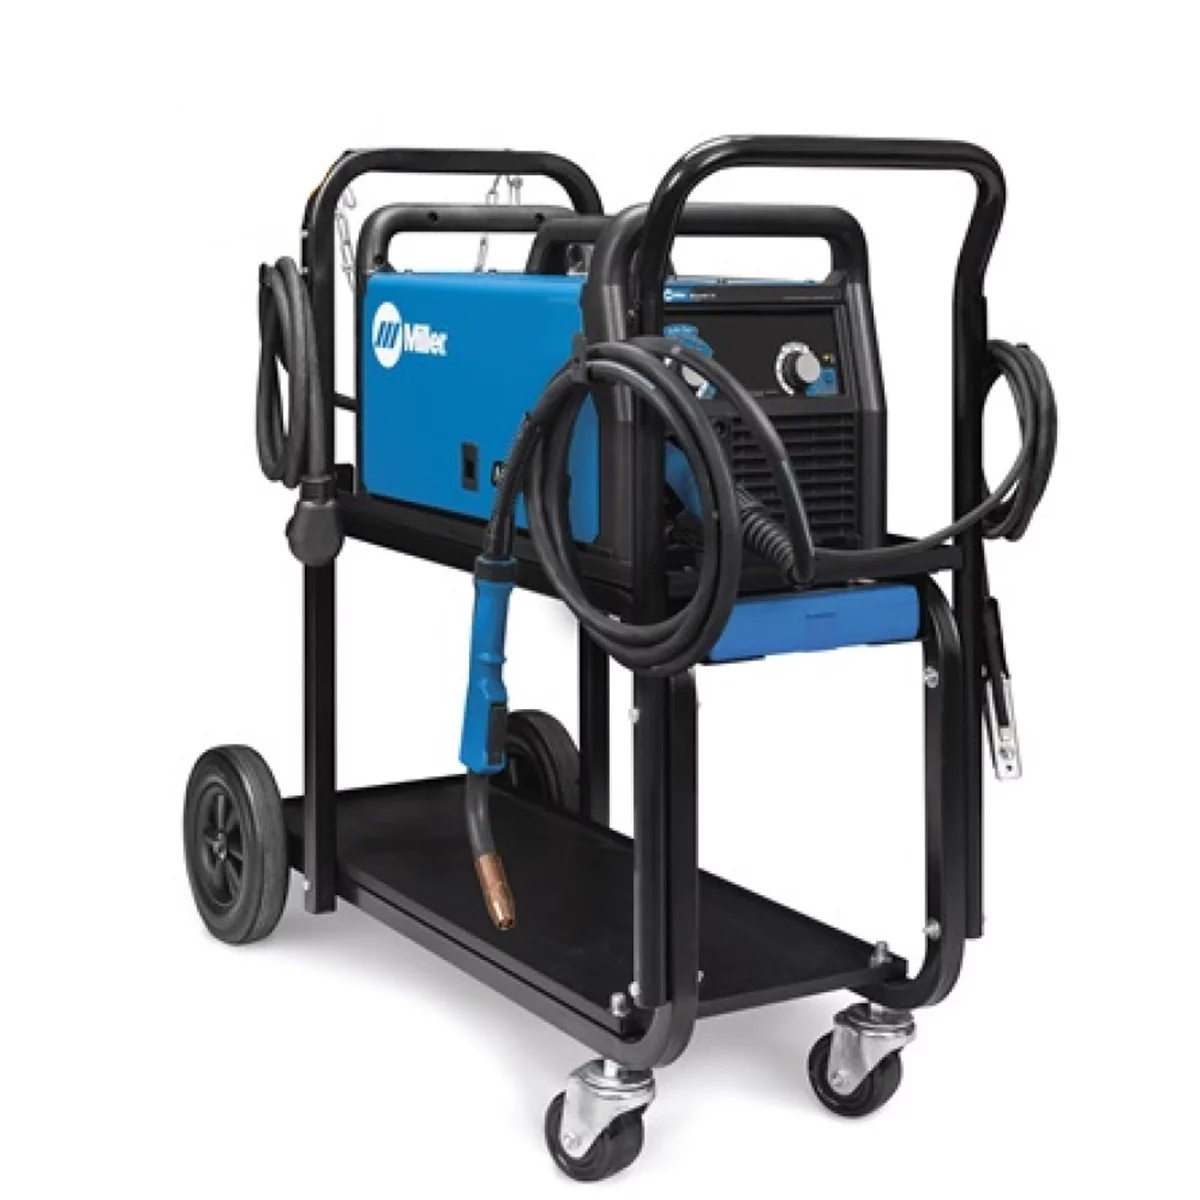
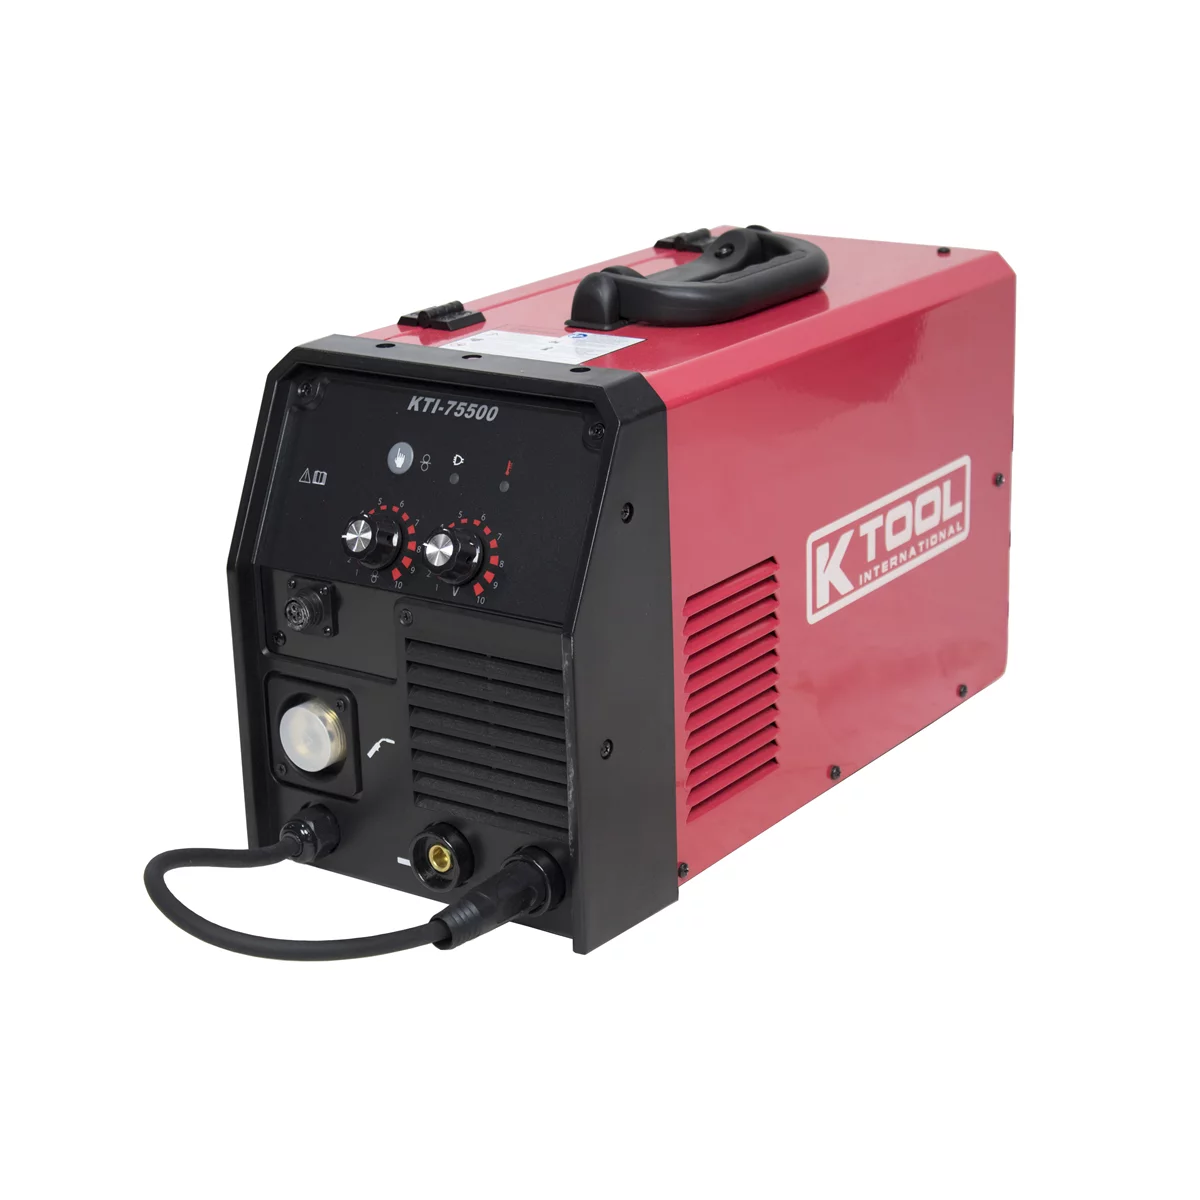
Tools and Materials That Deliver Professional Results
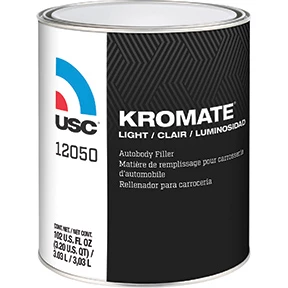
Kromate Light Quality Lightweight Autobody Filler Yellow-Gold Gallon
Mfg: US Chemical & Plastics
Part #: 12050
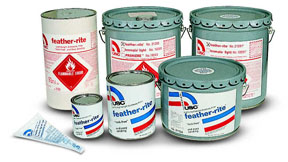
Feather-rite Lightweight Autobody Filler - Qt
Mfg: US Chemical & Plastics
Part #: 21335
- PPE and safety:
- Respirator with P100 filters for dust; supplied-air or appropriate cartridges for isocyanate-containing coatings.
- Eye, hand, and hearing protection; welding shield when applicable.
- Measuring and setup:
- Tram gauge, tape measures, straightedges, and gap gauges.
- Vehicle anchoring or benches when pulling.
- Disassembly and cutting:
- Trim tools, body saw or air saw, reciprocating saw with fine blades, spot-weld drill bits, belt sander, and seam splitter.
- Metal repair and pulling:
- Stud welder and pull tabs; glue pull system for painted surfaces when feasible.
- Body hammers, dollies, slappers, shrinking disc, heat control methods.
- Joining systems:
- MIG/MAG welder with correct wire for substrate; spot welder if applicable.
- OEM-approved panel bonding adhesive and mixing gun; recommended surface preps and clamping system.
- Corrosion control:
- Weld-through primer for flanges; epoxy primer for bare metal as required by your paint system.
- Seam sealer (brushable/caulkable) and cavity wax with wand to flood inner structures.
- Surface finishing:
- Fiberglass-reinforced filler for edges or small perforations (where metal cannot be restored and within OEM allowances), followed by lightweight filler and finishing glaze.
- Long sanding blocks, D/A sander with dust extraction, guide coat, and abrasives (80→120→180→220→320+).
- 2K primer surfacer, basecoat, and clearcoat compatible with your system.
Step-by-Step: Quarter Skin Replacement the Right Way
- Prepare and plan:
- Pull OEM procedures for the specific vehicle. Identify factory seam locations, hem flanges, and any sectioning allowances.
- Disconnect the battery. Remove trim, lamps, bumper corner, glass if needed, and interior panels adjacent to the repair zone.
- Mask and protect the cabin and adjacent panels from sparks and dust.
- Remove the damaged skin:
- Locate and drill spot welds along the sail panel, wheel opening, rear body panel edge, and door jamb flange using spot-weld bits.
- Cut along approved section lines with a body saw; avoid damaging underlying structures. Use a seam splitter to separate adhesive-bonded areas.
- Clean residual adhesive and sealer. Straighten flanges and mating surfaces; correct any flange distortion now.
- Pre-fit the new panel:
- Trial-fit the replacement skin. Verify gaps at the decklid, door, and bumper. Align body lines and the fuel door opening.
- Clamp in place with panel clamps. Adjust flanges for a natural fit with minimal force.
- Surface prep and corrosion control:
- Strip mating flanges to clean metal. Apply weld-through primer where you will spot/plug weld.
- For bonded seams, sand to the grit specified by the adhesive manufacturer (often 80-grit), clean with approved solvent, and dry thoroughly.
- Bonding and/or welding:
- Apply panel bonding adhesive in a continuous bead to the specified flanges. Clamp per instructions; remove squeeze-out appropriately.
- Perform required plug welds or spot welds in OEM-specified locations. Control heat to prevent panel warping; stagger welds and allow cooling.
- Do not substitute adhesives for structural welds unless the OEM explicitly permits it.
- Seal and protect:
- Grind welds flush without thinning the sheet metal.
- Apply seam sealer to joints, replicating factory appearance and coverage.
- Flood inner cavities and wheelhouse areas with cavity wax using a wand to reach closed sections.
- Bodywork and filler (minimal):
- Metal-finish as close as possible. Use reinforced filler only for edges/minor voids; follow with lightweight filler and a thin finishing glaze.
- Keep total filler thickness minimal (aim ≤1/8 in). Dry sand with long blocks, using guide coat to reveal highs/lows. Typical grit progression: 80→120→180 before primer.
- Prime and refine:
- Clean and apply epoxy or DTM per your paint system. Then apply 2K primer surfacer.
- Block sand primer with 220→320→400+ grits with guide coat. Do not break through; re-prime as needed.
- Paint and blend:
- Color-match and plan blend zones on adjacent panels as required. Most metallics/pearls need blends for invisibility.
- Basecoat per system recommendations; apply clearcoat overlapping and extending properly into blend panels.
- Flash and bake/cure as recommended; then denib and polish if required.
- Reassembly and QC:
- Reinstall trim, lamps, bumpers, and seals. Check all electrical functions.
- Verify gaps, fuel door operation, and trunk sealing. Water-test for leaks. Road test to confirm no new NVH issues.
Metal Repair and Minimal Filler: When Replacement Isn’t Necessary
- Access and clean:
- Strip coatings in the repair area. Remove inner trim for backside access where possible.
- Pull strategy:
- Use glue pull tabs for minor, accessible dents on intact paint. For bare metal, weld studs sparingly and pull in stages.
- Work highs down and lift lows up; chase body lines first to reestablish shape. Use hammer and dolly to planish.
- Heat control and shrinking:
- Use a shrinking disc or controlled heat where metal has stretched. Keep temperatures moderate to avoid hardening or warping.
- Filler skim and finish:
- Apply a thin skim coat only after metal is as close as feasible. Block with long boards; use guide coat religiously.
- Spot with glazing putty for pinholes, then proceed to primer, block, and paint per your system.
Quality, Corrosion Defense, and Liability: What Separates Real Repairs from Hacks
- Corrosion is the long game: Epoxy prime bare metal where required by your paint system, seal every seam, and saturate cavities. Skipping this step guarantees comebacks.
- Weight discipline: Avoid building mass with filler; if you’re more than a few millimeters thick over a broad area, reassess the metalwork or consider skin replacement.
- Adhesive and weld integrity: Only use OEM-approved adhesives and joint designs. Incorrect bonds or heat inputs can cause delayed failures.
- Blending for invisibility: Plan for blends on adjacent panels with challenging colors. A panel-only spray may save time but cost you a redo.
- Documentation: Keep photos of damage, measurements, OEM procedure references, and material batch numbers. It protects you and supports warranty or insurance claims.
- Final inspection: Confirm gap uniformity, refit of trims and lamps, leak-free trunk and fuel door, proper sensor alignment, and clean fault-free scans where applicable.
Quick Technician Checklist
- Follow OEM repair procedures and approved section lines.
- Use panel bonding adhesives and welds only where permitted.
- Keep filler thin; dry sand and use guide coat.
- Seal seams and flood cavities with wax; prime per system.
- Blend adjacent panels for accurate color match when required.
FAQs
What’s wrong with using expanding foam or construction products to fill a quarter panel?
They’re not engineered for vehicle service. Foam and masonry trap moisture, add weight, and fail under vibration and thermal cycling. They also mask rust and sharp edges, increasing risk in a future impact. Use metal repair, proper panel bonding/welding, and automotive fillers within thickness limits.
How thick can body filler be on a professional repair?
Best practice targets a skim coat up to about 1/8 in (3 mm). An absolute localized maximum of roughly 1/4 in (6 mm) may be tolerated when unavoidable, but if you need that across a wide area, you should rework the metal or replace the skin. Never use filler to bridge holes; if metal is missing, weld in patch metal or replace the panel.
Should I weld or use panel bonding adhesive for a quarter panel skin?
Follow the OEM procedure for that vehicle. Many OEMs allow structural welds in specific areas and panel bonding on others (often along long seams). Adhesive must be OEM-approved; it offers corrosion barriers and good NVH, but it’s not a substitute for structural welds unless specified. Use weld-through primer at weld flanges and prep bond areas exactly as directed by the adhesive manufacturer.
Is wet sanding body filler acceptable?
Not on bare filler. Water migrates into pinholes and sanding scratches, causing blistering and corrosion later. Dry sand filler with dust extraction. Wet sanding is reserved for cured, sealed/primed surfaces if your paint system allows.
How do I prevent corrosion after a quarter panel repair?
Prime bare metal per your paint system (often epoxy first), seal all seams, and apply cavity wax with a wand to internal structures, wheel arches, and hem flanges. Verify drain paths are open. Avoid trapping moisture under thick filler or in unsealed overlaps.
Do I need to blend adjacent panels?
Often, yes—especially for metallics, pearls, and tri-coats. Blending into the door and decklid improves visual match. Limit panel-only sprays to solid colors and when a verified spectro match and spray-out prove acceptable.
Essential Paint and Body Tools
Whether you’re pulling dents, patching minor damage, or preparing for a professional finish, having the right tools makes all the difference. Explore our complete Paint and Body category to find everything you need for quarter panel repairs and beyond.
- Dent Pullers & Slide Hammers: Professional-grade tools for extracting dents without secondary damage
- Body Filler & Spreaders: Quality materials and application tools for seamless patching
- Sanding & Prep Equipment: Achieve paint-ready surfaces with precision sanders and prep tools
The Toolsource Technical Team blends decades of real-world automotive service experience with up-to-date technical research. Our writers collaborate with professional mechanics, shop owners, and diagnostic specialists to deliver practical, workshop-ready guidance you can trust.


Follow us on social media