Rust is one of the most common issues faced in automotive maintenance and repair. Auto body technicians and DIY enthusiasts often find themselves working to repair rust damage, balancing durability with cost-effectiveness. This guide provides practical strategies and insights to ensure your repairs withstand the test of time.
Understanding Rust and Its Impact
Rust occurs due to the oxidation of metal when exposed to moisture and air. It can weaken structural components, compromise vehicle safety, and lead to costlier repairs over time. Effective rust repair requires comprehensive understanding of the corrosion process and the appropriate methods to counteract it.
Preparation: Tools and Materials Needed

Before beginning any rust repair job, preparation is key. Ensure you have the right tools and materials:
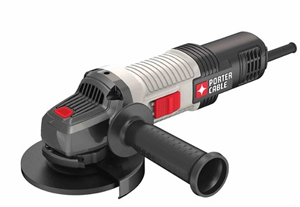
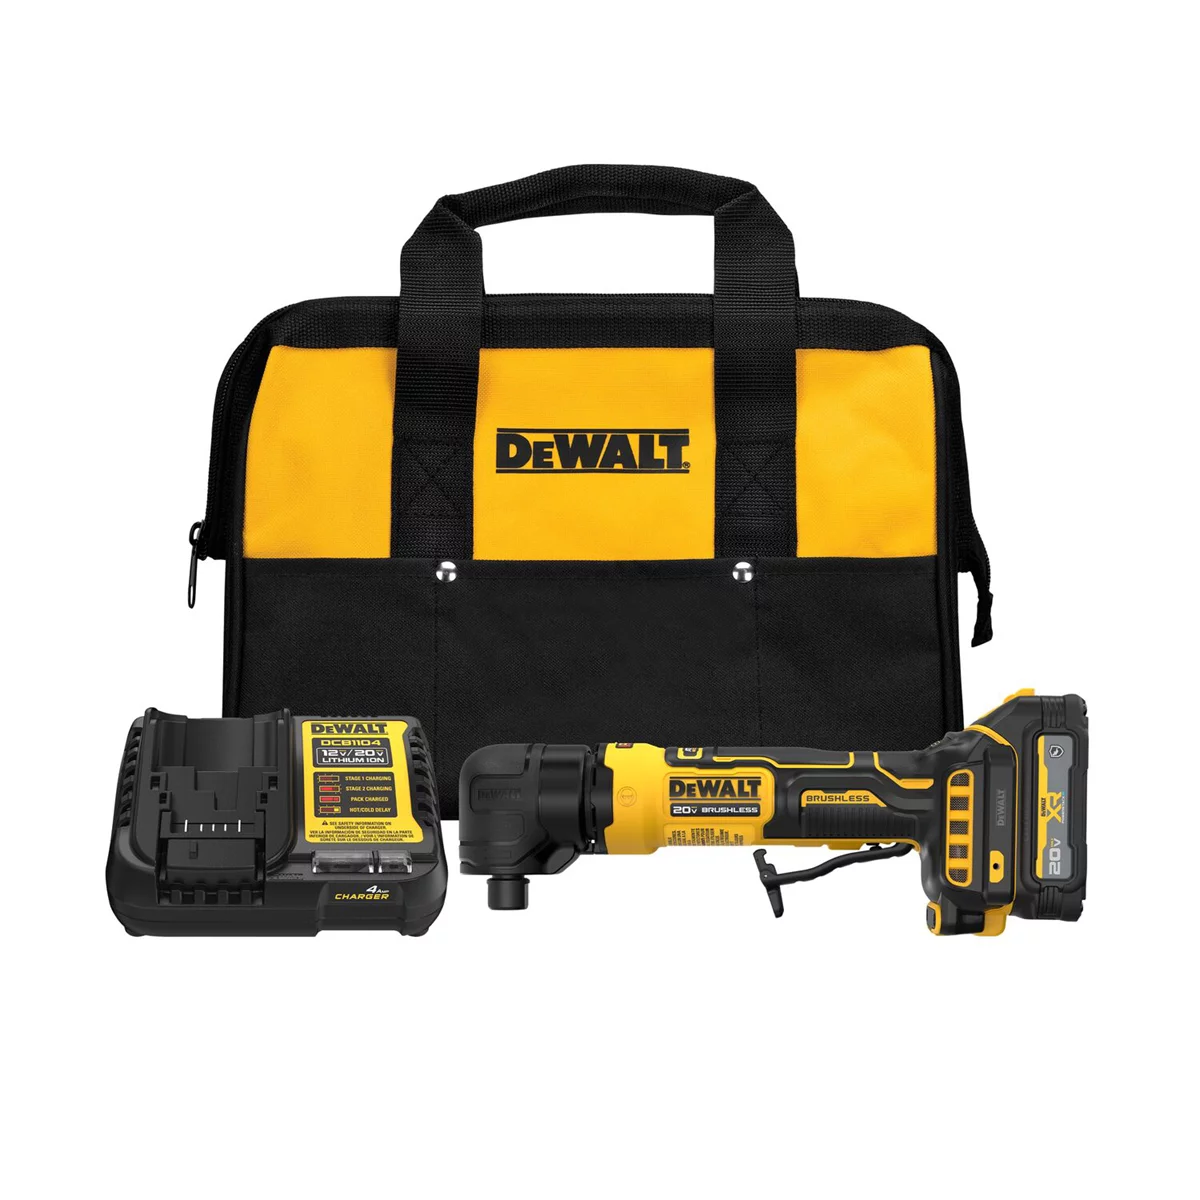
- Tools: Angle grinder, sandpaper (various grits), wire brush, heat gun, and welding equipment.
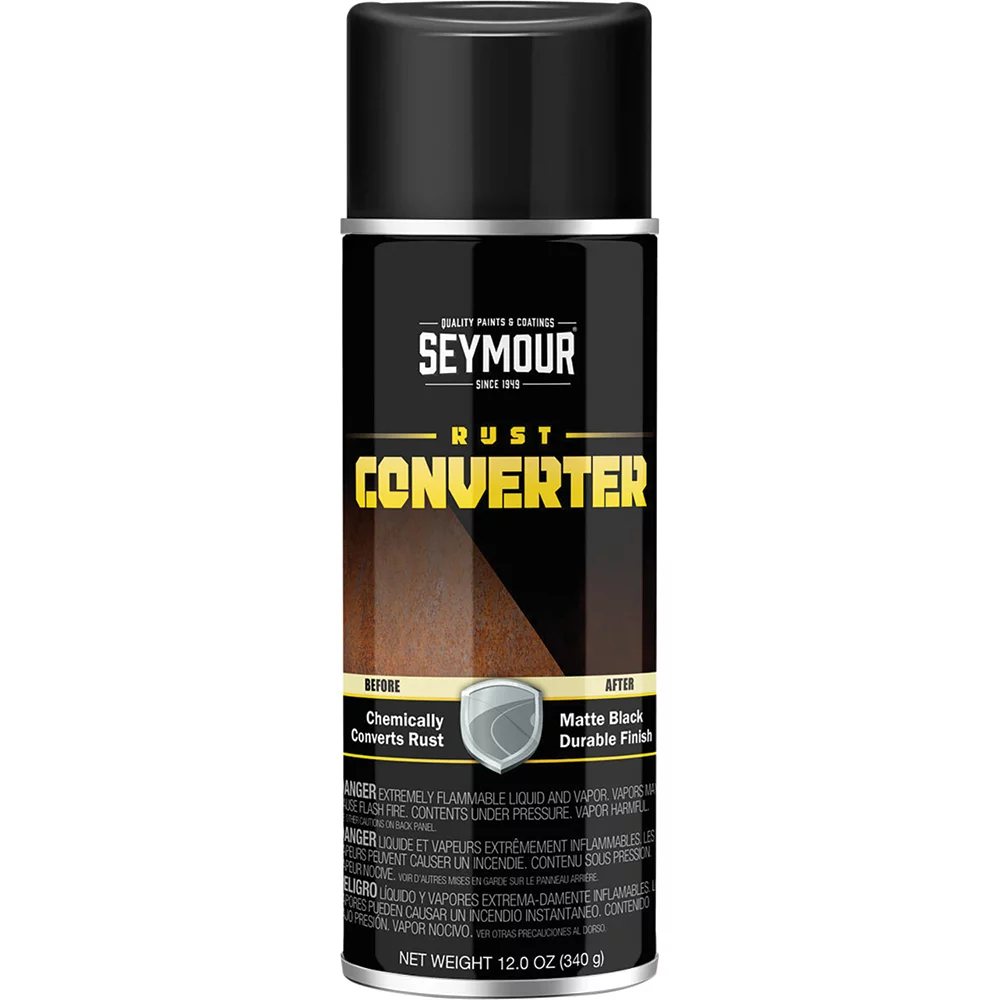
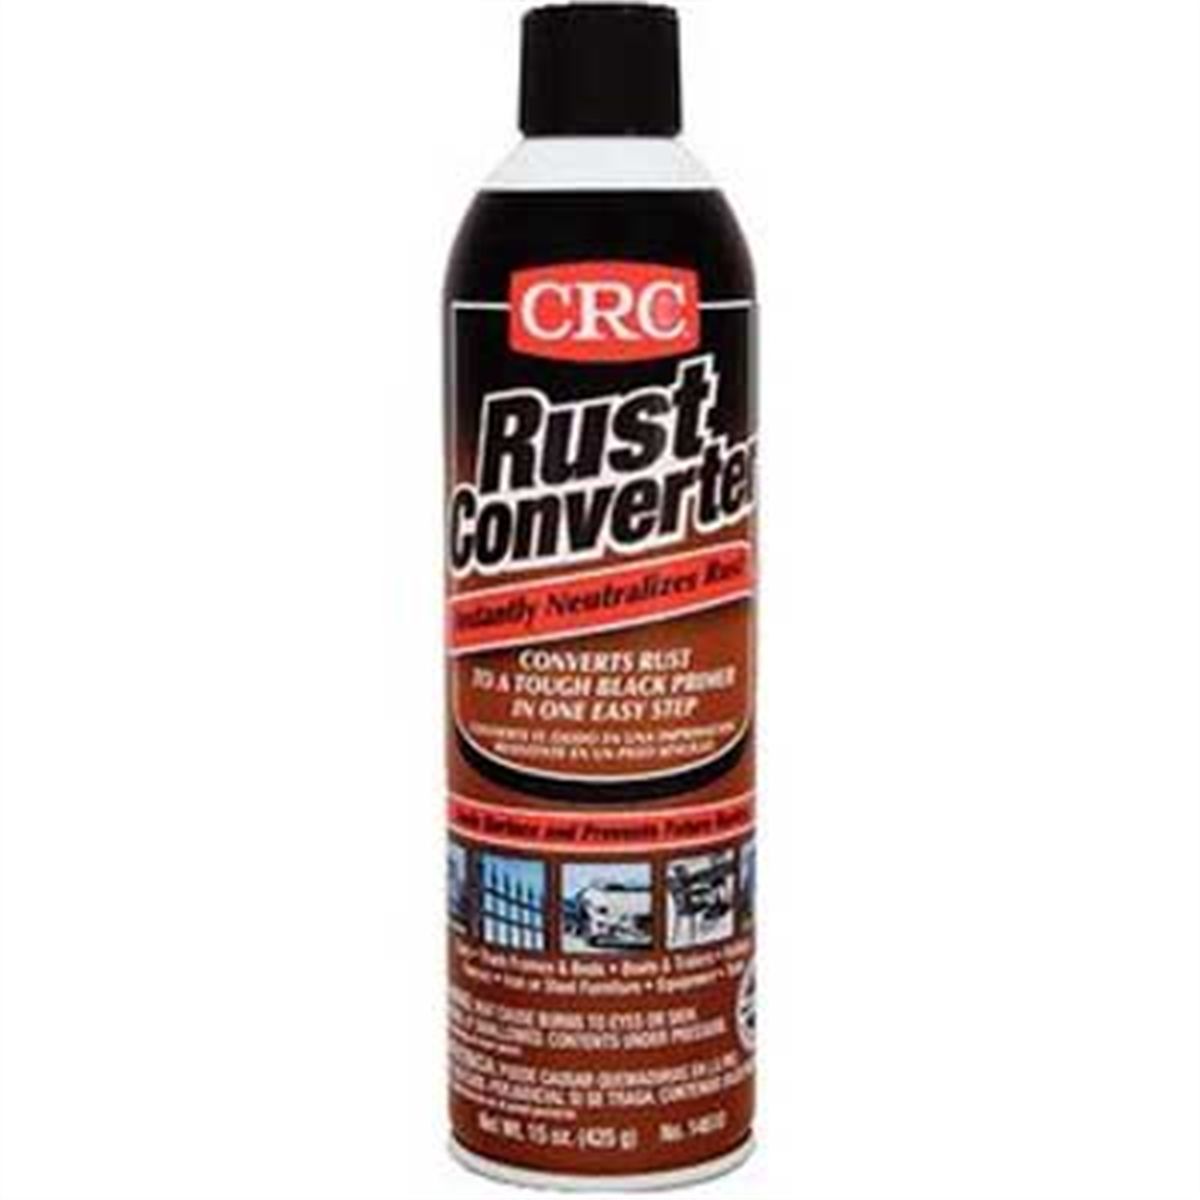
- Materials: Rust converter, body filler (like fiberglass or duraglass), primer, paint, and sealing materials.
Step-by-Step Process for Rust Repair
1. Assess the Damage
Begin by assessing the extent of the rust damage. This includes visually inspecting the affected area and probing with a screwdriver or similar tool to find any soft spots. If you discover that the rust extends deeper than expected, more extensive repairs may be necessary.
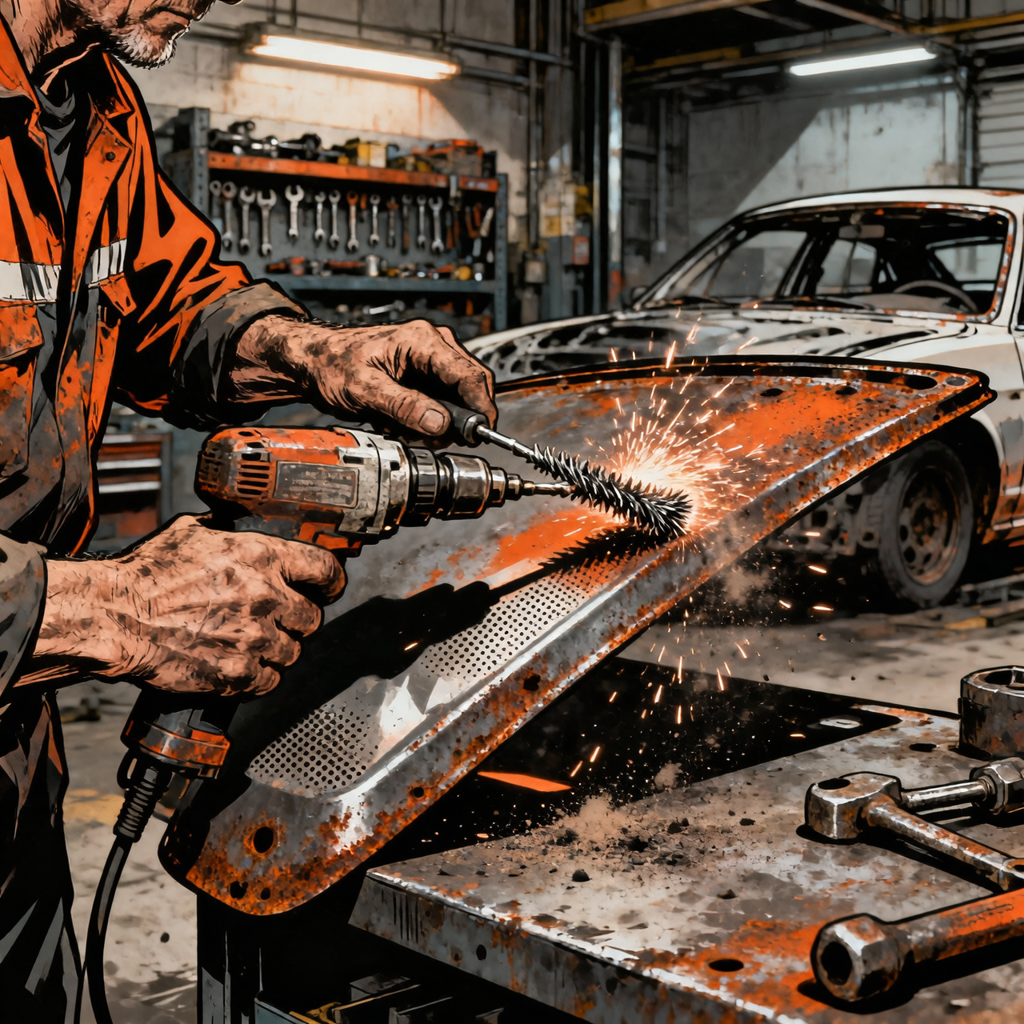
2. Remove the Rust

Using an angle grinder with a wire brush attachment, remove all visible rust. Aim to grind back the metal until you reach clean, shiny metal, ideally extending 3-4 inches beyond the rusted area. Pay close attention to any small spots that may be hidden, as these can become problematic later.
3. Treat the Area
After rust removal, apply a rust converter to any remaining rust spots that could not be removed completely. This product chemically changes rust into a stable compound, helping prevent its spread. It’s crucial to follow the manufacturer’s guidelines regarding application and curing times.
4. Fill and Shape
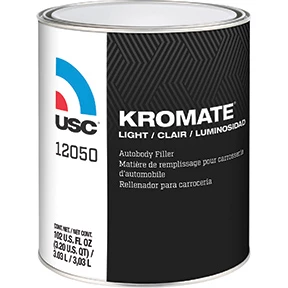
Kromate Light Quality Lightweight Autobody Filler Yellow-Gold Gallon
Mfg: US Chemical & Plastics
Part #: 12050
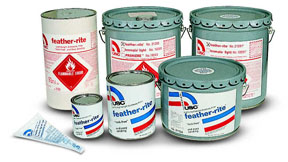
Feather-rite Lightweight Autobody Filler - Qt
Mfg: US Chemical & Plastics
Part #: 21335
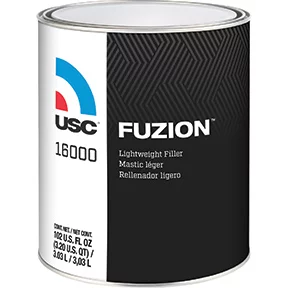
Once treated, it’s time to use body filler to smooth out the repair area. Opt for products that are moisture-resistant to prolong the life of your repair. Application requires mixing according to instructions, spreading it evenly over the repair zone, and allowing it to cure properly. Sand the surface to ensure a neat and even finish that’s flush with the surrounding metal.
5. Seal and Protect
After shaping, apply a primer specifically designed for metal to further protect against moisture. Once dry, paint over the primer with a suitable automotive paint. This step is vital to ensure the area remains protected from environmental factors that could contribute to future rusting.
6. Regular Maintenance
After the repair becomes complete, regular inspection of the area is recommended. Keep an eye on any signs of bubbling or discoloration, as these may indicate active rust formation beneath the repair. A protective spray product, like Fluid Film, can be periodically applied to the interior of panels to stave off moisture exposure.
Checklist for Successful Rust Repair
- Assess rust extent before starting.
- Prepare tools and materials in advance.
- Remove all rust effectively and clean the surface.
- Use rust converter for any remnants.
- Choose appropriate filler and sealant products.
- Allow adequate curing time between steps.
- Perform regular inspections and maintenance post-repair.
Common Pitfalls to Avoid
Seeing frequent mistakes can help technicians refine their approach. Some common pitfalls include:
- Not removing all rust, allowing for regrowth.
- Using inadequate filler that absorbs moisture.
- Skipping primer, exposing metal to corrosion.
FAQs about Rust Repair
How long will a rust repair last?
The longevity of a rust repair can vary based on materials used, environmental factors, and maintenance. A well-executed repair could last 1-5 years, particularly in harsh climates.
Can rust converter be used in all scenarios?
Rust converter can be effective for minor rust remnants but is not a substitute for complete rust removal. It’s recommended for small patches where complete removal is not feasible.
Is body filler waterproof?
Most standard body fillers are not waterproof. For rust repair, a moisture-resistant variant like duraglass is ideal.
How often should I inspect my repairs?
Regular inspections ideally should happen every season, especially in climates with heavy moisture exposure or road salt usage.
What’s the best approach to prevent future rust?
Regular cleaning, application of rust inhibitors, and prompt address of any scratches or chips can greatly help in preventing future rust formations.
Essential Paint and Body Products
Complement your rust repair work with professional-grade tools and materials from our Paint and Body category. We’ve curated a selection of products trusted by automotive technicians for superior results.
- Wire Brushes & Grinding Wheels: Remove rust and corrosion efficiently with precision tools designed for prep work
- Welding Equipment & Consumables: Quality welding supplies for structural repairs and reinforcement
- Primers, Sealers & Protective Coatings: Professional-grade finishing products to prevent rust recurrence
The Toolsource Technical Team blends decades of real-world automotive service experience with up-to-date technical research. Our writers collaborate with professional mechanics, shop owners, and diagnostic specialists to deliver practical, workshop-ready guidance you can trust.


Follow us on social media