
When your car won’t start or battery drains overnight, a multimeter is your essential diagnostic tool. Unlike expensive scan tools, a quality multimeter measures actual voltage, current draw, and resistance throughout your electrical system. This guide covers everything from basic voltage testing to alternator diagnostics, helping you solve electrical problems systematically.
Getting Started: Multimeter Basics for Battery Testing
Choosing the right multimeter for automotive work
For automotive diagnostics, your multimeter needs at least 10-amp current measurement capability. Auto-ranging functionality saves time switching between milliamp parasitic draw testing and 14-volt charging system checks. A backlit display is essential for dark engine bays. Look for true RMS capability if diagnosing alternator ripple voltage or modified vehicles with aftermarket electronics. Min/Max/Hold functions capture fluctuating readings when testing intermittent problems.
| Multimeter Type | Price Range | Best For | Limitations |
|---|---|---|---|
| Basic Auto-Range Digital | $20-$40 | Simple voltage checks, continuity testing, parasitic draw measurement | No true RMS, limited current capacity (10A max), no advanced functions |
| Professional Automotive | $80-$150 | Complete diagnostics including ripple voltage, high-current testing, temperature measurement | Higher cost, may include unnecessary DIY features |
| True RMS with Min/Max | $50-$100 | Alternator diagnostics, modified vehicles, capturing intermittent faults | More complex operation |
| Clamp Meter Combo | $60-$120 | Non-invasive current measurement without breaking circuits | Less precise for low-current parasitic draw |
Essential settings and safety precautions
Before connecting your multimeter, ensure the battery isn’t actively charging—shut off the engine and wait two minutes for surface charge to dissipate. Remove jewelry that could short battery terminals. Always connect your positive lead first, then negative, reversing the sequence when disconnecting. For current measurement, use the correct jack—most meters have separate jacks for high-current (10A or 20A) versus low-current (milliamp) testing. Using the wrong jack blows the internal fuse. For voltage testing, start with a higher range than expected, then work down.


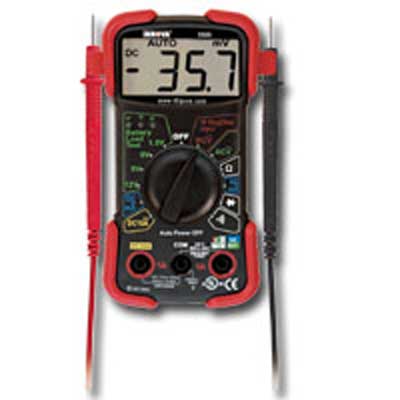
True RMS Multimeter w/ RPM, PC Interface
Mfg: General Tools & Instruments
Part #: DMM122DL

Testing Battery Voltage: Terminal vs Socket Method
Why direct terminal testing matters for accuracy
Every connection between your battery and a measurement point adds resistance. Testing through a cigarette lighter socket or USB port introduces voltage drop from the fuse panel, wiring, and socket contacts. Under heavy load like engine cranking, this can make a healthy battery appear dead. Place your multimeter leads directly on battery posts, not cable clamps. Clean the battery posts if corroded, then place your positive (red) lead on the positive post and negative (black) lead on the negative post.
A healthy, fully charged battery at rest (engine off for 2+ hours) should read 12.6-12.8 volts. Below 12.4 volts indicates partial discharge; below 12.0 volts means substantial depletion. Perform a loaded test by turning on headlights (drawing 10-15 amps) and observing voltage—a healthy battery holds above 12.2 volts under this load.
Interpreting healthy vs weak battery readings
Temperature significantly affects battery readings. The same battery showing 12.6 volts at 70°F might show only 12.4 volts at 30°F—not weakness, but normal cold chemistry. Account for roughly 0.1 volt reduction for every 20°F below room temperature. Cranking voltage drop increases dramatically in cold weather, so winter readings require different thresholds than summer ones.
Diagnosing Parasitic Battery Drain
Setting up the multimeter for parasitic draw testing
Parasitic draw testing requires inserting your multimeter in series between the battery and electrical system. Ensure all doors are closed, lights off, key out of ignition. Wait at least 20 minutes—modern vehicles take time for computers to enter sleep mode. Disconnect the negative battery cable and connect your multimeter in series between the cable and negative post. Use the 10A or 20A jack initially, then switch to the milliamp jack once you confirm draw is below 200 milliamps. Never try to start the engine with the meter connected in series—starter current of 100-300 amps will destroy it.
50mA threshold: when drain becomes a real problem
Modern vehicles always draw some current for computer memory, clock, and alarm systems. Acceptable parasitic draw ranges from 20-50 milliamps depending on vehicle features. A 50-milliamp draw depletes roughly 1.2 amp-hours daily—sustainable for 25 days on a typical 60Ah battery, but longer if you drive regularly.
When you measure draw above 100 milliamps on a sleeping vehicle, you’ve found a problem. Draws of 200-500 milliamps indicate a module staying awake or a relay stuck closed. Draws over 1 amp suggest something major is running—a stuck cooling fan relay or failed amplifier standby mode.
Identifying which circuit is causing the drain
Once you’ve confirmed excessive parasitic draw, isolate the problem circuit by pulling fuses one at a time while watching the multimeter. When current drops significantly, you’ve found the culprit. Pull each fuse, observe the meter, then replace it before moving to the next. Consult your fuse diagram to identify what that circuit controls. Some draws hide in circuits without removable fuses—check aftermarket accessories wired directly to the battery and corroded ground connections causing modules to backfeed.
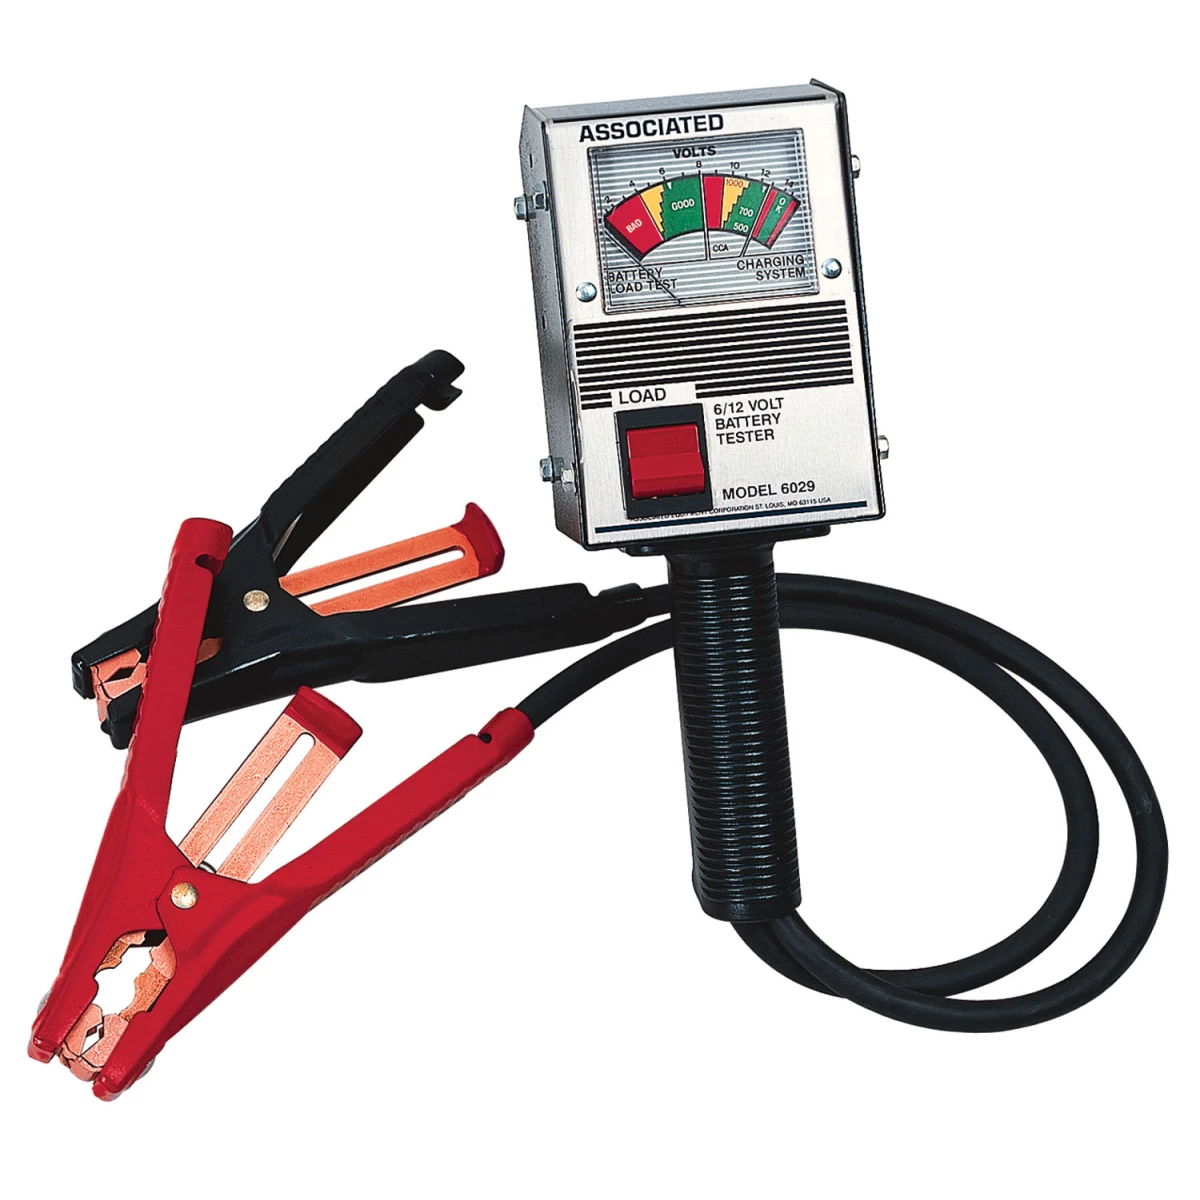
97955 3180 OTC OT3180 OT3180 OTC3180 OTC-3180 100 Amp Battery Load Tester
Mfg: OTC Tools and Equipment
Part #: 3180
Alternator and Charging System Diagnostics
Testing alternator ripple voltage and what it reveals
Alternators produce three-phase AC current converted to DC through six rectifier diodes. Failed diodes create incomplete rectification, increasing ripple voltage and reducing charging capacity. A single failed diode cuts output by roughly one-third; two failed diodes reduce output by two-thirds.
Set your multimeter to AC voltage and connect leads to battery posts with the engine running at 1,500-2,000 RPM. A healthy alternator shows 0.02-0.1 volts AC (20-100 millivolts). Readings above 0.5 volts AC indicate failed diodes requiring replacement. Testing at the alternator output stud eliminates voltage drop across connecting wires for more accurate readings.
Detecting rectifier diode failures with multimeter readings
Remove the alternator or disconnect it electrically to test diodes with the multimeter’s diode test function. Good diodes conduct in one direction and block in the other—when you reverse test leads, you should see “OL” (open circuit) in one direction and 0.4-0.8 volts in the other. Test all six rectifier diodes individually. Any diode showing continuity in both directions is shorted; any showing infinite resistance in both directions is open. Either failure reduces alternator output.
Voltage drop testing at battery terminals and connections
With the engine running and electrical load applied (headlights, blower fan on high), measure voltage at the alternator output terminal, then at battery positive. The difference should be less than 0.5 volts. Voltage drops exceeding 0.8 volts indicate corroded cables or connections requiring cleaning or replacement. Test the ground side equally—measure voltage between the alternator case and battery negative post. You should see less than 0.3 volts. Higher readings indicate poor grounding from corroded ground straps, loose bolts, or paint preventing metal contact.
Advanced Troubleshooting: Key Fobs, USB Ports & Ground Issues
Finding mysterious battery drain in key fobs and modules
Key fobs draining batteries in weeks instead of years indicate stuck buttons, failed capacitors, or moisture damage. Remove the battery and test the fob’s current draw by connecting your multimeter in series between battery positive and the fob’s contact. A sleeping fob should draw essentially zero current—any measurable milliamp draw indicates a problem. Open the fob and inspect the circuit board for cold solder joints (dull and cracked rather than shiny) or failed capacitors.
Vehicle modules causing excessive parasitic drain often have similar component failures. A climate control module drawing 500 milliamps constantly might have a failed relay coil or shorted transistor. These require circuit board testing—checking component resistance values and confirming ground connections aren’t corroded. Most mechanics replace the module, but component-level repair costs $20 in parts versus $400 for replacement.
Corroded terminals and bad ground connections: the hidden culprits
Corrosion creates resistance that appears minor in multimeter resistance testing but causes voltage drop under load. A cable terminal showing green corrosion might measure only 0.02 ohms—seemingly fine. But under 100 amps of starter current, that 0.02 ohms drops 2 volts (V = I × R), stealing voltage your starter needs. Clean corrosion to solve starting problems even when resistance testing seemed acceptable.
Ground connections fail more often than positive connections because they’re bolted through paint or rust. A single corroded ground strap causes flickering lights, erratic gauge readings, transmission issues, and computer faults. Test every ground by measuring voltage between the component’s ground and battery negative while operating. You should see zero volts—any voltage indicates excessive resistance. Clean ground points to bare metal, use star washers to bite through oxidation, and apply dielectric grease to prevent future corrosion.


Current Probe and Digital Multimeter with Free Fuse Buddy Current Loops
Mfg: Electronic Specialties
Part #: 685P
FAQ: Common Multimeter Battery Testing Questions
What multimeter readings indicate a dead battery?
A truly dead battery measures below 11.5 volts at rest. Between 11.5-12.0 volts indicates severe discharge but possibly recoverable with charging. Below 10.5 volts usually means extended deep discharge with sulfated plates that won’t recover. During cranking, healthy batteries shouldn’t drop below 9.5 volts.
How do I know if my alternator is bad from multimeter tests?
With the engine running, battery voltage should measure 13.8-14.8 volts at 1,500+ RPM. Below 13.5 volts indicates undercharging (failed alternator, loose belt, or bad voltage regulator). Above 15.0 volts indicates overcharging from a failed voltage regulator. AC ripple voltage above 0.5 volts signals failed rectifier diodes. Under load, voltage shouldn’t drop below 13.5 volts.
Can a basic multimeter detect all electrical problems?
Basic multimeters solve 80% of automotive electrical problems through voltage, resistance, and current measurement. They can’t diagnose communication bus issues (CAN bus faults), won’t show signal waveforms revealing timing problems, and can’t perform active module testing. For these situations, you need scan tools or oscilloscopes. A $40 multimeter solves more electrical problems than most other tools combined.
How often should I perform a multimeter car battery check?
Test battery voltage monthly as preventive maintenance, especially before winter. Test immediately when you notice slow cranking, dimming lights, or electrical problems. After jump-starting, always test voltage and alternator output to confirm the charging system is replenishing the battery. Parasitic draw testing is only necessary when experiencing repeated dead battery symptoms despite confirmed good battery and charging system.
Why does my multimeter show different readings at battery posts versus cable clamps?
Voltage differences indicate corrosion or poor contact between clamp and post. Even minor corrosion creates resistance that drops voltage under load. This prevents proper charging and causes voltage drop during cranking. If you measure 12.6 volts at the post but 12.3 volts at the clamp with no load, that 0.3-volt difference becomes 1-2 volts under heavy load, causing starting problems. Always clean posts and clamps to bare metal.
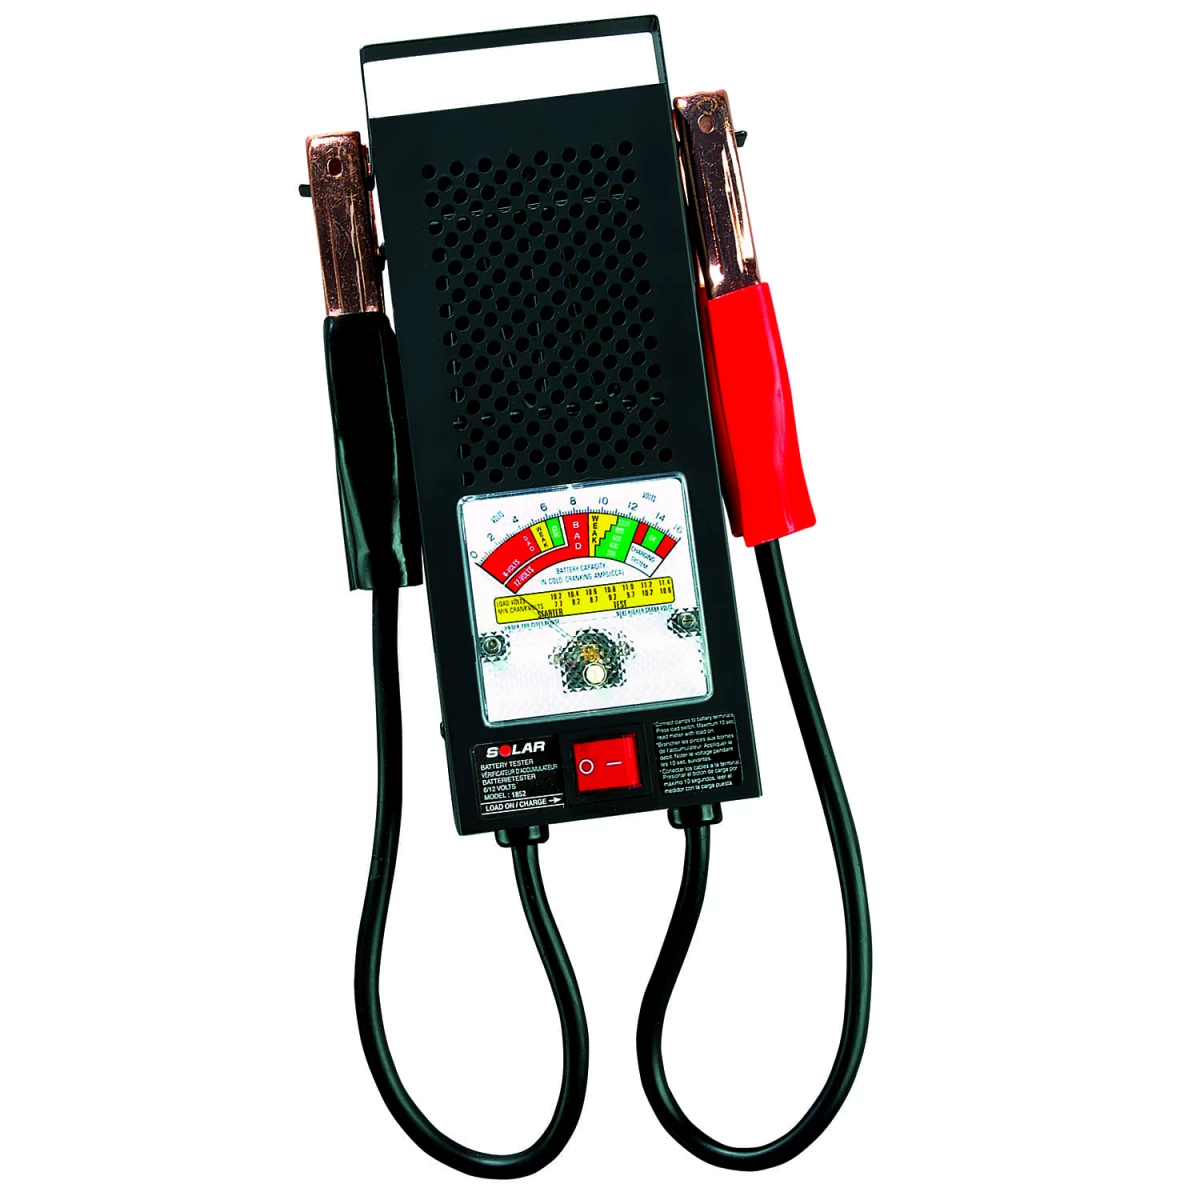
What’s the best way to test battery condition—multimeter or load tester?
Multimeters excel at measuring voltage and identifying charging system problems, but dedicated load testers better assess battery capacity under realistic conditions. Load testers apply heavy draw while monitoring voltage, simulating actual starting conditions. A battery can show perfect 12.6-volt resting voltage but collapse to 8 volts under load, revealing failed cells. Use both: multimeter for system voltage and parasitic draw testing, and load tester for battery capacity verification.
Multimeter Car Battery Check: Essential Steps Checklist
- ☐ Ensure multimeter has 10A+ current capacity and auto-ranging for voltage testing
- ☐ Test battery voltage directly at posts (12.6-12.8V = full charge, below 12.0V = discharged)
- ☐ Check voltage under load with headlights on (should stay above 12.2V)
- ☐ Never test through USB ports or cigarette lighter sockets—terminal testing only
- ☐ Wait 20+ minutes after shutting off vehicle before parasitic draw testing
- ☐ Use 10A meter jack initially for parasitic testing, switch to mA jack when safe
- ☐ Investigate any parasitic draw above 50-75mA on modern vehicles
- ☐ Test alternator output at 1,500 RPM (should be 13.8-14.8V)
- ☐ Measure AC ripple voltage at battery (below 0.1V = good, above 0.5V = failed diodes)
- ☐ Check voltage drop across positive cable under load (should be less than 0.5V)
- ☐ Test ground connections with voltage measurement (should show 0V, anything above 0.3V indicates problems)
- ☐ Clean all corroded terminals to bare metal before concluding battery or alternator failed
Essential Tools for Battery & Electrical Work
Now that you understand how to diagnose battery issues with a multimeter, you’ll want reliable tools and equipment to complete the job. Our Battery & Electrical category features everything you need for professional-grade diagnostics and repairs.
Check out these recommended products:
- Digital Multimeters – Precision instruments for accurate voltage and resistance testing
- Battery Testers – Specialized devices for quick battery load testing
- Jumper Cables & Chargers – Professional-grade equipment for emergency situations
The Toolsource Technical Team blends decades of real-world automotive service experience with up-to-date technical research. Our writers collaborate with professional mechanics, shop owners, and diagnostic specialists to deliver practical, workshop-ready guidance you can trust.


Follow us on social media