
Cleaning an engine bay is routine in shops after oil leaks, coolant bursts, or rodent nest removal. The engine compartment is splash-resistant but not designed for high-pressure water forced into seals, connectors, and modules. Use the right tools, limit pressure, protect sensitive electronics, and prioritize drying and post-clean checks. This guide covers a process technicians can rely on—plus a recovery plan if an engine won’t start after washing.
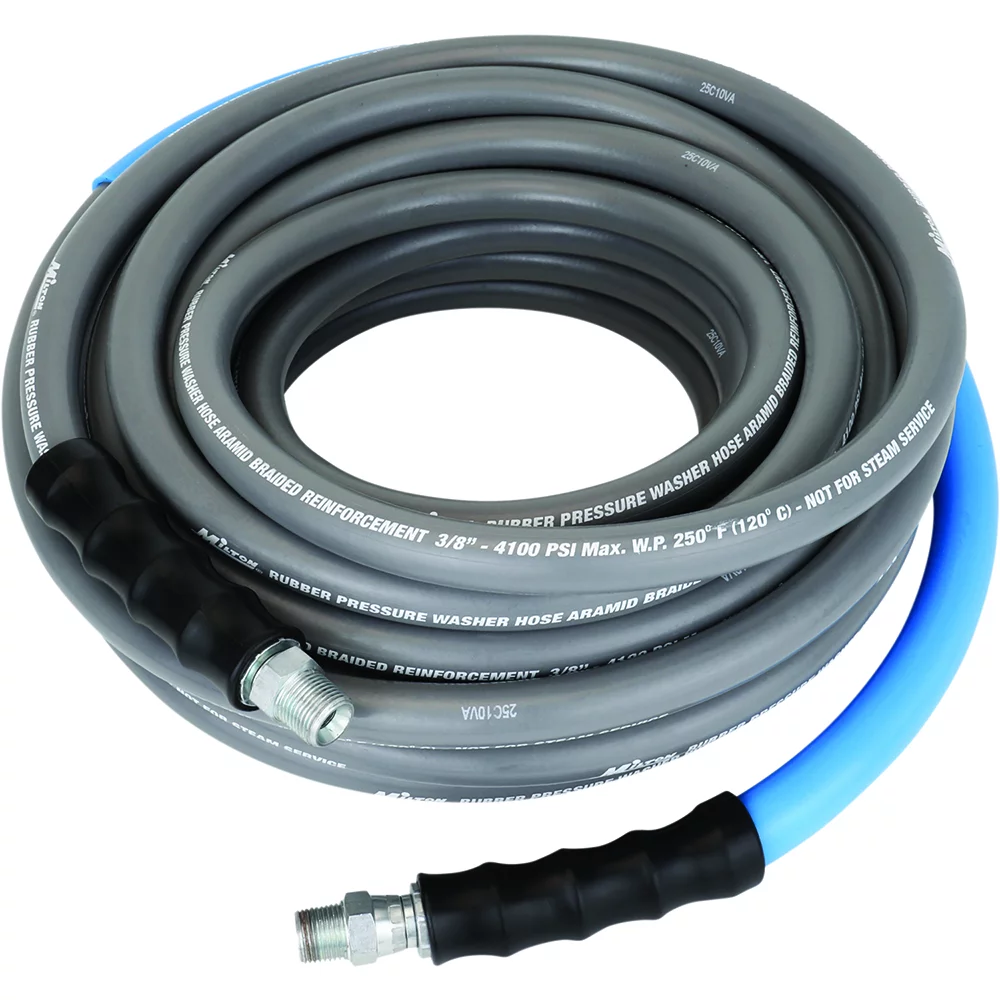
3/8-inch x 50-feet Kevlar Braided Pressure Washer Hose Assembly
Mfg: Milton Industries
Part #: PW43850
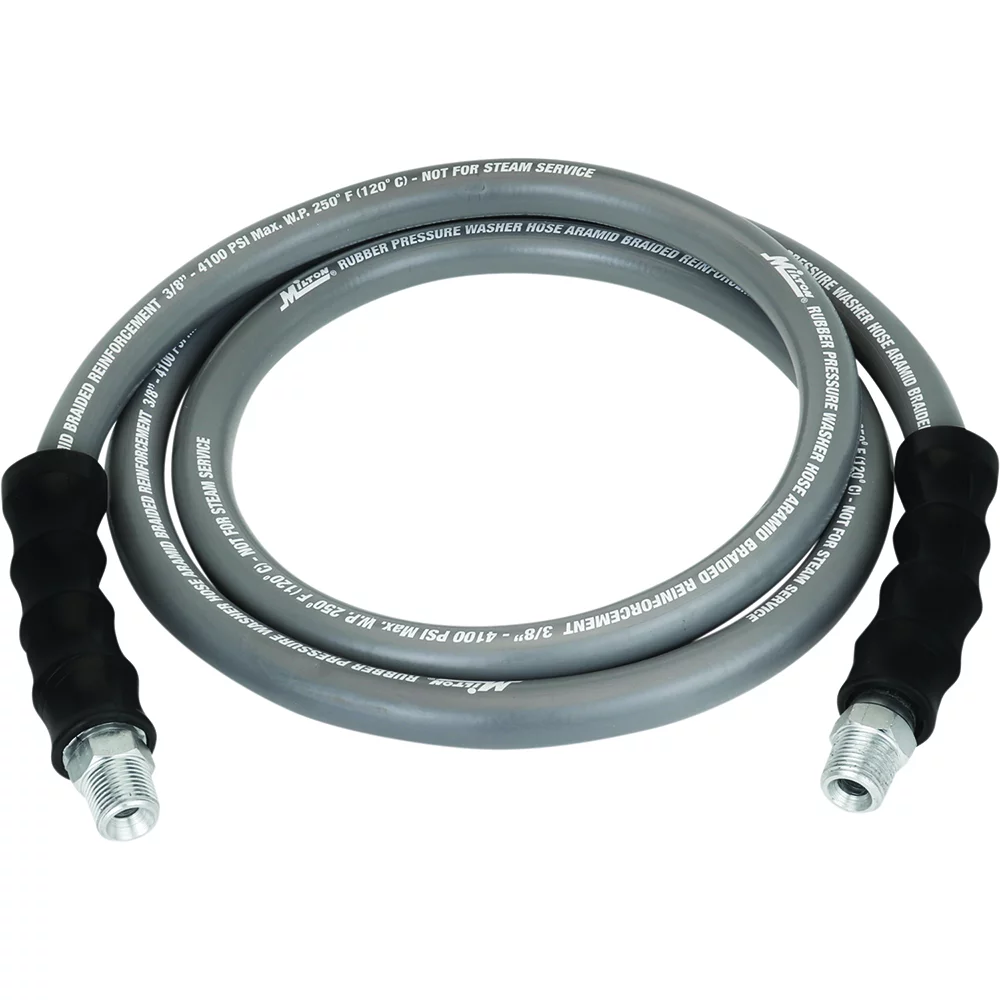
3/8-inch x 6-feet Kevlar Braided Pressure Washer Hose Assembly
Mfg: Milton Industries
Part #: PW43806
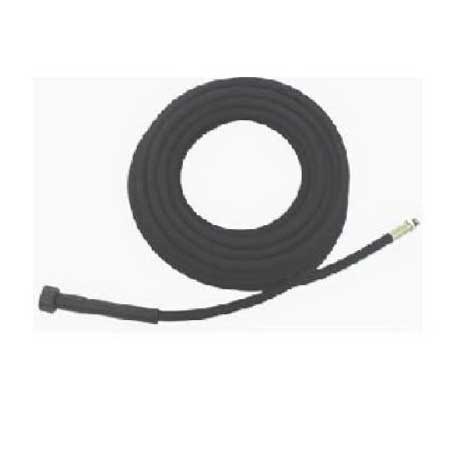
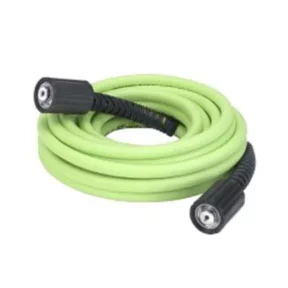
Flexzilla 1/4"x25' Pressure Washer Hose w/ M22ftgs
Mfg: Legacy Manufacturing
Part #: HFZPW3425M
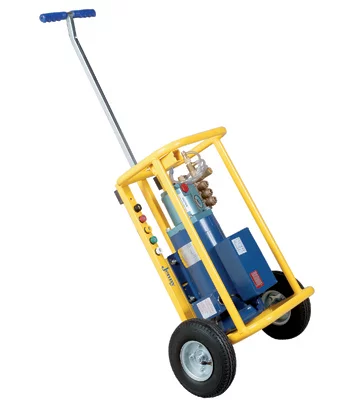
When (and When Not) to Use a Pressure Washer
“Pressure washing” means different things. A 800–1200 PSI rinse through a 40° fan at 24–36 inches behaves like a firm shower; a narrow-tip 3000–5000 PSI blast at close range can drive water past gaskets, cut wiring sheaths, and strip labels or coatings. For most DIYers, a garden hose with a shower nozzle is safest. If you must use a pressure washer, think “rinse,” not “blast.”
- Use it when the bay is heavily soiled with oil, coolant residue, or mud and hand-cleaning alone won’t reach.
- Avoid it on vehicles with damaged harnesses, cracked connector bodies, missing seals, open cone filters, exposed wiring repairs, or vintage ignition (distributor caps, carburetors) unless fully protected.
- Do not use turbo/rotary nozzles, pencil jets, or hot industrial units directly on components. Avoid close-range work that drives water into seams, grommets, and connectors.
Rule of thumb: The engine bay can get wet like rain; it should not be pressure-injected with water.
Tools and Materials You’ll Actually Use
- Low-pressure water source: Hose with shower setting or pressure washer limited to ~800–1200 PSI using a 40° fan tip (larger orifice tips reduce pressure further).
- Degreaser: Non-caustic, engine-safe (citrus or water-based). Foaming helps dwell without running off.
- Agitation tools: Nylon detailing brushes, soft boar’s hair brushes, long-handle wheel brush for tight areas, microfiber towels.
- Protection materials: Plastic bags and tape for ECU, fuse boxes, alternator, exposed air filters/MAF; aluminum foil conforms quickly to odd shapes.
- Air movement: Compressed air with a blow gun, electric leaf blower, or a box fan for drying. Avoid high heat guns near plastics.
- Electrical care: Electronics-safe contact cleaner or 90%+ isopropyl alcohol, dielectric grease (for plug boot seals, not on metal contacts).
- Diagnostics: OBD2 scan tool, multimeter, noid/ignition testers if troubleshooting post-wash faults.
- Optional: Deionized/filtered water for final rinse to reduce spotting, non-silicone engine bay dressing for plastics (applied after everything is dry).
Protect Sensitive Components Before Any Water Hits
Prepping takes minutes and prevents most problems.
- Cool to warm engine: Allow hot components to cool. Spraying cold water on a hot engine can crack plastics or trigger thermal shock.
- Battery safety: If you’re new to this, disconnect the negative terminal. On vehicles with sensitive memory settings, keep it connected but cover the battery and terminals thoroughly.
- Seal the obvious entries:
- ECU/PCM modules and main fuse/relay boxes: Bag and tape edges so spray cannot lift the bag.
- Alternator: Wrap to prevent water driven into bearings and windings.
- Air intake: Cover the air box inlet and MAF area. For open cone filters, remove or double-bag and tape. Avoid soaking the filter element.
- Exposed connectors or grommets: If any connectors are missing locks or seals, protect them or avoid the area entirely.
- Vintage/special cases: Cover distributor caps, carburetors, exposed coils, and aftermarket electronics (amplifiers, piggyback ECUs).
- Remove loose debris: Vacuum or blow out leaves, nests, and dirt first so you’re not forcing debris deeper with water.
Safe Wash Procedure: Degrease, Agitate, Rinse
Think process, not pressure. The chemical does the work; water rinses it away.
- Pre-rinse at low pressure: Wet the bay lightly from 24–36 inches. Avoid directly spraying connectors, module seams, belt-driven accessories, and open seams.
- Apply degreaser: Spray onto dirty areas from bottom up (reduces streaking). Avoid soaking belts and pulleys. Allow 2–5 minutes of dwell, do not let it dry.
- Agitate: Use soft brushes on valve covers, timing covers, battery trays, and crossmembers. Target oil films and coolant residue rather than dousing electronics.
- Rinse correctly:
- Hose: Shower setting, indirect passes, let water fall across surfaces.
- Pressure washer (if used): 40° fan, large orifice tip to drop PSI, stand 2–3 feet away, keep the wand moving. No turbo or 0–15° tips. Do not “drill” seams or labels.
- Spot treat and repeat: Stubborn oil responds to repeated degreaser/agitation cycles better than more pressure.
- Final rinse: Use low-pressure, then immediately start the drying process.
Tip on pressure math: A small consumer unit rated at 2.0 GPM/3500 PSI often ships with minimum-orifice tips. Swapping to a larger orifice (e.g., 4.0–5.0) drastically reduces pressure even before you widen the fan angle. Combine a larger orifice with a 40° tip for the gentlest rinse.
Drying and Post-Wash Checks (Do Not Skip)
- Initial blow-out: Use compressed air or a leaf blower to push water out of crevices, coil valleys, plug wells, and the tops of connectors. Keep nozzle distance to avoid forcing water deeper.
- Remove protections: Unbag alternator/ECU/fuse boxes, checking that no water pooled inside the coverings.
- Connector care: Visually check easy-access connectors you might have wet. If you see moisture or greenish residue, disconnect with the battery negative off, spray contact cleaner, air dry, and reconnect. Do not smear dielectric on the metal contacts; use a tiny amount around the connector’s perimeter seal only.
- Ignition components: On coil-on-plug systems, make sure no water is in the plug wells. If present, remove coils, blow out wells, and allow to dry fully before reinstalling.
- Belts and pulleys: Verify belts aren’t saturated. If they squeal on first start, shut down and dry further; slipping can trigger false charging warnings.
- Start and warm up: Reconnect battery if removed. Start the engine and let it idle. Watch for misfires, warning lights, and abnormal belt noise. Bring to operating temperature to evaporate residual moisture.
Quick Checklist
- Cover ECU, fuse boxes, alternator, and intake.
- Use degreaser and brushes; rinse at low pressure.
- Avoid narrow/turbo nozzles and close-range spraying.
- Blow out water; open and dry suspect connectors.
- Check plug wells and belts before starting.
- Scan for codes and inspect grounds after first drive.
If It Won’t Start or Runs Poorly After Washing
Water intrusion is usually recoverable with drying and inspection. Don’t keep cranking; fix the moisture first.
- Power down: Disconnect the negative battery terminal.
- Open and dry: Hood up. Use a blower/compressed air to remove visible water. Set a box fan to move air across the bay for several hours. If ambient humidity is high, allow 24–48 hours.
- Ignition focus:
- Coil-on-plug: Pull coils, inspect boots. Blow out spark plug wells; use contact cleaner if contaminated with degreaser/oil. Lightly apply dielectric grease to the outside of boots to improve sealing (not on the contact spring).
- Older ignition: Dry distributor cap, rotor, coil tower, and leads. Clean inside the cap with contact cleaner and air-dry thoroughly.
- Modules and fuses: Open fuse/relay boxes. If damp, air-blow and use electronics contact cleaner. Look for water trails at grommets and seams.
- Harness and connectors: Identify any wet connectors (especially near the front core support, throttle/MAF, ignition coils, cam/crank sensors). Disconnect, inspect pins for moisture or bent/corroded terminals, clean with contact cleaner, dry, and reseat until locks click.
- Grounds: Inspect main engine/body grounds for looseness or corrosion. Clean and retighten. Wet or marginal grounds will create no-start/multiple DTC symptoms.
- Battery and fuses: Check battery voltage (≥12.5 V resting), clean terminals, and inspect main fuses (mega/ALT fuses). Replace any blown fuses; find the reason before reattempting start.
- Scan for codes: Reconnect battery, scan for DTCs. Address codes by drying associated sensors/circuits first. Misfire and MAF/MAP codes commonly indicate moisture in those areas.
- Test start: If it starts, let it idle to temp. If misfires persist, re-check plug wells and ignition connectors. If no start after thorough drying and basic checks, escalate to professional diagnostics; water may have reached a module or corroded a weak connector.
Preventing Future Faults and Corrosion
- Use chemistry over force: Let degreaser do the heavy lifting; rinse gently.
- Avoid direct spray at seams: Module lids, connector joints, grommets, and harness entries are splash-resistant, not pressure-proof.
- Seal and protect: After drying, apply a tiny amount of dielectric grease to the outer lip of weather-pack seals on connectors and coil boots. Do not coat the metal terminals.
- Repair first: Replace broken connector locks/seals and split loom. Re-wrap harnesses with high-temp fabric (Tesa) tape where needed.
- Water quality: Hard water leaves deposits; a final DI water rinse minimizes spotting on plastics and aluminum.
- Maintenance clean: Between deep cleans, use spray bottles and microfiber towels for wipe-downs to avoid repeated water exposure.
- Alternator caution: Keep spray away from alternator vents; water + detergents can shorten bearing and regulator life.
FAQs
Is it safe to pressure wash an engine bay?
It can be, if you limit pressure and protect electronics. Use a wide 40° fan, larger-orifice tip to reduce PSI (target ~800–1200 PSI at distance), and keep 24–36 inches away. Prefer a hose with a shower setting. Never use turbo/pencil tips or close-range blasts on connectors, modules, labels, or belts.
What should I cover before washing?
Cover the ECU/PCM, fuse/relay boxes, alternator, open or aftermarket air filters/MAF, and any exposed wiring repairs. On older cars, cover the distributor and coil. Tape the edges so spray can’t lift the covering and force water underneath.
Should the engine be running while I rinse?
Some techs do light rinses on a running engine to speed drying, but it increases risk (intake ingestion, belt slip, fan hazards). For DIY and general shop safety, keep the engine off, cool-to-warm, and disconnect the negative terminal if you’ll open connectors.
What nozzle and PSI should I use if I only have a pressure washer?
Use a 40° fan with a larger-orifice tip (e.g., 4.0–5.0) to drop pressure substantially. Keep 2–3 feet standoff and move continuously. If your washer only has narrow tips or a turbo nozzle, skip it and use a garden hose shower setting instead.
Can I use WD-40 to dry connectors?
Use electronics contact cleaner or 90%+ isopropyl alcohol for electrical drying and decontamination. Original WD-40 is a water displacer but leaves residue; it’s not ideal for modern connectors. If using WD-40 Specialist Electrical Contact Cleaner, that is designed for this purpose. After drying, a tiny amount of dielectric grease on the outer seal area can help repel moisture (never on the metal contacts).
How do I recover a no-start after washing?
Disconnect battery, open hood, blow out moisture, dry coils and plug wells, open and dry fuse boxes and suspect connectors with contact cleaner, check grounds and main fuses, then scan for codes. Allow 24–48 hours of airflow if needed. Persisting faults may indicate water reached a weak module or damaged harness—escalate to diagnostic testing.
Shop Engine Cleaning & Detailing Tools
Ready to clean safely? Browse our Engine Cleaning & Detailing Tools for degreasers, brushes, protection materials, and drying gear that fit the process in this guide.
- Non-caustic degreasers, foaming sprayers, and rinse options.
- Nylon and boar’s hair brushes for controlled agitation.
- Connector-safe contact cleaners, dielectric grease, and airflow tools.

The Toolsource Technical Team blends decades of real-world automotive service experience with up-to-date technical research. Our writers collaborate with professional mechanics, shop owners, and diagnostic specialists to deliver practical, workshop-ready guidance you can trust.


Follow us on social media