A car is not truly clean until the door, hood, and trunk jambs are decontaminated, rinsed, dried, and protected. This guide outlines an efficient, repeatable process you can drop into any wash package—whether you work with a pressure washer or a hose—and explains chemical choices, safe techniques, and aftercare that prevent callbacks.

Why Door Jambs Matter (and When to Clean Them)
Door jambs collect a concentrated mix of road film, grease, salt, and organic debris. Left alone, that grime transfers to pants and seals, accelerates corrosion in hinge pockets, and shortens the life of rubber weatherstripping. For best efficiency, do jambs during your exterior wash sequence—after wheels and engine bay, before your main foam/rinse—so runoff is captured and vehicle soap can help carry away residue. Finish the upper seams and seals when you move to the interior stage.
Typical cadence in a production detail: wheels and tires, engine bay, door jambs, exterior wash/foam, decon, dry, then interior. This minimizes cross-contamination and keeps your workflow moving forward.
Tools, Chemicals, and Dilutions That Work
Use the least aggressive chemistry that gets the job done. Start mild, escalate only as needed, and always test in an inconspicuous area.
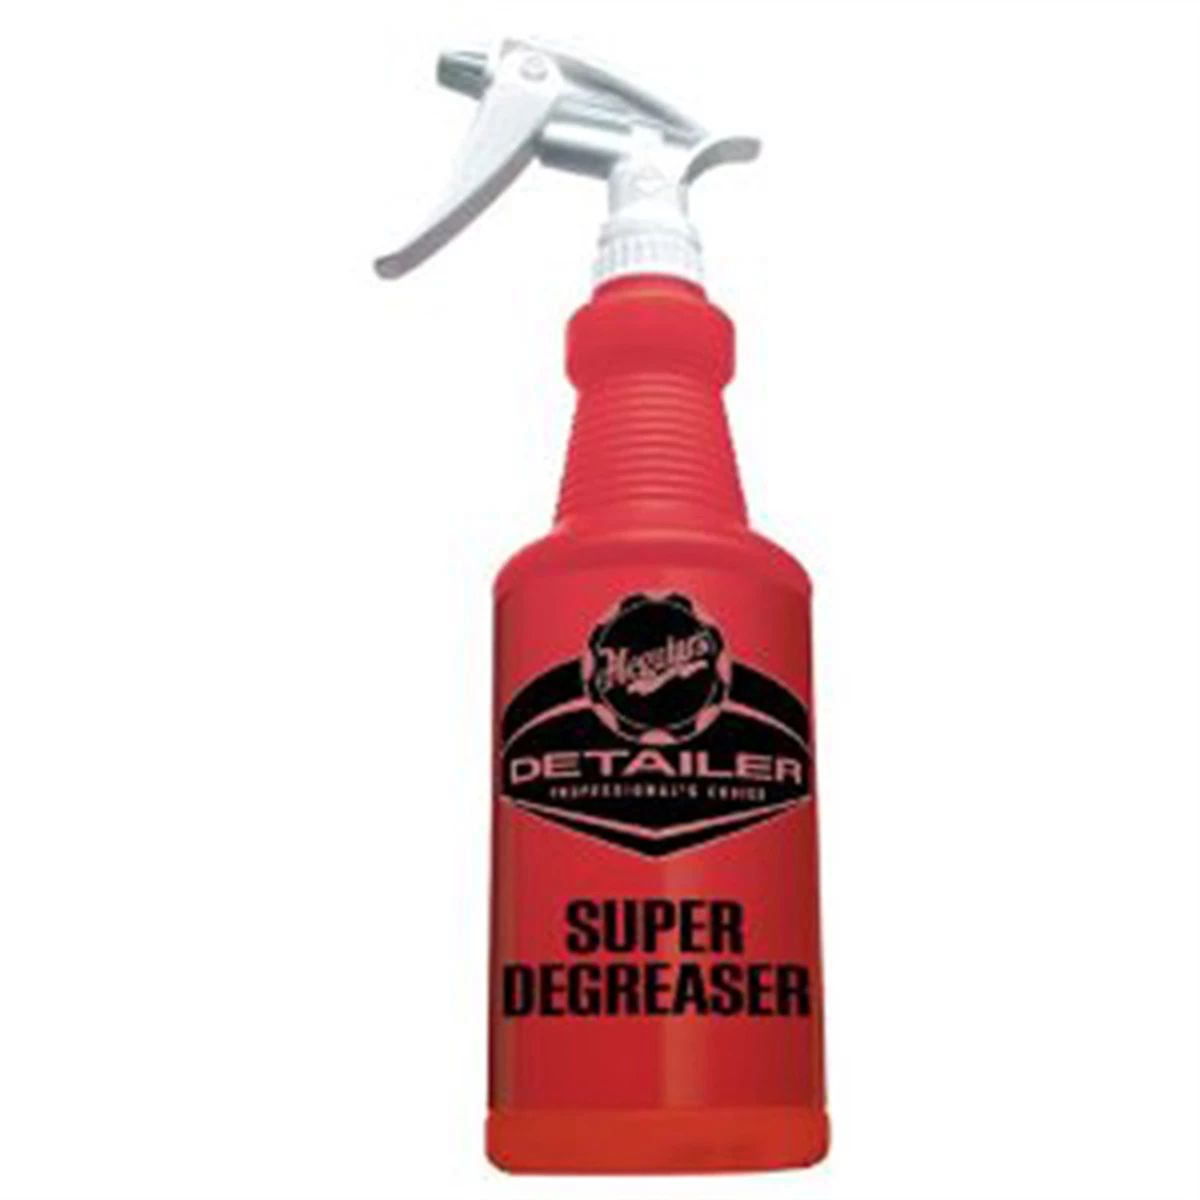
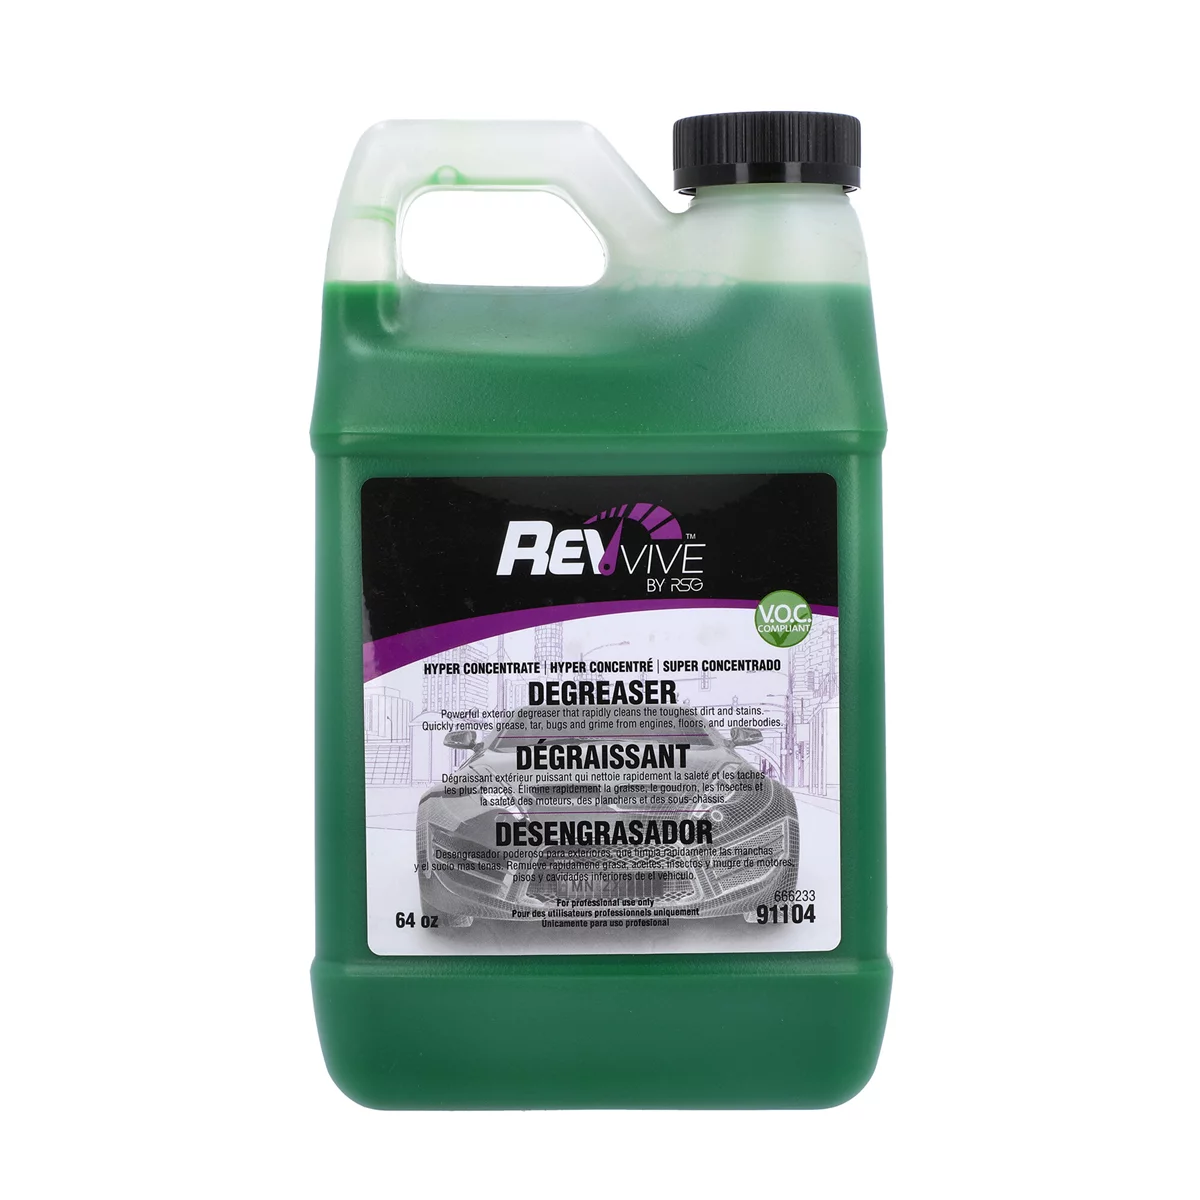
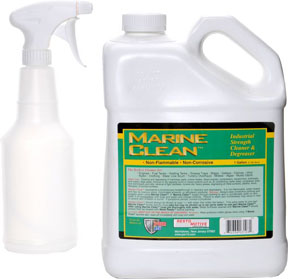
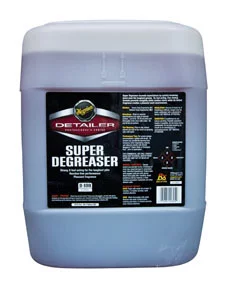
- Primary cleaner (alkaline): All-purpose cleaner/degreaser formulated for automotive use. Common working dilutions: 4:1 to 8:1 (water:product). Many techs run stronger (4:1) for heavy jambs and lighter (8:1) for maintenance. Example category: high-foaming alkaline degreaser designed for bugs/engine bays.
- Acid option (advanced users): Non-HF acid wheel cleaner or acidic brightener for heavy mineral/salt buildup and stubborn brake dust in hinge pockets. Typical dilutions range from 1:1 to 1:4. Extra caution required; avoid bare aluminum, sensitive anodized finishes, and allow zero dwell on compromised paint. Thoroughly rinse surrounding panels afterward.
- Bug remover (optional): For vehicles with excessive bug protein trails inside front jamb/hinge creases.
- Sprayers: Pump sprayer or foaming sprayer for controlled application. Color-code for acid vs alkaline.
- Agitation: Assorted detail brushes (soft boar’s hair, flagged tip utility brush), microfiber wash mitt dedicated to jambs, and narrow nylon brushes for latch/striker recesses.
- Rinsing: Pressure washer with 25°–40° fan tip or garden hose with adjustable nozzle/mist pattern. Compressed air or blower for water removal is a plus.
- Protection: Spray sealant, silica spray, or ceramic detailer for painted jambs; dedicated rubber seal conditioner for weatherstripping.
- Lubrication: White lithium grease or dry PTFE for hinges/latches. Use sparingly; wipe excess.
- Safety: Nitrile gloves, eye protection, and, when using acidic products, a respirator suitable for mists. Maintain ventilation.
- Absorbents: Dedicated microfiber towels for jambs (dark color preferred), floor mat or towel at sills to protect interior trim and carpet edges from drips.
Notes on chemistry: Alkaline degreasers tackle oily film effectively and are safer starting points. Acidic cleaners cut mineral and salt residues faster but demand tight process control. Never let acid dry, never use on compromised coatings or raw metals, and never mix acid and alkaline in a sprayer.
Prep and Safety: Control the Water, Protect the Cabin
- Pre-inspect: Identify sensitive areas (exposed wiring, loose door seal, delaminating clear coat, sticky window switches). Decide if you’ll limit water flow or shift to low-pressure method for problem spots.
- Door position: Crack the door first (first detent). Begin your rinse through the gap so you’re not blasting directly at the jamb from the outset. This knocks loose debris while minimizing splash-back into the cabin. Once runoff flows clean, open fully for access.
- Nozzle and pressure: Use a 25°–40° tip, keep the fan moving, and work at a prudent distance. Avoid direct shots at speaker grills, window switches, and upward-angled seals.
- Interior protection: Lay a towel over the sill and lower door panel edge to catch stray droplets. If door cards are cloth or there are exposed tweeters, reduce pressure and angle water away.
- Acid containment: If using acid, keep a water line live and rinse surrounding exterior panels and wheels immediately after jamb work to remove any stray residue. Follow with your normal foam or shampoo pass to normalize pH.
- Heat and dwell: Work cool surfaces. Dwell times typically range 30–120 seconds. Do not let any chemistry dry.
Pressure Washer Workflow: Fast, Clean, Repeatable
- Pre-rinse smart: With the door cracked, aim the fan through the gap near the latch side so the jet travels across the jamb, not directly at it. This reduces splash-back. Once runoff is mostly clear, open the door fully and continue a controlled top-to-bottom pre-rinse.
- Apply chemistry: Mist or foam your alkaline degreaser onto the jamb surfaces, hinge pockets, check strap, latch, and striker recesses. For heavy salt/mineral staining or baked brake dust in hinge areas, spot-apply an acid cleaner (experienced users only). Keep acid off bare aluminum and sensitive trim. Typical starting dilutions: alkaline 4:1–8:1; acid 1:1–1:4. Always test and scale back where possible.
- Agitate: Use soft brushes for painted areas and weatherstripping contact points. Reserve stiffer nylon for metal-only parts like the latch and striker plate. Work creases, window channel corners, and drain paths along the sill. A small mitt helps even coverage on broad painted sections.
- Rinse technique: Rinse from top to bottom, keeping the fan sweeping and angled so water exits out of the jamb, not into the cabin. For hinge pockets, feather the fan across the opening rather than directly into it. Avoid aiming up into the door card or speaker grills. Expect a small amount of splash; the sill towel will catch it.
- Neutral follow-up (when acid was used): Close the door and rinse adjacent exterior panels and wheels thoroughly until runoff is clear. Proceed with your normal foam/shampoo on the exterior; a pH-balanced or mildly alkaline shampoo pass helps carry away any trace residue.
- Dry: Open the door fully. Blow out hinges and weatherstrip channels with compressed air or a blower. Follow with dedicated microfiber towels. Catch drips at the lower seals and along the sill. Flip towels frequently; don’t transport grime to the next door.
- Repeat per opening: Driver, passenger, rear doors, fuel filler flap, hood, trunk. For the hood and trunk, use the same chem/agitation principles and be mindful of water pathways around underhood insulation and trunk electronics.
- Upper seams deferred to interior: The thin upper door frame seam where glass meets the rubber can be finished later with a damp towel or steam during interior cleaning to avoid over-wetting the cabin.
Time guidelines: With practice, four doors plus trunk and hood jambs take 10–20 minutes in a production wash, depending on contamination and chemistry dwell.
Low-Pressure Method: Garden Hose, Controlled Rinse, Minimal Splash
If you prefer not to use a pressure washer on open doors, you can still achieve excellent results. The keys are misting, controlled flow, and patient agitation.
- Pre-wet: Set a hose nozzle to mist or shower. Wet the jamb from the top down, letting water carry loose dirt outward. Kink the hose lightly to modulate flow in tight areas.
- Apply cleaner: Alkaline degreaser at 4:1–8:1. For mineral/salt staining, avoid acid if you can’t guarantee thorough rinsing—use multiple alkaline passes instead. If acid is necessary, use spot applications with immediate rinse and towel capture.
- Agitate thoroughly: Brushes and a dedicated jamb mitt do most of the work here. Work hinge pockets and strikers carefully so you don’t sling contaminated foam into the cabin.
- Rinse: Use mist/shower to flush from top to bottom. Follow with a pump sprayer of clean water to target tight creases if needed. Keep the door cracked first, then open fully once runoff is controlled.
- Dry: Blot with microfiber and, if available, use a small cordless blower to chase water out of seams. Proceed to the next opening.
This method adds a few minutes per vehicle but keeps water control tight and reduces the chance of interior wetting.
Finish Work: Seals, Protection, and Lubrication
With the dirt gone, lock in cleanliness and ensure quiet, smooth doors.
- Weatherstripping: Steam is ideal for lifting embedded grime without saturating the cabin. Alternatively, wipe seals with a mild APC-damp towel, then a clean damp towel. Finish with a rubber seal conditioner to maintain elasticity and prevent sticking in cold weather. Avoid over-application; buff dry to prevent transfer to clothing.
- Paint protection in jambs: Apply a spray sealant, silica spray, or ceramic detailer to painted jamb surfaces. These products improve gloss, speed up future cleaning, and reduce dirt adhesion. Spray onto a towel (not directly onto hinges or seals), wipe on, then buff off. For maintenance vehicles, a quick-apply spray after every wash keeps jambs looking freshly detailed.
- Metal bits: Lightly lubricate door hinges, check straps, and latches with white lithium grease or a dry PTFE spray. Apply sparingly, cycle the door a few times, then wipe away any excess to prevent sling. Keep lubricant off rubber seals and painted surfaces.
- Final inspection: Close and reopen each door to check for drip trails, squeaks, or missed soil in the striker area. Wipe fingerprints from B-pillar paint and sill plates.
Quick checklist:
- Do jambs after wheels/engine bay and before your main foam.
- Start with alkaline cleaner; reserve acid for stubborn mineral/salt buildup.
- Crack the door and pre-rinse through the gap to limit splash-back.
- Agitate creases, hinge pockets, and strikers with the right brushes.
- Rinse top to bottom; keep water exiting out of the car, not in.
- Dry thoroughly, then protect paint and condition seals.
- Lubricate hinges/latches and wipe excess.
FAQs
Is it safe to use a pressure washer on open doors?
Yes, when done correctly. Use a 25°–40° fan tip, start with the door cracked and spray across the gap to control splash, then open fully and keep the fan moving. Avoid direct shots at speaker grills, window switches, and upward angles toward seals. Place a towel on the sill to catch drips. If you are servicing an older vehicle with compromised seals or sensitive trim, use the low-pressure method instead.
When should I choose acid over an alkaline cleaner?
Use alkaline degreaser for most oily film, road grime, and organic buildup. Consider a non-HF acid cleaner only for heavy mineral/salt deposits or stubborn brake dust staining in hinge pockets that alkaline won’t touch in reasonable dwell/agitation. Test first, avoid bare aluminum and sensitive finishes, keep dwell minimal, and rinse surrounding panels immediately. Many vehicles never require acid if you maintain jambs regularly.
What dilution ratios should I start with?
Good starting points: alkaline degreaser at 4:1 for heavy jambs and 8:1 for maintenance. Acidic cleaner at 1:4 for moderate mineral staining and up to 1:1 for severe cases (advanced users only). Always scale based on soil level, temperature, and material sensitivity. Never let product dry, and never mix acid and alkaline in the same bottle.
How do I keep water from getting into the cabin?
Control the angle and pressure. Begin with the door slightly open and aim across the gap, not into the interior. Rinse top to bottom so water exits outward. Reduce pressure near speaker grills and switch packs. Use towels on sills and blow out seals before they drip. If in doubt, switch to the hose-mist method and use more agitation with less water.
How often should door jambs be cleaned and protected?
At minimum, clean and protect jambs at every wash during winter or in dusty/salty regions; every 2–4 washes in mild conditions. A spray sealant or ceramic detailer in the jambs lasts 4–8 weeks depending on use and climate. Conditioning rubber seals every 2–3 months keeps them quiet and supple.
Do I need a steam cleaner for seals?
No, but steam speeds up removal of embedded grime and reduces the amount of liquid water near the interior. If you don’t have steam, a mild APC on a towel followed by a damp rinse towel works well. Always finish with a dedicated rubber conditioner.
Any special considerations for hood and trunk jambs?
Yes. Under-hood insulation and trunk electronics require gentle water management. Use reduced pressure, avoid soaking underhood pads, and direct runoff away from control modules. Treat painted surfaces as you would door jambs, and use spot lubrication on hood latches and hinges after drying.
Shop All-Purpose Cleaners & Degreasers
Finish the workflow with the right chemistry—browse our All-Purpose Cleaners & Degreasers for safe, effective jamb cleaning and decontamination.
- Alkaline APC/degreasers for oily film and road grime.
- Non-HF acid options for mineral and salt buildup (advanced users).
- Bug removers compatible with hinge pockets and tight seams.

The Toolsource Technical Team blends decades of real-world automotive service experience with up-to-date technical research. Our writers collaborate with professional mechanics, shop owners, and diagnostic specialists to deliver practical, workshop-ready guidance you can trust.


Follow us on social media