Interior door handles rank among the most frequently replaced components in older vehicles, particularly in high-mileage Toyota Corollas, Camrys, and similar models from the late 1990s and early 2000s. The failure mechanism is straightforward: repeated stress cycles combined with UV exposure and age-related plastic degradation lead to fractures at critical load points. This guide walks you through the complete diagnosis, part selection, removal, and installation process for interior door handle replacement. Whether you’re working on a 1998-2002 Corolla or a similar platform vehicle, the principles and procedures remain consistent across most makes and models.
Understanding Interior Door Handle Failure Modes
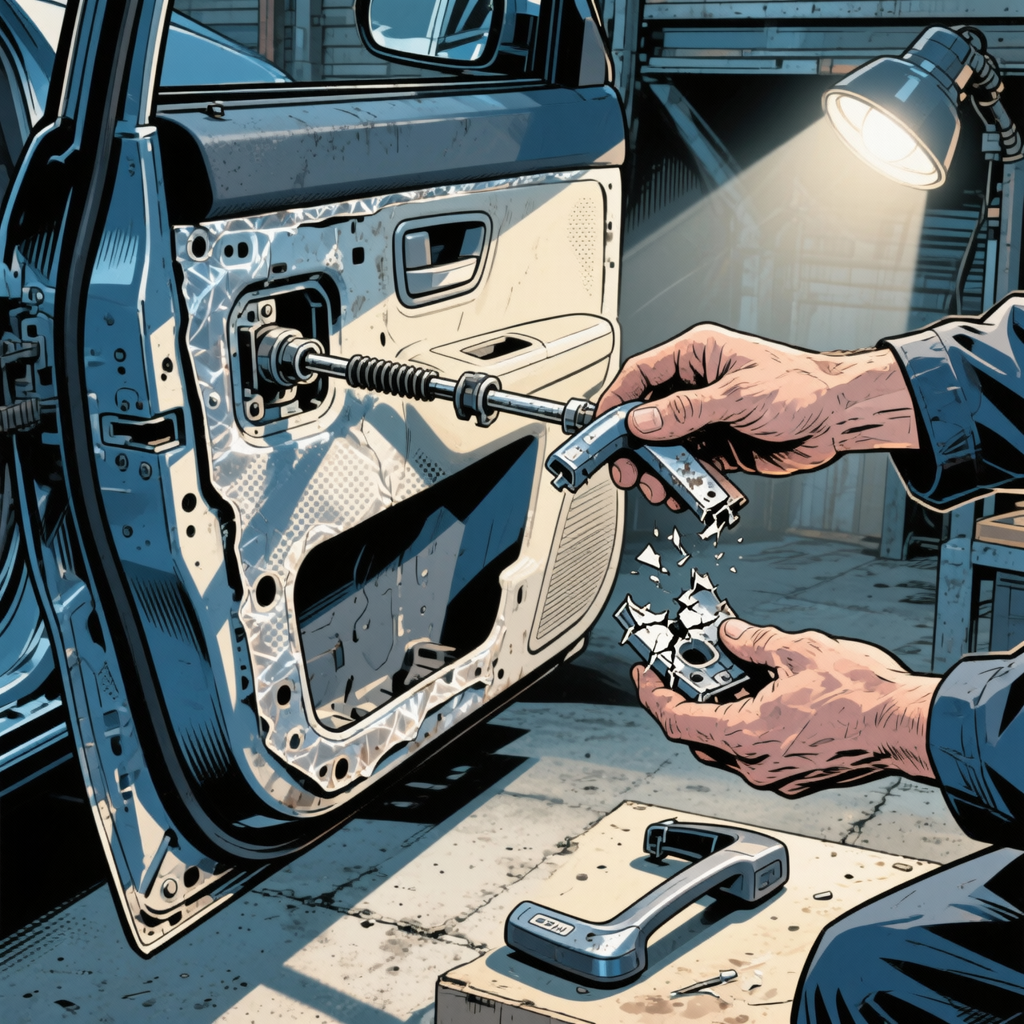
Interior door handles fail in predictable patterns. The most common failure point occurs at the mounting boss or the lever arm where the actuator rod connects. In Toyota applications, the handle assembly typically consists of a single-piece plastic housing with an integrated bezel, a spring-loaded lever, and a metal rod that connects to the door latch mechanism.
Thermal cycling accelerates degradation. Vehicles parked in direct sunlight experience extreme temperature swings that cause the plastic to become brittle over time. The driver’s side handle typically fails first due to higher usage frequency, while passenger-side handles may last significantly longer. Sun exposure patterns also matter—handles on the side receiving morning sun often deteriorate faster than those in shade.
Material quality varies significantly between OEM and aftermarket parts. Original Toyota handles often last 200,000+ miles or 20-30 years before failure. Generic aftermarket replacements may fail within 6-12 months. When the handle breaks, you’ll notice one of several symptoms: the handle pulls free from the door panel entirely, the lever separates from its mounting point, or the actuator rod disconnects but the handle remains attached.
Before replacement, verify the failure mode. If the metal actuator rod has simply disconnected from the latch mechanism rather than the handle breaking, you may only need to reattach the rod. If the plastic housing has fractured, replacement is the only viable long-term solution. Temporary adhesive repairs using cyanoacrylate glue and baking soda can provide emergency access, but these repairs rarely withstand the mechanical loads imposed during normal operation.
Selecting the Correct Replacement Handle
Part selection directly impacts service life and customer satisfaction. Three categories of replacement handles exist: OEM parts from the vehicle manufacturer, OEM-equivalent parts from authorized suppliers, and generic aftermarket parts.
OEM parts represent the gold standard. For Toyota applications, genuine parts typically carry part numbers specific to model year, trim level, interior color, and whether the vehicle has power locks. A 1999 Corolla with tan interior and manual locks requires a different part number than a 2001 model with gray interior and power locks. Cross-reference the VIN or consult the dealer parts diagram to ensure correct fitment.
OEM-equivalent suppliers like Daytona Toyota (available through Amazon) provide genuine manufacturer parts at reduced prices. These parts carry the same part numbers and specifications as dealer-supplied components but bypass the dealer markup. Quality matches factory parts because they are factory parts—simply distributed through alternative channels.
Generic aftermarket parts cost $5-15 versus $25-40 for OEM components. This price difference reflects material quality and manufacturing precision. Aftermarket handles often use lower-grade plastics with inadequate UV stabilizers. Molding tolerances may be loose, causing fitment issues or interference with door panel clips. Some technicians maintain a stock of generic handles for quick temporary repairs while ordering OEM parts for permanent solutions.
Color matching matters for customer satisfaction but not for function. Most suppliers offer handles in beige, gray, black, and brown. If an exact match isn’t available or cost is a concern, consider using a rear door handle for the front position and installing the generic part in the less-visible rear location.
Purchase handles in bulk when working on common platforms. A four-pack of Corolla handles costs only marginally more than two individual units and provides spares for future repairs. For DIY customers or fleet operators, keeping a spare handle in the glovebox ensures immediate access when failure occurs.

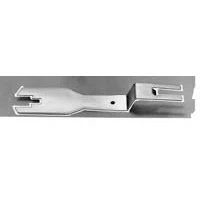
Universal Window Regulator & Door Handle Clip Remover
Mfg: S & G Tool Aid
Part #: 87615

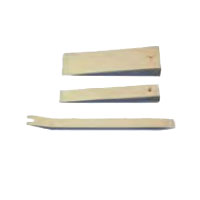
127659 37524 Old Forge Tools OF37524 7524 4 Piece Door Service Set
Mfg: Old Forge Tools
Part #: 37524
Removing the Door Panel and Accessing the Handle Assembly
Door panel removal follows a standard sequence across most vehicles, though specific fastener locations vary by make and model. Always work with the door open and the window fully raised to prevent glass damage during panel removal.
Begin by identifying all visible fasteners. On 1998-2002 Toyota Corollas, a single Phillips-head screw secures the handle assembly—this screw is visible in the center of the handle bezel. Additional screws secure the door panel itself, typically located in the armrest area and along the bottom edge. Remove these screws first using a #2 Phillips screwdriver.
Window crank handles on manual-window vehicles require special attention. Some use a horseshoe clip behind the handle that must be pried out with a small flathead screwdriver or specialized clip removal tool. Others use a setscrew. Power window switches typically pop out of their bezels—pry carefully from one edge using a trim tool, then disconnect the electrical connector.
The door lock knob unscrews counterclockwise on most vehicles. If it won’t turn by hand, use padded pliers to avoid marring the finish. Some locks use a spring clip at the base—lift this clip before attempting removal.
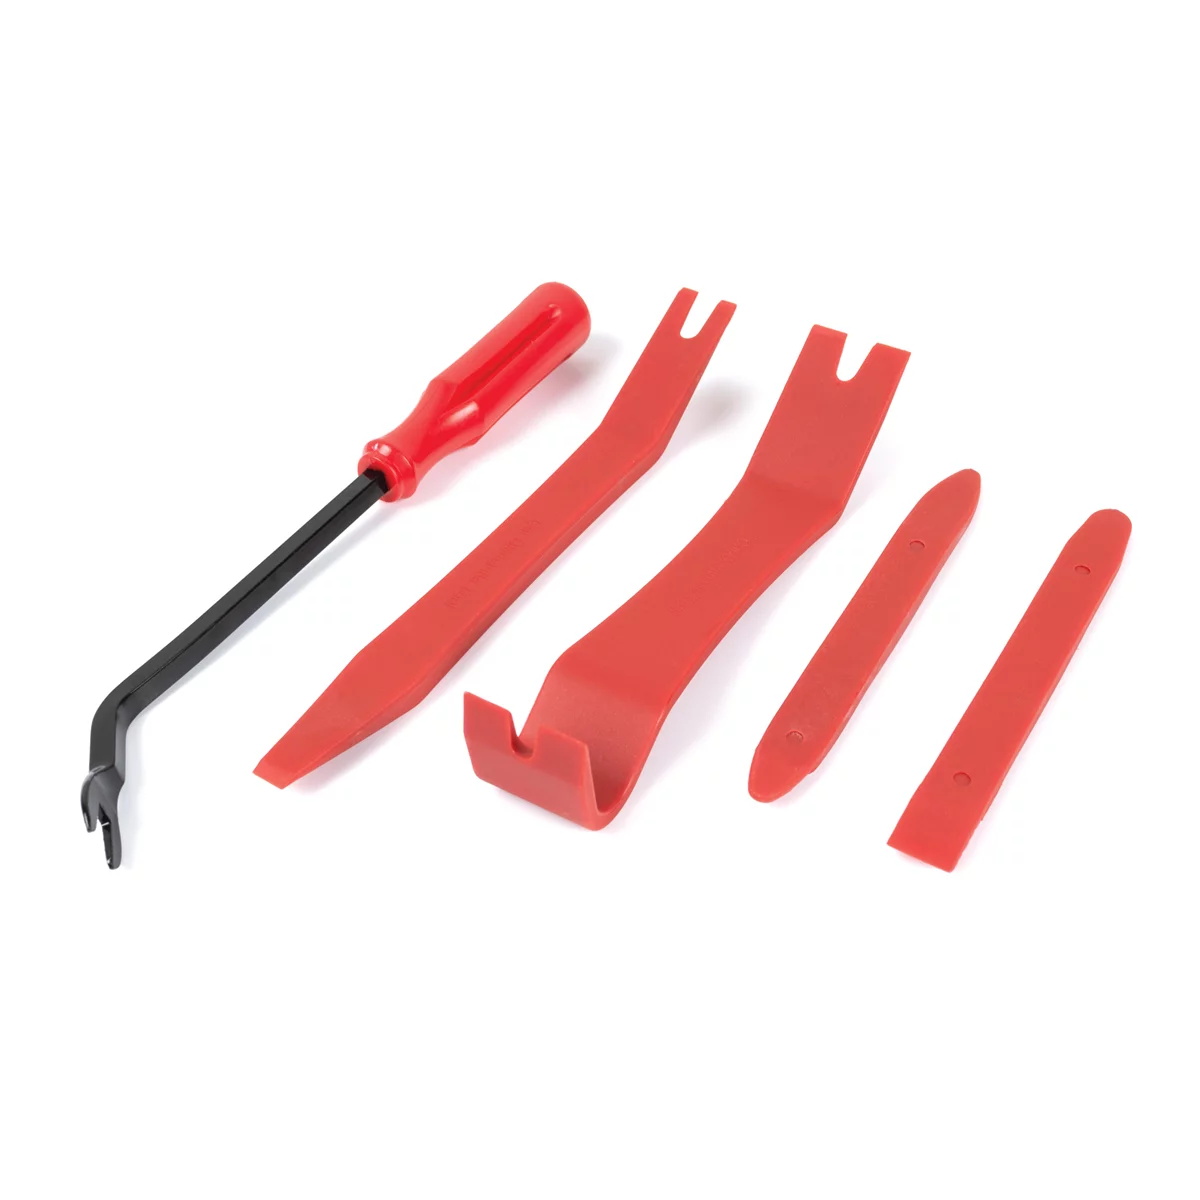
After removing all fasteners, the panel is held by plastic clips around the perimeter. These clips push through holes in the door frame and must be released without breaking. Use proper automotive trim removal tools—flat, wide plastic pry bars designed specifically for this purpose. Start at the bottom corners where the panel meets the door frame. Insert the trim tool between the panel and door, then twist gently to pop each clip free.
Work around the perimeter systematically. You’ll feel each clip release with a distinct pop. Avoid using screwdrivers or metal tools, which mar the paint and often break clips. Budget for replacement clips on high-mileage vehicles—plastic clips become brittle and often break even with careful removal.
Once all perimeter clips are free, lift the panel upward to disengage it from the window channel at the top of the door. The panel may still be connected by the door lock rod or interior handle rod. These rods typically use plastic clips on the back of the handle assembly—disconnect them before attempting to fully remove the panel.
With the panel removed, you’ll have clear access to the handle assembly. The moisture barrier (a plastic sheet protecting the door interior) may need to be peeled back for access. Do this carefully to avoid tearing—the barrier prevents water intrusion and maintains proper door function.
Handle Installation and Rod Connection Procedure
Installing the replacement handle reverses the removal process, but several critical steps ensure proper function and longevity. Before installation, lubricate all moving components and connection points.
The handle assembly slides into a bracket in the door panel. On Corollas and similar vehicles, the handle has a forward-facing tab that inserts into a slot, then the entire assembly slides rearward to lock in position. The single mounting screw threads through the center of the assembly into a captured nut plate in the door panel structure.
Before securing the handle, connect the actuator rod. This rod runs from the back of the handle to the door latch mechanism. The rod typically has a 90-degree bend at the latch end and hooks into a plastic clip or metal bracket on the latch. At the handle end, the rod passes through a hole in the handle lever and secures with a plastic retaining clip.
Proper rod routing prevents binding and ensures smooth operation. The rod should follow the original path without sharp bends or contact points that could cause wear or squeaking. Some technicians apply a small amount of white lithium grease to the rod where it passes through guide clips—this reduces friction and extends service life.
After connecting the rod, test the handle function before reinstalling the door panel. Pull the handle and verify that the latch releases smoothly. If resistance is felt or the latch doesn’t release consistently, check for rod binding, incorrect rod routing, or a worn latch mechanism.
The door lock rod connects separately on vehicles with manual locks. This rod runs from a lever on the handle assembly or door panel to the lock mechanism. Ensure this rod is properly seated in its clips and that the lock functions normally in both locked and unlocked positions.
Once function is verified, tighten the mounting screw. Apply moderate torque—overtightening can crack the plastic boss, while undertightening allows the handle to flex and work loose. Hand-tight plus a quarter turn with a screwdriver provides adequate security.
Before reinstalling the door panel, inspect the panel itself for damage. Cracked or broken clip mounting points are common on high-mileage vehicles. Replacement clips are available from automotive suppliers and snap into the back of the door panel. Replace any damaged clips to ensure the panel seats securely.
Testing, Adjustment, and Quality Verification
Post-installation testing prevents comebacks and ensures customer satisfaction. Test all door functions with the panel still removed—this allows immediate correction of any issues without repeating the disassembly process.
Pull the interior handle through its full range of motion multiple times. The handle should move smoothly without binding, and the latch should release consistently. Listen for unusual sounds—clicking, grinding, or squeaking indicates potential issues with rod routing or latch lubrication.
Test the lock function if equipped with manual locks. Operate the lock knob through several cycles, verifying that the mechanism locks and unlocks positively. If the lock feels notchy or requires excessive force, the lock rod may be misrouted or the lock mechanism may need lubrication.
Open the door from the outside handle to verify that the latch mechanism functions properly from both interior and exterior controls. On vehicles with power locks, test both manual and power lock operation.
After functional testing, reinstall the door panel. Align the panel with the window channel at the top, then lower it into position. Press firmly around the perimeter to seat all clips. You should feel each clip snap into place. A gap between the panel and door frame indicates a clip hasn’t fully seated—remove the panel and reseat that clip.
Reinstall all screws, switches, and trim pieces in reverse order of removal. Tighten screws to the same torque as removal—door panel screws don’t require high torque and can strip the plastic mounting bosses if overtightened.
Perform a final operational test with the door panel installed. Open and close the door using both interior and exterior handles multiple times. Verify that all functions work as expected and that no rattles or squeaks have been introduced.
Quick Reference Checklist
- Verify failure mode: Confirm handle is broken, not just disconnected rod
- Identify correct part number: Match year, model, interior color, and lock type
- Gather tools: #2 Phillips screwdriver, trim removal tools, replacement clips
- Document fastener locations: Take photos during disassembly for reference
- Remove all panel screws: Check armrest, lower edge, and handle bezel
- Disconnect electrical: Window switches and lock switches if equipped
- Release perimeter clips: Work systematically with proper trim tools
- Disconnect rods: Note rod routing and clip positions
- Install new handle: Slide into bracket, connect rods, verify routing
- Test before reassembly: Verify smooth operation of all functions
- Replace damaged clips: Install new clips in door panel as needed
- Reinstall panel: Align with window channel, press clips firmly
- Final function test: Check interior handle, exterior handle, and locks

Frequently Asked Questions
Can I repair a broken door handle with adhesive instead of replacing it?
Adhesive repairs provide temporary emergency access but rarely hold under the mechanical loads imposed during normal use. Cyanoacrylate glue combined with baking soda creates a hard matrix that can temporarily bond fractures, but these repairs typically fail within days or weeks. The mixture generates significant heat during curing and requires adequate ventilation. For a permanent repair, replacement is the only reliable solution. If you attempt an adhesive repair, reinforce it with layers of glue and baking soda on both sides of the fracture, but plan for eventual replacement.
Why do aftermarket handles fail so much faster than OEM parts?
Aftermarket handles use lower-grade plastics with inadequate UV stabilizers and reinforcement additives. Manufacturing tolerances are often loose, creating stress concentrations at mounting points. Material testing shows that generic aftermarket plastics become brittle significantly faster than OEM materials when exposed to thermal cycling and UV radiation. While a genuine Toyota handle may last 20-30 years, cheap aftermarket replacements often fail within 6-18 months. Spending extra for OEM or OEM-equivalent parts typically proves more economical over the vehicle’s service life.
How do I open the door if the interior handle breaks completely?
Lower the window and reach outside to use the exterior handle. If the window won’t lower or you can’t reach the exterior handle, access the door latch mechanism from inside by removing the door panel. The actuator rod that connects to the broken handle still attaches to the latch—pull this rod manually to release the latch. Some technicians temporarily install vice grips on the broken handle stub with protective plastic or metal plates to spread the load, providing emergency operation until replacement parts arrive.
Do I need to replace handles on all doors if one breaks?
No, replace only the failed handle unless multiple handles show signs of imminent failure such as cracks, excessive play, or stiffness. On vehicles where one handle has failed due to age, others may fail soon. Some technicians and fleet operators proactively replace all handles on high-mileage vehicles to prevent future breakdowns, particularly if the vehicle will be difficult to access for future service. For personal vehicles, replace handles as they fail and keep a spare in the vehicle for emergency use.
What if the new handle doesn’t match my interior color exactly?
Minor color variations occur between OEM parts from different production batches and are generally acceptable. If the color difference is significant or appearance is critical, consider swapping a rear door handle to the front position and installing the mismatched replacement in the less-visible rear location. Aftermarket handles come in common colors (beige, gray, black, brown) but may not match factory colors precisely. For show-quality vehicles, insist on genuine OEM parts with the correct color code.
Can I use a 3D-printed replacement handle?
3D-printed handles manufactured from PETG or similar engineering plastics at 100% infill can function as temporary replacements or prototypes. However, layer adhesion in printed parts creates inherent weak points that fail under repeated stress cycles. UV exposure degrades most 3D printing materials rapidly unless they contain specific UV stabilizers. Printed handles work well as proof-of-concept parts or emergency replacements but shouldn’t be considered permanent solutions. If you have access to 3D printing, consider making a prototype to verify fitment before ordering OEM parts, then use the printed version as a backup spare.
Recommended Tools
Interior door handle replacement requires a few essential tools beyond basic hand tools. Our Automotive Specialty Tools selection includes trim removal kits, door panel tools, and fastener extractors that make this job faster and prevent damage to clips and trim pieces.
- Automotive trim removal tool sets for safe panel disassembly
- Door latch removal and installation tools
- Specialized fastener kits for interior trim and hardware
The Toolsource Technical Team blends decades of real-world automotive service experience with up-to-date technical research. Our writers collaborate with professional mechanics, shop owners, and diagnostic specialists to deliver practical, workshop-ready guidance you can trust.


Follow us on social media