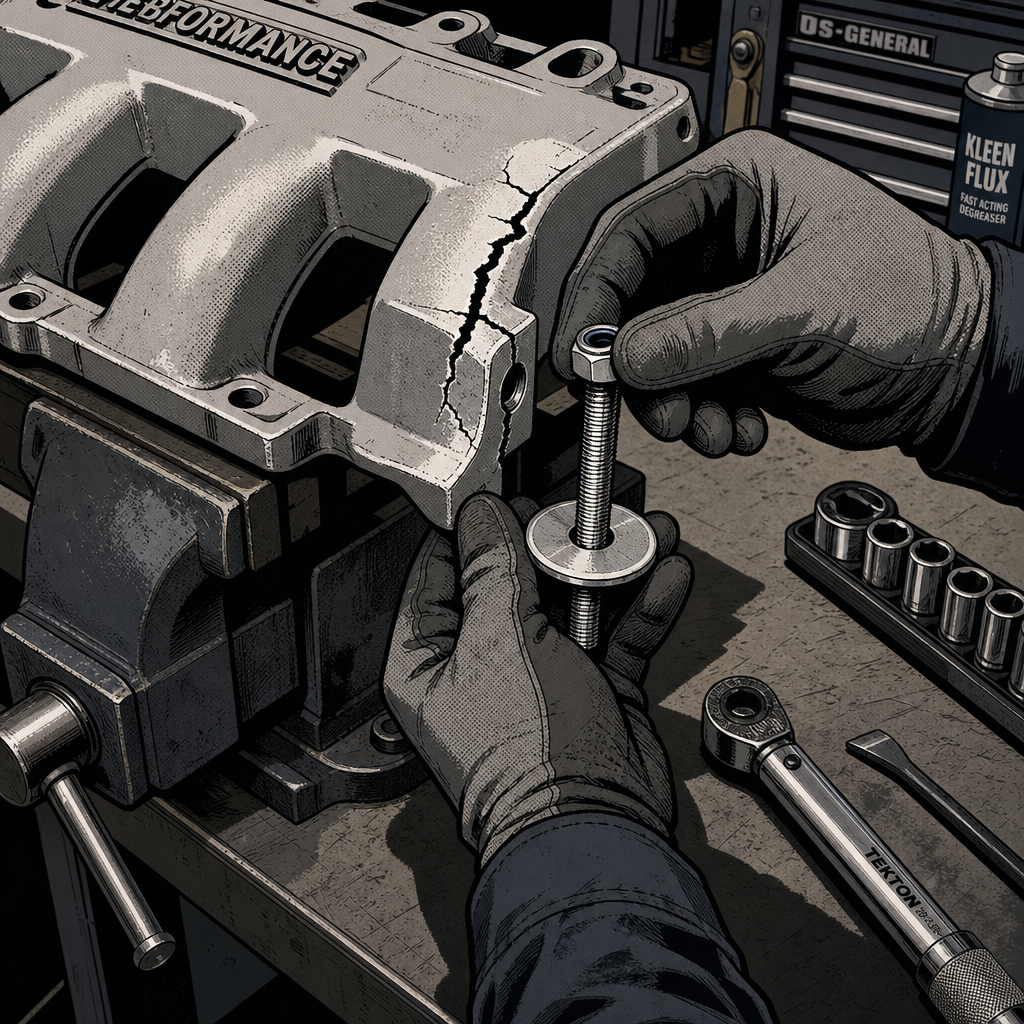
Breaking a mounting tab off an intake manifold during removal is one of those mistakes every technician makes at least once—usually when prying on a stubborn manifold before realizing a hidden bolt is still holding it in place. Whether you snapped off a corner tab on an aluminum lower intake or cracked a mounting ear on a plastic upper plenum, you’re left with the same question: can this be repaired, or do you need a replacement? The answer depends on the material, the location of the break, and how much structural integrity the repair needs to maintain. This guide walks through four proven repair methods based on real-world technician experience, from high-strength epoxy solutions to welding and mechanical workarounds, plus the nuclear option of junkyard replacement when a proper fix isn’t worth the time.
Understanding Why Manifold Tabs Break During Removal
The typical scenario involves an intake manifold that won’t budge even after you think you’ve removed every fastener. As you apply more leverage with a pry bar—sometimes graduating to a longer bar for extra mechanical advantage—the manifold suddenly breaks free, but not cleanly. What actually happened is that a forgotten bolt turned the manifold into a lever, concentrating enormous force on a single mounting tab until the aluminum casting or plastic housing fails catastrophically.
Common hiding spots for missed bolts include positions under cam bearing caps on overhead cam engines, recessed locations beneath fuel rails or wiring harnesses, and bolts accessed from underneath the manifold that aren’t visible from above. On Nissan VG-series engines (VG30, VG33), technicians frequently miss bolts on the lower intake manifold hidden by the upper plenum. Subaru boxer engines are notorious for head bolts concealed under valve cover areas. The lesson here isn’t just about checking twice—it’s about developing a systematic removal procedure that accounts for every fastener location before applying any prying force.
The physics of the failure matter for repair planning. If you’ve broken off a corner tab cleanly, you’re looking at a straightforward bonding or welding repair. If the casting cracked partway through or developed stress fractures radiating from the break point, the surrounding material is compromised and more likely to fail again under torque loading. Aluminum castings can handle this kind of damage better than plastic manifolds, which often develop hidden cracks that won’t show up until the repair fails weeks later.
Repair Method 1: High-Strength Epoxy Bonding (JB Weld)
For non-critical tabs on aluminum intake manifolds, properly applied high-strength epoxy can provide a long-lasting repair that survives thermal cycling and vibration. The key word is “properly”—this isn’t a quick slap-it-together fix. JB Weld has documented cases of repairs lasting 15-30 years when preparation and application follow best practices, including repairs on carburetors immersed in fuel and cylinder head mounting tabs under moderate load.
Start with aggressive surface preparation using acetone to remove all oil, fuel residue, and oxidation. Clean the mating surfaces at least three times, letting the acetone fully evaporate between cleanings. For aluminum, lightly scuff both surfaces with 80-grit sandpaper to create mechanical tooth for the epoxy to grip. If you’re reattaching a broken piece, test-fit it first to ensure alignment—you only get one shot at positioning before the epoxy sets.
Apply JB Weld (original formula, not the quick-set versions) to both surfaces in a thin, even layer. Clamp or weight the assembly to maintain contact pressure without squeezing out all the epoxy. The goal is a bondline thickness of 0.005-0.015 inches for maximum strength. Let it cure for the full 24 hours at room temperature, or accelerate the cure with gentle heat (150-175°F) for 2-4 hours if your shop has a heat lamp or hot box.
Once cured, drill and tap new threads if the original hole was damaged. JB Weld can be drilled and tapped up to 1/2-inch threads when fully cured. Here’s the critical part: reduce the torque specification on the repaired tab by 30-40%. If the factory spec calls for 18 ft-lbs, apply 10-12 ft-lbs maximum. The remaining bolts will carry the sealing load—the repaired tab just needs to keep the manifold located and prevent edge lifting.
For added insurance, install a fender washer and nut on the underside of the manifold as a backing plate. This distributes the clamp load across a larger area and prevents the bolt from pulling through if the epoxy bond begins to fail. Some techs grind a small notch in the washer so it locks against a manifold feature and can’t rotate or walk off from vibration.
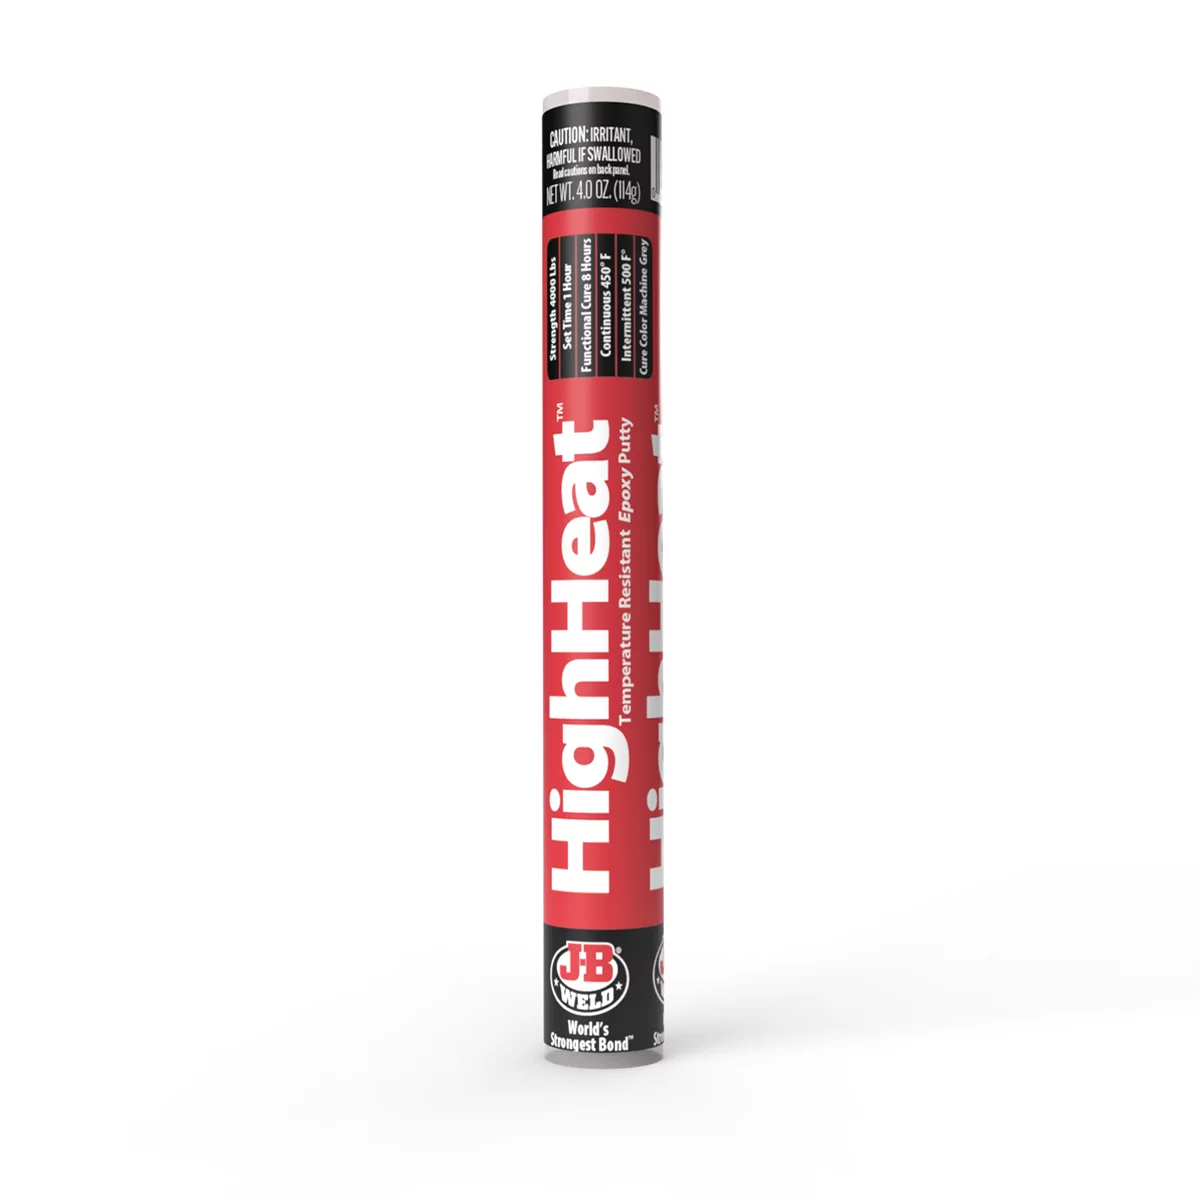
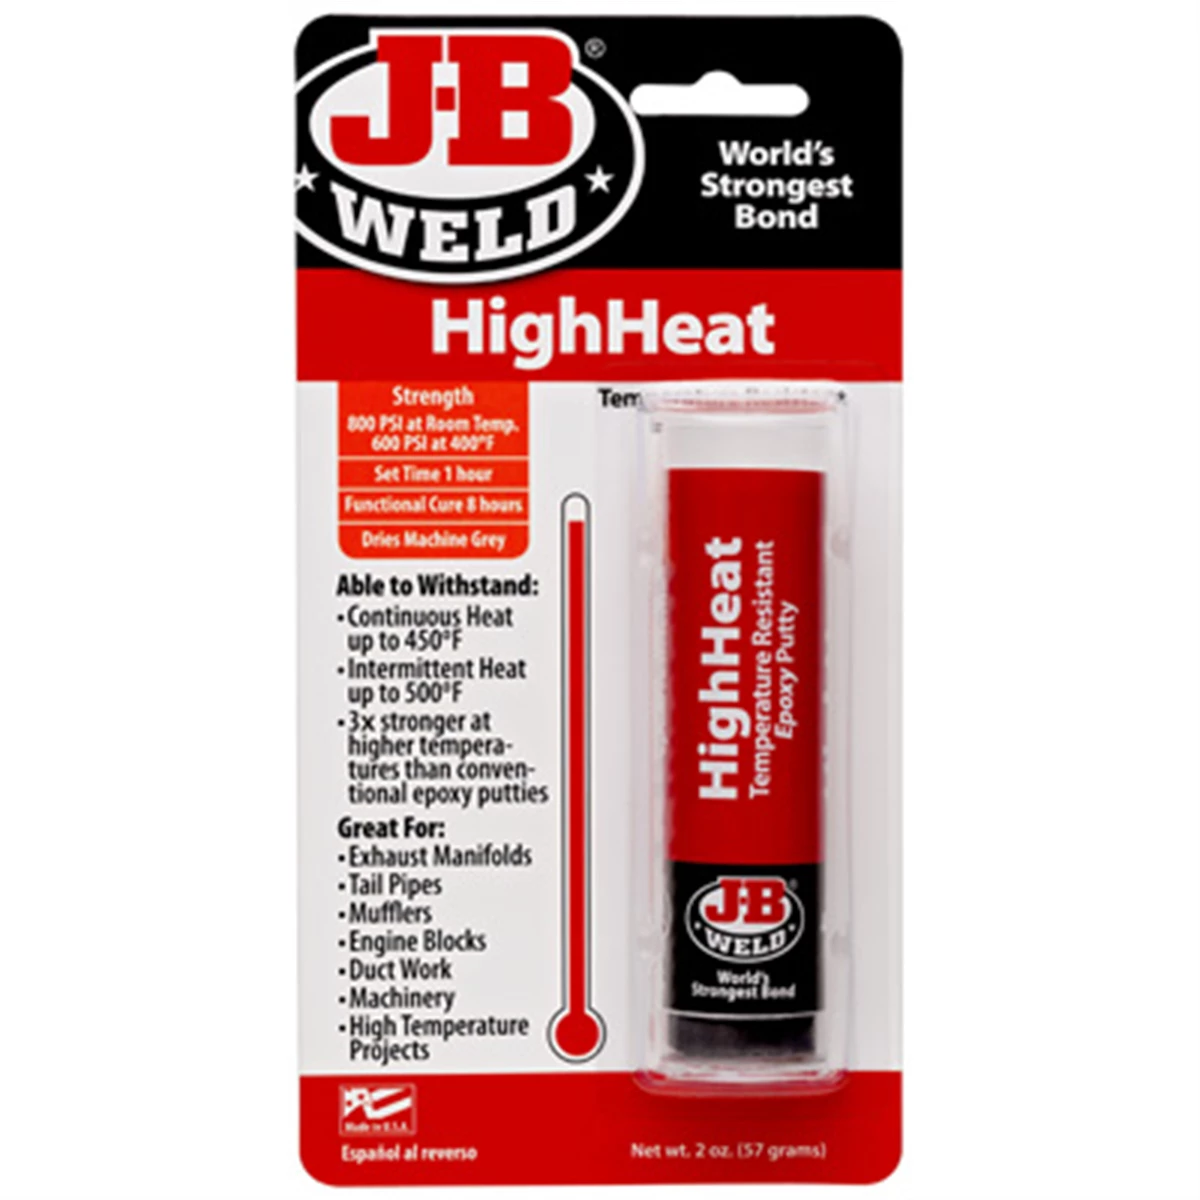
J-B Weld 8297 HighHeat 500 Degree Epoxy Putty Stick - 4 oz.
Mfg: JB Weld
Part #: 8298U
Repair Method 2: TIG Welding and Re-Machining
TIG welding offers a permanent repair for aluminum intake manifolds when the broken area has enough material for proper weld penetration. This is the right call when the manifold is expensive, hard to source, or part of a modified engine setup where replacement isn’t practical. The process requires access to a skilled TIG welder familiar with aluminum casting repair—not every welding shop has this capability.
The welder will clean the area to bare metal, preheat the manifold to 300-400°F to reduce thermal shock, and build up the missing section with 4043 or 5356 aluminum filler rod. Multiple thin passes with proper interpass cooling prevent warping and porosity. Once the material is built up slightly oversize, the manifold cools slowly (sometimes buried in sand or vermiculite) to minimize internal stress.
Post-weld machining restores the mounting surface to flat within 0.003 inches and re-establishes the bolt hole location. If the original hole was a through-hole, drill and tap it oversize (M6 to M8, or 1/4-20 to 5/16-18). If it was a blind hole into the manifold, drill to the original depth plus 1/4 inch and tap to the next size up. Chase all threads with a bottoming tap to ensure full engagement.
Check the gasket mating surface with a straightedge after welding. Aluminum castings can warp from heat input even with careful technique. If you’ve got more than 0.005 inches of distortion, the surface needs to be milled or lapped flat. Running a warped manifold with extra gasket sealer is asking for vacuum leaks and a comeback.
One often-overlooked concern: if you’re welding near fuel injector bores or vacuum ports, make absolutely certain no welding spatter or debris falls into internal passages. Mask off openings with aluminum tape and blow out the manifold with compressed air after welding before final cleaning.
Repair Method 3: Long-Bolt Mechanical Workaround
When the broken tab can’t be bonded or welded reliably but you need the vehicle running today, a long-bolt solution provides a mechanical clamp that doesn’t depend on the damaged casting. This works best when you have access to both sides of the manifold mounting point and there’s clearance underneath for a washer and nut.
Source a bolt 1-2 inches longer than the original, along with a large fender washer and a nylock nut sized to match the bolt. The washer needs to be large enough to bridge the broken area and contact solid material on all sides—typically 1.5-2 inches in diameter. Run the long bolt through the original hole from the top, place the washer underneath to distribute the load, and secure with the nylock nut torqued to 75% of the original spec.
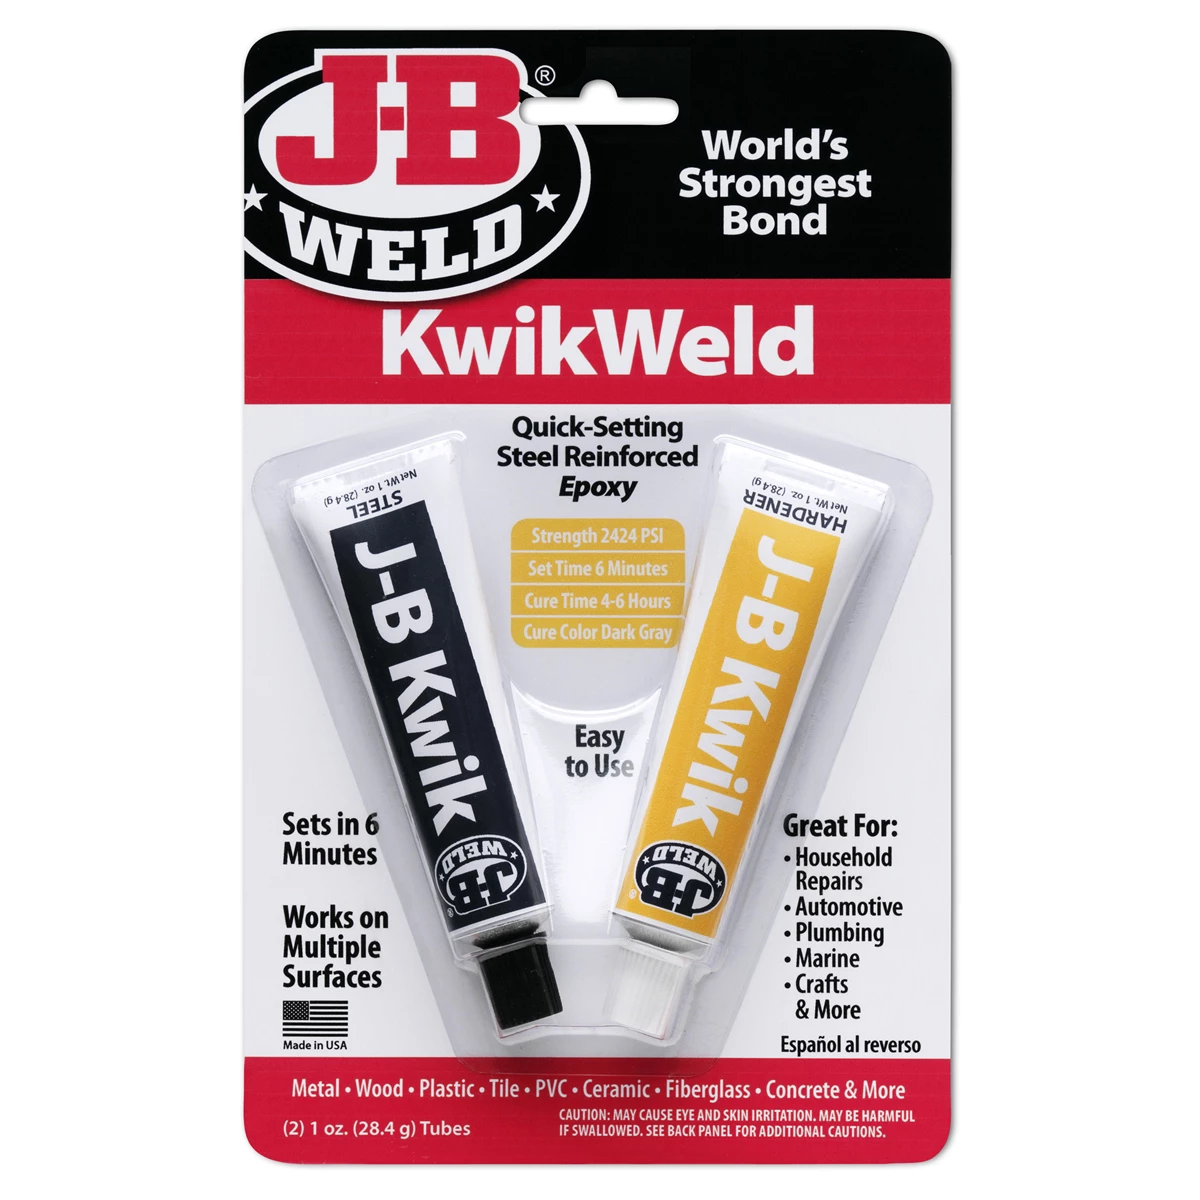
If the break created a step or uneven surface under the washer, apply a thin layer of JB Weld or similar epoxy to the manifold underside to fill voids and even out the clamping surface. This isn’t a structural repair—the bolt and washer carry the load—but it prevents stress concentrations that can cause additional cracking. Let the epoxy cure before final assembly.
Check the long bolt for interference with chassis components, wiring, or coolant hoses before buttoning everything up. What works on the bench can contact the firewall or steering shaft when the manifold is installed. If clearance is marginal, grind or cut the excess bolt length after installation, then file the end smooth and apply a dab of anti-seize to prevent corrosion.
This repair method sacrifices some clamp load distribution compared to the original design, so apply gasket sealer to both sides of the intake gasket in the area around the damaged tab. Use a high-temperature anaerobic sealer (Permatex Ultra Grey or equivalent) rather than RTV, which can squeeze out and block small coolant or vacuum passages on some manifold designs.
Repair Method 4: Junkyard Replacement (The Nuclear Option)
Sometimes the best repair is replacement, especially when you’re dealing with a common engine platform where lower intake manifolds are abundant in salvage yards. For Nissan VG33 engines (Xterra, Frontier) or VG30 (Pathfinder, Maxima, 300ZX), lower intakes are interchangeable across many model years and show up regularly at pull-your-part yards for $50-150. If your repair budget is approaching $300 for materials and shop time, spending half that on a known-good replacement makes economic sense.
The argument for replacement gets stronger if you’re already deep into an engine reseal or head gasket job. You’ve got everything apart, the new gaskets are on the bench, and swapping manifolds adds maybe 30 minutes to the job. Compare that to spending hours on a marginal repair that might fail in 10,000 miles and require disassembly all over again.
When sourcing a used manifold, inspect the mounting tabs carefully for hairline cracks—evidence that someone else already broke and repaired them. Check the gasket surfaces for straightness with a machinist’s straightedge. Warped or damaged surfaces need to be milled flat before installation. Inspect all coolant passages and vacuum ports for corrosion or erosion that could cause leaks. On engines where the intake manifold carries coolant (common on V6 and V8 designs), pressure-test the manifold before installation if you have access to a test rig.
Clean the junkyard manifold thoroughly before installation. Residual oil, carbon deposits, and gasket material in ports can break loose during operation and get ingested into cylinders or plug idle air control valves. Use carburetor cleaner or brake clean to flush all passages, then blow dry with compressed air. Inspect injector bores for damage or excessive wear that could cause sealing problems.
Replace all vacuum fittings, PCV valves, and EGR components while you’ve got access. These parts are cheap insurance compared to tearing everything back apart for a $15 PCV valve that failed 500 miles after reassembly. Use new intake manifold gaskets and bolts—reusing stretched bolts or compressed gaskets is a false economy that leads to vacuum leaks and poor idle quality.
Prevention Checklist: Avoiding Broken Tabs
Most intake manifold damage happens during removal, not installation, which means prevention starts with your disassembly procedure. Before applying any prying force to a stuck manifold, work through this systematic check:
- Photograph or diagram bolt locations before removal—helps catch missed fasteners
- Check for bolts hidden under fuel rails, wiring harnesses, brackets, and coolant crossover tubes
- Look underneath the manifold for fasteners that aren’t visible from above
- On overhead cam engines, verify no head bolts run through manifold mounting ears
- Try to lift the manifold straight up before prying—if it doesn’t move at all, you’ve missed a bolt
- If you need to pry, start with a small flat bar and work around the perimeter rather than concentrating force at one point
- Apply penetrating oil to stuck gaskets 30 minutes before disassembly
- Use gentle heat (heat gun, not torch) to soften stubborn gasket sealer
The cardinal rule: if you’re grunting and straining to move a manifold, stop and figure out what you’re missing. Brute force breaks parts. Methodical diagnosis prevents damage. Every technician learns this lesson the hard way at least once, but once should be enough.
Frequently Asked Questions
Q: Can I use regular epoxy instead of JB Weld for a broken intake manifold tab?
A: Standard two-part epoxies don’t have the temperature resistance or mechanical strength for intake manifold repairs. JB Weld (original formula) is rated to 500°F continuous and develops 3960 PSI tensile strength when fully cured. Generic epoxies typically fail around 200°F and crack under vibration. For even higher performance, Belzona epoxies are used in industrial applications and can handle drilling and tapping up to 1/2-inch threads, though they cost significantly more.
Q: Will brazing work to repair a broken aluminum intake manifold tab?
A: Brazing aluminum requires specialized flux and technique, and the resulting joint typically has lower strength than a proper TIG weld for this application. Brazing is more common for cast iron repairs. While brazing can create a sound metallurgical bond, it doesn’t provide enough strength to handle torque loading on a manifold bolt. The braze material itself is strong, but the heat-affected zone in the surrounding aluminum casting becomes annealed and loses strength. If you’re going to apply heat, TIG welding with proper filler rod is the better choice.
Q: How much torque can a JB Weld repair handle on an intake manifold bolt?
A: Properly prepared JB Weld repairs can handle moderate bolt loading, but you should reduce the torque spec by 30-40% on the repaired tab. If the factory specification is 18 ft-lbs, limit the repaired tab to 10-12 ft-lbs maximum. The remaining bolts around the manifold perimeter carry the primary sealing load. The repaired tab’s job is to prevent edge lifting and maintain gasket contact, not to provide full structural clamping force. Use a calibrated torque wrench and apply force gradually—don’t jump straight to final torque.
Q: Can I run the engine with one intake manifold bolt missing?
A: Running with a missing bolt is asking for vacuum leaks, poor idle, and potential gasket failure. Intake manifolds need even clamping pressure around the entire perimeter to seal properly. A missing bolt creates a low-pressure area where the gasket can lift, allowing unmetered air into the intake tract and causing lean fuel mixture, rough idle, and check engine lights. If you absolutely must move the vehicle short-term, apply RTV to both sides of the gasket in the area of the missing bolt and keep RPMs low, but plan on proper repair as soon as possible.
Q: What’s the best way to remove a stuck intake manifold without breaking tabs?
A: Start by verifying every single fastener is removed—double-check against a service manual diagram if available. Apply penetrating oil around the gasket perimeter and let it soak for 30 minutes. Use a heat gun (not a torch) to warm the manifold to 150-200°F, which softens gasket sealer. Gently tap around the perimeter with a rubber mallet to break the gasket seal. If you need to pry, use multiple small flat bars working around the manifold rather than one large pry bar concentrated at a single point. Lift straight up—don’t twist or angle the manifold, which puts side load on mounting tabs.
Q: Are intake manifolds interchangeable between different years of the same engine?
A: Generally yes within the same engine family, but verify bolt patterns, coolant passage locations, and vacuum port configurations before swapping. For example, Nissan VG30 and VG33 lower intake manifolds interchange across most applications, but upper plenums may have different throttle body bolt patterns or EGR configurations by model year. Always compare the candidate replacement to your original manifold before purchase. Check that all coolant passages, vacuum ports, injector bores, and bolt hole patterns match exactly.
Recommended Tools for Intake Manifold Repair
Whether you’re bonding a broken tab with epoxy, prepping surfaces for TIG welding, or sourcing fasteners for a mechanical workaround, having the right tools on hand makes the repair faster and more reliable. Check out our Engine Repair Tools selection for everything from surface preparation equipment to specialty fasteners and clamping solutions.
- Surface preparation tools—sanders, scrapers, and cleaning compounds for proper epoxy bonding
- Precision measuring and alignment tools to verify manifold flatness and gasket mating surfaces
- Fasteners and hardware for long-bolt workarounds and mechanical clamping solutions

The Toolsource Technical Team blends decades of real-world automotive service experience with up-to-date technical research. Our writers collaborate with professional mechanics, shop owners, and diagnostic specialists to deliver practical, workshop-ready guidance you can trust.


Follow us on social media