Repainting a vehicle outside a professional booth is entirely achievable with the right preparation, equipment, and technique. Real-world results from DIY painters show that garage paint jobs can deliver presentable, durable finishes when approached methodically. The key difference between a successful home paint job and a disappointing one comes down to surface preparation, understanding your paint system, proper equipment sizing, and realistic expectations about environmental limitations. This guide synthesizes proven techniques from technicians who have successfully completed color changes and refinishing work in non-booth environments.
Equipment Selection and Compressor Sizing
Your air compressor is the foundation of any spray paint setup. For automotive work, a minimum 60-gallon tank with a 5-horsepower motor provides adequate continuous airflow for full panel work. An 80-gallon compressor offers better performance, maintaining consistent pressure during longer spray sessions and reducing motor cycling. Undersized compressors force you to work in short bursts, creating lap marks and uneven film build as pressure drops between cycles.
The total investment for a functional home setup typically runs around $1,000, including a quality HVLP spray gun, air filtration, masking materials, and safety equipment. Used commercial compressors with minor defects—such as faulty pressure regulators—can significantly reduce upfront costs if you’re comfortable making repairs. A complete setup should include inline water separators and oil filters to prevent contamination in your finish coat.
Spray gun selection matters less than proper technique, but HVLP guns offer better transfer efficiency and reduced overspray compared to conventional systems. Budget-friendly options from established manufacturers perform adequately for occasional use. Invest in multiple fluid tip sizes if you plan to spray primers, base coats, and clear coats, as viscosity requirements differ across products.
Paint System Selection: Single-Stage vs. Base-Clear
Single-stage urethane systems are more forgiving for first-time painters. These products combine color and gloss in one application, eliminating the critical timing windows required for base-clear systems. Single-stage finishes can be wet-sanded and buffed days or weeks after application, allowing you to address imperfections on your schedule. The trade-off is slightly less depth and gloss compared to modern base-clear systems.
Base-clear systems deliver superior appearance and durability but demand precise technique. The base coat provides color while remaining flat; the clear coat supplies gloss and UV protection. You must apply clear within specific recoat windows—typically 30 minutes to 2 hours depending on temperature and product—or risk adhesion failure. Base coats also show every imperfection, offering no hiding capability for surface defects.
Paint costs vary significantly by color and formulation. Red pigments traditionally cost more due to expensive organic compounds, though this varies by manufacturer and system. When pricing paint, expect premium colors to add $100 or more per gallon compared to standard whites and blacks. Factory match colors for specific manufacturers—like Toyota’s pearl reds—carry additional surcharges. For budget builds, selecting a color from the manufacturer’s standard palette rather than requesting a specific OEM match code can reduce material costs substantially.
Modern waterborne and unleaded paint formulations cost significantly more than older solvent-based systems. Toner prices for mixing systems have increased dramatically in the past decade as environmental regulations phased out leaded compounds. Some toners, particularly certain oranges and yellows, can exceed $100 per liter depending on your paint system.
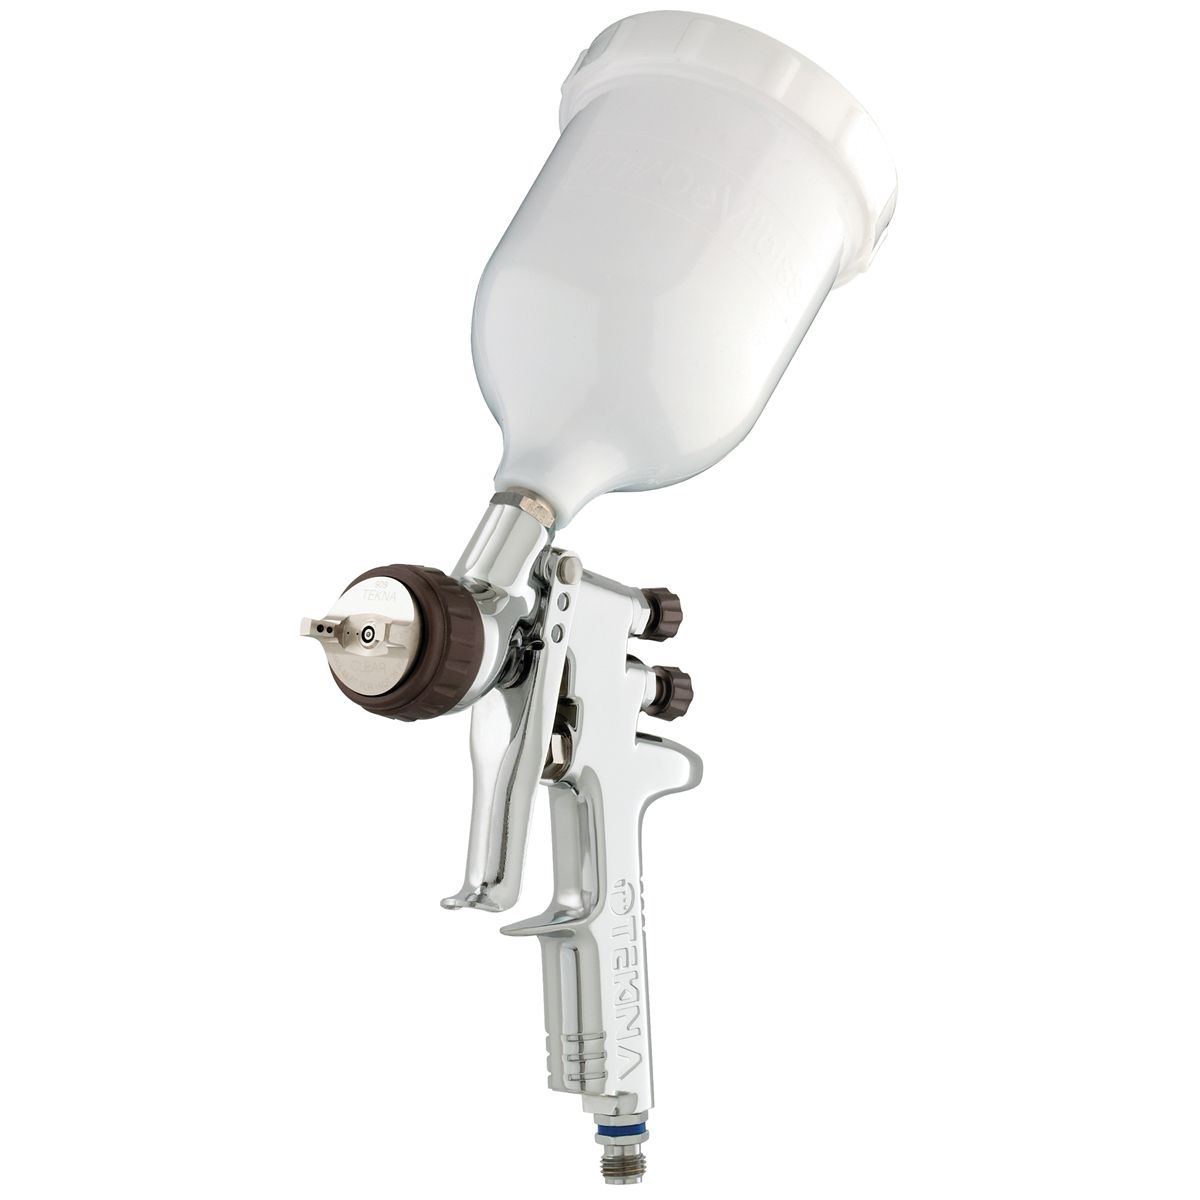
9PC GRAVITY FEED HVLP SPRAY GUN KIT
Mfg: FPX Air by Florida Pneumatic
Part #: FPX-535K
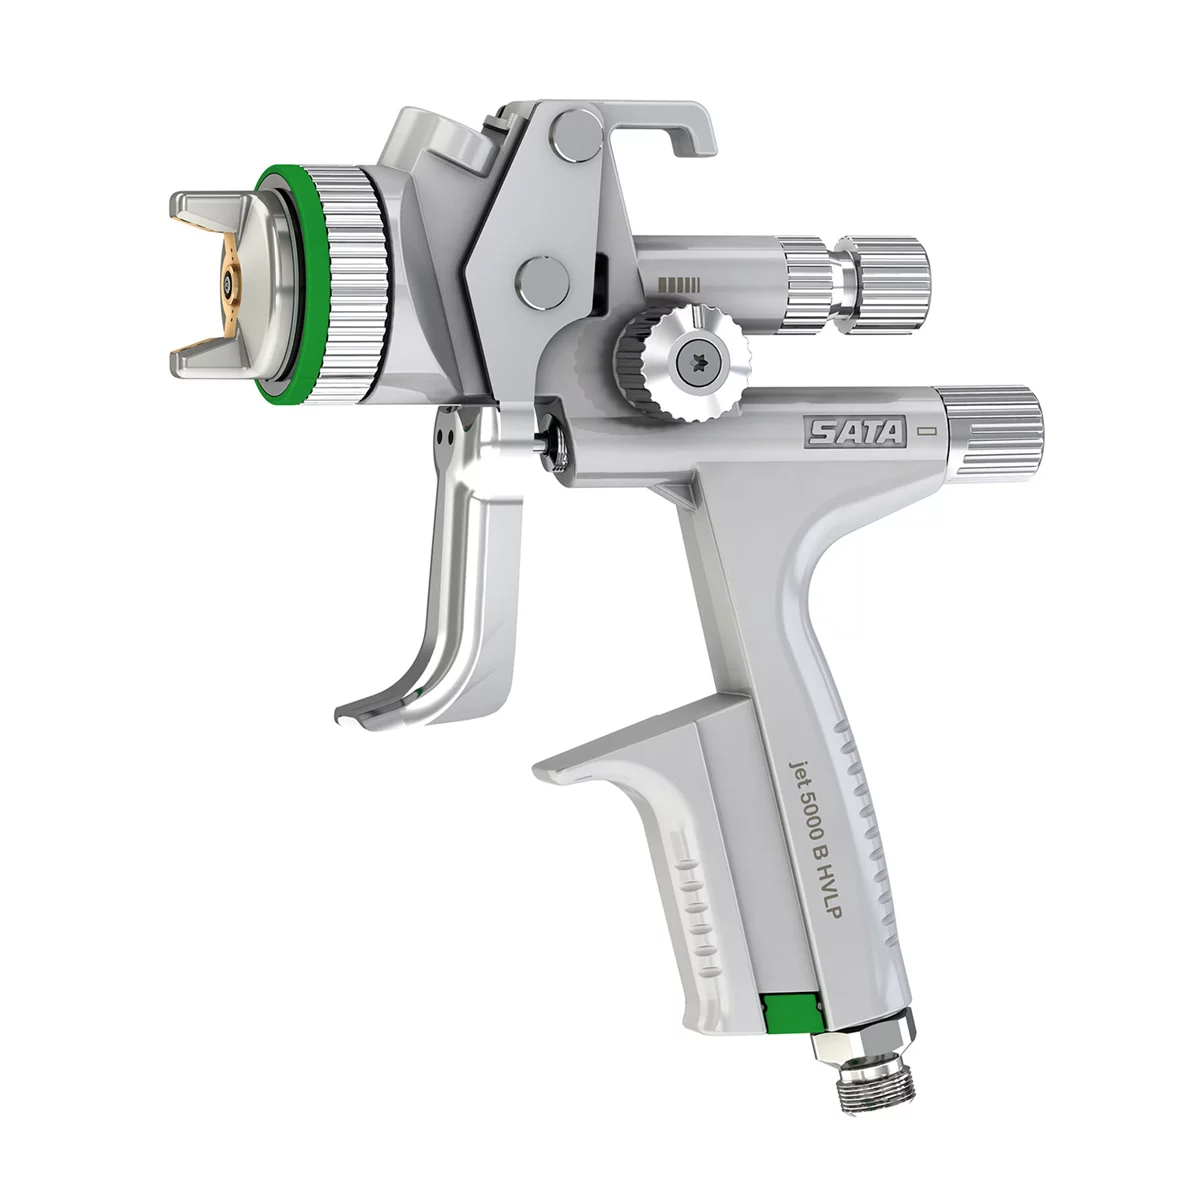
5000B HVLP sae standard Gun, 1.4, w/RPS Cups
Mfg: Sata Spray Equipment
Part #: 210799
Surface Preparation and Masking Strategy
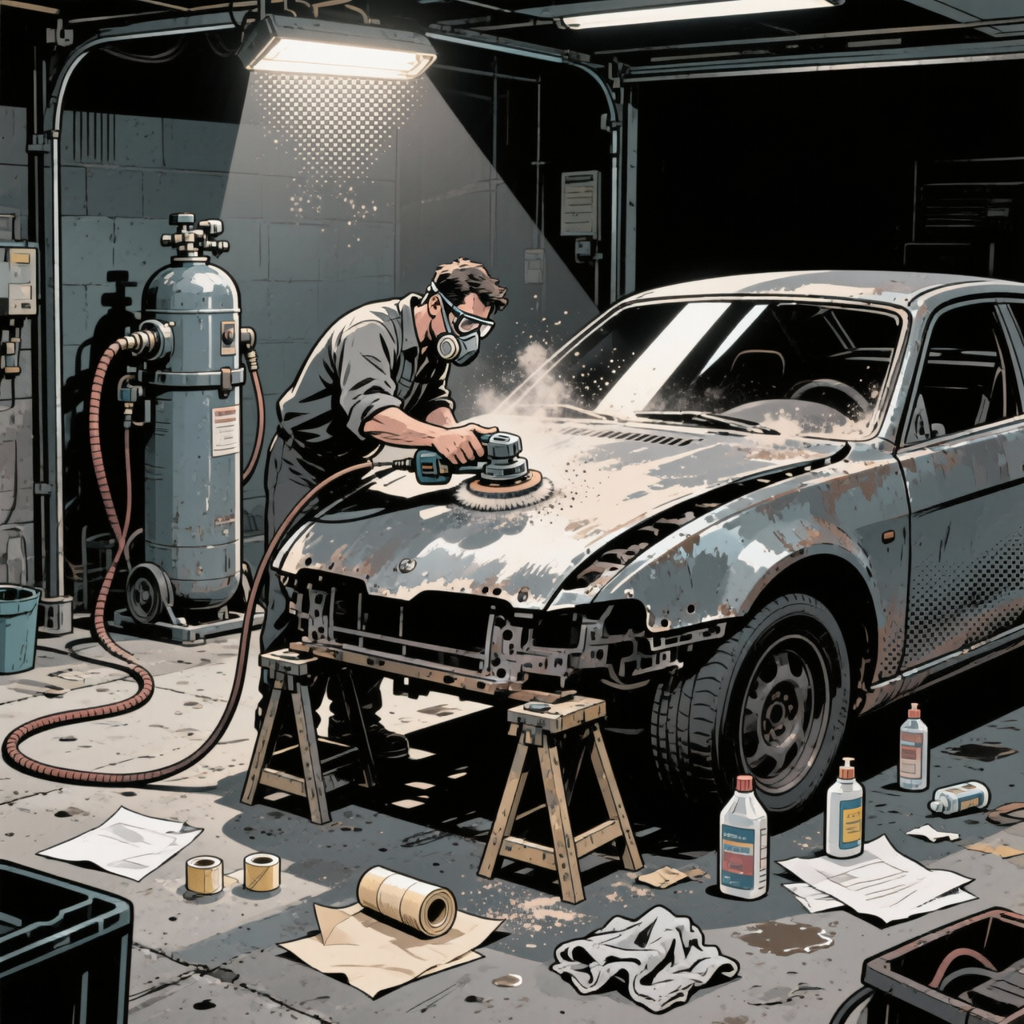
Surface preparation determines 80% of your final result. Begin with a thorough wash using wax-removing detergent, then solvent-wipe all panels with a grease and wax remover. Any contamination left on the surface will cause adhesion problems or fisheyes in your finish. Sand existing paint with 320-grit on a DA sander for single-stage, or 400-600 grit for base-clear systems. Feather any chips or scratches smooth—edges will telegraph through thin paint films.
Masking strategy for home garage jobs differs from professional booth work. Removing trim pieces, lights, and hardware eliminates hard masking lines and reduces tape edges where paint can build up. However, full disassembly increases project complexity and the risk of breaking clips or fasteners on older vehicles. For a DIY color change on a daily driver, careful masking of major components provides an acceptable compromise. Use quality automotive masking tape and paper—cheap products bleed solvents or leave adhesive residue.
Door jambs present a challenge in non-booth environments. Opening doors during painting allows proper coverage but increases overspray contamination in your workspace. Many successful home painters mask jambs and leave them in the original color on vehicles where complete disassembly isn’t practical. For visible jamb areas, consider spot-painting with aerosol cans after the main panels cure, accepting that the finish won’t perfectly match gun-applied paint.
Primer application depends on your starting surface. If you’re painting over sound factory finish with no bare metal, a sealer coat may be sufficient. Exposed metal requires epoxy primer for corrosion protection, followed by high-build primer-surfacer to level imperfections. Allow proper flash times between primer coats—rushing this step causes solvent entrapment and subsequent popping in your topcoat.
Spray Technique and Timing
Consistent gun speed and distance are critical. Practice on scrap panels or cardboard to develop smooth, overlapping passes at constant speed. Varying your speed or distance during a pass creates uneven film thickness, resulting in dry spots or runs. Maintain 6-8 inches from the panel for most HVLP setups, adjusting based on your specific gun and pressure settings.
Flash time between coats prevents solvent entrapment, which causes defects like solvent pop—small craters that appear as paint cures. Set a timer for each coat rather than guessing. Most urethanes require 10-15 minutes between coats at 70°F, longer in cooler conditions. Rushing coats to finish faster is the most common cause of preventable defects. Base coats typically flash faster than clear coats due to their thinner viscosity.
Runs and sags happen even to experienced painters. If you catch a run while the paint is still wet, you can sometimes carefully remove it with a clean, dry brush. Once the paint begins to flash, leave it alone—attempting to fix it will make it worse. Minor runs can be wet-sanded and buffed after full cure, typically 24-48 hours for urethanes. Severe runs may require sanding back to primer and respraying that panel.
Dry runs with your spray gun before applying paint help establish your technique. Practice maintaining consistent speed across panels, smooth direction changes at panel ends, and proper overlap between passes. Most automotive painters use 50% overlap, meaning each pass covers half of the previous pass. This ensures even film build without heavy spots or lean areas.
Environmental Control and Contamination Management
Home garage environments present contamination challenges that professional booths eliminate. Dust, insects, and airborne debris will settle on wet paint. Thorough cleaning before painting helps—sweep or vacuum floors, wipe down walls, and wet the floor to keep dust down. Some painters spray the floor with water just before painting to minimize dust stirring. Accept that some contamination is inevitable without filtered air circulation.
Temperature and humidity affect paint behavior significantly. Ideal conditions are 65-75°F with moderate humidity. Cold temperatures slow drying and reduce flow, while excessive heat causes paint to flash before it can level properly. High humidity can cause blushing in some paint systems—a milky appearance from moisture trapped in the film. If your garage is unheated, plan painting projects for moderate weather or use supplemental heating that doesn’t blow dust.
Overspray management is a practical and legal concern. Paint mist travels farther than most people expect and can contaminate nearby vehicles, buildings, or neighbor’s property. If your garage door remains open during painting, overspray will coat everything downwind. Some DIY painters construct temporary plastic enclosures, though these trap fumes and create ventilation hazards. At minimum, position vehicles or tarps to catch overspray, and avoid painting when wind blows toward neighboring properties.
Ventilation is critical for safety but complicates dust control. Paint fumes contain volatile organic compounds that are toxic and flammable. Never paint in an enclosed space without ventilation. Explosion-proof fans or simply opening doors and windows provide air exchange, though this also introduces more potential contamination. Proper respiratory protection—a supplied-air respirator or fresh-air system—is essential for extended spray work. Disposable dust masks provide no protection against paint vapors.
Post-Paint Correction and Expectations
Fresh paint is soft and vulnerable. Urethane systems continue curing for 30-90 days, though they’re dry to touch within hours. Wait at least 24-48 hours before wet sanding or buffing to avoid pulling the finish off the panel. Longer cure times allow harder film development, making defect removal easier and more effective.
Wet sanding removes contamination nibs, dust, and orange peel. Use 1500-2000 grit sandpaper with water as lubricant, working in small areas with light pressure. Sand until the glossy surface becomes uniformly dull—over-sanding burns through clear coat or color. Follow with 3000 grit for final leveling, then machine buffing with progressively finer compounds to restore gloss. This process is time-consuming but transforms a decent paint job into an impressive one.
Realistic expectations prevent disappointment. Home garage paint jobs won’t match factory finish or high-end body shop work. You’ll have some orange peel, possible dust nibs, and minor imperfections. For a vehicle that cost a few hundred dollars, a $1,000 home paint job that presents well from 10 feet is a significant improvement. These finishes can last several years with proper care, though they may fade or peel faster than professional booth-applied paint due to contamination and environmental exposure during application.
Aerosol spray can paint offers an alternative for small projects or single panels. Modern automotive spray cans provide decent results for minor repairs or spot painting, though consistency is harder to achieve than with a gun. Spray can paint is typically softer with lower UV resistance, meaning it may fade or peel within a few years. For complete color changes or multi-panel work, the investment in spray equipment pays off in better results and lower per-panel costs.
Legal and Practical Considerations
Vehicle color changes don’t require DMV notification in most jurisdictions—your registration lists color for identification, but you’re legally allowed to paint your vehicle any color. However, some insurance companies require reporting color changes for their records. Check your policy requirements before completing a color change.
Environmental regulations govern paint spraying, even in residential settings. VOC emissions from painting vehicles at home can technically violate air quality regulations in some areas, particularly if done commercially or frequently. The EPA and local air quality districts focus enforcement on commercial operations, but repeated complaints from neighbors about overspray or fumes could trigger regulatory attention. This reality limits home painting as a sustainable hobby—most successful DIY painters complete occasional projects rather than regular work.
Professional alternatives like Maaco provide affordable paint jobs for consumers who want fresh color without DIY effort or expense. These services typically mask rather than remove trim, spray in production booths with fast turnaround, and use economical paint systems. Results vary by location and price tier, but they’re reliable for basic color refreshes on older vehicles. Expect to pay $1,000-3,000 for a basic complete respray at a budget chain versus $5,000-20,000 at a full-service body shop that removes all components and addresses underlying body issues.
Quick Reference Checklist
- Minimum 60-gallon compressor with 5+ HP motor for continuous airflow
- HVLP spray gun with appropriate fluid tips for your paint system
- Inline water separator and oil filter to prevent contamination
- Surface preparation: wash, solvent wipe, sand with appropriate grit
- Quality automotive masking tape and paper—cheap materials cause problems
- Set timer for flash time between coats—typically 10-15 minutes
- Maintain consistent 6-8 inch gun distance and steady pass speed
- Practice technique on scrap panels before spraying your vehicle
- Clean workspace thoroughly—sweep, vacuum, wet floors before painting
- Proper respiratory protection—supplied air or fresh-air system required
- Wait 24-48 hours minimum before wet sanding or buffing
- Expect some imperfections—home garage jobs won’t match booth work
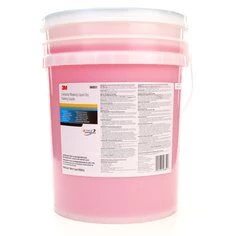
151268 3M Automotive 3M6851 3M-6851 5G OVERSPRAY MASKING LIQUID DRY
Mfg: 3M Automotive
Part #: 6851
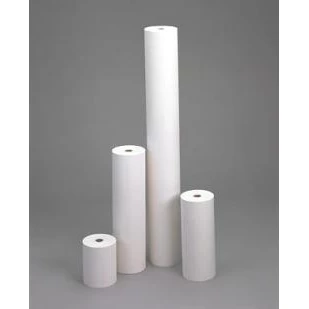
100688 6538 3M Automotive 3M6538 3M White Masking Paper - 12 In x 750 Ft MMM6538 Single Roll
Mfg: 3M Automotive
Part #: 6538
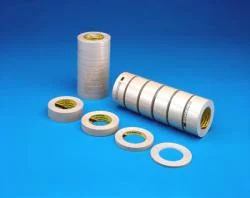
Scotch Automotive Refinish Masking Tape 233 one and one two inch x 60 Yd 6/Sleeve
Mfg: 3M Automotive
Part #: 6338
Frequently Asked Questions
Q: What size air compressor do I need to paint a car?
A: A minimum 60-gallon tank with a 5-horsepower motor provides adequate continuous airflow for automotive painting. An 80-gallon compressor offers better performance by maintaining consistent pressure during longer spray sessions and reducing motor cycling that can cause application problems.
Q: Is single-stage or base-clear paint easier for beginners?
A: Single-stage urethane is more forgiving for first-time painters because it combines color and gloss in one application and can be corrected days or weeks later. Base-clear systems deliver better appearance but require precise timing between coats and show every surface imperfection.
Q: How do I prevent dust and bugs in my garage paint job?
A: Thoroughly clean your workspace before painting—sweep or vacuum floors, wipe walls, and wet the floor to minimize airborne dust. Accept that some contamination is inevitable without professional booth filtration. Minor nibs can be wet-sanded and buffed after the paint cures.
Q: Do I need to notify the DMV if I change my car’s color?
A: Most jurisdictions don’t require DMV notification for color changes—you’re legally allowed to paint your vehicle any color. However, some insurance companies require reporting color changes for their records, so check your policy requirements before completing the work.
Q: How long should I wait between paint coats?
A: Follow your paint manufacturer’s technical data sheet, but most urethanes require 10-15 minutes flash time between coats at 70°F. Set a timer rather than guessing—rushing coats causes solvent entrapment defects like popping or blistering. Temperature affects flash time, with cooler conditions requiring longer waits.
Q: Can I paint my car outside in the driveway or do I need a garage?
A: A garage provides essential wind protection and reduces contamination from airborne debris. Painting outdoors exposes wet paint to insects, pollen, dust, and unpredictable air movement that ruins finish quality. A garage also contains overspray and provides some environmental control, though it won’t match booth conditions.
Recommended Tools & Materials
Successful home garage paint jobs depend on quality equipment and materials. Browse our Paint & Body category to find spray guns, air compressor accessories, masking supplies, and paint systems suited to your project.
- HVLP spray guns and fluid tips for different paint viscosities
- Air filtration: water separators, oil filters, and inline regulators
- Masking tape, paper, and surface preparation materials
The Toolsource Technical Team blends decades of real-world automotive service experience with up-to-date technical research. Our writers collaborate with professional mechanics, shop owners, and diagnostic specialists to deliver practical, workshop-ready guidance you can trust.


Follow us on social media